m (phaseout) |
m (bloat) |
||
| Line 12: | Line 12: | ||
=== Escaping the Lazarus station === |
=== Escaping the Lazarus station === |
||
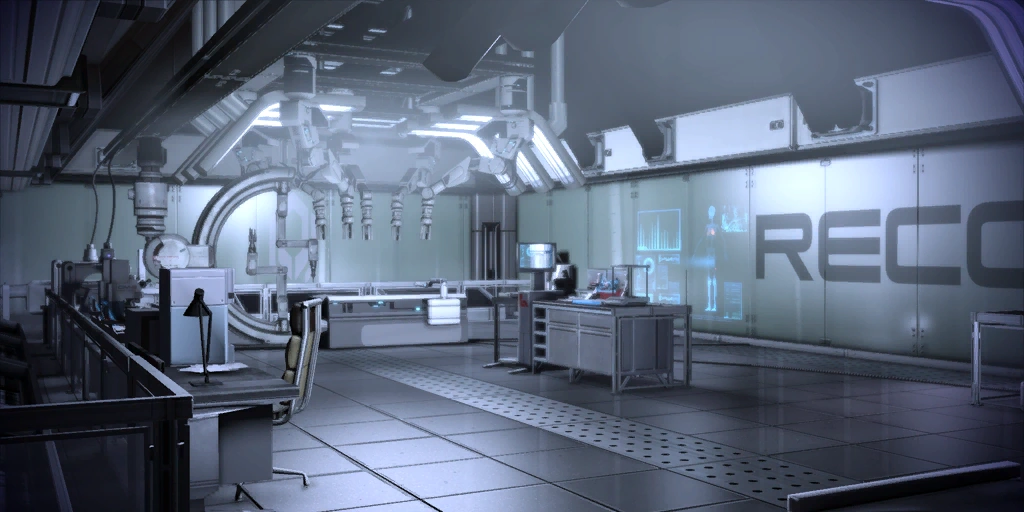
| − | The beginning of this mission serves a dual purpose as the game's tutorial level. You must walk to the locker to obtain [[M-3 Predator#Mass Effect 2|a pistol]] and armor, and then must take cover to avoid damage from an explosion which blows the room's door. This allows you to exit the room and find a spare [[thermal clip]] on the floor, just past the door. Insert the thermal clip into the pistol to unlock the door to the next room. |
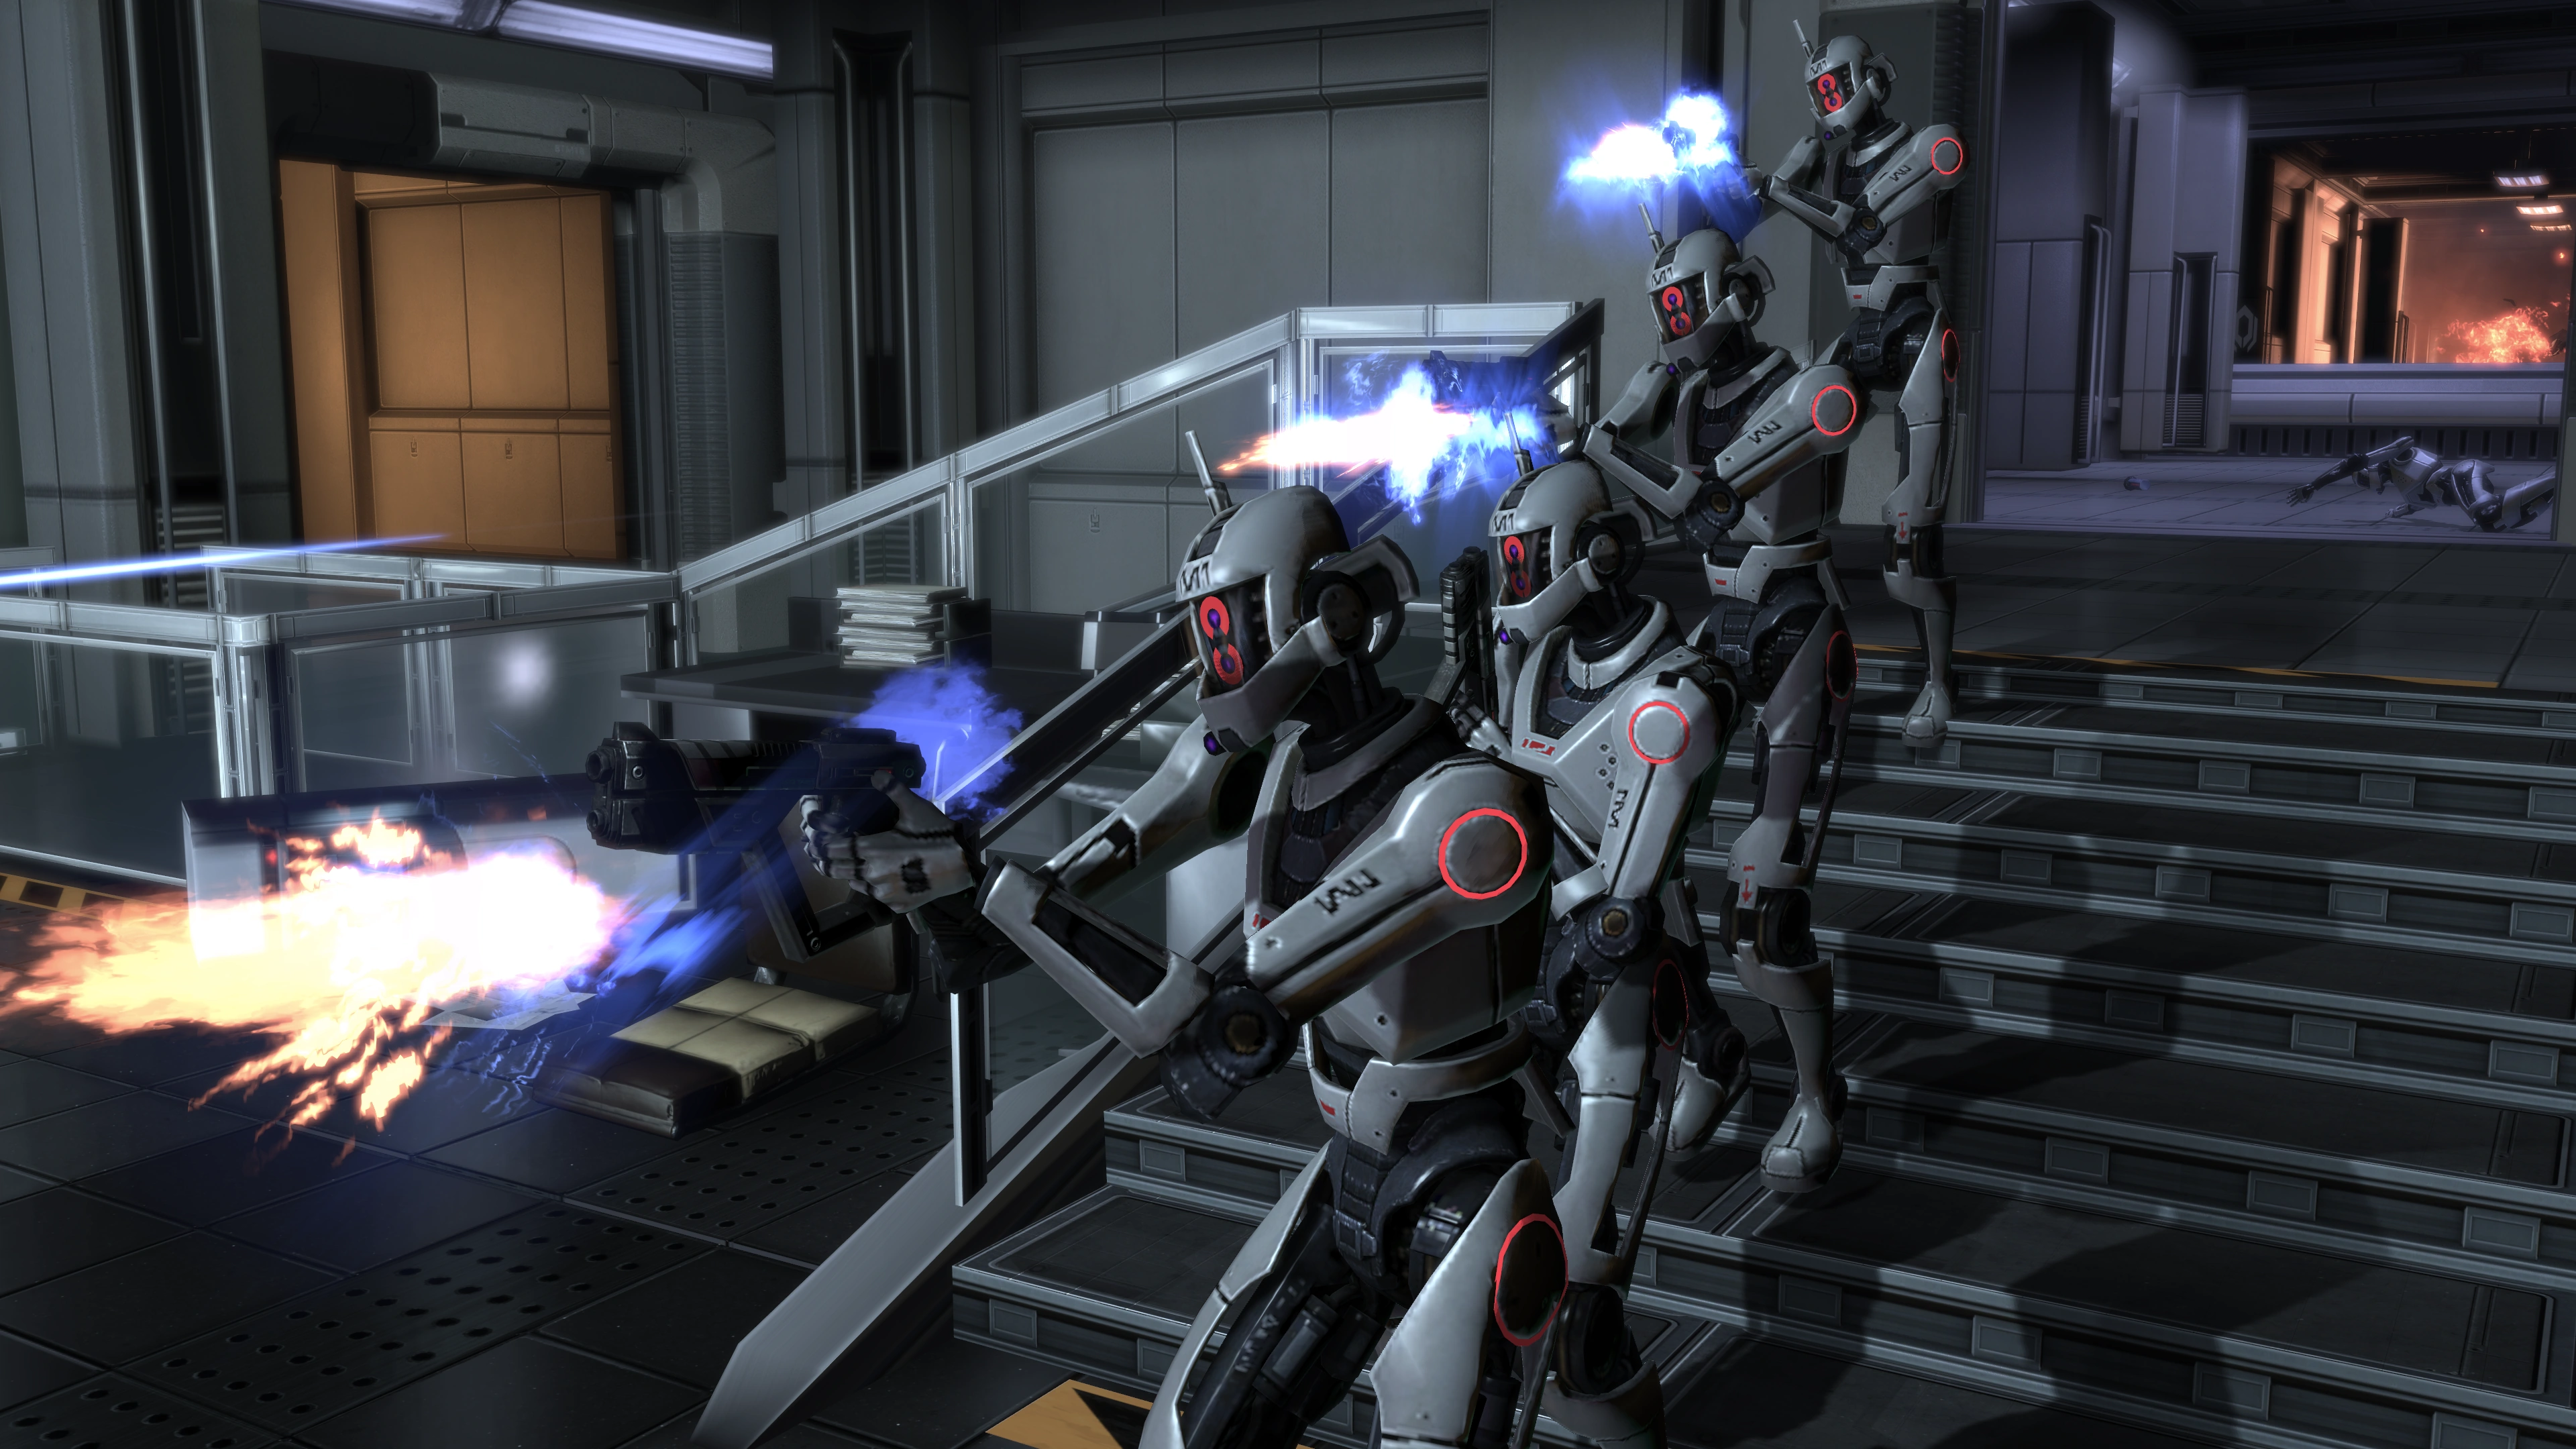
+ | [[File:Lazarus Station - fall in line.png|left|290px|The mechs may be bent on killing you, but at least they do so orderly]]The beginning of this mission serves a dual purpose as the game's tutorial level. You must walk to the locker to obtain [[M-3 Predator#Mass Effect 2|a pistol]] and armor, and then must take cover to avoid damage from an explosion which blows the room's door. This allows you to exit the room and find a spare [[thermal clip]] on the floor, just past the door. Insert the thermal clip into the pistol to unlock the door to the next room. |
| + | When you move on, Miranda's voice will tell you to vault over a low obstacle. A lone [[LOKI Mech]], which arrives from the stairway, will have to be destroyed. Collect more thermal clips from the room if you wish, and then head upstairs, where Shepard receives a radio warning that several more mechs are coming, and that the safest way to dispose of them is to take cover until they are destroyed. |
||
| ⚫ | |||
| ⚫ | |||
| ⚫ | |||
| ⚫ | |||
| ⚫ | |||
| + | |||
| ⚫ | Moving forward after disposing of the LOKI Mechs, you may witness people being gunned down by a heavy [[YMIR Mech]] when you look through a window to the left. Keep moving until you find a new weapon, the [[M-100 Grenade Launcher]]. Miranda advises Shepard to use this new [[heavy weapon]] to dispose of a group of incoming LOKI mechs. |
||
{{note}}The mechs will not appear until you equip the Grenade Launcher. You do not need to actually ''use'' the Grenade Launcher, in which case you can keep the 3 Ammo that came with picking it up. However, if at any time you reload the game the Heavy Weapon Ammo drops to 2. |
{{note}}The mechs will not appear until you equip the Grenade Launcher. You do not need to actually ''use'' the Grenade Launcher, in which case you can keep the 3 Ammo that came with picking it up. However, if at any time you reload the game the Heavy Weapon Ammo drops to 2. |
||
| Line 24: | Line 26: | ||
Miranda will then direct you to the elevator, which operates automatically as soon as you step on. You'll then be taught how to storm through a fire obstacle created from the grenade launcher's explosion. The radio communication with Miranda now starts to break up, so you're a bit more on your own. Straight ahead is a room containing computers where you can access recordings by Miranda and Dr. [[Wilson]] about their experience reviving Shepard. |
Miranda will then direct you to the elevator, which operates automatically as soon as you step on. You'll then be taught how to storm through a fire obstacle created from the grenade launcher's explosion. The radio communication with Miranda now starts to break up, so you're a bit more on your own. Straight ahead is a room containing computers where you can access recordings by Miranda and Dr. [[Wilson]] about their experience reviving Shepard. |
||
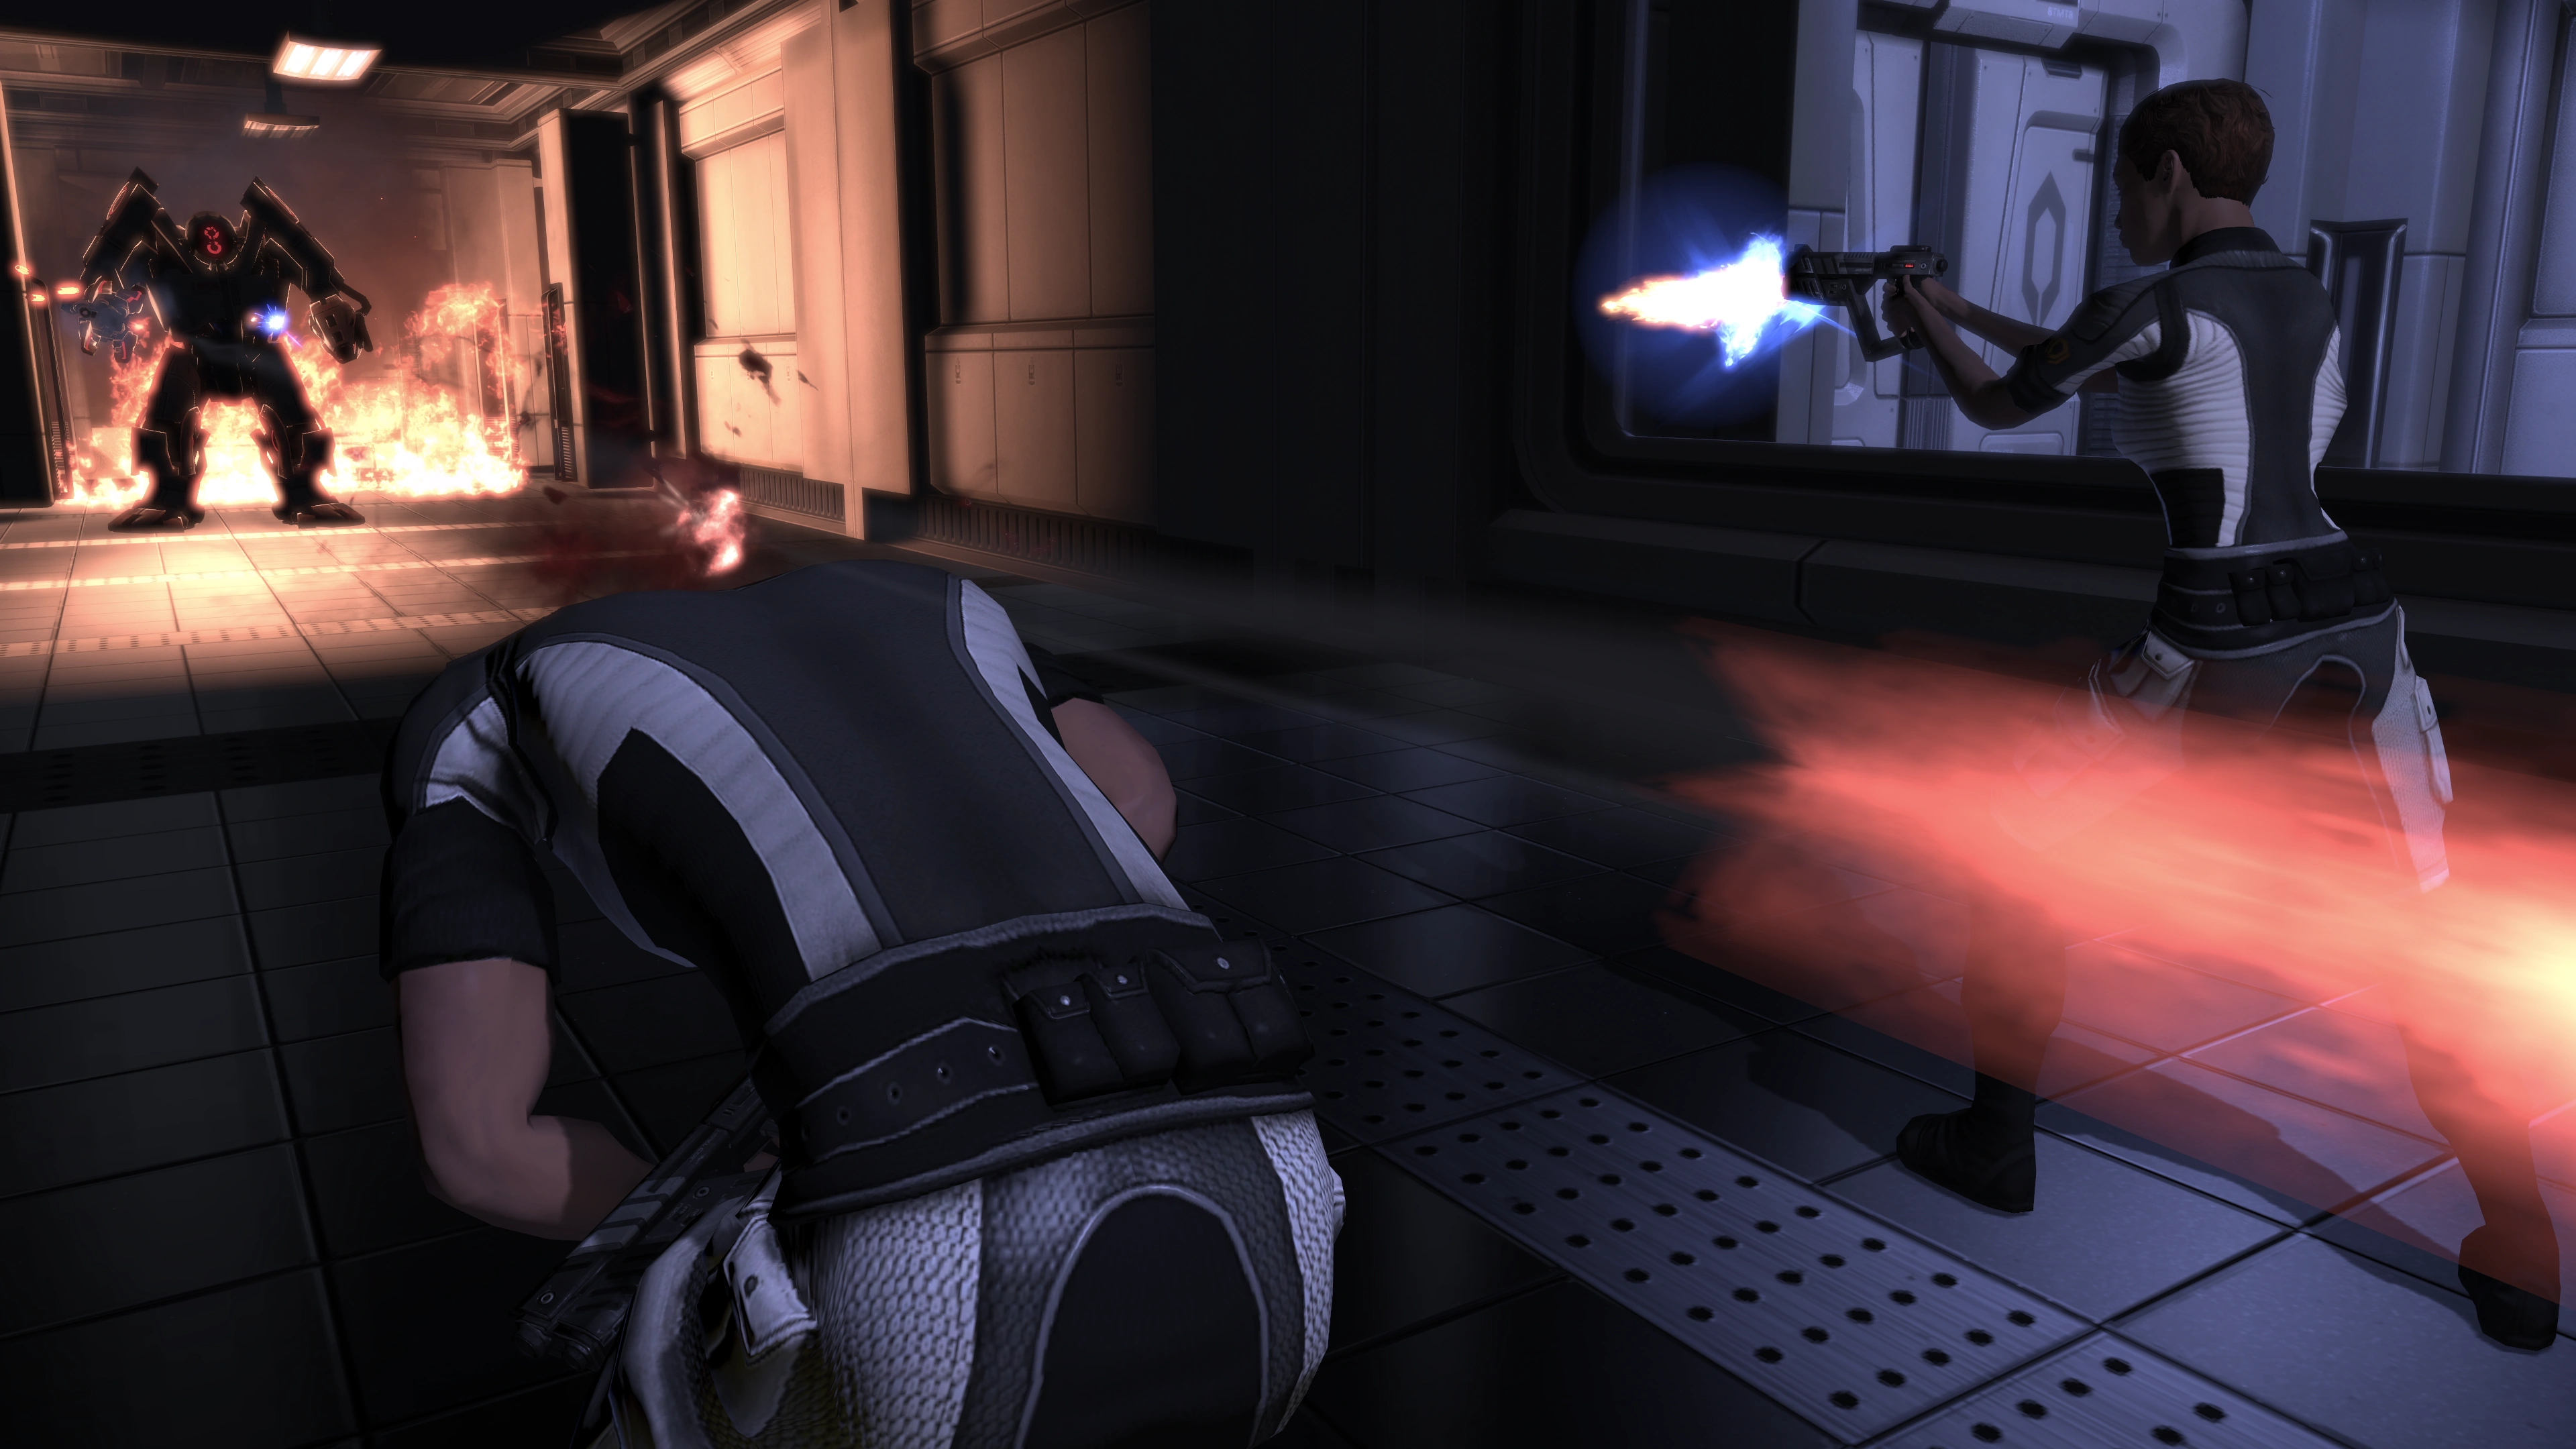
| − | There is also a wall safe here, which you can bypass to gain 975 [[credits]]. This is your first chance to experience the [[Bypass#Bypass|Bypass]] mini-game, and the Commander has infinite tries to get it right. After climbing up some stairs, you'll find another audio note from Wilson on a public computer and witness another member of the station's staff being gunned down by a heavy mech. |
+ | [[File:Lazarus Station - cerb guy go boom.png|left|290px|Hapless Cerberus employees blow up left and right throughout the mission]]There is also a wall safe here, which you can bypass to gain 975 [[credits]]. This is your first chance to experience the [[Bypass#Bypass|Bypass]] mini-game, and the Commander has infinite tries to get it right. After climbing up some stairs, you'll find another audio note from Wilson on a public computer and witness another member of the station's staff being gunned down by a heavy mech. |
Entering the next room, you will meet [[Jacob Taylor]] on a bridge area, fighting a group of mechs standing on another small bridge at the other side of the room. Jacob observes that things must be dire if Miranda awoke Shepard, and confirms that he is on your side. Depending on your [[Morality Guide (Mass Effect 2)#Prologue: Awakening|conversation choices]], some [[Morality]] points may be awarded. Finally, Jacob asks Shepard to help destroy the mechs, promising to answer more questions when they are disposed of. He also indicates that he is a [[biotic]] and may use his powers to aid them, should Shepard order it. And in fact you '''''must''''' order Jacob to use his [[Pull]] ability, otherwise the enemies will continue to re-spawn and you will be unable to move on. {{note|Tip:}} During this section Jacob's Pull cooldown is almost instantaneous, so the mechs can be pulled back-to-back completing the combat very quickly. |
Entering the next room, you will meet [[Jacob Taylor]] on a bridge area, fighting a group of mechs standing on another small bridge at the other side of the room. Jacob observes that things must be dire if Miranda awoke Shepard, and confirms that he is on your side. Depending on your [[Morality Guide (Mass Effect 2)#Prologue: Awakening|conversation choices]], some [[Morality]] points may be awarded. Finally, Jacob asks Shepard to help destroy the mechs, promising to answer more questions when they are disposed of. He also indicates that he is a [[biotic]] and may use his powers to aid them, should Shepard order it. And in fact you '''''must''''' order Jacob to use his [[Pull]] ability, otherwise the enemies will continue to re-spawn and you will be unable to move on. {{note|Tip:}} During this section Jacob's Pull cooldown is almost instantaneous, so the mechs can be pulled back-to-back completing the combat very quickly. |
||
| Line 34: | Line 36: | ||
On the path towards Dr. Wilson, Shepard and Jacob encounter additional mechs, as the path is less secured than planned. In a side room along the path, after some stairs up, you'll find another computer, giving access to one another video recording by Miranda containing background information. Proceeding through the next door you'll then meet up with Wilson, who appears to have a wounded leg. You're asked to retrieve [[medi-gel]] from a medical station on a nearby wall, then use the [[Unity]] power to heal Dr. Wilson, who will then join your squad. After agreeing where to go next, a group of mechs enter the room and you can use Dr. Wilson's [[Overload]] ability to make the explosive crates explode to be able to move ahead, though you can also just shoot the crates. Before going on, Jacob feels compelled to reveal to you that the Lazarus Project is a [[Cerberus]] operation, with morality points again being awarded depending on your conversation choices. |
On the path towards Dr. Wilson, Shepard and Jacob encounter additional mechs, as the path is less secured than planned. In a side room along the path, after some stairs up, you'll find another computer, giving access to one another video recording by Miranda containing background information. Proceeding through the next door you'll then meet up with Wilson, who appears to have a wounded leg. You're asked to retrieve [[medi-gel]] from a medical station on a nearby wall, then use the [[Unity]] power to heal Dr. Wilson, who will then join your squad. After agreeing where to go next, a group of mechs enter the room and you can use Dr. Wilson's [[Overload]] ability to make the explosive crates explode to be able to move ahead, though you can also just shoot the crates. Before going on, Jacob feels compelled to reveal to you that the Lazarus Project is a [[Cerberus]] operation, with morality points again being awarded depending on your conversation choices. |
||
| − | [[ |
+ | [[File:LazarusStation11.png|300px|right|Shuttle departing from Lazarus Research Station]]In the next room heading to the shuttle bay, you will find a datapad on a corpse. The datapad can be hacked for 900 credits. This introduces the [[Bypass#Hacking|Hacking]] mini-game and again offers unlimited tries to get it right. Going downstairs and through a corridor, Shepard's squad enters a large shipping area, cluttered with crates and more hacked mechs. Once cleared, you should proceed to the upper left part of the area to find a small room with a computer, which gives access to another log recording by Miranda, another datapad to hack (975 credits) and a wall safe to bypass (900 credits). |
| − | In a small room opposite the upper platform lies the door to the shuttle bay. As Wilson opens the door, Miranda is standing on the other side, and shoots him without ceremony. She explains that Wilson was a traitor, who hacked the security mechs, endangered the project, and cost the lives of most of the staff. You can press Miranda for more information and again receive |
+ | In a small room opposite the upper platform lies the door to the shuttle bay. As Wilson opens the door, Miranda is standing on the other side, and shoots him without ceremony. She explains that Wilson was a traitor, who hacked the security mechs, endangered the project, and cost the lives of most of the staff. You can press Miranda for more information and again receive {{Paragon}} or {{Renegade}} points during this conversation, at the end of which everyone leaves the station. |
=== Meeting the Illusive Man === |
=== Meeting the Illusive Man === |
||
| − | During the shuttle ride from Lazarus station to another Cerberus facility, Miranda will ask you to answer questions about the past, to assess Shepard's memory. Jacob finds the exercise unnecessary, and you may stop the conversation at any time by choosing some variant of "We're done here!". |
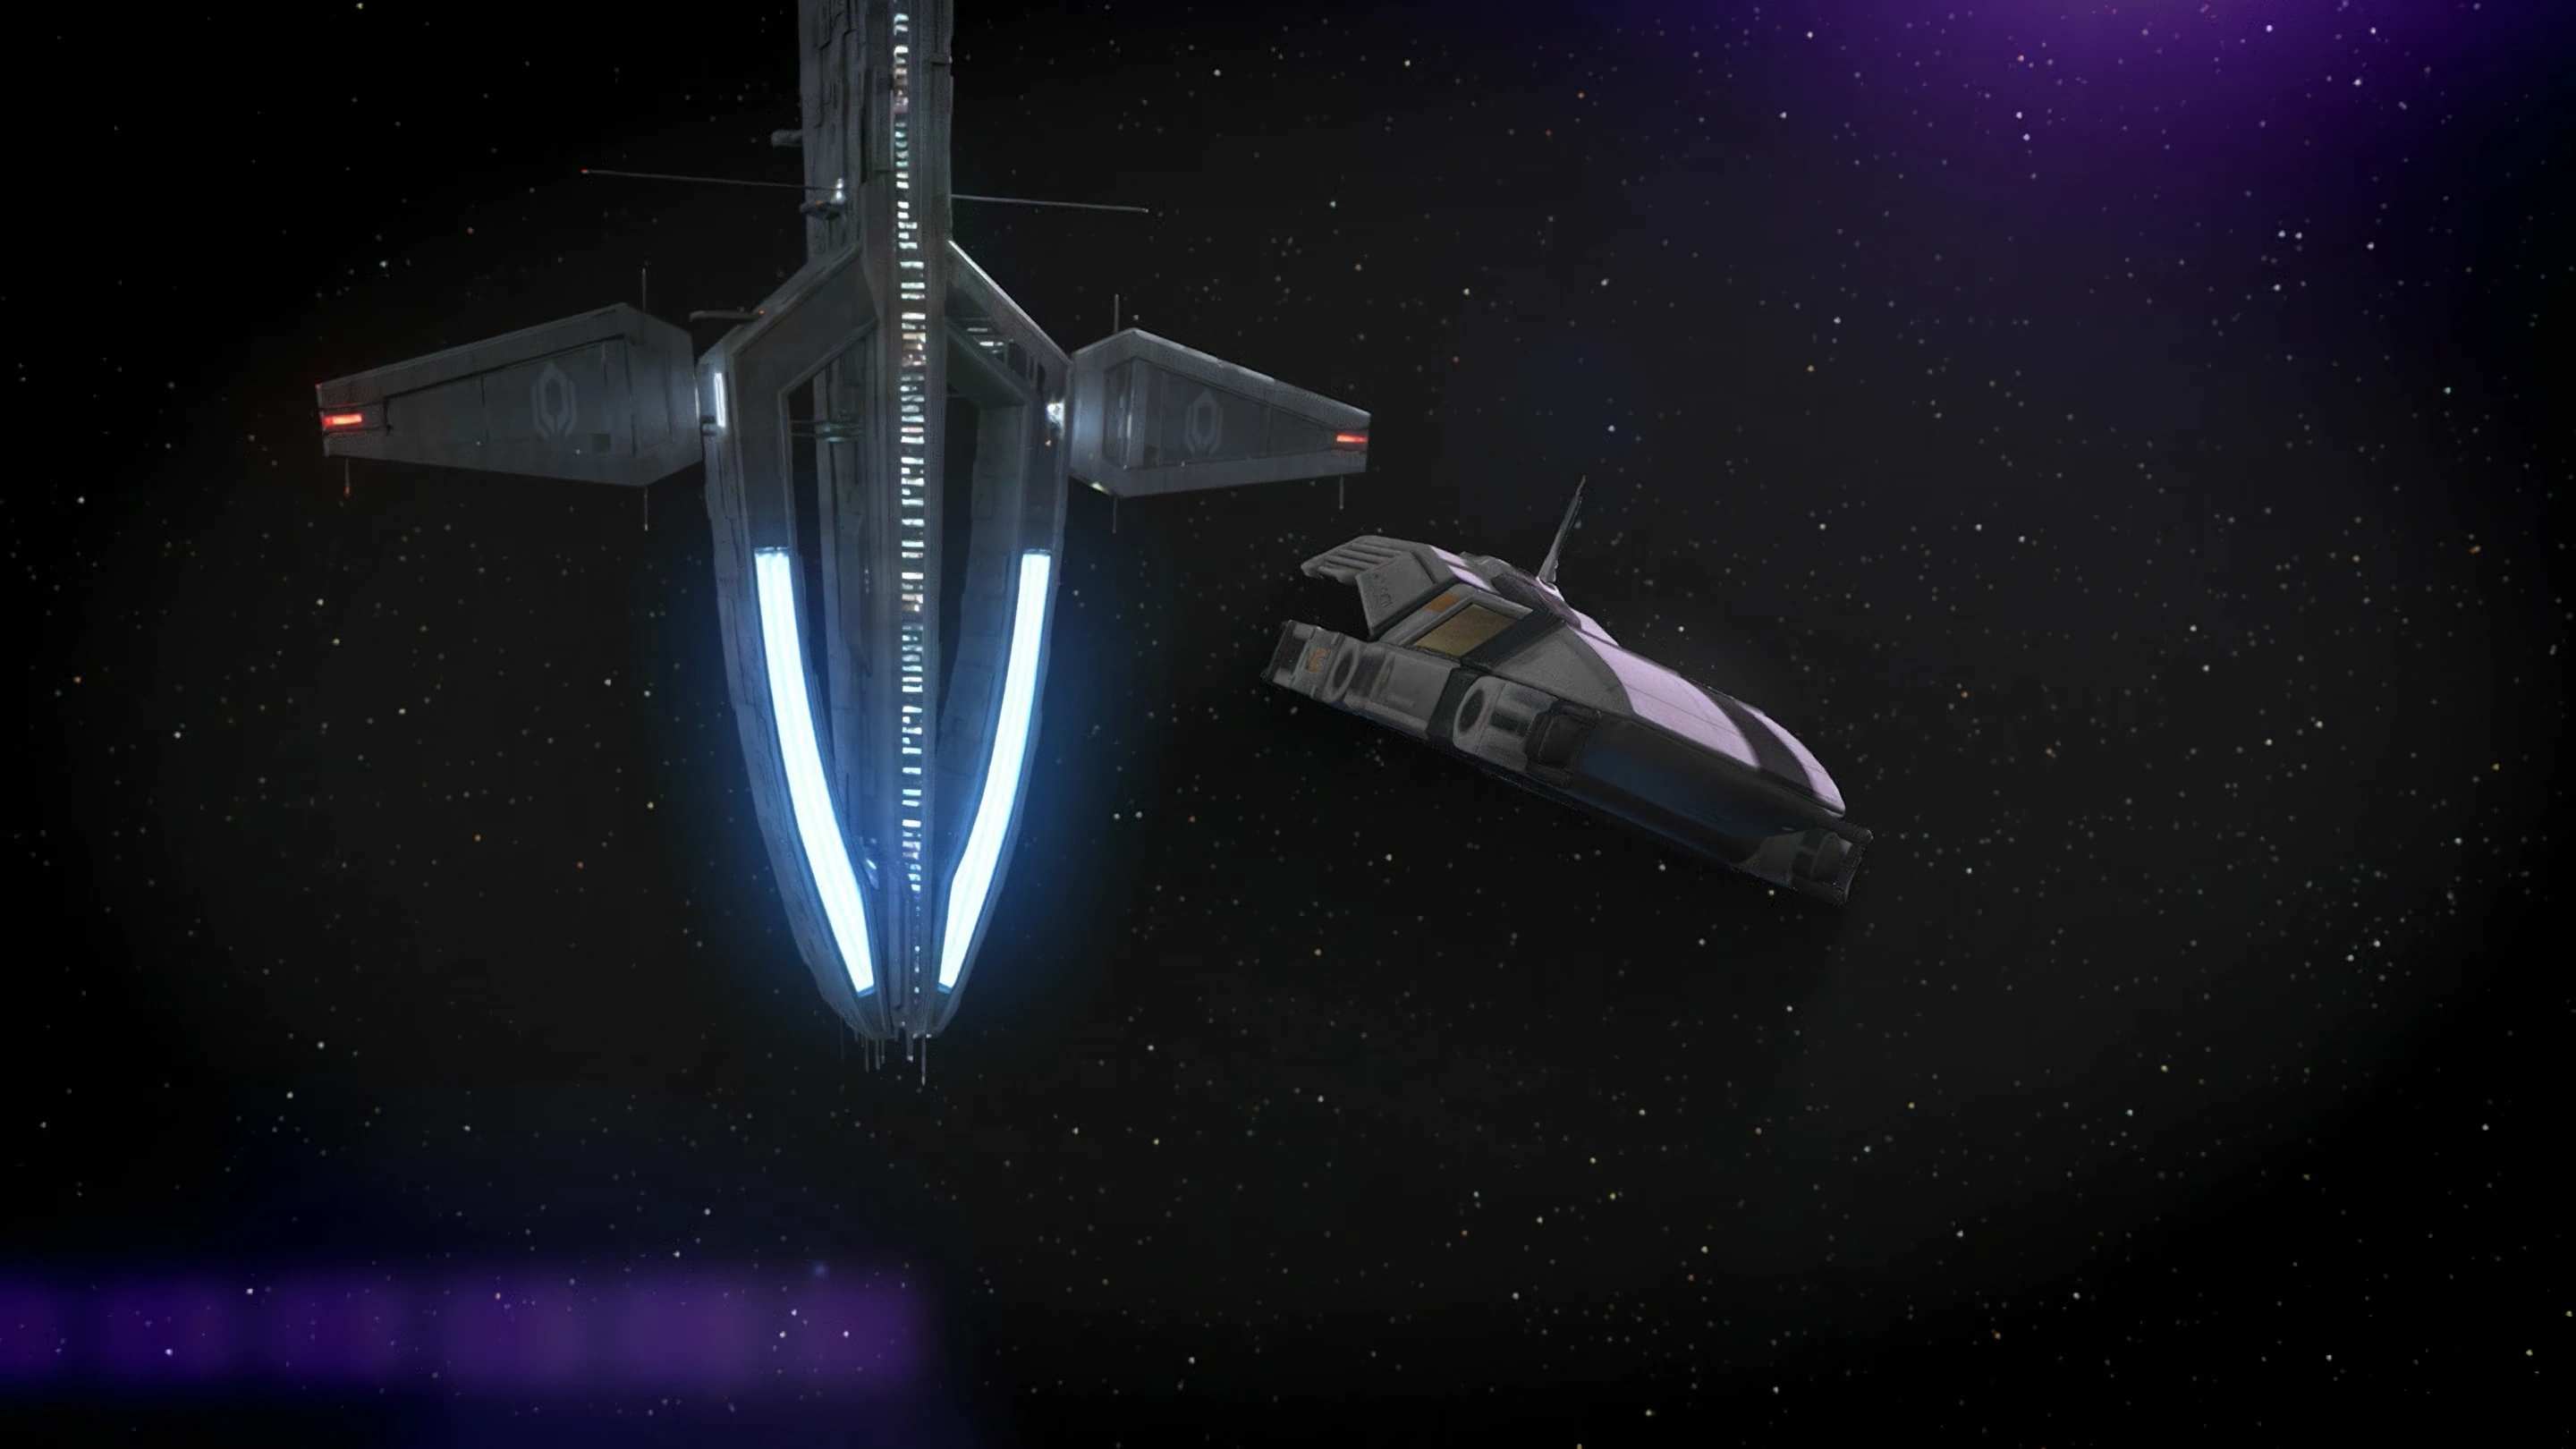
+ | [[File:Minuteman people.png|left|328px|Chat with Miranda and Jacob a bit before proceeding to the next mission]]During the shuttle ride from Lazarus station to another Cerberus facility, Miranda will ask you to answer questions about the past, to assess Shepard's memory. Jacob finds the exercise unnecessary, and you may stop the conversation at any time by choosing some variant of "We're done here!". |
| + | |||
| + | If you imported a [[Mass Effect]] save file they will ask you about who joined the [[Council]]. Whatever you answer will turn out to be true regardless of what choice you actually made. For example, if you chose [[Captain Anderson]] to join the Council but to this question you answer [[Ambassador Udina]], Udina will be the Councilor. |
||
| − | + | You now arrive at a waiting room in the facility, where you can change armor or casual appearance using a console in the wall, but will be unable to take any further actions until speaking with the [[Illusive Man]]. To this end, enter the communications room, where the Illusive Man explains that entire human colonies and thousands of colonists have gone missing. He will ask Shepard to investigate [[Freedom's Progress]], the latest colony to go missing, with the assistance of Miranda and Jacob. You may inquire after further information, and up to 8 {{Paragon}}/{{Renegade}} points may be awarded, depending on your dialogue choices. |
|
| − | You then return to the waiting area, where it is now possible to talk with Jacob and Miranda for further Paragon/Renegade points. Taking the door out of the entrance will end |
+ | You then return to the waiting area, where it is now possible to talk with Jacob and Miranda for further Paragon/Renegade points. Taking the door out of the entrance will end this mission and start the next one. |
| − | + | == Enemies == |
|
*[[LOKI Mech]] |
*[[LOKI Mech]] |
||
Revision as of 10:43, 22 October 2014
You escaped the Cerberus medical facility. The Illusive Man is the next likely source of information.
Acquisition
The mission is acquired automatically upon your reawakening.
Walkthrough
This is the second mission of the prologue. It begins right after completing Prologue: Save Joker, and it serves a dual purpose as a tutorial, providing a basic combat tutorial and introducing field mission concepts. This mission situates Commander Shepard in the Mass Effect 2 universe as a Cerberus operative with a new team.
After the destruction of the Normandy SR-1 two years ago, Shepard's body was recovered shortly after death by Cerberus, who spent the time rebuilding Shepard into a cybernetically-enhanced symbol of humanity. After the opening credits, which show Shepard literally being rebuilt by the Lazarus Project, Shepard awakens on an operating table at the Lazarus Research Station to alarm bells ringing, as the station's personnel come under attack from its own security mechs. Although alone and under-equipped, Shepard is guided by the station's commanding officer Miranda Lawson via the loudspeaker to safety.
Escaping the Lazarus station
The beginning of this mission serves a dual purpose as the game's tutorial level. You must walk to the locker to obtain a pistol and armor, and then must take cover to avoid damage from an explosion which blows the room's door. This allows you to exit the room and find a spare thermal clip on the floor, just past the door. Insert the thermal clip into the pistol to unlock the door to the next room.
When you move on, Miranda's voice will tell you to vault over a low obstacle. A lone LOKI Mech, which arrives from the stairway, will have to be destroyed. Collect more thermal clips from the room if you wish, and then head upstairs, where Shepard receives a radio warning that several more mechs are coming, and that the safest way to dispose of them is to take cover until they are destroyed.
Tip: The LOKI Mechs are among the easiest enemies that can be found in the game. It might be a good idea to knock them down with melee attacks and kill them in order to obtain the Brawler achievement early.
As you'll be dealing with mechs until the end of the mission, Overload and AI Hacking make this part much easier if playing on a harder difficulty.
Moving forward after disposing of the LOKI Mechs, you may witness people being gunned down by a heavy YMIR Mech when you look through a window to the left. Keep moving until you find a new weapon, the M-100 Grenade Launcher. Miranda advises Shepard to use this new heavy weapon to dispose of a group of incoming LOKI mechs.
Note: The mechs will not appear until you equip the Grenade Launcher. You do not need to actually use the Grenade Launcher, in which case you can keep the 3 Ammo that came with picking it up. However, if at any time you reload the game the Heavy Weapon Ammo drops to 2.
Miranda will then direct you to the elevator, which operates automatically as soon as you step on. You'll then be taught how to storm through a fire obstacle created from the grenade launcher's explosion. The radio communication with Miranda now starts to break up, so you're a bit more on your own. Straight ahead is a room containing computers where you can access recordings by Miranda and Dr. Wilson about their experience reviving Shepard.

There is also a wall safe here, which you can bypass to gain 975 credits. This is your first chance to experience the Bypass mini-game, and the Commander has infinite tries to get it right. After climbing up some stairs, you'll find another audio note from Wilson on a public computer and witness another member of the station's staff being gunned down by a heavy mech.
Entering the next room, you will meet Jacob Taylor on a bridge area, fighting a group of mechs standing on another small bridge at the other side of the room. Jacob observes that things must be dire if Miranda awoke Shepard, and confirms that he is on your side. Depending on your conversation choices, some Morality points may be awarded. Finally, Jacob asks Shepard to help destroy the mechs, promising to answer more questions when they are disposed of. He also indicates that he is a biotic and may use his powers to aid them, should Shepard order it. And in fact you must order Jacob to use his Pull ability, otherwise the enemies will continue to re-spawn and you will be unable to move on. Tip: During this section Jacob's Pull cooldown is almost instantaneous, so the mechs can be pulled back-to-back completing the combat very quickly.
Once done with the mechs, Jacob will join your squad, and you may obtain more background information on the situation and what happened after the attack on the SSV Normandy two years earlier. When the conversation ends, Jacob receives an incoming call from Dr. Wilson, who is surprised to learn that Shepard is awake and alive. He gives directions to reach him safely.
Note: There is a glitch where if you save after Jacob joins the squad, then reload the save, he gets his shotgun for the duration of the mission. This could be beneficial on higher difficulties.
On the path towards Dr. Wilson, Shepard and Jacob encounter additional mechs, as the path is less secured than planned. In a side room along the path, after some stairs up, you'll find another computer, giving access to one another video recording by Miranda containing background information. Proceeding through the next door you'll then meet up with Wilson, who appears to have a wounded leg. You're asked to retrieve medi-gel from a medical station on a nearby wall, then use the Unity power to heal Dr. Wilson, who will then join your squad. After agreeing where to go next, a group of mechs enter the room and you can use Dr. Wilson's Overload ability to make the explosive crates explode to be able to move ahead, though you can also just shoot the crates. Before going on, Jacob feels compelled to reveal to you that the Lazarus Project is a Cerberus operation, with morality points again being awarded depending on your conversation choices.
In the next room heading to the shuttle bay, you will find a datapad on a corpse. The datapad can be hacked for 900 credits. This introduces the Hacking mini-game and again offers unlimited tries to get it right. Going downstairs and through a corridor, Shepard's squad enters a large shipping area, cluttered with crates and more hacked mechs. Once cleared, you should proceed to the upper left part of the area to find a small room with a computer, which gives access to another log recording by Miranda, another datapad to hack (975 credits) and a wall safe to bypass (900 credits).
In a small room opposite the upper platform lies the door to the shuttle bay. As Wilson opens the door, Miranda is standing on the other side, and shoots him without ceremony. She explains that Wilson was a traitor, who hacked the security mechs, endangered the project, and cost the lives of most of the staff. You can press Miranda for more information and again receive Paragon or Renegade points during this conversation, at the end of which everyone leaves the station.
Meeting the Illusive Man

During the shuttle ride from Lazarus station to another Cerberus facility, Miranda will ask you to answer questions about the past, to assess Shepard's memory. Jacob finds the exercise unnecessary, and you may stop the conversation at any time by choosing some variant of "We're done here!".
If you imported a Mass Effect save file they will ask you about who joined the Council. Whatever you answer will turn out to be true regardless of what choice you actually made. For example, if you chose Captain Anderson to join the Council but to this question you answer Ambassador Udina, Udina will be the Councilor.
You now arrive at a waiting room in the facility, where you can change armor or casual appearance using a console in the wall, but will be unable to take any further actions until speaking with the Illusive Man. To this end, enter the communications room, where the Illusive Man explains that entire human colonies and thousands of colonists have gone missing. He will ask Shepard to investigate Freedom's Progress, the latest colony to go missing, with the assistance of Miranda and Jacob. You may inquire after further information, and up to 8 Paragon/Renegade points may be awarded, depending on your dialogue choices.
You then return to the waiting area, where it is now possible to talk with Jacob and Miranda for further Paragon/Renegade points. Taking the door out of the entrance will end this mission and start the next one.
Enemies
Mission Summary
Shepard escaped attack on the facility, along with operatives Taylor and Lawson. Facility destroyed by remote detonation. Salvage teams will ensure no incriminating data survived. Per Miranda's recommendation, I'm running security sweeps on other cells to ensure that Wilson was our only mole. Regardless of the cost, Project Lazarus was a success. Shepard is back.
- Experience gained: 1,000 (1,250)
- Total Credits: 7,500
- Cerberus Funding: 3,750
- Credits Found: 3,750
- Acquired weapons:
- New squad members:
| ← Previous Mission | Mission Index | Next Mission → |
|---|---|---|
| Prologue: Save Joker | Missions | Freedom's Progress (mission) |