The Illusive Man's headquarters have been located, and the Alliance is prepared to attack to recover the Prothean VI that holds the key to the Catalyst. Once the attack is launched, the Alliance will be fully committed to the final fight against the Reapers. Assault the base when ready.
Acquisition
This mission is acquired immediately after the events at Sanctuary.
Preparation
When you attempt to dock at the Illusive Man's station, Hackett will talk with you over vidcomm, mentioning that this attack will expose the Crucible to Reaper eyes and must be considered the first phase of the assault on the Reapers themselves. He will give you the chance to back out, which you should take seriously: this is the game warning you that you are about to hit the point of no return.
If you start the mission, you will not be able to complete side missions, DLC missions, or visit the Citadel. You can, however, use the Normandy procurement interface. Furthermore, if you complete the game and then re-open your save, this is where you'll find yourself. If you've got a romance going with someone on the Normandy, that character will come and visit you in your bunk. There's even another ghosts-and-forests nightmare. It's the beginning of the end.
In other words: got anything else you want to do first? Do it before hitting Cronos Station.
Squad
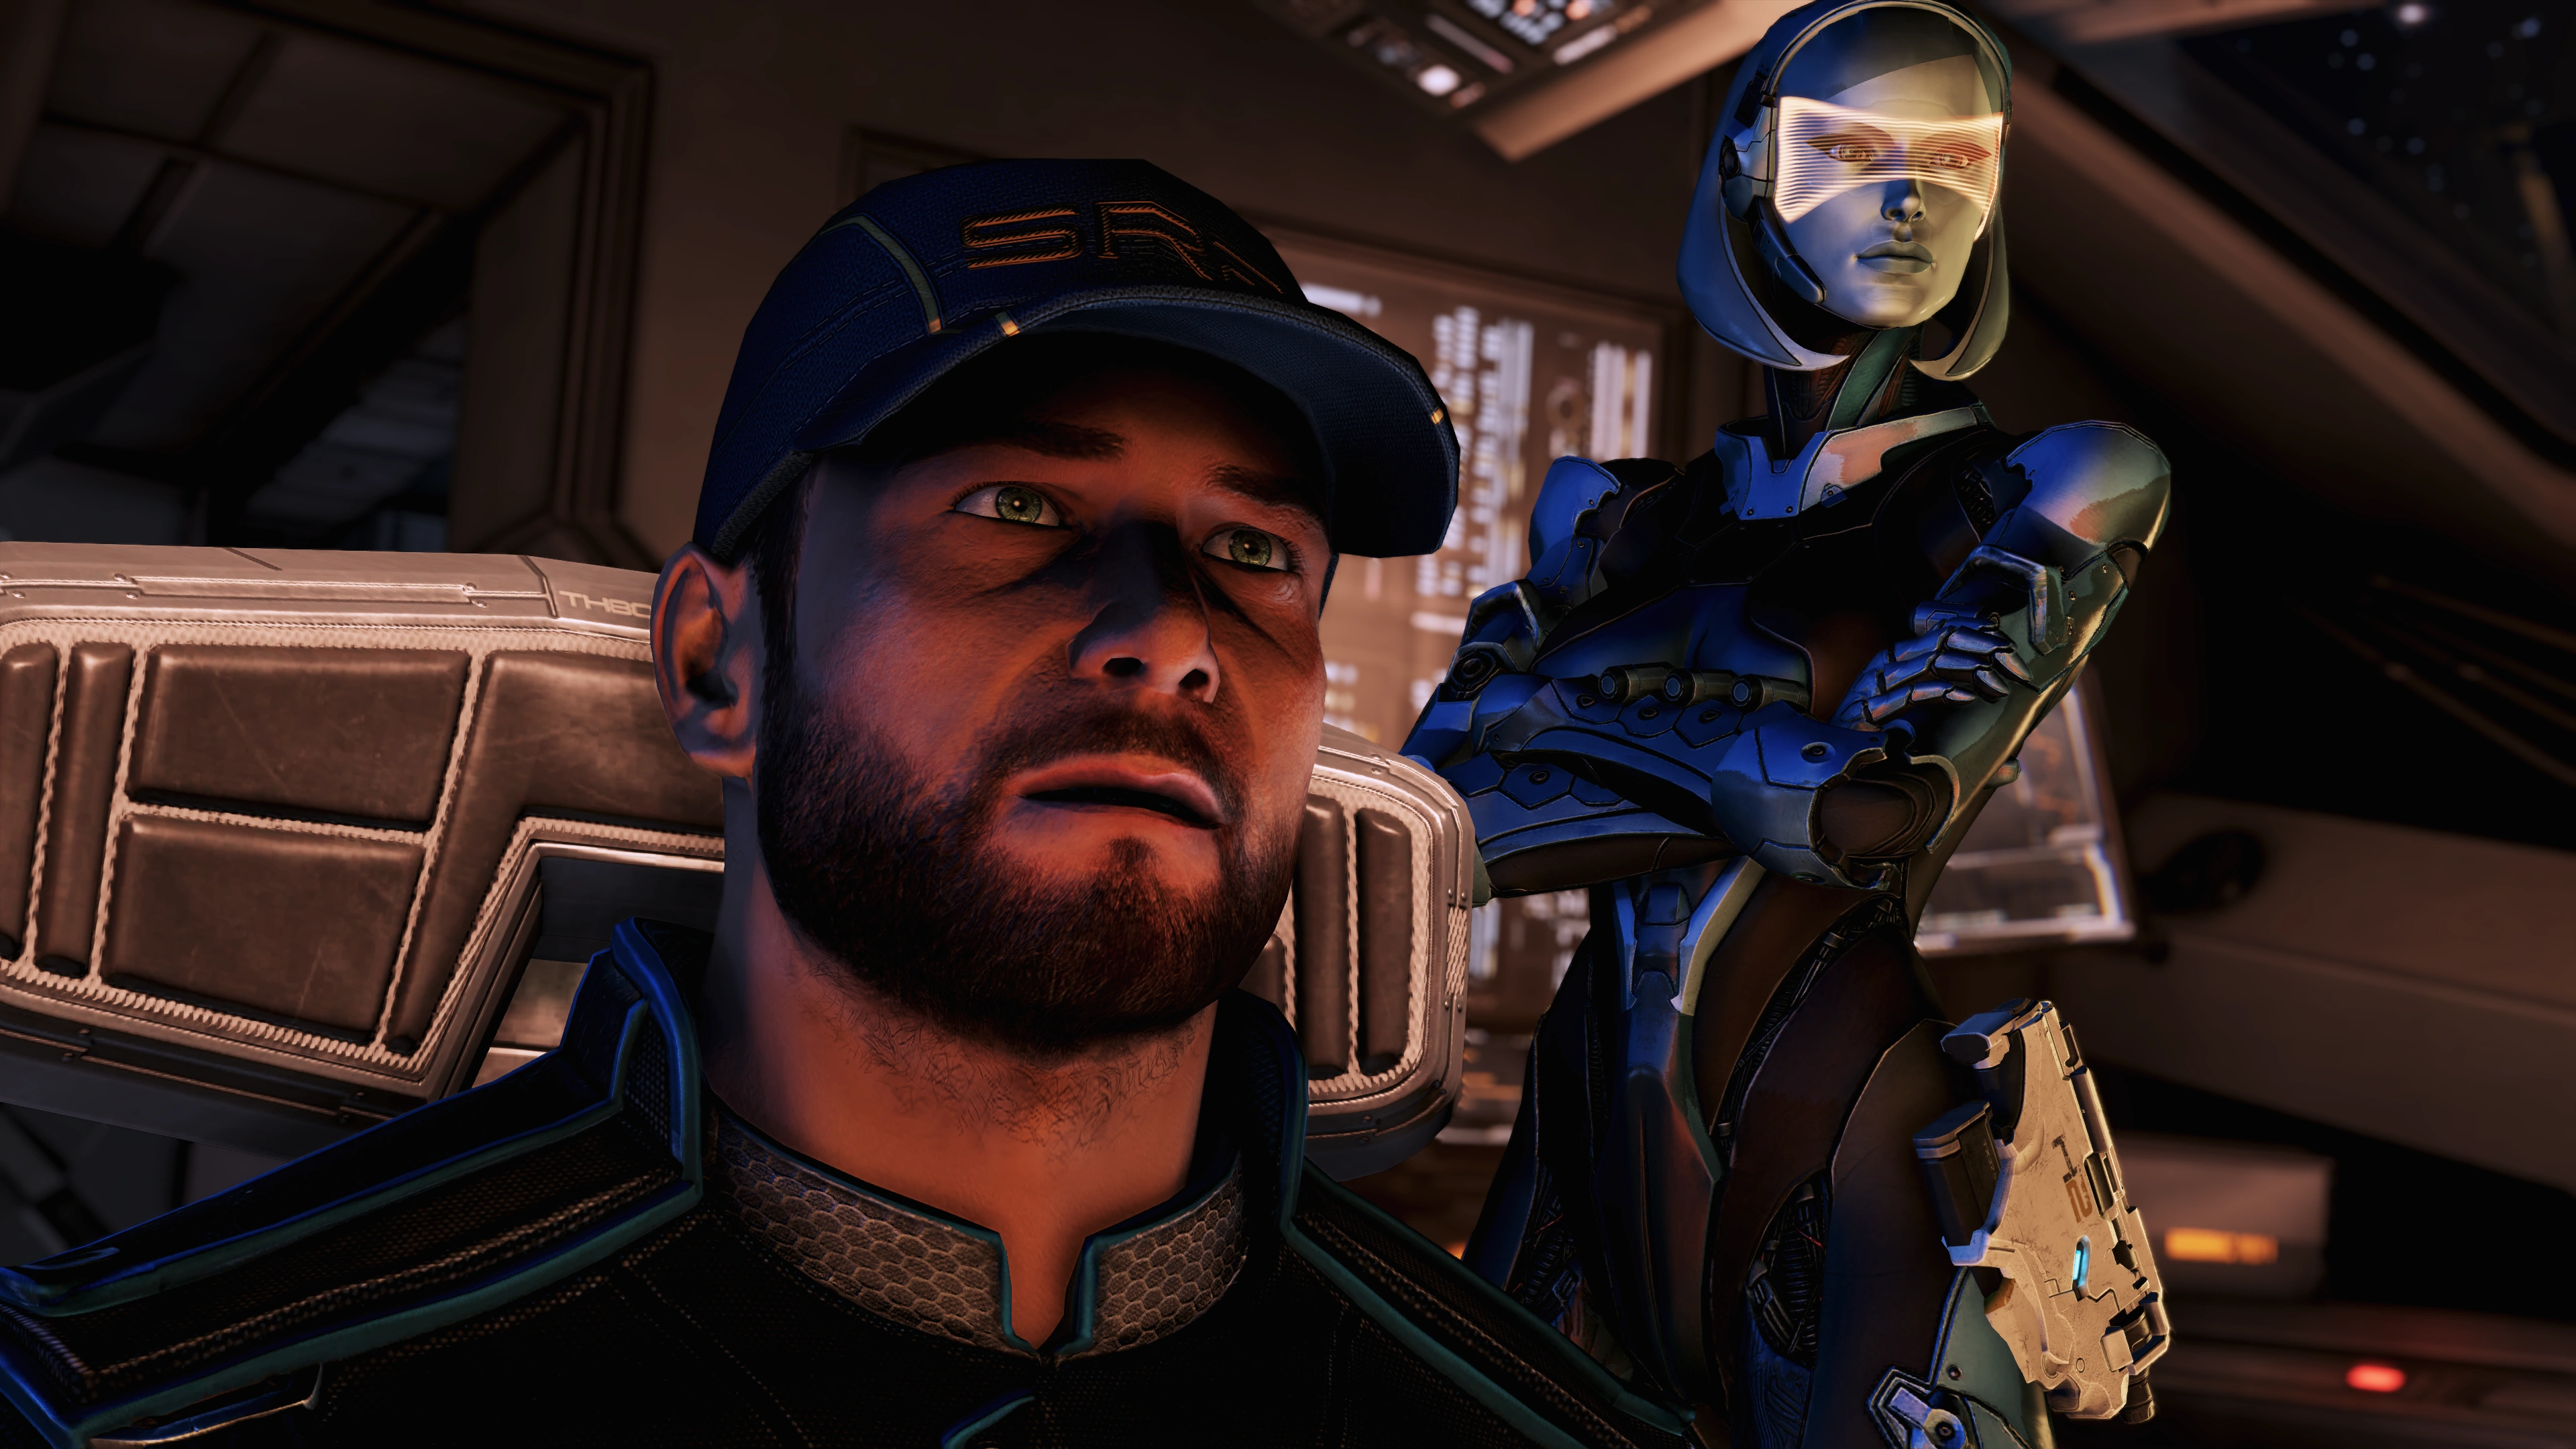
EDI is a required party member for this mission. She is based loosely on the Engineer, giving her lots of tech options but limited offensive capability. As such, you'll likely want to bring at least one character who sources a lot of weapon damage. Crowd control should be a high priority as well since the enemies list for this mission includes a LOT of Phantoms. And there's a boss character against whom anti-shield powers will come in very handy.
EDI's Overload and Decoy can provide anti-shield capabilities and limited crowd control respectively; your second squadmate should be chosen based on which qualities Shepard and EDI don't provide enough of.
Consider putting EDI in her "Power Recharge Time -25%" outfit. You may find you'll be using EDI's Overload a lot.
Walkthrough
Shuttle Bay
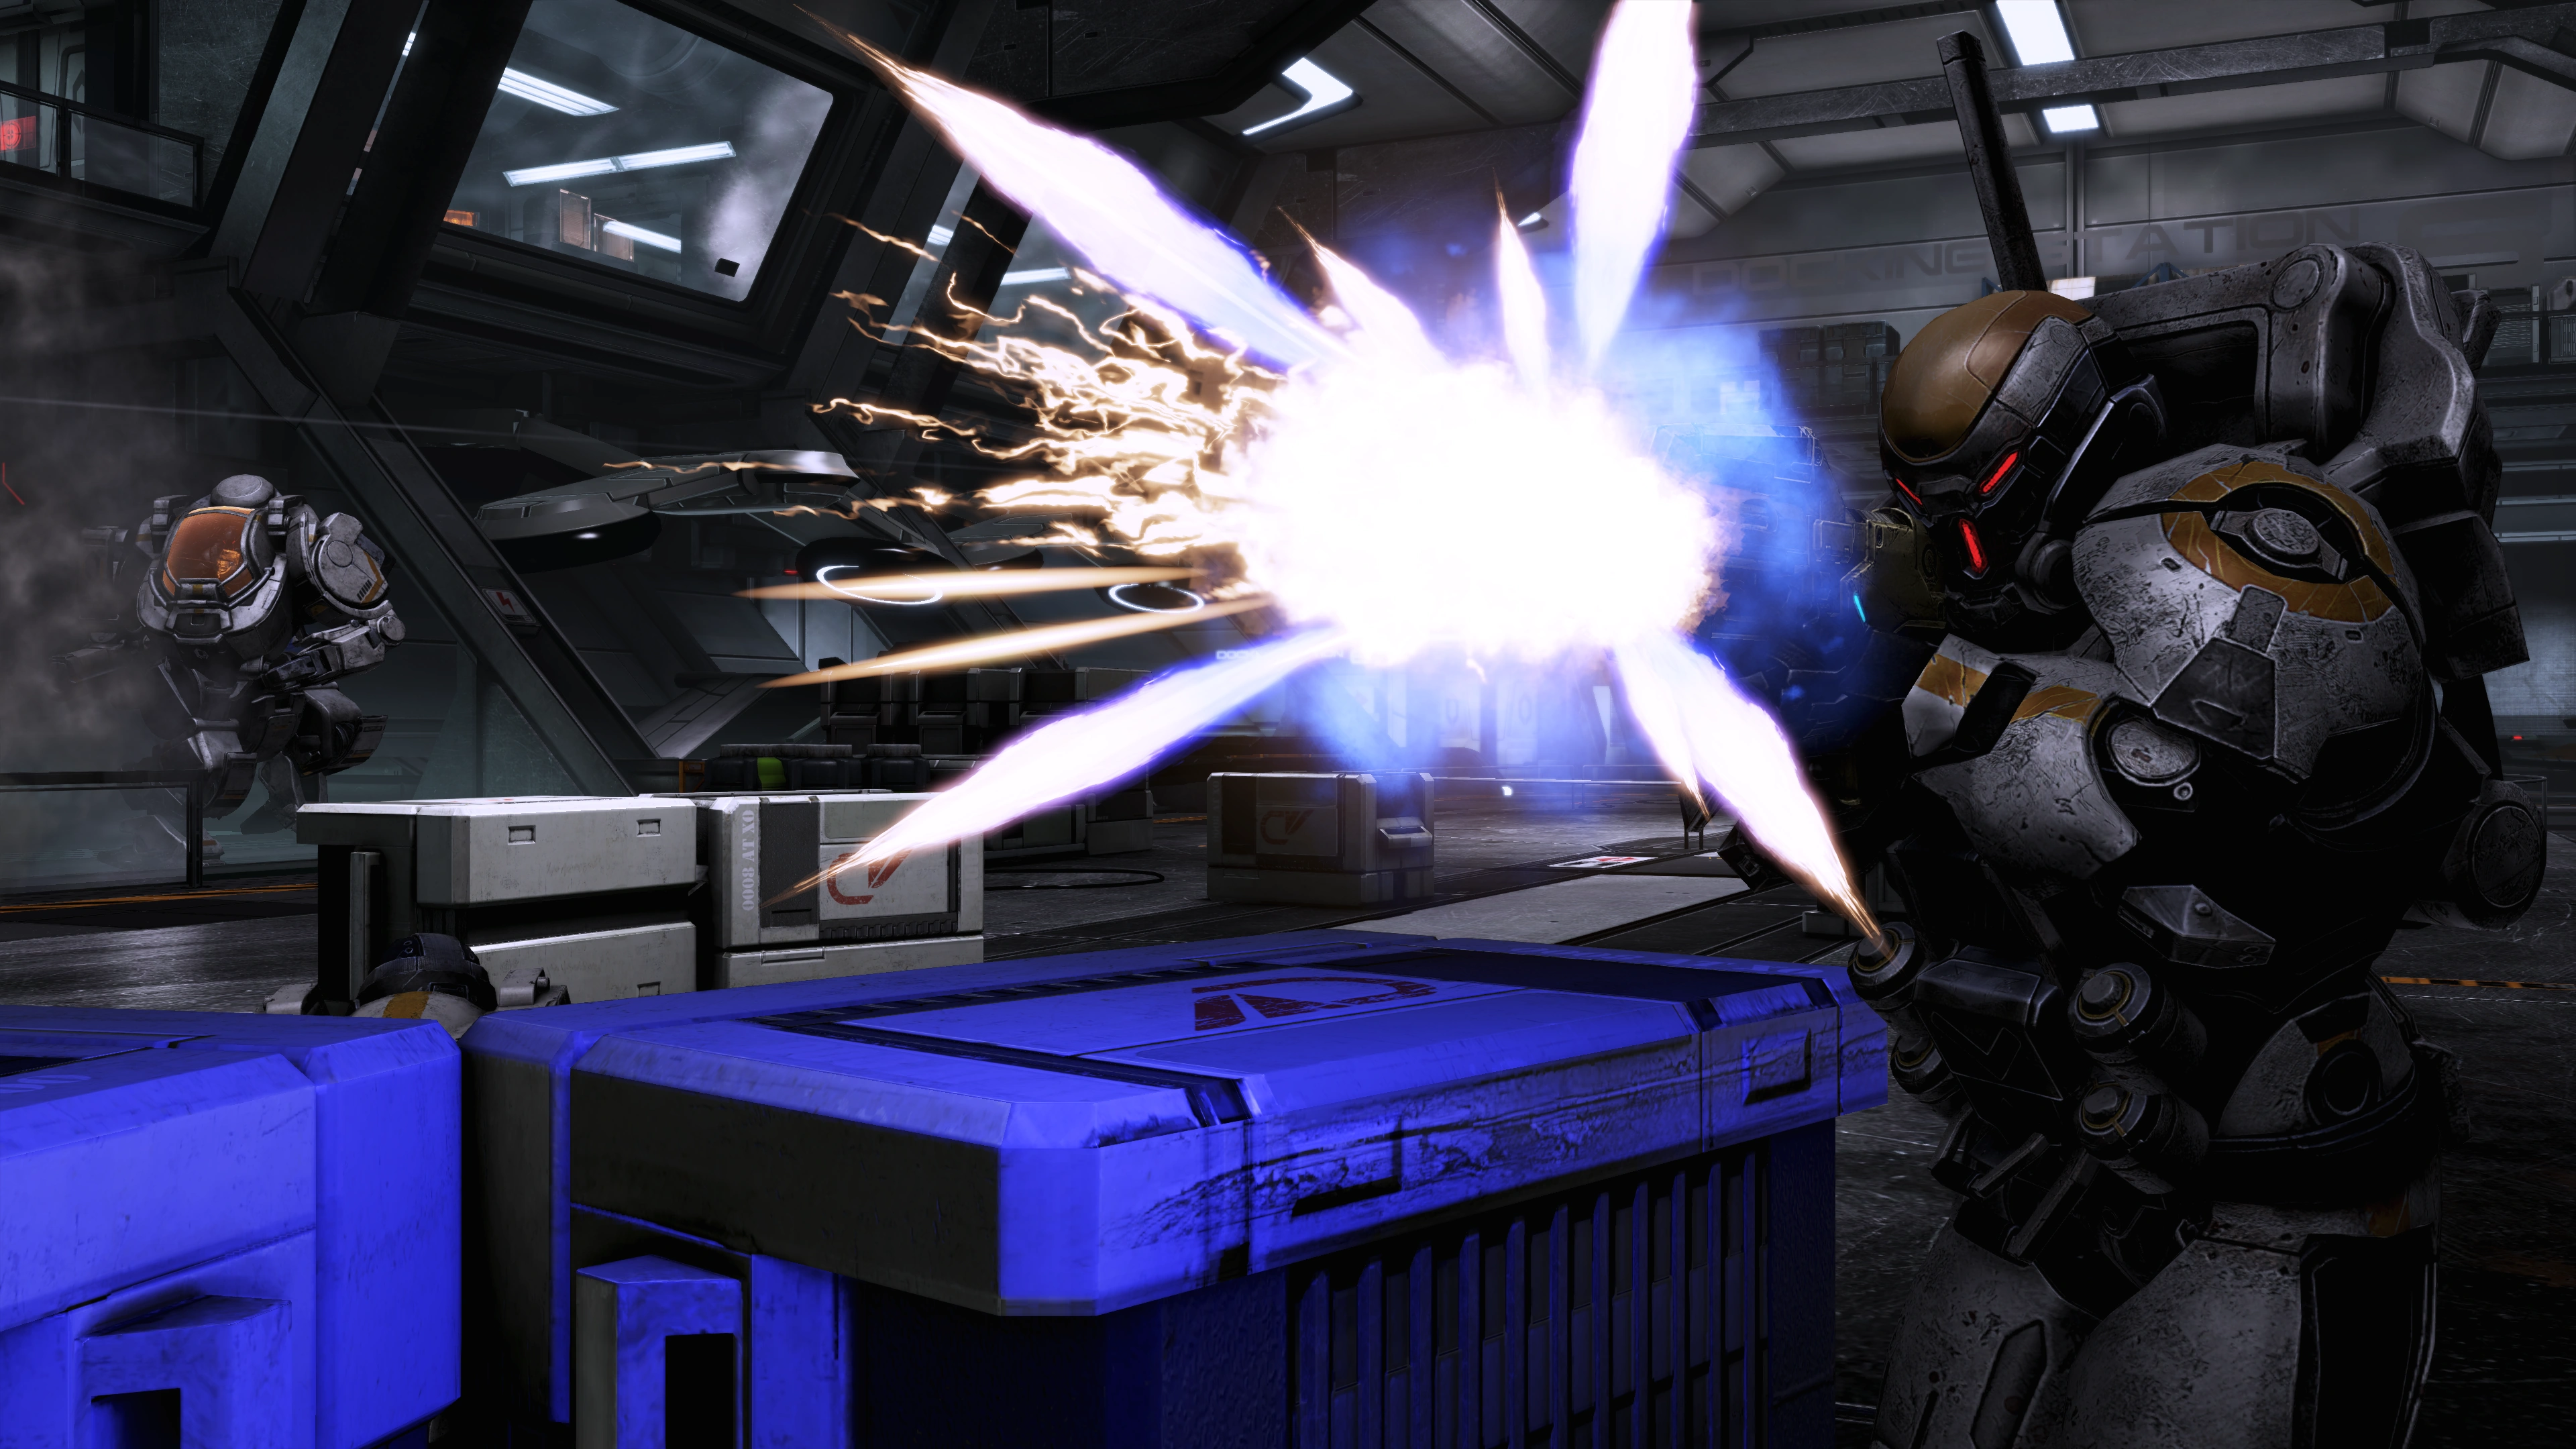
You'll land in a shuttle bay for one of the hardest fights of the mission: standard Assault Troopers, Centurions and an Atlas Mech will flood in from in front and the right, while a Nemesis sniper camps out on the raised balconies encircling the room. The only reason she can't hit you from behind is that she doesn't have a space suit.
Tip: If you are fast enough, it is possible to snipe the pilot before he finishes climbing into the Atlas; this tactic is easier with an Infiltrator who can cloak and run forward heedless of enemy fire to set up the shot and also benefit from the cloak's damage bonus. An easier option is to use biotics -- Pull or Singularity will stop the pilot. As for Vanguards, a biotic Charge towards the pilot saves the most time and puts you well within Atlas-hijacking distance. The fight is much easier when you have the Atlas at full health.
A Javelin, or other sniper rifle with scope mod, might be a good choice here, because one of your main obstacles are simply Centurion smoke screens, which put a fierce damper on your rate of (aimed) fire. If a sniper rifle messes with your weight limits, never fear: there's an M-37 Falcon in the back of the next section (after destroying the wall), which you can exploit to swap your loadout after the fight. Finally, be aware that you don't actually have to kill the Nemesis: your next step is to head to the left side of the room and hike up a ladder to that balcony, and she'll either flee or de-spawn once you do.
Warning: There is a time period of about 85 seconds from completing the initial battle to the activation of the hangar venting sequence. A Critical Mission Failure will occur if you fail to disable the venting sequence from the upper level terminal in time, even if you happen to be in the middle of the disabling cutscene at that moment.
Up on the balcony, there's nothing in the little chamber to the left but thermal clips, so turn right and head through the door. After the cutscene, be ready for Cerberus to storm into the room at fairly close range. You'll then have to fight your way around to the balcony on the other side of the room to use the "Rotation Controls". Look for a medical station in a dark room opposite to the "Rotation Controls" console for XP. Go through the next sets of doors, then, before heading down the ladder, go through another door to activate a PDA for 5,000 credits.
Take the ladder down and operate the console to your right, the one with the ostentatious red bars like a jukebox. Admire the boom, and then get ready to fight the Atlas you saw in the cinematic. In addition to that one, there are two more (empty) Atlases in side alcoves on the left and right sides of the room. The one on the right is easily hijacked; once there, kill any infantry attempting to grab the left-side one. If you're lucky, a Centurion will pop a smoke-screen and shield you from the only manned Atlas, allowing you to mop up the foot soldiers first.
Through the Smoking Hole
Hop the wall in front of the hole and then before taking the door on the left, making sure to snag the M-37 Falcon referred to earlier. Once you've gone down the ladder, immediately sprint for cover, as Cerberus troops are waiting for you. You can flank by going forward from the ladder and taking the loop around and back, but if so you may run smack-dab into the Nemesis in the squad. Once you've cleared out the zone, find a medigel dispenser and salvage a terminal for 5,000 credits on the far side near the shiny ammo box to the left of the ladder you need to climb.
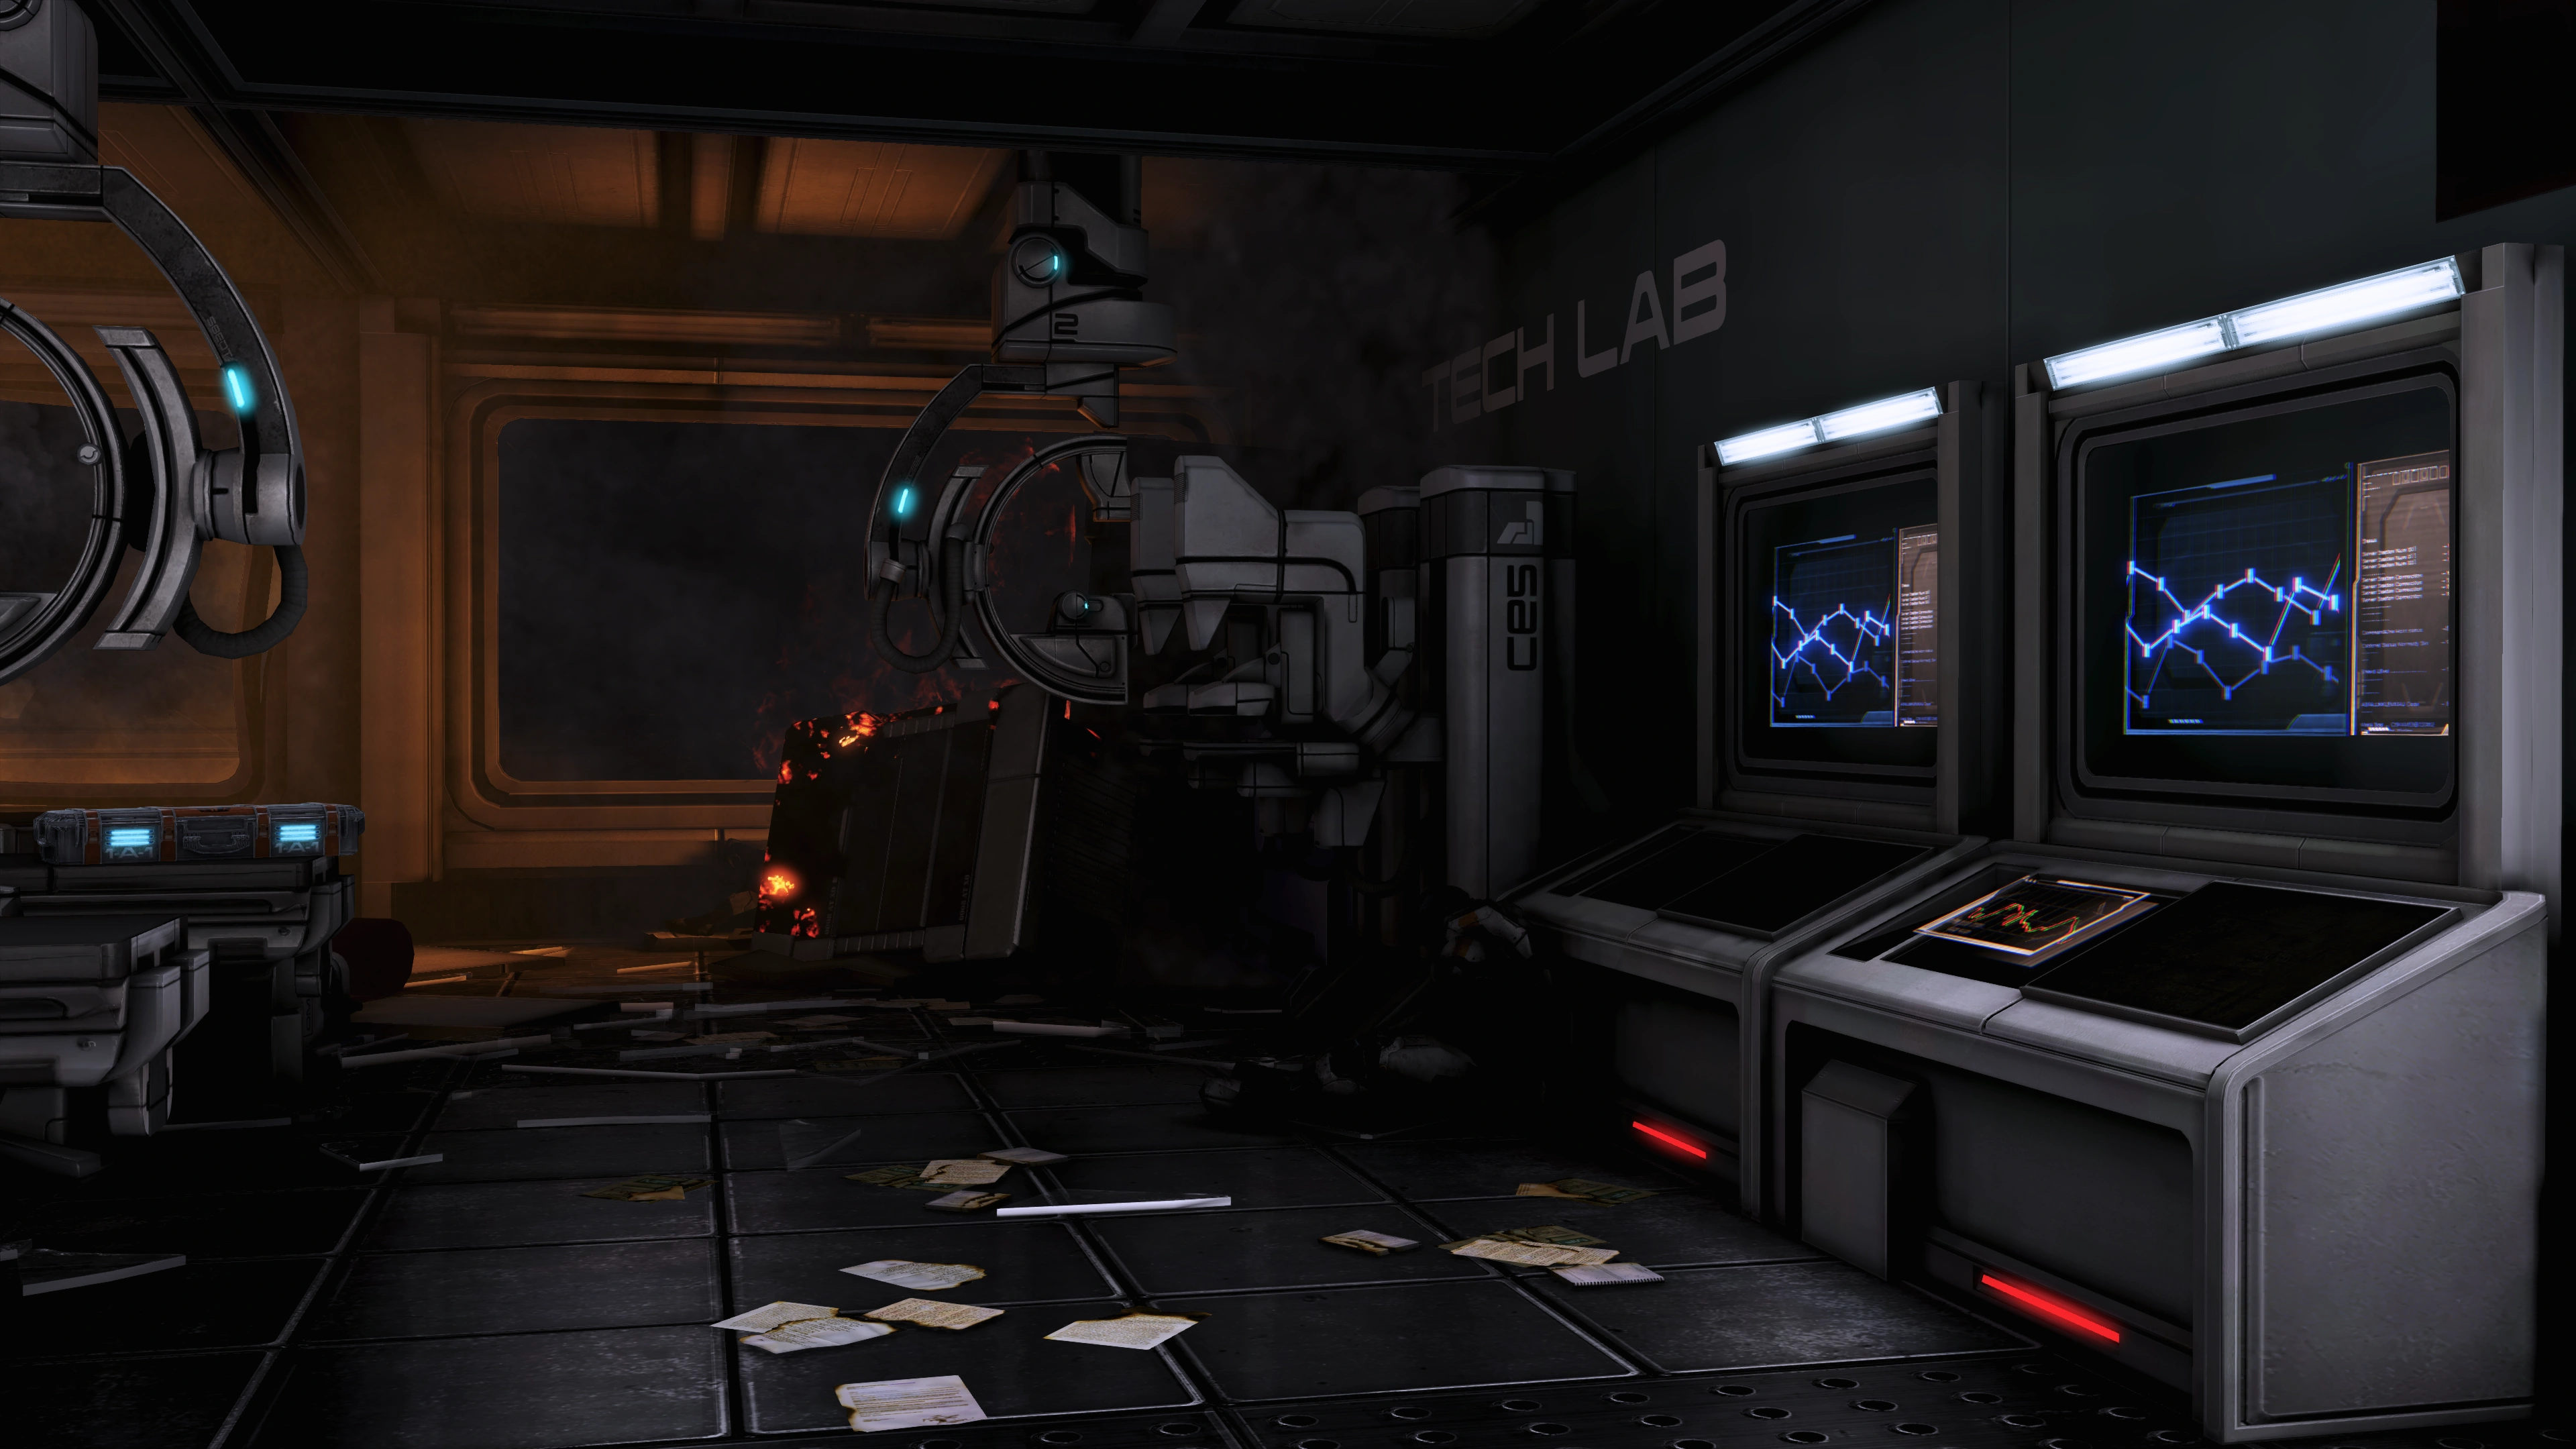
In the next room, you will find the first of four terminals, which give you insight into two of Cerberus's biggest programs: the Lazarus Project, and EDI herself. While not objectives, the information here reveals much about the Lazarus Project and the time after the events of Mass Effect 2. Serrice Council Greaves are behind you while you're viewing the Lazarus Project console.
Penetrate Combat Engineer Defenses
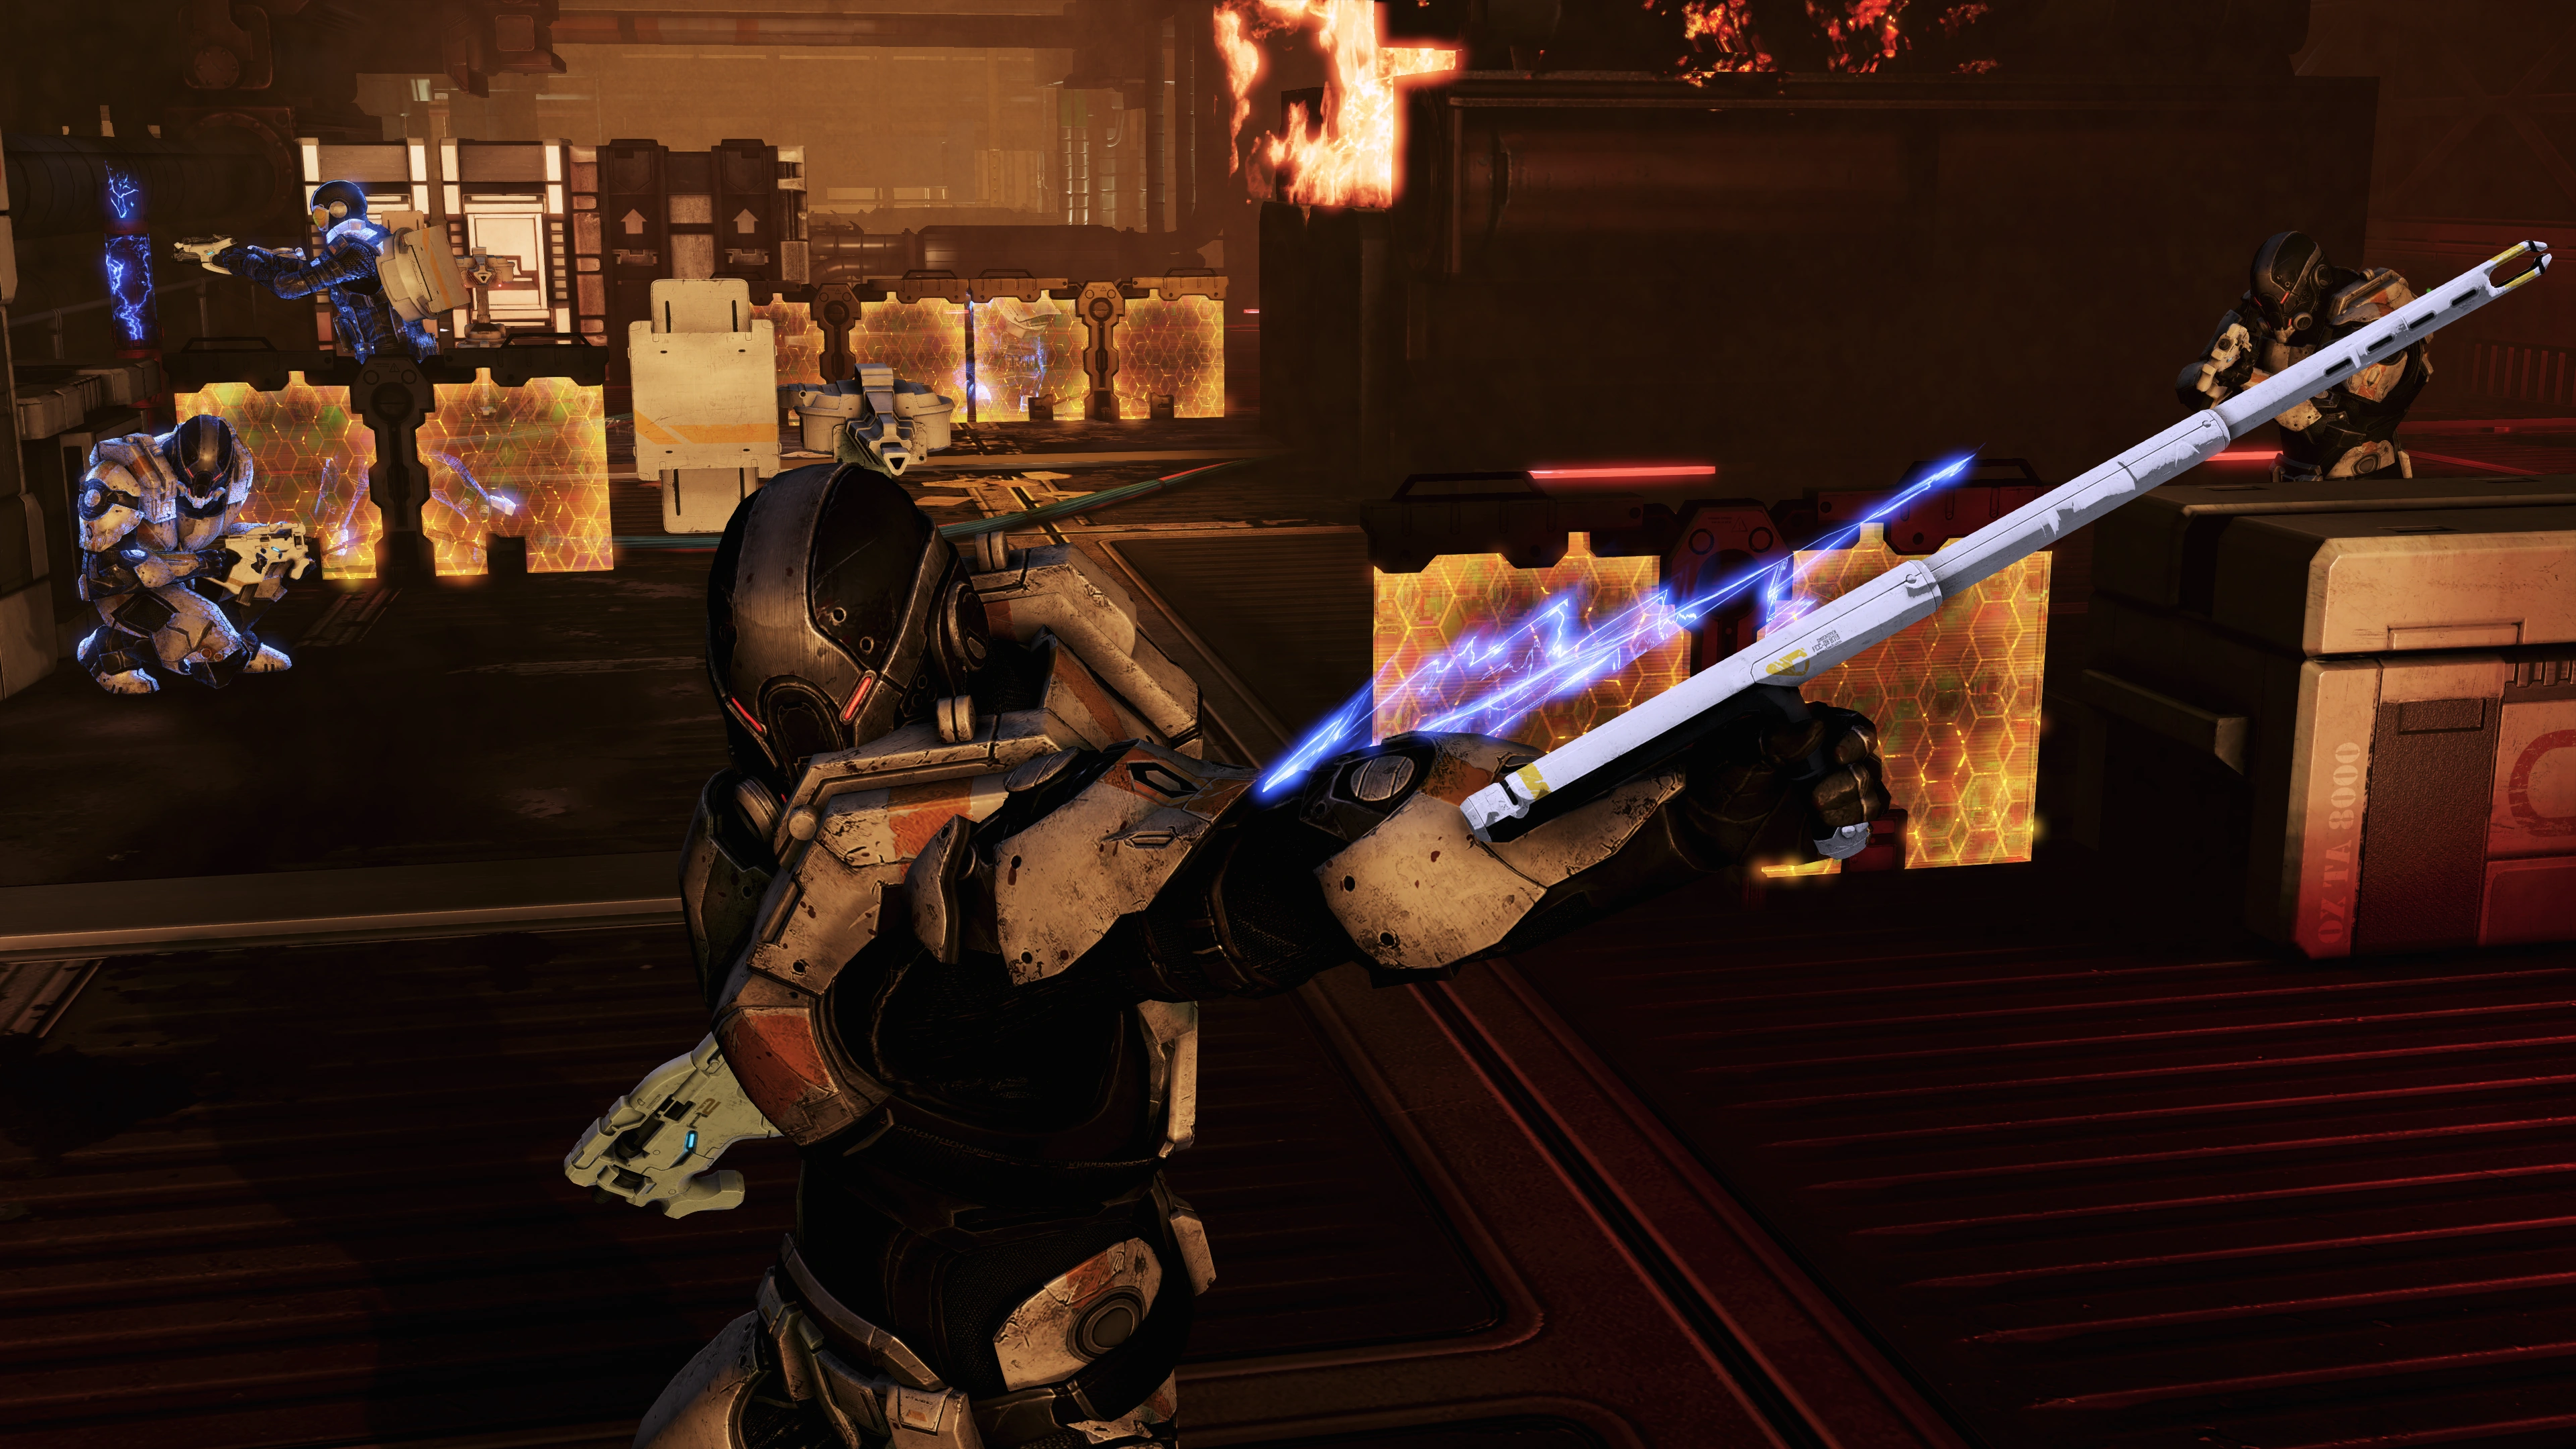
Once you're done with this first terminal, head out and into the burning section. There'll be a drop, after which you should turn right; it's another spot where the way forward isn't visible until you're already taking it. You'll immediately be flung into a quite complex battle with a bunch of Combat Engineers, turrets and Shield Pylons all supporting each other in deadly combination.
More often than not, they'll have set up on the other side of a blind corner, forcing you to make a run for cover before you can start hitting the Shield Pylons. Note that Overload (and its cousin Energy Drain) will destroy a Shield Pylon in one hit, and a turret in two if the Engineer isn't able to scuttle over and repair it, making EDI worth her weight in gold. Take this battle slowly and carefully. If you have Sabotage or Dominate maxed out on controlling enemies, then all the merrier. Those powers plus the high number of turrets and engineers is a prime recipe for sowing chaos in close quarters.
The top of the ladder yields another lore console, this time revealing that EDI started out as the foe in UNC: Rogue VI. Go through the door, find a medical station and salvage 5,000 credits from a PDA while talking to Hackett as EDI opens the next door. Once through the two doors, go across the hall, ignoring for a moment the glowing blue hole in the wall, to find a Medkit, a Delumcore Overlay and the third lore console, about Kai Leng. Once done, backtrack to the blue hole and jump down.
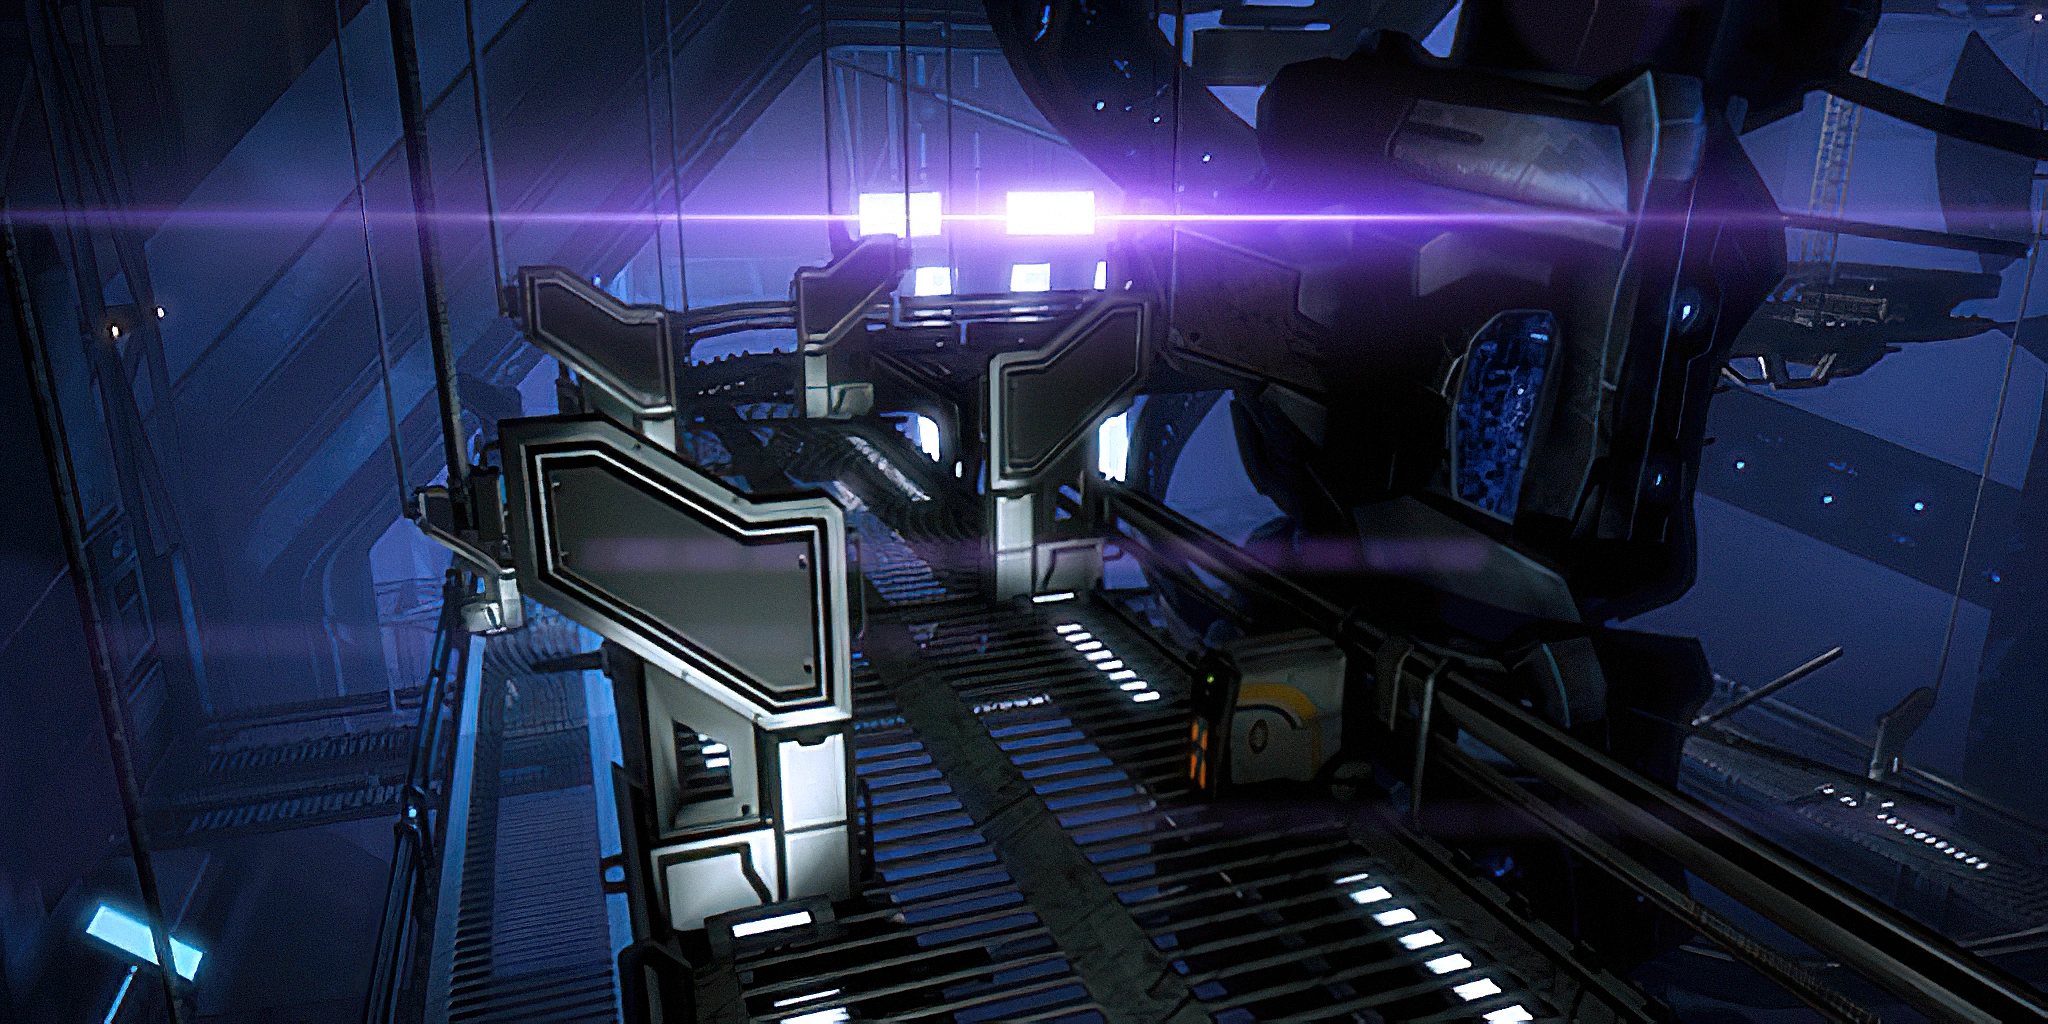
The Human-Reaper Remains
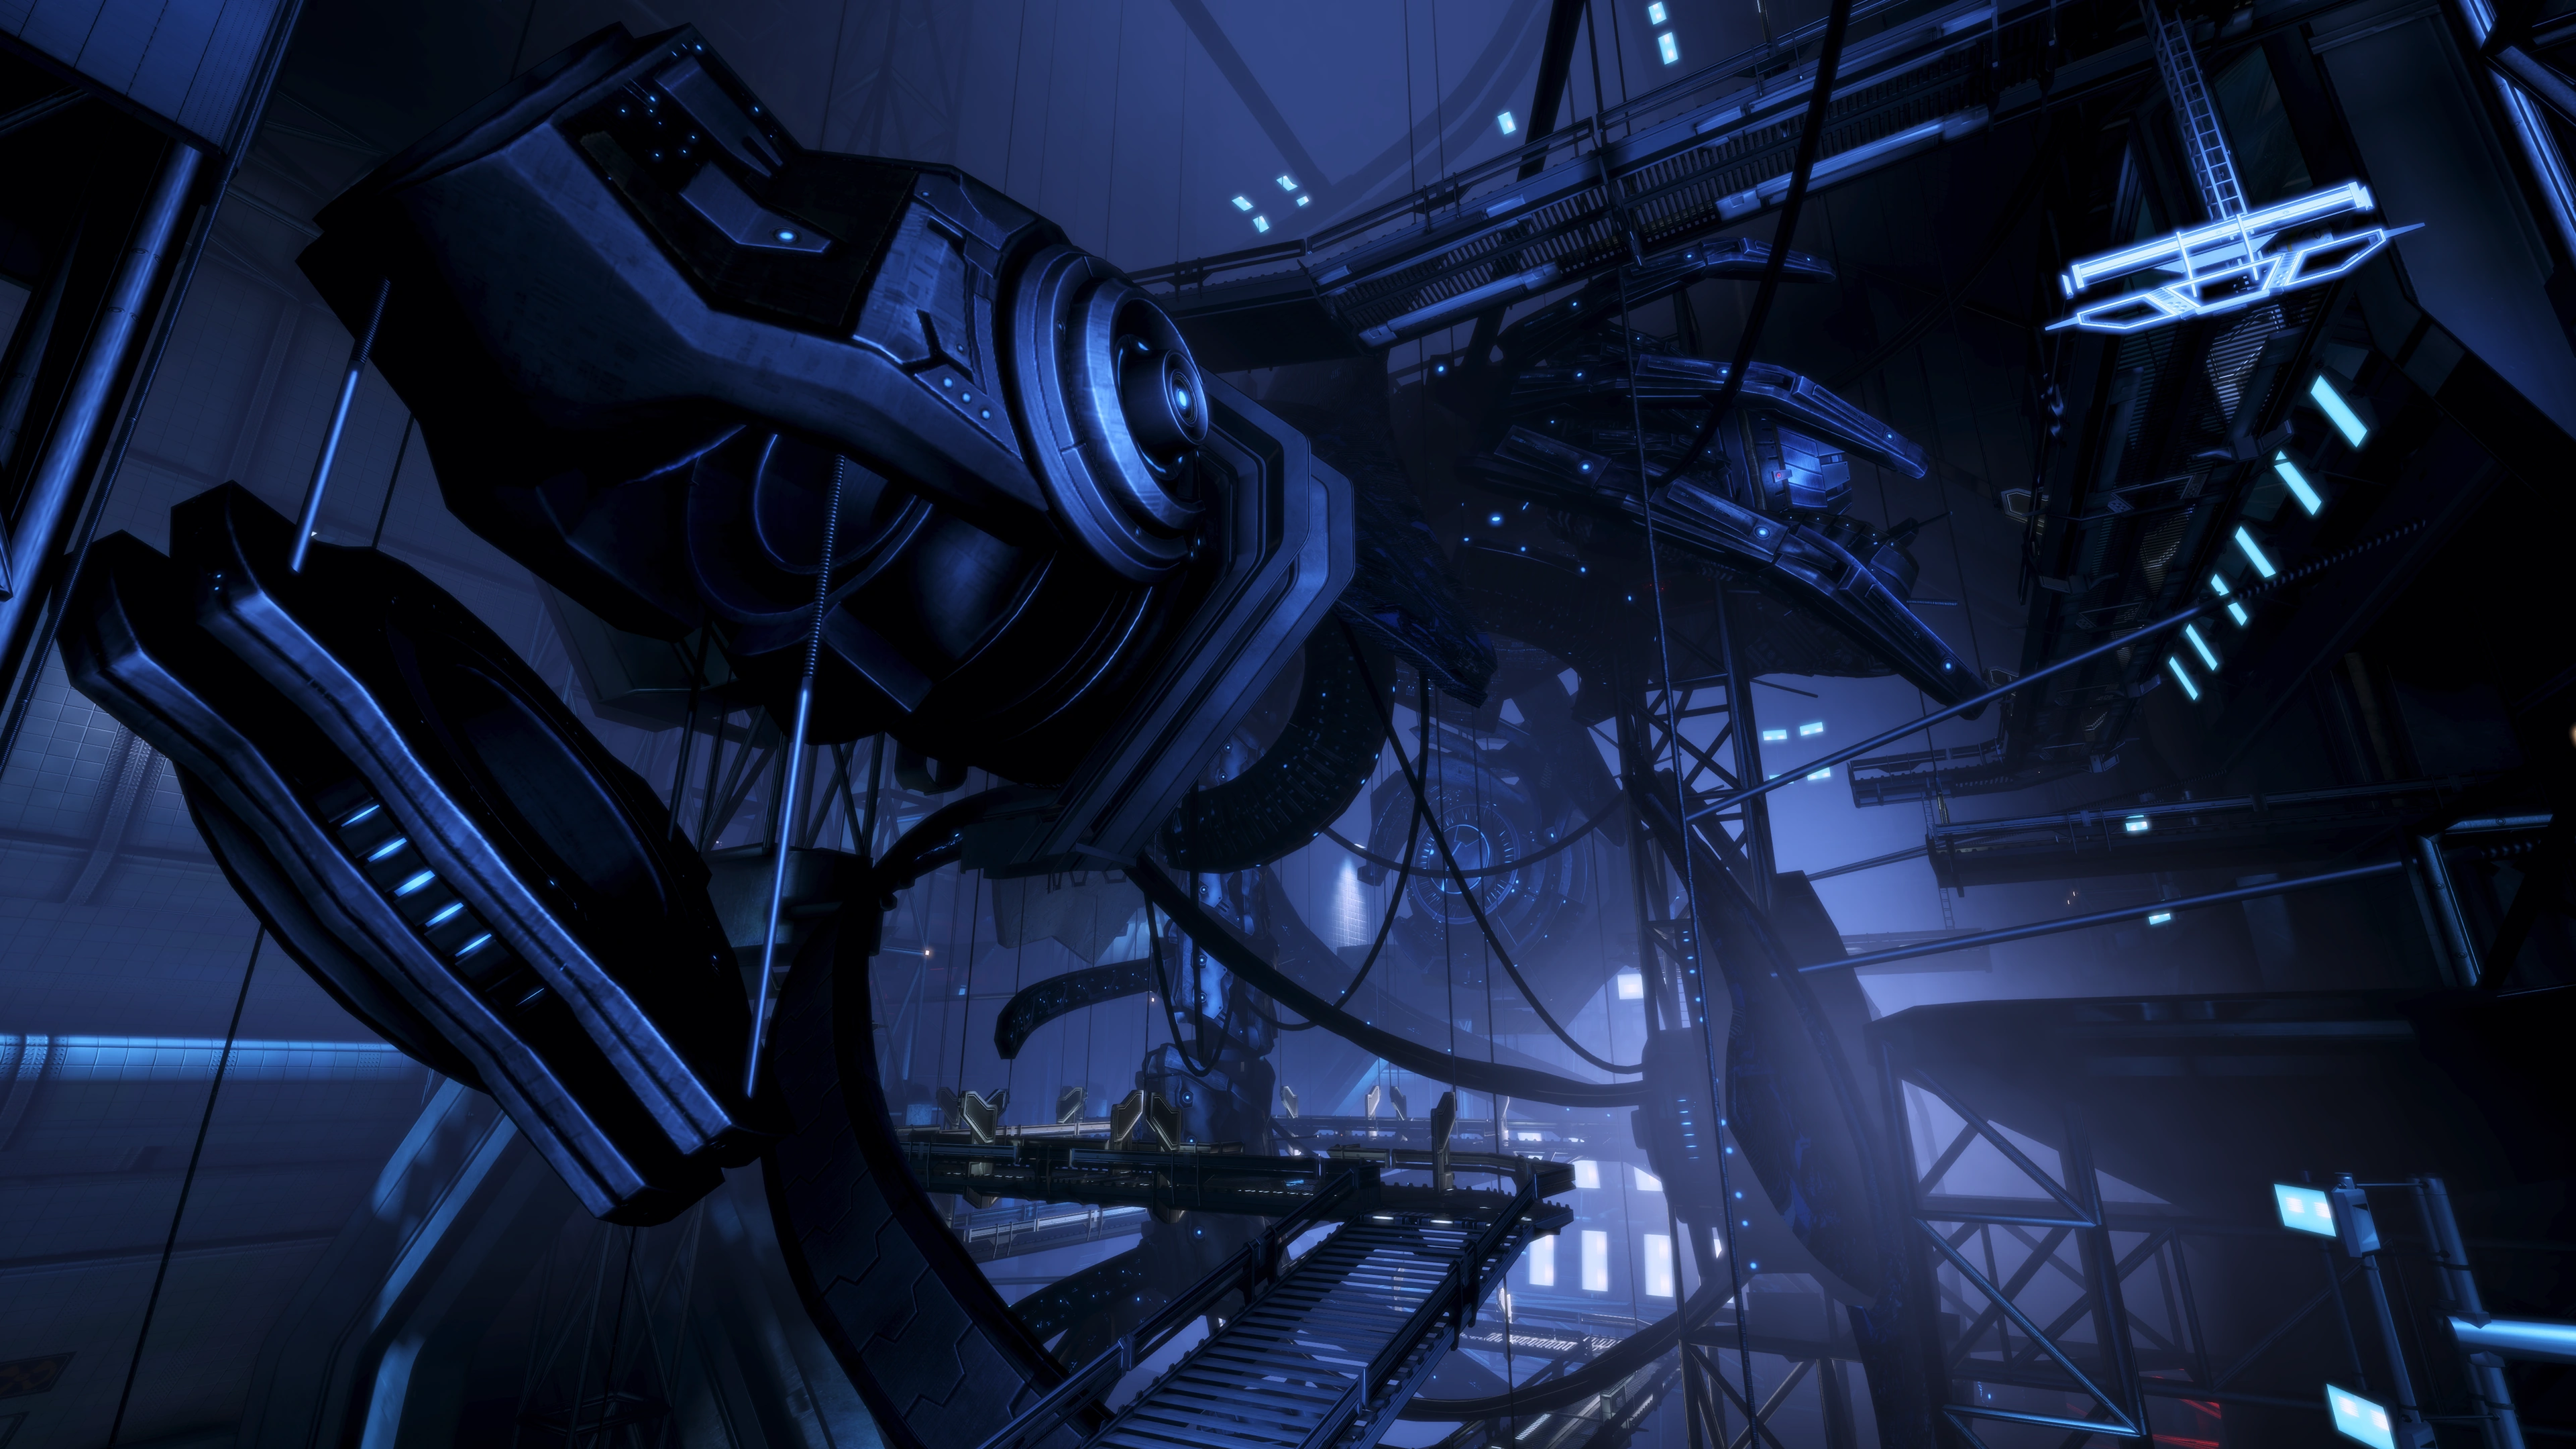
On the other side of the drop, you will find the remains of the Human-Reaper Larva that served as the final boss of Mass Effect 2. If you destroyed the Collector Base, only its heart will be present; if you spared it, much more of it will be there.
You must now fight your way up the catwalk surrounding the larva's corpse. There are Nemeses, Phantoms and really inconveniently-placed Shield Pylons. Take it slow, keep your shields up and don't be afraid to backtrack: things you can't hit from your current position may be open to other angles of attack.
There is the possibility of confronting two named enemies. If Shepard chose to turn Legion over to Cerberus after its acquisition during the Reaper IFF mission in Mass Effect 2, it will appear here as a unique enemy. Furthermore, if Shepard did not complete Grissom Academy: Emergency Evacuation, Jack will appear here as an indoctrinated foe - more or less like a Phantom. Both characters must be fought and killed if met under these circumstances.
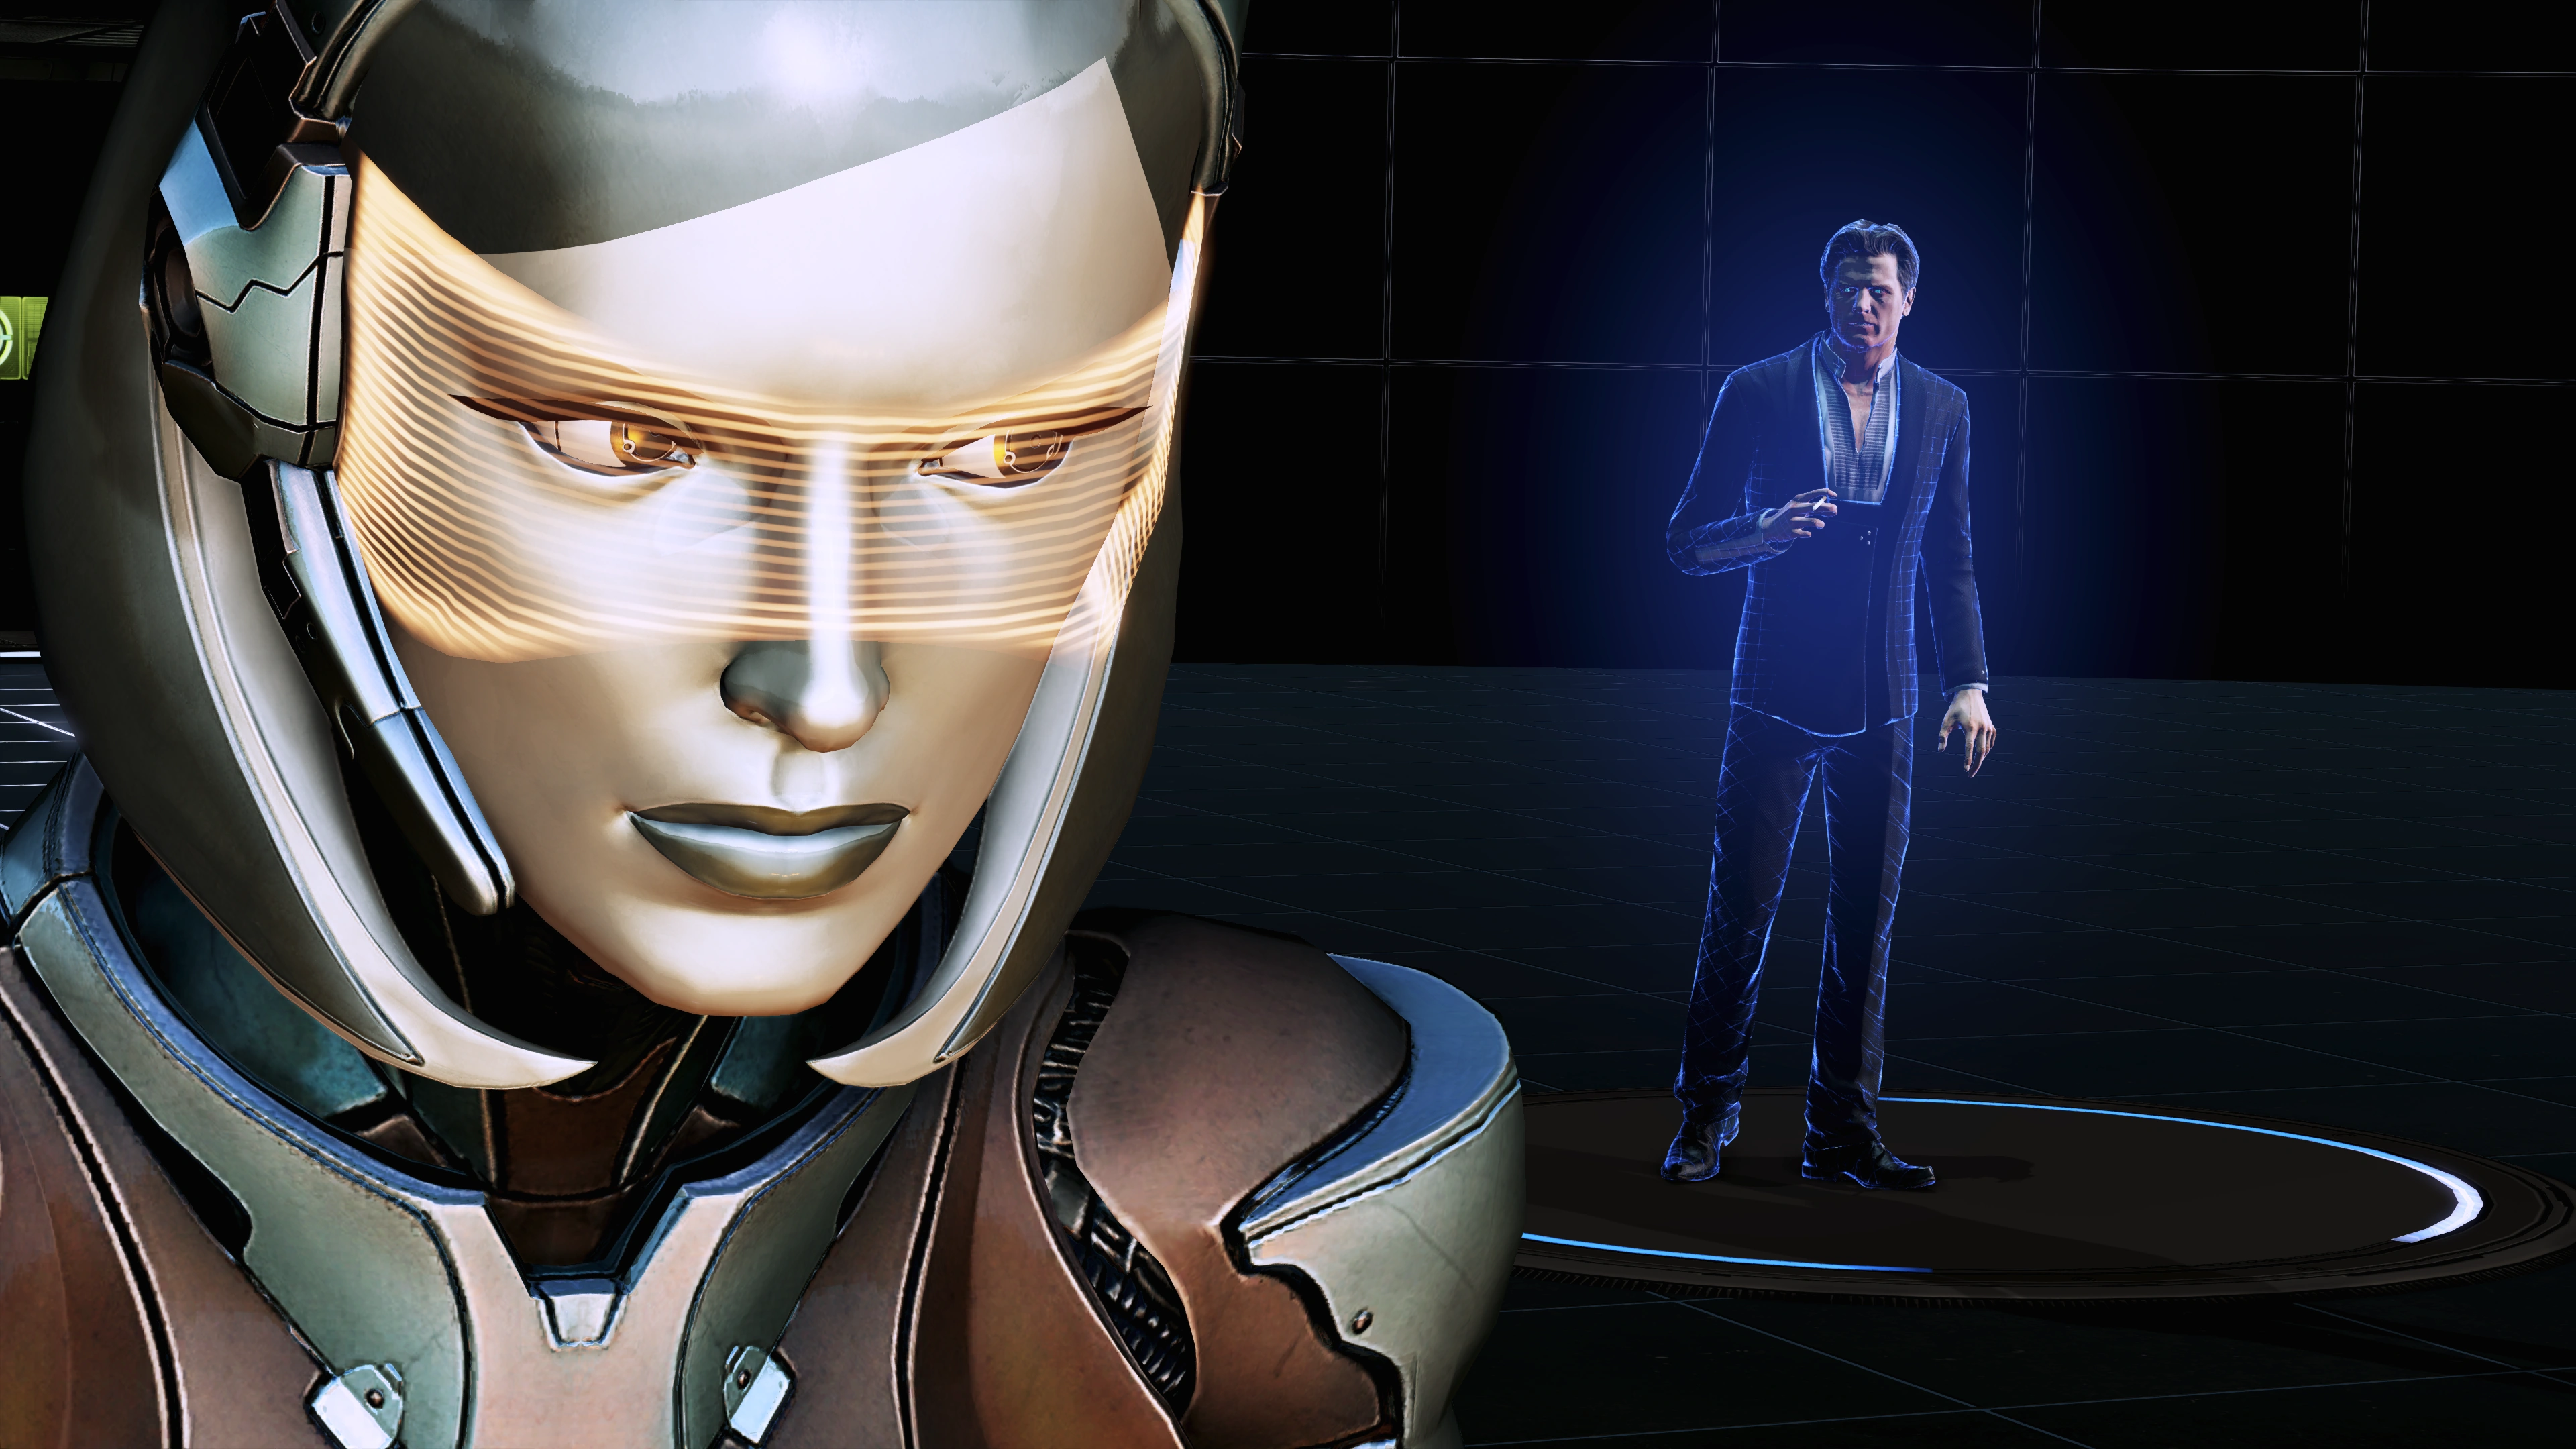
The Illusive Man's Inner Sanctum
After going up a ladder right before leaving the catwalk, turn around away from the door for a medkit and 5,000 credit PDA before going through the door. Through the door, you'll reach two long hallways. The first is broken up by computer terminals and has an ammo box, medkit and PDA worth 5,000 credits and a video log nearby about the Cerberus Reaper implants. The second path leads up a ramp to the Illusive Man's inner sanctum, a location the player will undoubtedly recognize.
Entering this room initiates a third meeting between Shepard and the Illusive Man, who, as usual, makes an appearance via a hologram. As before the Illusive Man speaks of controlling the Reapers. The player is presented with a series of dialogue choices and can either attempt to convince the Illusive Man that his plan won't work, or can threaten and berate him for his actions. In any case, the Illusive Man cuts off communication just as your team finds the Prothean VI.
Vendetta finally reveals the nature of the Catalyst: the Citadel. Unfortunately, Vendetta further reveals that the Illusive Man also knows what the Catalyst is. Worse, he has fled to the Citadel and alerted the Reapers, which have taken control of the Citadel and moved it to the heart of their occupied territory - Earth.
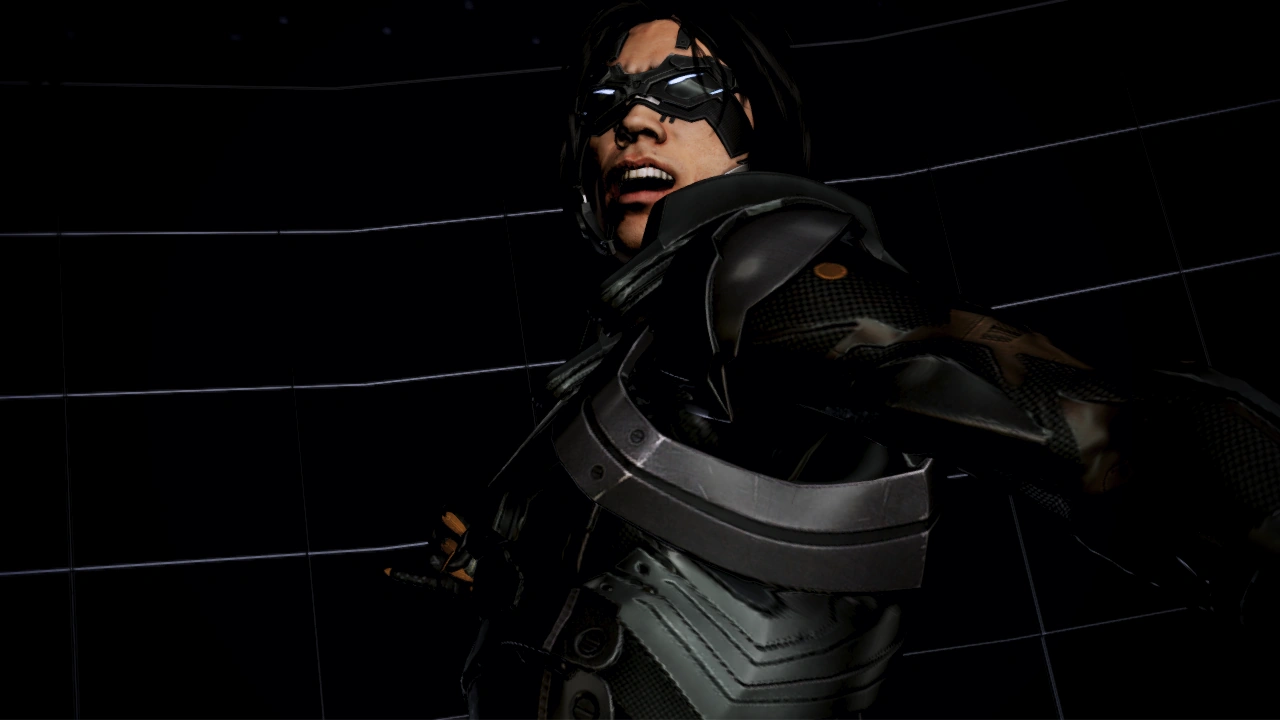
Defeat Kai Leng
Before any action can be taken, however, Kai Leng shows up, bent on settling his score with you. You are undoubtedly just as eager to deliver some payback. Get ready. Only one is going to be walking away from this alive. As soon as the cut scene ends you'll need to use the melee key/button immediately because Kai Leng will be on top of you. You can also do a quick dodge to the right.
As before, Leng stops to regenerate his shields on a regular basis, making it difficult to damage him significantly, and he's immune to most crowd control abilities though he can be slowed by Cryo powers. He also uses occasional heavy-melee attacks if you allow him to get close. These attacks can kill you instantly unless you block them by tapping the melee key/button. Unless you're a close-range specialist, it's better to keep Kai Leng at a safe distance by staying on the move.
Over the course of the battle Kai Leng will occasionally punch new holes in the floor, creating more places to take cover: it is during these sequences that he will also recharge his shields, becoming temporarily immune to damage while he is doing so. He will summon Cerberus minions, consisting of Assault Troopers, Phantoms, and Nemeses. Phantoms and Nemeses in that order are always the the greatest threat when they're on the field, so take them out immediately. Apart from that, you can either try to focus on Leng or pick off all the Troopers to minimize grenades and suppressing fire as you keep Leng at a distance. Once Leng and all his minions are down, the fight ends. (Note: see bugs below if you find yourself trapped here)
After he's defeated, there will be a Renegade interrupt opportunity as Leng sneaks up on you and attempts to stab you. If you don't use the interrupt, Shepard will dodge; if you do, Shepard will block the blade and shatter it. Immediately after, Shepard will follow it up with an omni-blade attack, putting an end to Kai Leng once and for all.
You will then have a last conversation with the Prothean VI with an option for a renegade interrupt, or if you wait, a paragon one. Finally, you will return to the Normandy for a debrief with Anderson.
Aftermath
David Anderson confirms that the Citadel is now in orbit of Earth, and Priority: Earth becomes available. Note that no other system is available for visitation at this point; the only system you can travel to is Sol.
You do, however, have free run of the Normandy herself, and you should feel free to check in with the crew and hear any final comments they might have. Visit Cortez's shopping depot to make any last purchases. Do Mass Effect 3: Galaxy at War activities to do some last-minute buffing on your War Assets; note that you've received either the Reaper Heart (100) or the Reaper Brain (110) as War Assets augmenting the Crucible. Finally, if you did not romance Tali or Garrus, make sure to check the gunnery room to catch them "in the act". Otherwise, they will still be there, but wagering on which one will kill more Reaper troops.
If she's still on the ship, talk to Diana Allers and THEN check your e-mail.
Enemies
Bugs
- Multiple players have encountered a condition where they killed Kai Leng relatively suddenly, and all other enemies then disappeared and they were stuck in limbo with no way to advance the plot. This likely represents the failure of the cut scene to fire, but whether this occurs because of the speed of the kill or merely from e.g. a coincidental lack of memory resources on the players machine is not known. In any event if it happens you'll have to back up to a saved game.
Trivia
- Some players have reported seeing Kai Leng move his head, rather obviously, just as the scene ends and Shepard is walking away.
| ← Previous Mission | Mission Index | Next Mission → |
|---|---|---|
| Priority: Horizon | Missions | Priority: Earth |