Planetside is the second primary ops mission in Mass Effect: Andromeda. The scouting mission on Habitat 7 has met with disaster. The planet is far from the golden world the initial scans indicated; instead, its atmosphere is toxic and wrecked with deadly electrical storms that struck the shuttle. Survive the hostile conditions and locate any survivors form the rest of the Pathfinder team.
Acquisition
This mission begins after the completion of Prologue: Hyperion.
Walkthrough
Two shuttles have crash-landed on Habitat 7 and its passengers are scattered. Pathfinder Ryder survives what could have been a fatal fall, had it not been for SAM. He was able to repair the jump-jet malfunction just prior to surface impact, saving Ryder's life. Still, Ryder tumbles down a hill to the ground and quickly fixes a cracked helmet visor using the Omni-Tool. Ryder is alone and stranded. This initial mission is a tutorial that covers multiple combat and game play options such as how to use the jump-jets and the character's pistol.
Locate other Members of the Pathfinder Team
Liam Kosta finds Ryder while attempting to communicate to the Hyperion and the rest of the Pathfinder team. Ryder is unable to communicate with SAM or the shuttle teams and a brief look around determines why. The QEC Communications Relay from the shuttle has been ejected from the shuttle and is permanently damaged. Use the scanner on the nearby plants and shuttle debris to gain 20 ![]() and 20
and 20 ![]() research data (used for research).
research data (used for research).
Follow the path along the mountain and avoid the electrical strikes. Scan a damaged power core for 10 ![]() . Just after a lone ammo crate is a small cave to the left with a scan-able crevice emitting large amounts of strange energy (10
. Just after a lone ammo crate is a small cave to the left with a scan-able crevice emitting large amounts of strange energy (10 ![]() ). There will be multiple gaps to jump over before the first cutscene.
). There will be multiple gaps to jump over before the first cutscene.
Protect Fisher
Ryder and Kosta notice a large monolith with a blue cloud billowing to the sky. Nearby they spot crew member Fisher who is pinned down by two aliens. Regardless of your choice first contact with the aliens turns violent. Ryder and Kosta kill the aliens and save Fisher's life (+113 XP).
Fisher is unable to walk but lets Ryder know that Greer and Kirkland went ahead looking for help. Ryder and Kosta leave Fisher behind. Scan the alien bodies (40 ![]() ) and look for a nearby container to loot (optional). Restock ammo from a nearby supply box if needed (it has a orange ammo symbol and a yellow lightning symbol). Close is a health regeneration box (red circle), which this far into the game is the only way to heal yourself. If you later return to these supply boxes you will find that they have refilled.
) and look for a nearby container to loot (optional). Restock ammo from a nearby supply box if needed (it has a orange ammo symbol and a yellow lightning symbol). Close is a health regeneration box (red circle), which this far into the game is the only way to heal yourself. If you later return to these supply boxes you will find that they have refilled.
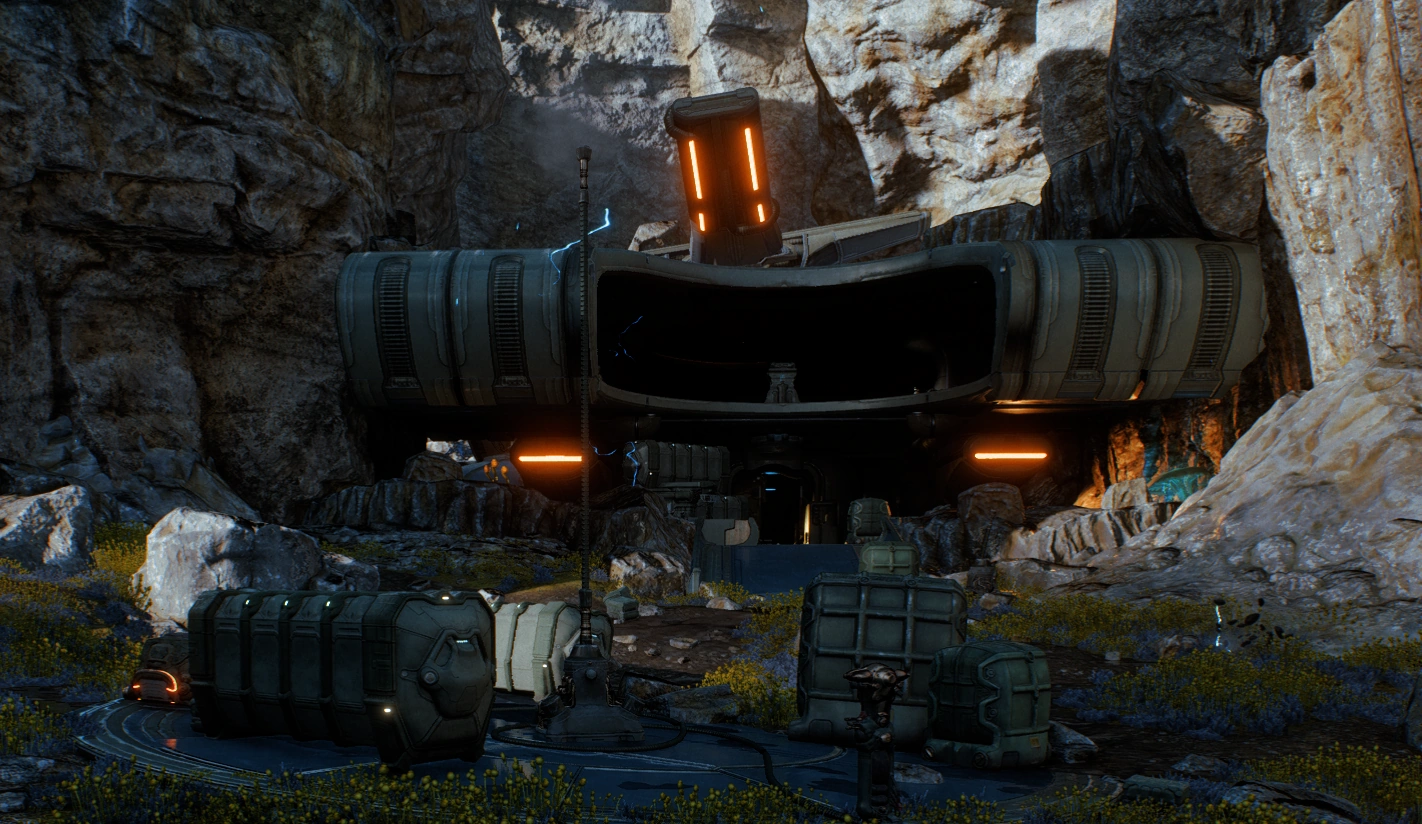
Up ahead the path diverges. First, take the North-Western path. Ryder and Kosta will come across some wreckage from their shuttle, including a working atmospheric measurement device indicating the planet's atmosphere is not suitable to human life, nor has it been polluted or irradiated by its inhabitants. Go further north until you reach a huge alien structure built into the mountain on the right side. There are four aliens guarding a structure. If Dusty Kirkland (a Pathfinder member) is here, you see them killing him even though he says he surrenders (you can't save him, even if you don't take any detours). They will attack you on sight, so kill them (+20XP). Inspecting Kirkland's body will provide an M-8 Avenger I Assault Rifle. Then look around, sweep the area, and turn back south.
Go back to the path you came until you reach the fork where you left Fisher. Now take the north-eastern path.
If Kirkland is here, Ryder will see three more aliens execute Dusty Kirkland, while he tries to surrender. Kill the three aliens (+20XP) and check on Kirkland to find that he's been shot and killed. Inspecting Kirkland's body will provide an M-8 Avenger I Assault Rifle. (You can't save Kirkland, even if you don't take any detours.) Use the scanner to scan the unknown structure and the unknown technology (20 ![]() ).
).
Continuing along the ridge line North a cloaked four legged alien will attack. Kill it and scan the body (50 ![]() ). The area ahead features additional alien technology to be scanned (10
). The area ahead features additional alien technology to be scanned (10 ![]() ) and a small cave where a "flying thing" is encountered and some loot containers can be found.
) and a small cave where a "flying thing" is encountered and some loot containers can be found.
Tip: If you're fast with the scanner you can scan the flying alien in the cave before it flies away (50 ![]() ).
).
Travel across the abyss using your jump-jet to land on the platforms. Immediately on the opposite side of the abyss are two optional objectives.
Optional: Explore the Cave
Surviving native species of Habitat 7
There is a mysterious cave with scan-able unknown plant and unknown lifeform (20 ![]() ), the cave is a micro-biome where the native species of Habitat 7 have survived while the rest of the planet has gone to ruin.
), the cave is a micro-biome where the native species of Habitat 7 have survived while the rest of the planet has gone to ruin.
Follow the cave and turn left when you exit, going south.
Optional: Investigate the Crashed Alien Ship
There is a debris field guarded by multiple aliens that will attack on sight. Kill them (+20XP) and explore the crash site they were guarding. There are seven components (70 ![]() ) to scan in the crash site, including the ship itself, it appears that the aliens are bringing in supplies from off world. To complete the objective you need to examine the container next to the crashed ship.
) to scan in the crash site, including the ship itself, it appears that the aliens are bringing in supplies from off world. To complete the objective you need to examine the container next to the crashed ship.
Head back to the mysteriouse cave's north entrance, but don't enter the cave but turn north. You will reach a couple of broken pipes which are spilling toxic waste. Move north but look to the eastern wall and you will see a small chasm. Climb to go through and explore the area. Liam will urge you to turn back. To do so you will have to open the door in the northern part of the mountain. Use the console, move to the door, use the second console, and you will emerge north of the toxic waste.
Optional: Locate Greer
Head south-west, up to a ridge and under a 'wing' of some strange alien structure. Follow the ridge to the south-west and look for a cave entrance to the left. Around the entrance Ryder comments on a pattern being transmitted in radio static. Inside the cave is Greer, held at gun point by two aliens and desperate for help. Save him (+20XP) and continue towards the main objective.
Optional: Investigate the Alien Ruins
When you exit the cave turn left, under another strange alien-structure-wing, and you will be heading directly to another alien structure. There will be several items to scan both inside and outside the building (100 ![]() . Outside the building you will notice some device that looks like a lightning rod, but is inactive. Before you enter through the door jump up to the second floor, where you will find some loot and further indication that the aliens are not native to Habitat 7.
It's dark inside the building so you need to turn on the light. When you pass through the antechamber into the main room you will notice a sealed door on the right.
You need to go straight ahead, up a small ramp and then follow the way to the left. You will end in a room with a couple of alien devices. Switch on the device in the center of the room which will turn out to be a generator. It will turn on the lights and also unlock the sealed door you passed on your way in. You may play around with the rest of the alien devices, and you may want so sweep the building for loot. Then return to the previously sealed door which leads into a small which ends in front of a remnant door guarded by an Assembler (80
. Outside the building you will notice some device that looks like a lightning rod, but is inactive. Before you enter through the door jump up to the second floor, where you will find some loot and further indication that the aliens are not native to Habitat 7.
It's dark inside the building so you need to turn on the light. When you pass through the antechamber into the main room you will notice a sealed door on the right.
You need to go straight ahead, up a small ramp and then follow the way to the left. You will end in a room with a couple of alien devices. Switch on the device in the center of the room which will turn out to be a generator. It will turn on the lights and also unlock the sealed door you passed on your way in. You may play around with the rest of the alien devices, and you may want so sweep the building for loot. Then return to the previously sealed door which leads into a small which ends in front of a remnant door guarded by an Assembler (80 ![]() . If you scan for clues you will come to the conclusion that the Kett were trying to tunnel into the door.
When Ryder and Kosta leave the alien building an ambush will be waiting for them outside. Kill them (+20XP).
. If you scan for clues you will come to the conclusion that the Kett were trying to tunnel into the door.
When Ryder and Kosta leave the alien building an ambush will be waiting for them outside. Kill them (+20XP).
Head south up a small cliff and you will find the wreckage of the shuttle Ryder and Kosta had been riding in. After examining the shuttle, Ryder and Kosta are ambushed. Clear them out (+20XP), recover loot and listen to the flight recorder. Check the debris for more items, and a healing box and an ammo box.
Optional: Investigate the Flares
Returning to the north of the alien ruin, Ryder will hear broken communication from Cora Harper. She and two other crew members are trapped by the aliens. Ryder and Kosta will need to save them (+904 XP). After the battle, Cora announces that the team almost has their shuttle repaired and there is additional weaponry located at the shuttle. Pathfinder Alec Ryder has left to scout ahead. There also are a healing box and an ammo box. Immediately after Ryder rearms an alien shuttle drops off another group of enemies to eliminate. This next battle consists of two waves, the second wave includes a heavy alien with shielding.
After the second battle, Cora reveals her biotic powers by saving a fellow crew member from a lightning strike. Communications are re-established and Alec Ryder contacts the group to inform them of his plan to stop the storm which is preventing them from departing in the repaired shuttle. In the middle of explaining the plan, Alec is interrupted by an unseen enemy force. Cora announces she will join Ryder and Kosta to reach the Pathfinder's position.
Locate the Pathfinder
Head towards the marked objective. Depending on whether you visited this area before there may be enemies guarding a tunnel door leading. Take out the aliens (+20XP) and scan the nearby lightning rod equipment (20 ![]() before proceeding.
before proceeding.
Alec Ryder had been attempting to gain readings on the Remnant tower. He had ideas about how to stop the storm that brought down the shuttles and was now keeping the repaired one from flying safely. Alec believes the power from the tower is reacting to the Scourge and is causing the storms. His theory is that if the tower is shut down, the storms will stop. With the mission clear, the battle to take the tower begins as the Pathfinder blows up two of the lightning rods that have been protecting the aliens from the deadly strikes.
Note: If Habitat 7 have been throughly scouted Alec Ryder will comment "Good work. You actually did some scouting."
Follow the Pathfinder
Assist the Pathfinder as he attempts to take out the nearby stronghold that is protecting the tower. There are numerous loot containers and supply dumps throughout the battle area. Once the team makes it to the center, Alec will need to interact with a console to open the tower door. Place the squadmates in the spots marked out on the ground on either side of the platform by using the appropriate control (Z and C for PC). Defend the Pathfinder until the decryption process is complete (+215XP)
After the tower door is open, the Ryders will go inside during a cutscene. Alec will use SAM as a translator for the Remnant device inside and shut down the tower's power. The Ryders walk outside and talk, not noticing the fast moving dark cloud coming from the building behind them. Both Ryders are knocked down and off the platform. The visor in the younger Ryder's helmet is severely damaged. Alec finds his child and calls for the shuttle. Knowing it won't make it in time, he makes a decision that he hopes will save his child's life, likely at the cost of his own. He gives up his helmet and transfers Pathfinder authority via SAM to his child before he loses consciousness.
After Ryder is rushed to the Hyperion aboard a shuttle the medical staff attempt to resuscitate Ryder by integrating SAM further into their brain via a hardwired connection. Ryder awakes on-board the Hyperion and learns that not only can they privately communicate with SAM, but they've also been transferred the position of Pathfinder as their father's last act.
Aftermath
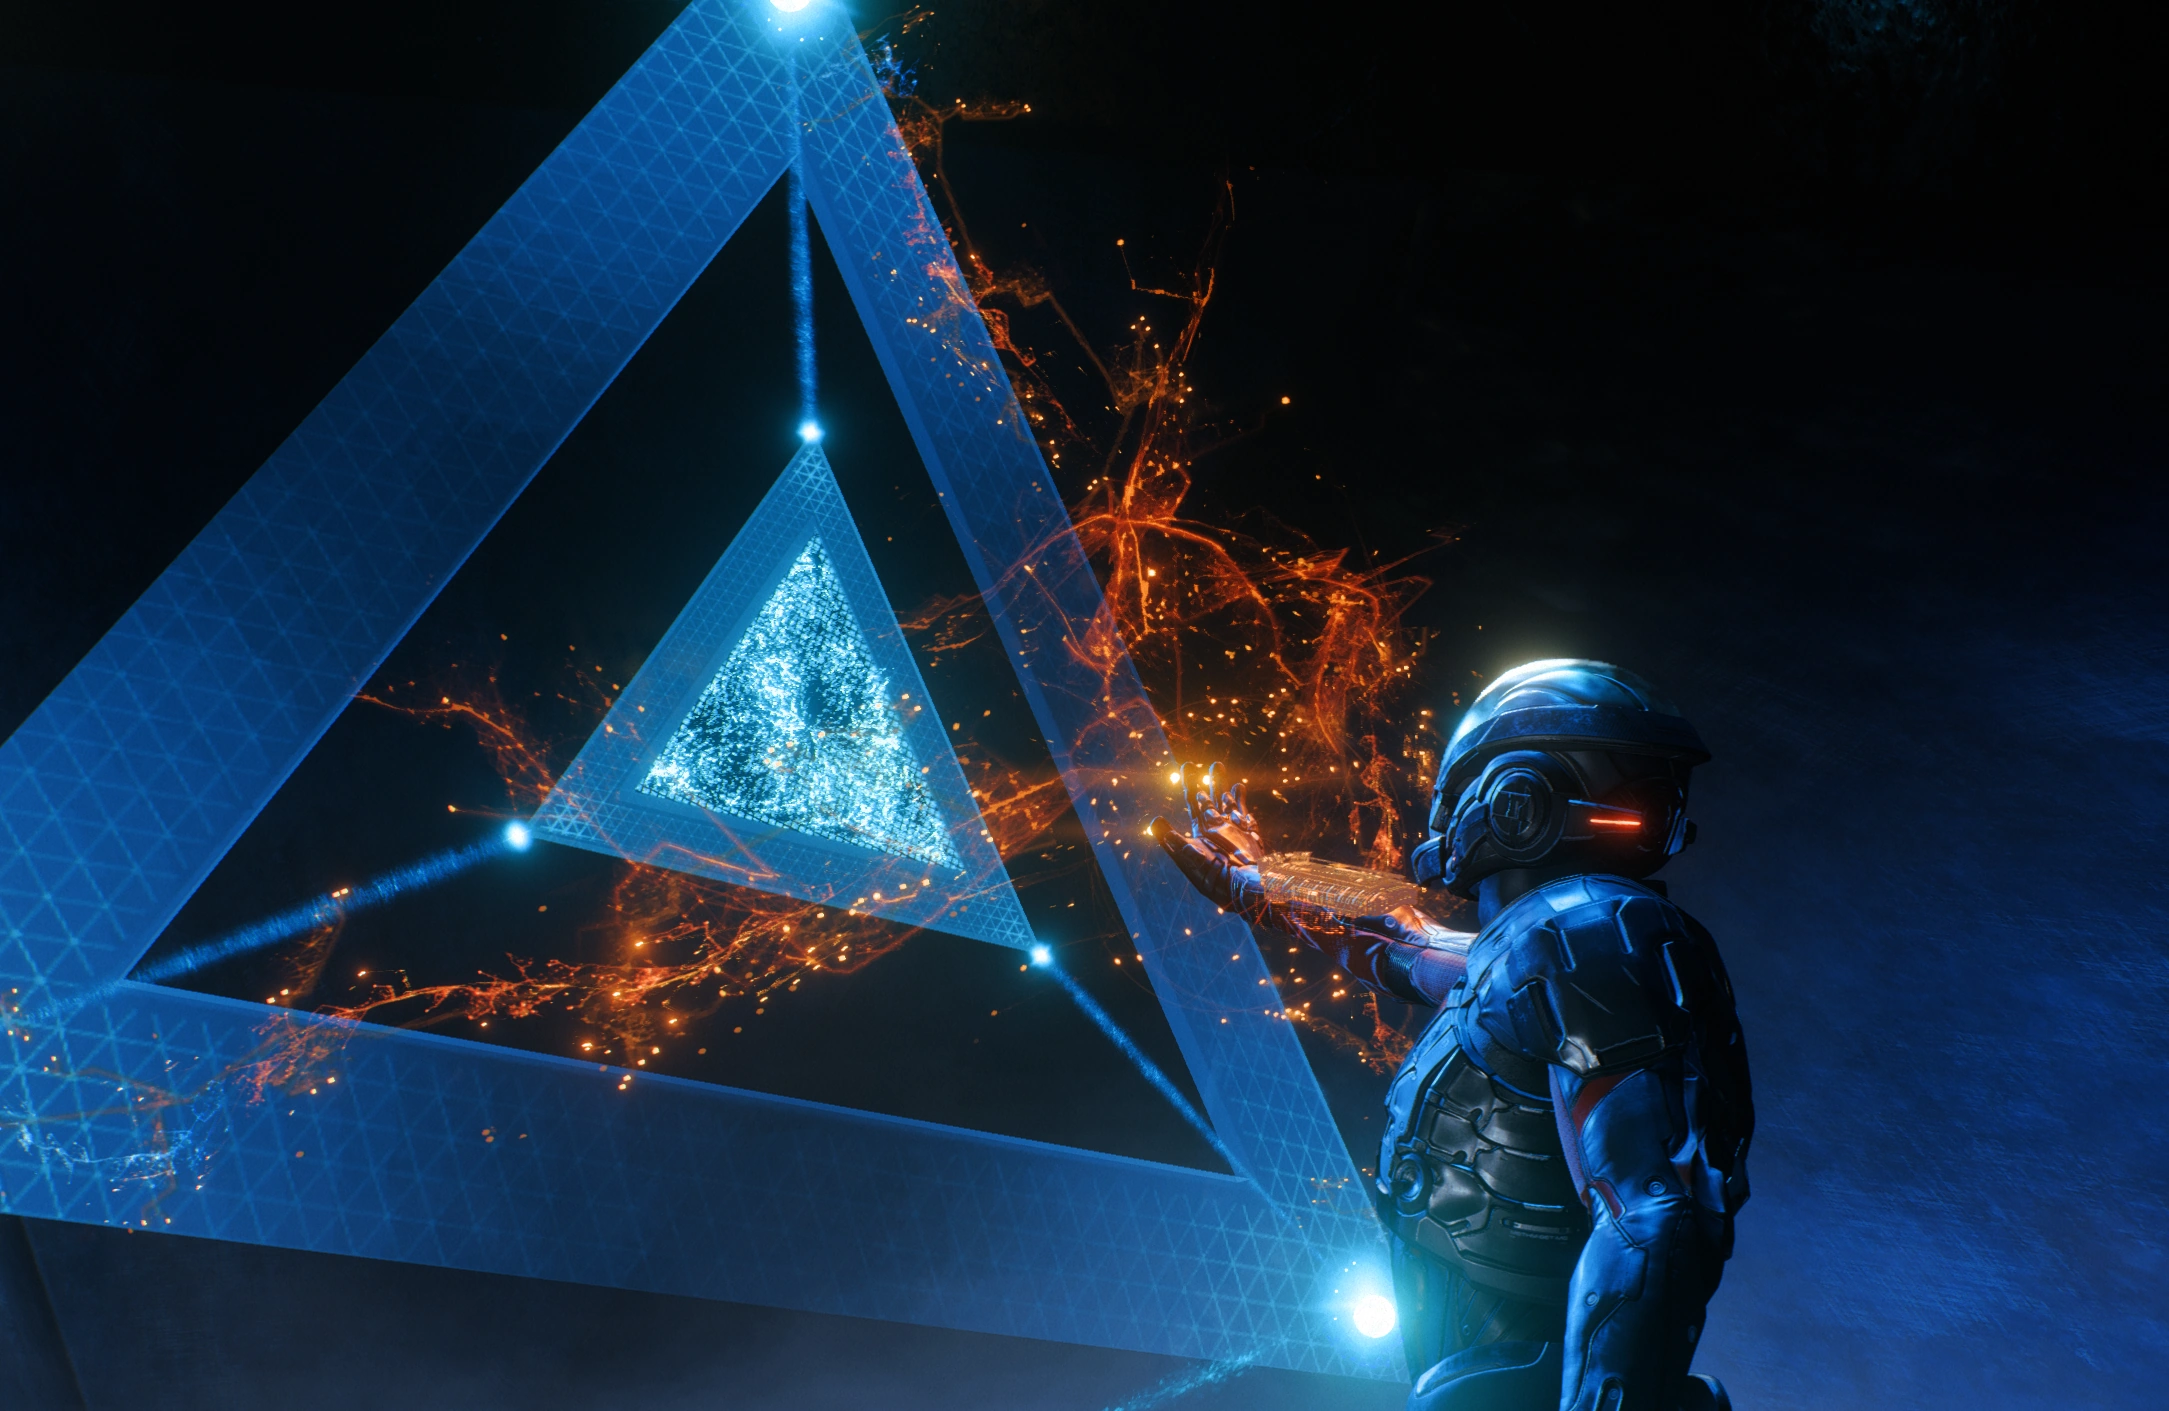
The Hyperion has been saved from the strange energy cloud near Habitat 7 as the cloud receded once Alec Ryder communicated with the entity controlling the tower on the planet's surface. Headed to join the other arks at the Nexus with the new Pathfinder Ryder things seem to have stabilized somewhat. After the human departure from Habitat 7, the alien leader arrives, using a device that shows him shadows of past events and tries to activate the Remnant device as Alec had done with the help of SAM. The aliens have been trying for years to use the Remnant technology and failed. Now they know there is someone out there who can use it. Finding and capturing them becomes a priority.
- Acquired weapons
- M-8 Avenger I Assault Rifle
- Viper I Sniper Rifle
- Omni-Blade I
- New squad members
- Cora Harper
Mission Rewards
- 215 XP
Enemies
| ← Previous Mission | Mission Index | Next Mission → |
|---|---|---|
| Prologue: Hyperion | Missions (Mass Effect: Andromeda) | Nexus Reunion |