| This article is about scanning planets for resources in Mass Effect 2. For the system in Mass Effect 3 to recover War Assets, see Search and Rescue. Resource scanning in Mass Effect: Andromeda additionally requires the Omni Tool for planetside scanning. |
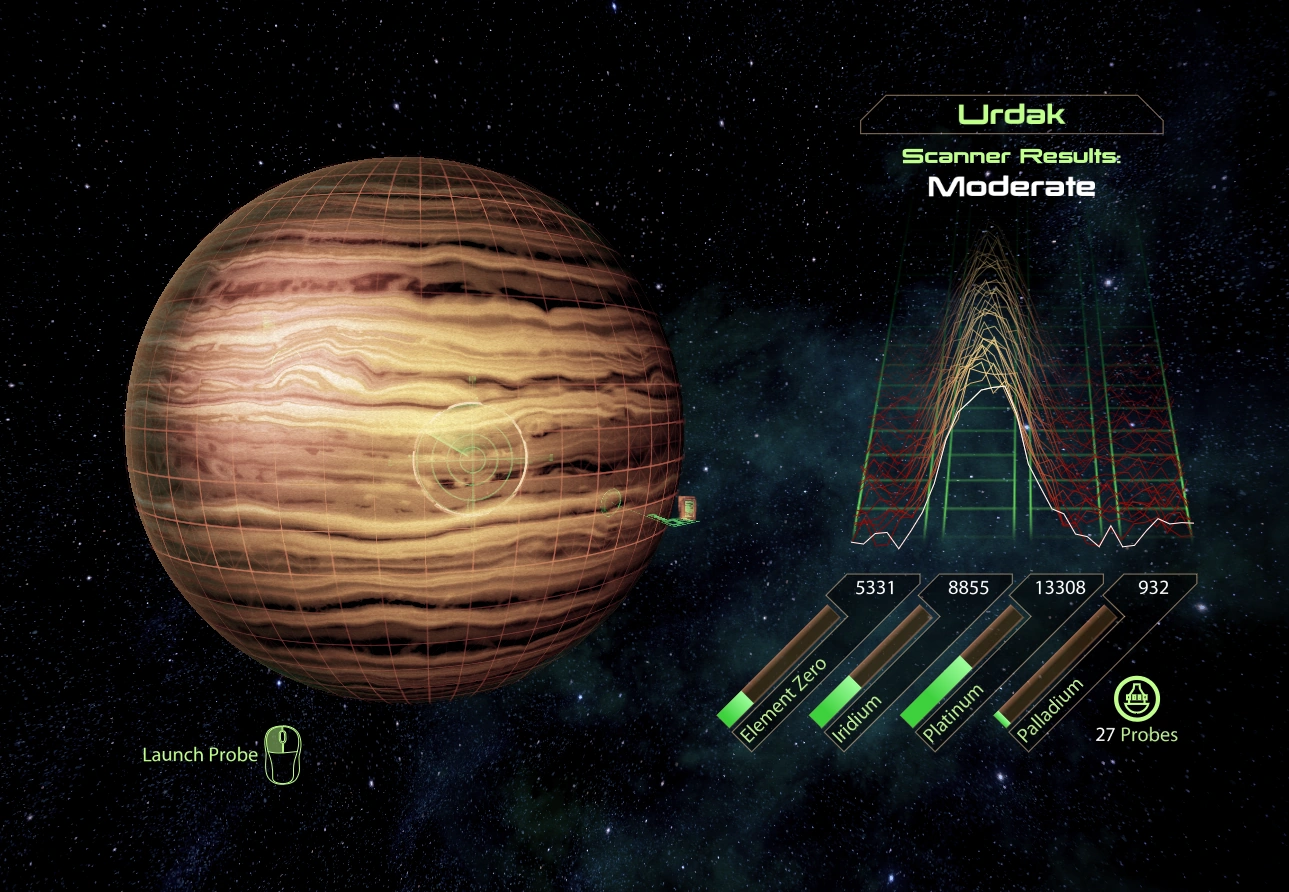
Scanning is a new system in Mass Effect 2 that replaces driving with the Mako and searching for the minerals inland, from the first game. Scanning becomes available when the Normandy SR-2 enters the orbit of any planet not involved in a main storyline mission, at which point you'll be prompted to start the scan. Once begun the planet will be overlaid with a rectangular grid. You may then press and hold another button to begin a mineral scanner which is slower than the main scanner, though its speed can be upgraded slightly. A data column will appear on the side of the screen and you then move the scanner around until the data column spikes, indicating the presence of minerals at the scanner's current location. You may then fire a probe at the deposit which will in turn add the minerals to your stores.
Abundance Indicators
There are several levels of mineral abundance for a planet. Each planet will start out at a certain abundance, which will decrease as minerals are successfully harvested.
Resources are required to complete research projects that upgrade weapons, equipment, and the Normandy. Resources are found by scanning, probing and mining planets in the galaxy. There are four kinds of mineral resources in Mass Effect 2.
| Resource | Upgrades |
|---|---|
| Element Zero | Element Zero is used for biotic and engineering upgrades. |
| Iridium | Iridium is used to upgrade assault rifles, sub-machine guns, and heavy weapons. |
| Palladium | Palladium is used to upgrade cybernetics, shields, heavy pistols, and armor. |
| Platinum | Platinum is used to upgrade shotguns, sniper rifles and medical equipment. |
Anomalies and Assignments
Scanning can also be used to discover loyalty missions and N7 assignments on certain planets. Upon entering orbit, EDI will tell you she has detected an anomaly. Then, once you start scanning the planet, there will be a white line pointing at the direction of the mission. When you find a small white blip, you then launch a probe at it. At this point you can go onto the planet to do the mission. For planets with speech-based radio transmissions, the repeated speech fragment will become clearer (less muffled) the closer the scanner is to the location of the blip.
Note: See the Hidden Anomalies List below for a complete list of hidden anomaly locations.
Upgrades
Two upgrades may be purchased that directly affect the planet scanning process. One upgrade doubles probe capacity from 30 to 60; the other upgrade allows the scanner to move more quickly, speeding up the process.
- Recruit Mordin first. You need him to unlock the tech lab (and all subsequent research options).
- Ask Miranda about upgrades to Normandy. Advanced Mineral Scanner will be unlocked which allows you to scroll faster while scanning.
- Recruit Thane and ask him about upgrades. Modular Probe Bay will be available. You'll gain more probes.
- (Optional) Recruit Samara and ask about upgrades. Extended Fuel Cells allow Normandy to gain an additional 50% fuel cell capacity, for a total of 150% fuel capacity.
Amount Needed
Don't scan more than you need - more doesn't necessarily mean better. The table below shows the total amount of each resource needed to buy EVERY upgrade in the game. The second column shows how much is needed if all available resources are collected from missions and assignments. The third column shows some convenient places to "top up" a particular resource - all of which are available from the beginning of the game.
If JavaScript is enabled, the columns may be sorted by clicking on the up/down arrow icons in the column headers.
| Resource | Total Needed | After Missions Done | Best Planets Available Early In Game |
|---|---|---|---|
| Element Zero | 31,000
(35,000 with all DLC upgrades) |
23,000
(27,000 with all DLC upgrades) |
Daratar, Thunawanuro, Preying Mouth, Erinle |
| Iridium | 200,000
(242,500 with all DLC upgrades) |
171,000
(213,500 with all DLC upgrades) |
Gregas, Quarem, Korar, Fitful Current, Beach Thunder, Sehtor, Vatar |
| Platinum | 275,000
(305,000 with all DLC upgrades) |
243,000
(273,000 with all DLC upgrades) |
Lorek, Dorgal, Bindur, Erinle, Utha, Anhur, Thunawanuro, Rough Tide, Odasst, Volturno |
| Palladium | 195,000
(237,500 with all DLC upgrades) |
166,000
(208,500 with all DLC upgrades) |
Neith, Wrill, Alingon, Aganju, Alchera |
Notes:
- It costs an additional +5000 Element Zero for each bonus training and +2500 Element Zero for each retraining of skills.
- If you're playing as an Engineer, you can plan to collect as many as 25% fewer resources due to your Tech Mastery discount.
Scanning Tips
- Know how much you need. The table above shows the resources required to purchase EVERY upgrade in the game. What that means is, if you have already collected the aforementioned resources in the above numbers, buying more probes to scan for more resources is a waste of time and credits.
- Only scan RICH worlds. And maybe sometimes "Good" ones. Don't bother tiresomely scanning resource poor or even moderate worlds. Just the "rich" worlds that you have access to at the very beginning of the game are enough to get you all the resources you ever need!
- The bigger the spike, the much bigger the reward. The "seismograph" will consistently peak at a certain height at a given location; the closer the center of your scanner is to the center of the spike, the higher the graph will peak. If the peak is at the third horizontal line, a probe may yield only 200 of the resource. If the graph peaks at the eighth line, a probe could yield as much as 2500. In other words, the progression is logarithmic; one probe at an eighth line peak is worth much more than five probes at lines 2-5.
- The scanner does not have to be at the exact center of a spike to yield the full reward. To test this, find a large spike of something (palladium is common), and move the scanner to the edge until the graph peaks at only line 2, then launch a probe. If that were the true peak, you would expect only about 200-300 units; however, you will still get 1000-2500. If the graph is showing even a little of multiple resources, a probe will yield all the spikes in that area.
- Upgrade your scanner. Your scanner will move twice as fast while your scan button is held down, if you upgrade it. You can upgrade it as soon as your research lab opens and you've asked Miranda about upgrades.
- You can scan fast without upgrading!
- PC: The scanner reticle moves much faster when the right mouse button isn't held down. With practice, you can scan almost as thoroughly by tapping the right mouse button repeatedly as you move around the surface. The only downside is a higher chance that you might "skip" a spike by accident. Alternately, you can temporarily increase the mouse sensitivity (either in the game options or on the mouse if it has variable DPI settings) to make the reticle move faster.
- Xbox360 and PS3: You can achieve super fast scanning by leaning into the automatic rotation of the planet: while holding down the left trigger, hold BOTH thumbsticks all the way to the right. You will achieve an extremely fast spin of the globe even though the scanner trigger is down. Scan the latitude band you're in, then move the circle a bit lower and repeat for the next band lower, etc.
- About Anomalies. If EDI does not report an anomaly as soon as you zoom in on a planet, there won't be one. If she does, then the scanning reticule will show a white line in the direction of the anomaly. Scan toward it; anomalies always trigger new N7 Assignments, awarding experience, credits, possible additional resources, and even followup assignments. You do not have to play the assignment immediately - it will be available any time you return to the planet.
- Planet surfaces never change. If a scan shows no resource at a given spot, it will never have anything for the rest of the game. You can methodically scan the entire surface, probe all large spikes, and then leave that planet forever.
- The overall resource level shows how much resource is still unsurveyed. Very generally, the higher the overall level, the more large spikes you can expect to find. If you have reason to believe a depleted planet still has a resource you need badly (for example, it's only depleted because you've launched twenty probes all over it, and you still have a fourth of the surface left to scan), it may be well worth it to stay there until you've scanned the whole surface - there are likely still some large spikes.
- Eezo is rare. There are many fewer planets with Element Zero than other resource types. Check the table above for good places to go searching if you need some - fortunately after your first playthrough you'll start with all you're likely to need.
- Probes are sold in multiples of five. Each set of five costs 100 credits. If you have probes left over and you're just "topping up" your supply, be aware that you will be charged 100 credits even if you don't need all five probes. For instance, if you find yourself with 29/30 probes and you buy probes, you will pay 100 credits for that one probe.
- Mining isn't the only income for resources. Missions and assignments produce some resource income as well (see the table above). An additional 50000 less is required in each if a Mass Effect 2 play-through has been completed, meaning that with this bonus there is no need to mine Element Zero. The various amounts of initial resource bonuses for importing a Mass Effect character can be found here.
- Mix assignments and mining. Assignment, and some missions worlds, are often rich in resources, some of them also have eezo. If you mine the rich worlds in a system where you currently have business, you will need very few, if any, purely mining trips.
- Patch your game. Before you begin mining, make sure that you have patch 1.02 or higher as it reduces the time required for mining by providing a larger scan area.
Planet Types
You may find Element Zero on planets where it is listed as None, as each planet has a random number of low value deposits. While there are general rules and assumption for mineral distribution, do not assume that every planet of the same type will give up the same minerals.
| Brown Dwarf | ||
|---|---|---|
| Frequency | Rare | 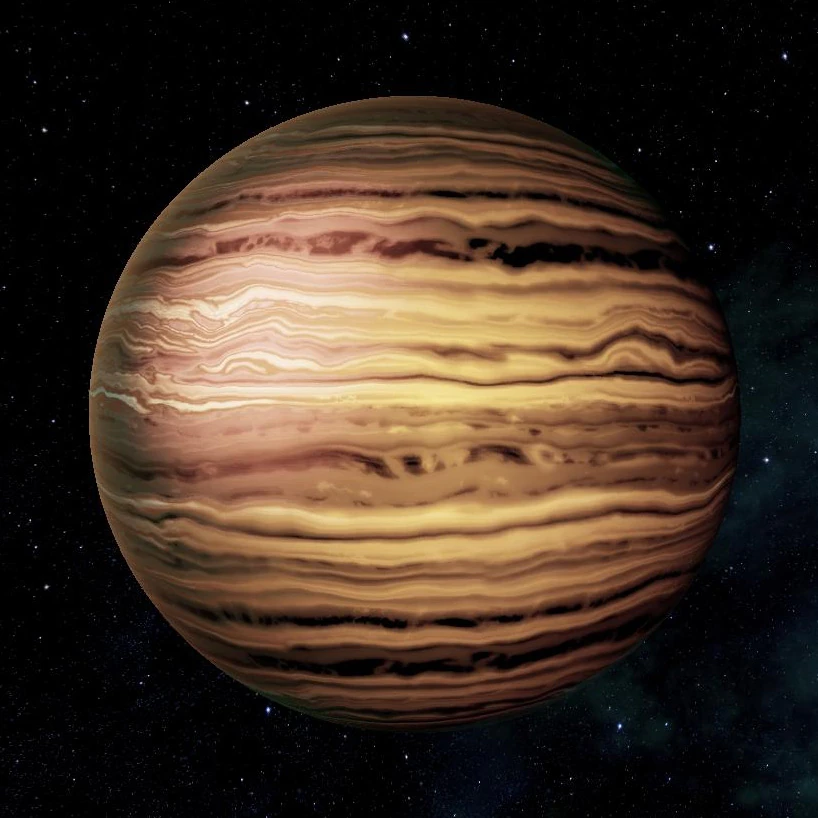
|
| Examples | Mnemosyne, Urdak | |
| Element Zero | None | |
| Iridium | 30% | |
| Palladium | 40% | |
| Platinum | 30% | |
| Mining Notes | The minerals on a brown dwarf are typically spread out along the bands of the planet, so look there when mining. | |
| Desert | ||
|---|---|---|
| Frequency | Very Common | 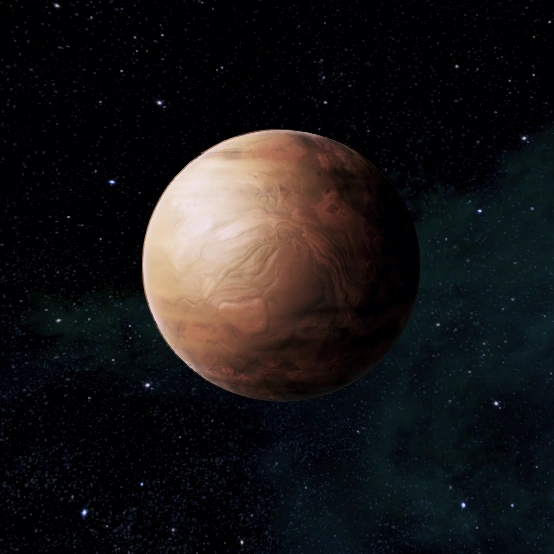
|
| Examples | Laena, Bovis Tor, Gotha | |
| Element Zero | None | |
| Iridium | 20% | |
| Palladium | 60% | |
| Platinum | 20% | |
| Mining Notes | Desert planets are rich in minerals, but those deposits are spread out across the surface in small clusters. | |
| Garden | ||
|---|---|---|
| Frequency | Rare | 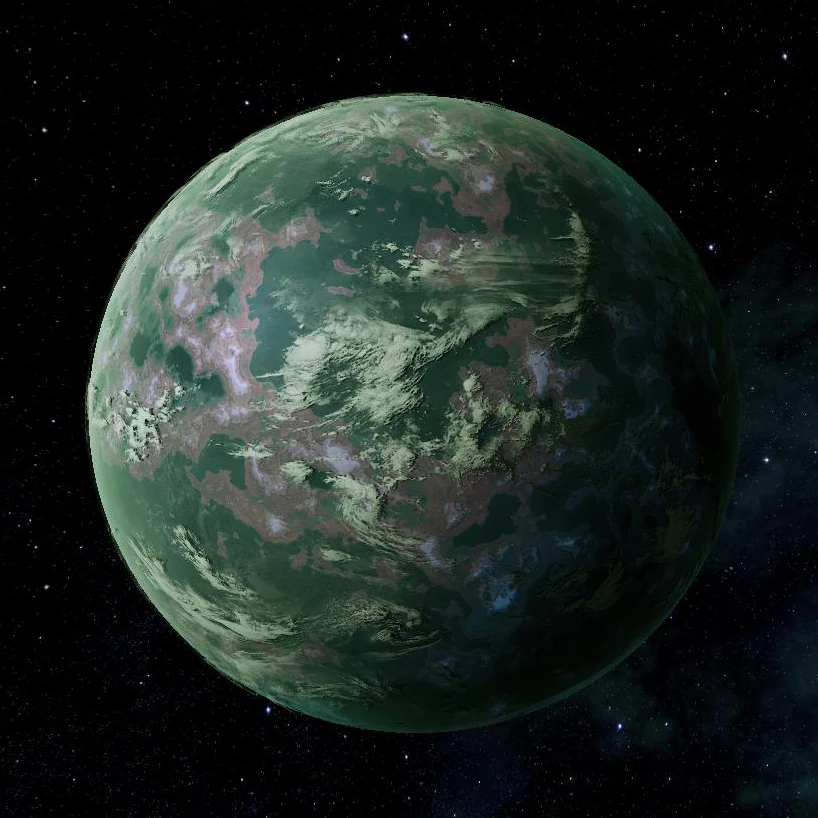
|
| Examples | Earth, Sanctum, Erinle | |
| Element Zero | Poor | |
| Iridium | 15% | |
| Palladium | 25% | |
| Platinum | 60% | |
| Mining Notes | Garden planets are one of the few planets where you can expect to find Element Zero – look to the continents. The other minerals should be looked for in mountainous areas. | |
| Ice Giant | ||
|---|---|---|
| Frequency | Common | 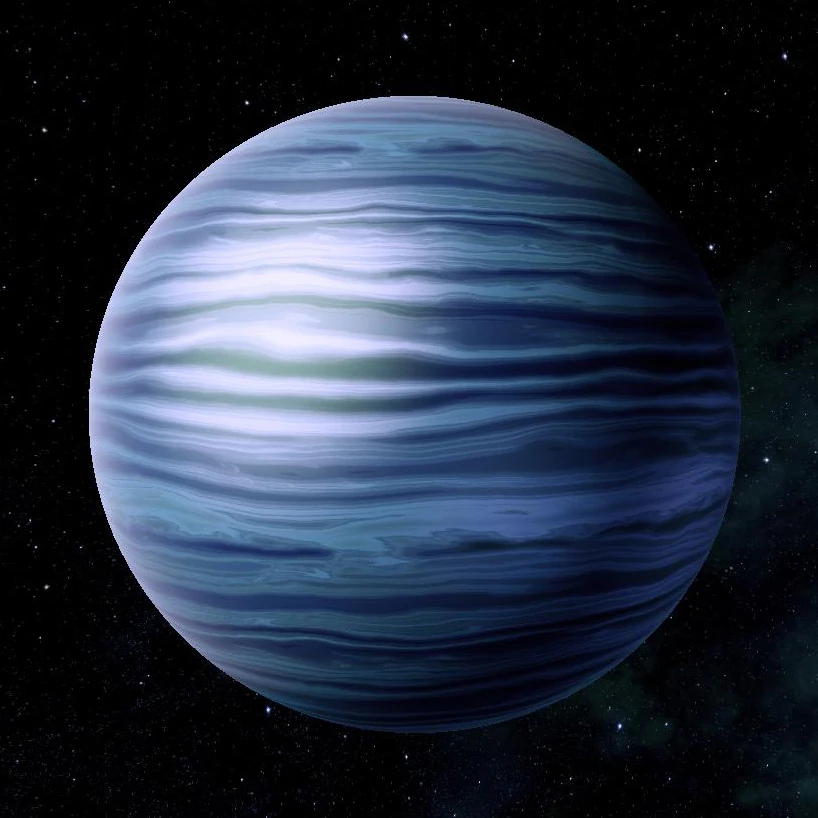
|
| Examples | Neptune, Tula, Alkonost, Imorkan | |
| Element Zero | None | |
| Iridium | 20% | |
| Palladium | 30% | |
| Platinum | 50% | |
| Mining Notes | Minerals on an ice giant are concentrated in smallish clusters. Look for noticeable features, such as massive storms, for the location of rich deposits. | |
| Giant Jovian | ||
|---|---|---|
| Frequency | Common | 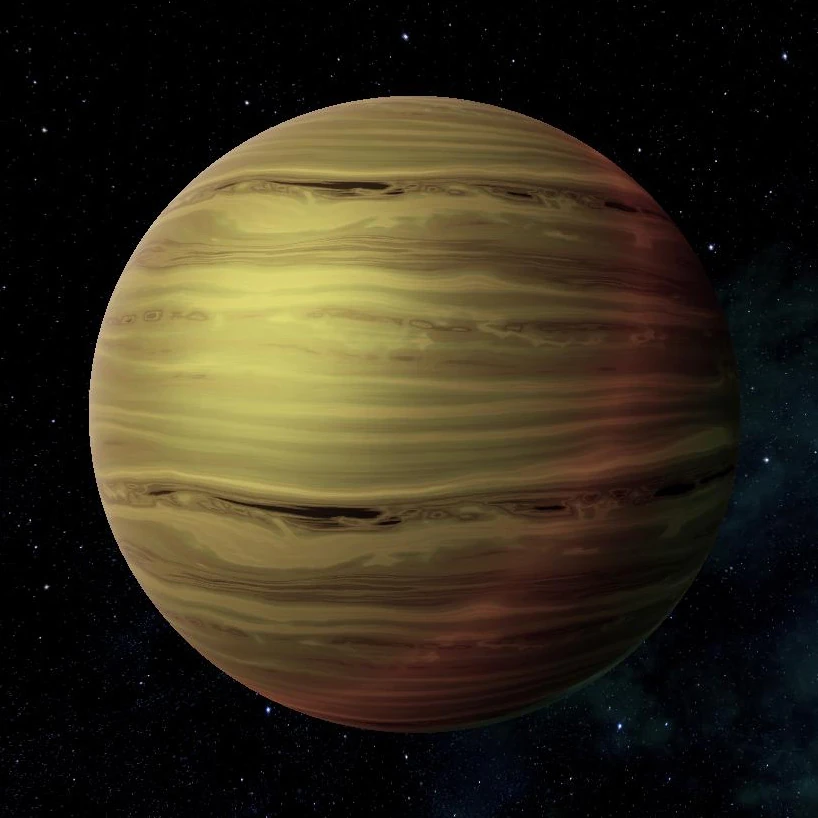
|
| Examples | Bast, Nephros | |
| Element Zero | None | |
| Iridium | 30% | |
| Palladium | 30% | |
| Platinum | 40% | |
| Mining Notes | As on brown dwarfs, the minerals on a giant Jovian are spread out across the colorful bands. | |
| Ocean/Ice | ||
|---|---|---|
| Frequency | Common | 
|
| Examples | Anedia, Maisuth, Lorek | |
| Element Zero | None | |
| Iridium | 15% | |
| Palladium | 15% | |
| Platinum | 70% | |
| Mining Notes | Look for mineral deposits in small clusters. | |
| Pegasid | ||
|---|---|---|
| Frequency | Rare | 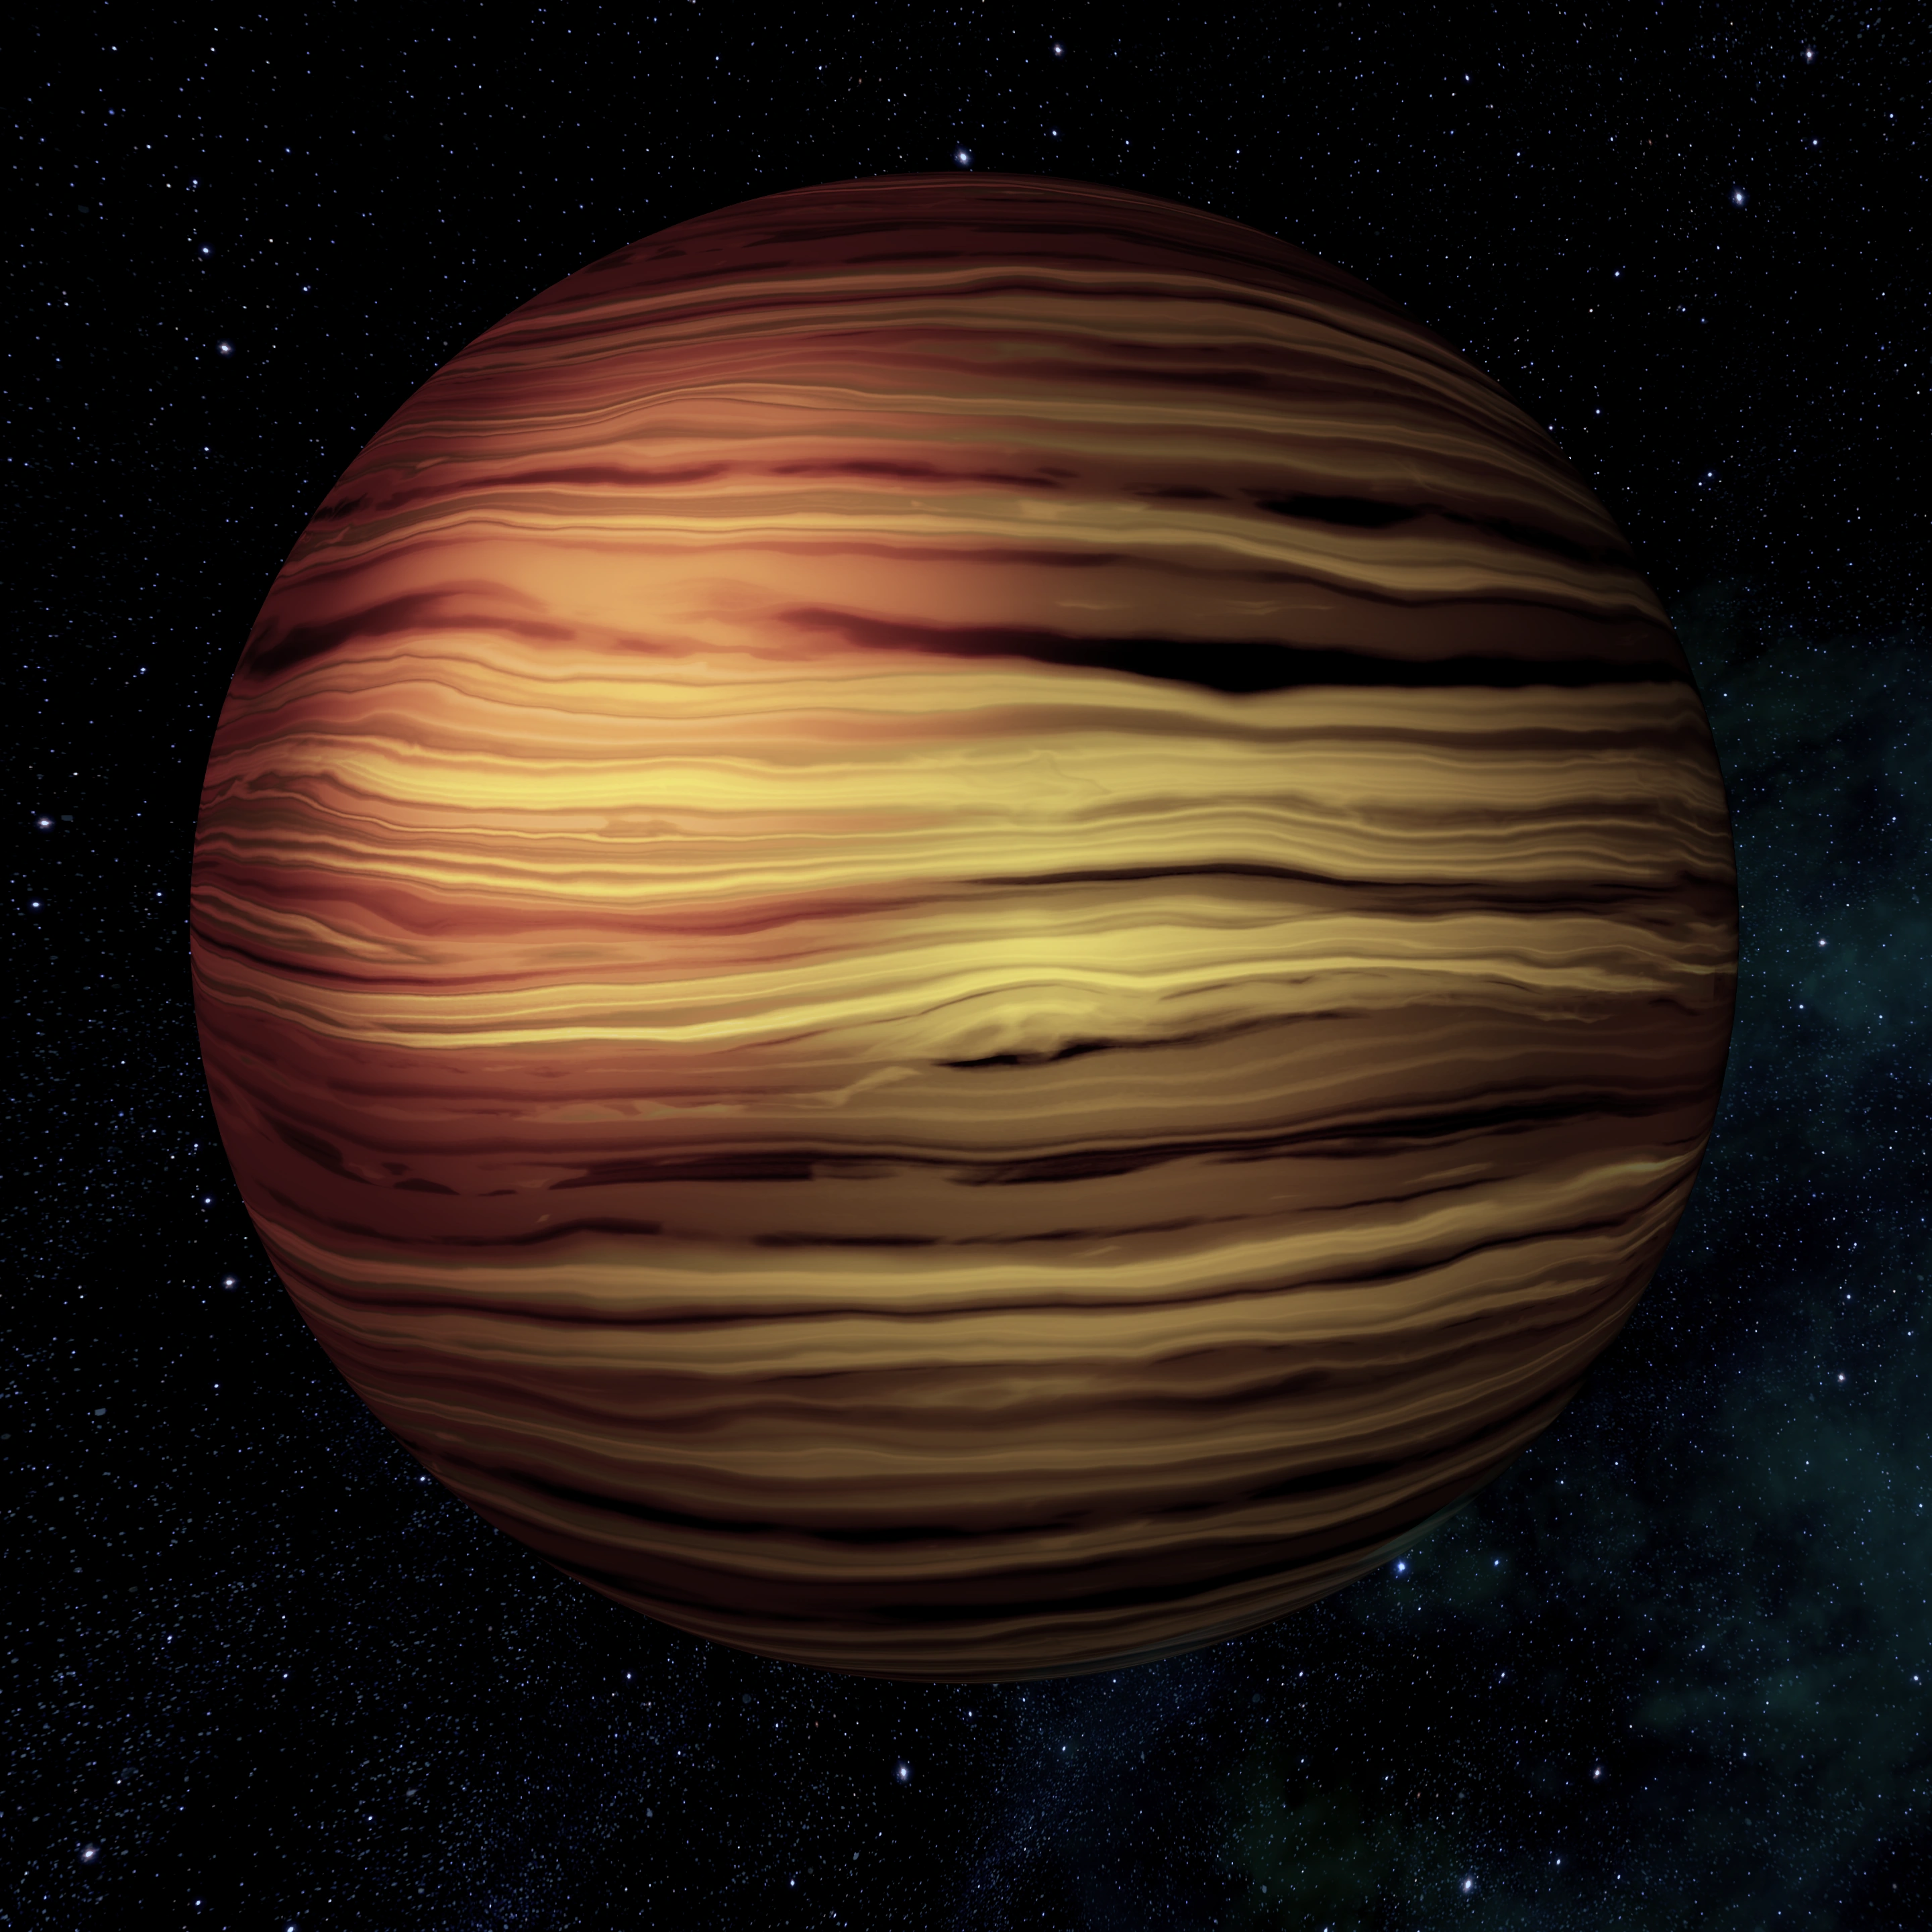
|
| Examples | Rescel, Jontan | |
| Element Zero | None | |
| Iridium | 30% | |
| Palladium | 40% | |
| Platinum | 30% | |
| Mining Notes | Similar to Jovian giants, but are locked in close orbit with their parent stars. The orbit causes a tidal lock, meaning that there is a “hot pole” that faces the star and a “cold pole” that faces deep space(and is incredibly dark). Giant Pegasids have hurricane winds that move from the hot pole to the cold pole. These poles are where you should expect to find the richest deposits, which is quite different from other planets, which typically see their deposits along the equator or in the horizontal bands. | |
| Post-Garden | ||
|---|---|---|
| Frequency | Rare | 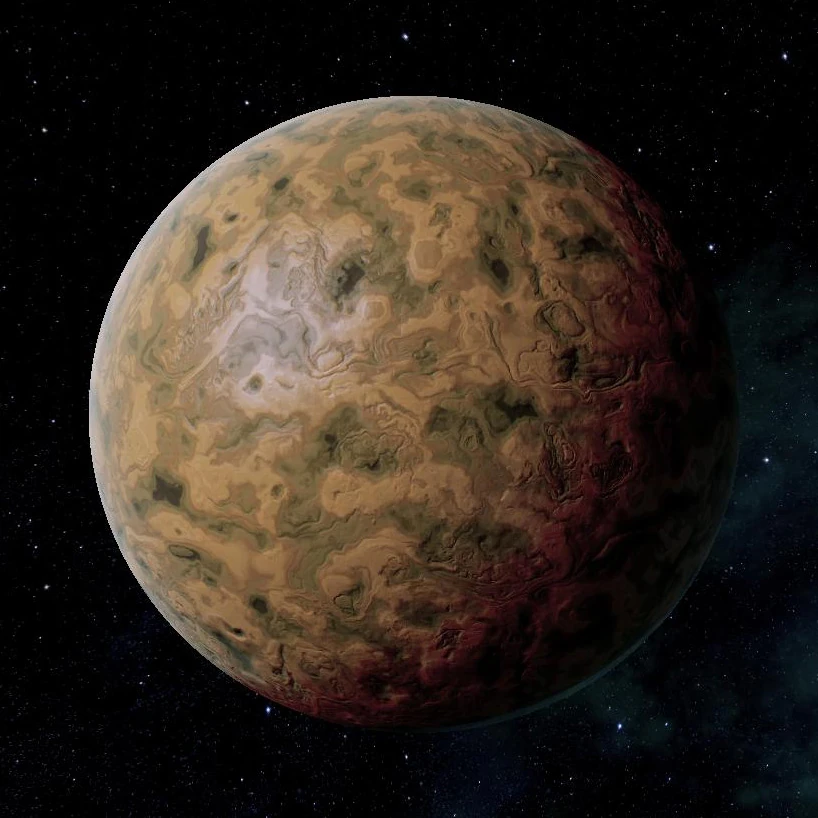
|
| Examples | Helyme, Etamis, Daratar | |
| Element Zero | Rich | |
| Iridium | 30% | |
| Palladium | 40% | |
| Platinum | 40% | |
| Mining Notes | Element Zero is highly concentrated on post-garden planets as a result of fallen civilizations. The remaining minerals are spread out across the equator with occasional deposits elsewhere. | |
| Rock | ||
|---|---|---|
| Frequency | Very Common | 
|
| Examples | Gregas, Quarem, Korar | |
| Element Zero | None | |
| Iridium | 60% | |
| Palladium | 20% | |
| Platinum | 20% | |
| Mining Notes | When mining a rock planet, look to the impact craters for the richest deposits. | |
Hidden Anomalies List
Here is a list of all of the "hidden" N7 Assignments, grouped by star cluster and availability for maximum convenience in traveling about the galaxy. A few of these assignments then reveal additional assignment locations - but these will then be indicated by a flag on your Galaxy Map and thus are not included here.
If JavaScript is enabled, the columns may be sorted by clicking on the up/down arrow icons in the column headers.
Resource Rich Planets by Type
A rich resource is 10,000 or more of that resource possible to be gathered. The following list shows the Planets with a specific 'rich' resource and other resources. (Element Zero is so rare that no planet is 'rich', however the list of all the planets with element zero can be found here.) If you need a lot of one particular resource, try these planets:
- Iridium: Agnin, Aigela, Alingon, Antictra, Atahil, Beach Thunder, Bres, Capek, Clogon, Corang, Crick, Darwin, Dobrovolski, Durak, Ekuna, Elatha, Farlas, Fitful Current, Franklin, Gregas, Imaen, Israfil, Kakabel, Komarov, Kopis, Laban, Maitrum, Makhaira, Mantun, Maskawa, Nepyma, Pahhur, Parnassus, Quarem, Raisaris, Sakata, Saleas, Sehtor, Shasu, Shir, Siano, Talaria, Tosal Nym, Uwan Oche, Vatar, Vecchio, Volkov, Yunaca
- Palladium: Aequitas, Alchera, Alingon, Ansuz, Bannik, Beregale, Bovis Tor, Canalus, Canctra, Epho, Euntanta, Flett, Gei Hinnom, Gotha, Karumto, Ker, Klendagon, Kruban, Laena, Mercury, Moros, Murky Water, Neith, Pietas, Pluto, Ponolus, Sakata, Sarapai, Surtur, Synalus, Taitus, Tamahera, Tamgauta, Thegan, Tunfigel, Venture, Wenrum, Wrill, Yunaca, Zada Ban, Zeona, Zesmeni
- Platinum: 2175 Aeia, Acaeria, Agnin, Anedia, Anhur, Bindur, Boro, Bothros, Dorgal, Dobrovolski, Eingana, Erinle, Etamis, Invictus, Joab, Keimowitz, Kopis, Lorek, Maisuth, Makhaira, Odasst, Partholon, Patsayev, Rothla, Rough Tide, Sanctum, Sazgoth, Saturn, Talis Fia, Tamahera, Tarith, Theonax, Thunawanuro, Trident, Utha, Venus, Viantel, Watson, Zirnitra
Console Tips
- Scan intermittently. Your scanner moves 5x as fast when you're not scanning (holding LT). Try pulsing Left Trigger instead.
- Rotate the planet for additional speed. You move your scanner with the Left Thumbstick. You rotate the planet with the Right Thumbstick. You can combine these movements by moving your scanner to the left or right edge of the planet, and then pushing both thumbsticks in that direction.
- Prioritise on resource levels. There is no need to scan every planet to get the resources needed, even if starting with a new character on a first playthrough. Note the rich planets in a system, and give them scanning priority, and you can accumulate the necessary resources much faster, without having to tediously scan several moderate or poor planets.
- As of May 17, 2010 a patch was added to the 360 version increasing the size of the scanner and the rate at which it moves.
Trivia
- The planet Uranus is depleted of resources, so many people won't notice that, if probed, EDI will give a unique dialogue. Upon launching the first probe, she will say "Really, Commander?", and upon the second she will add in an unamused voice "Probing Uranus...". After this is done it follows the normal speech for the rest of the game.
| Mass Effect 2 Guides | |||
|---|---|---|---|
| Completion | Walkthrough • Morality • Upgrades • Planet Scanning | ||
| Classes | Adept • Engineer • Infiltrator • Sentinel • Soldier • Vanguard | ||
| Other | Squad Members • PC Tweaks • No One Left Behind • Data Hound • Merchants Research Guide • Interrupts | ||