Cerberus has attacked a comm facility on Ontarom. Land on Ontarom and prevent Cerberus from gaining control of crucial access points.
Acquisition
After completing Priority: Thessia mission, Specialist Traynor mentions the hub.
Preparation
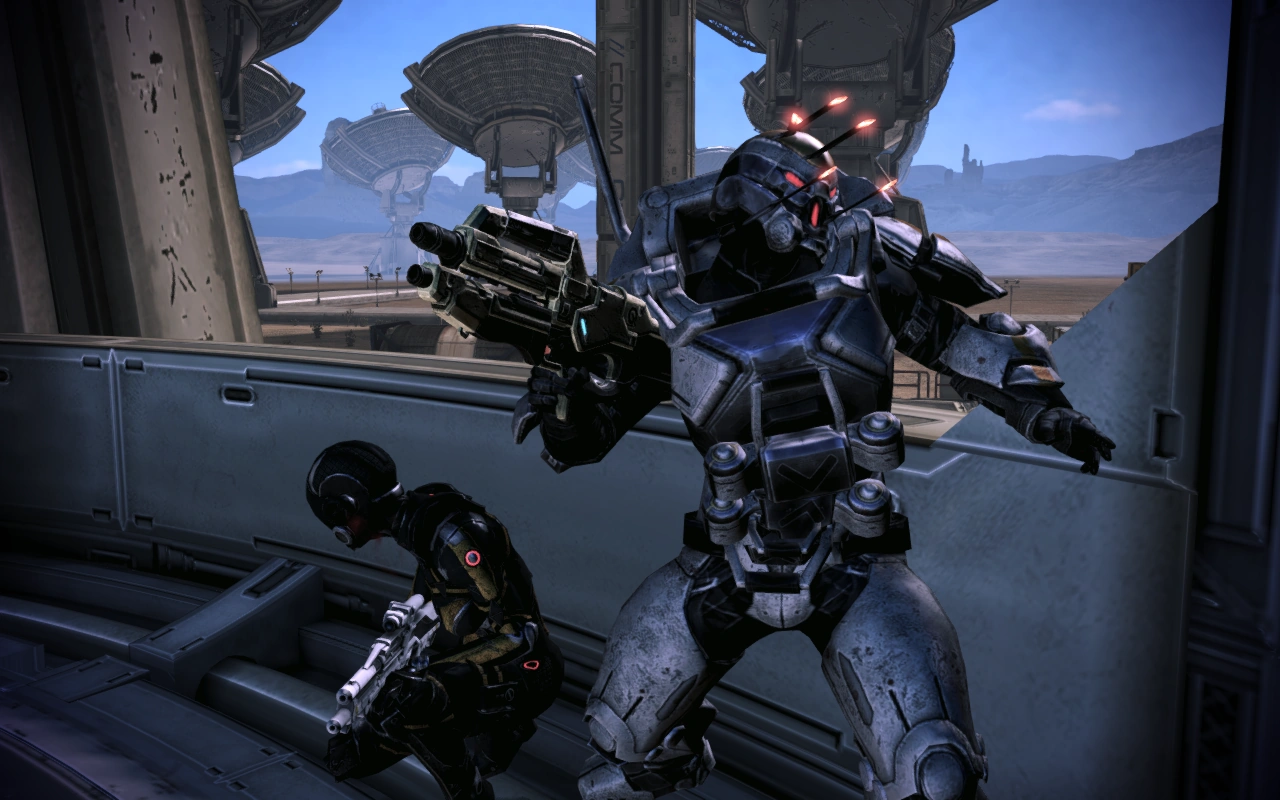
A Phantom augments the regular Cerberus forces here, so recommend bringing anti-barrier abilities such as Overload and Energy Drain, plus crowd control like Stasis or Cryo Blast. Lots of long range lines of sight make this an excellent sniper rifle mission and render the many Nemeses quite dangerous, but there are some places you can hole up in a corridor if that's your preference.
Walkthrough
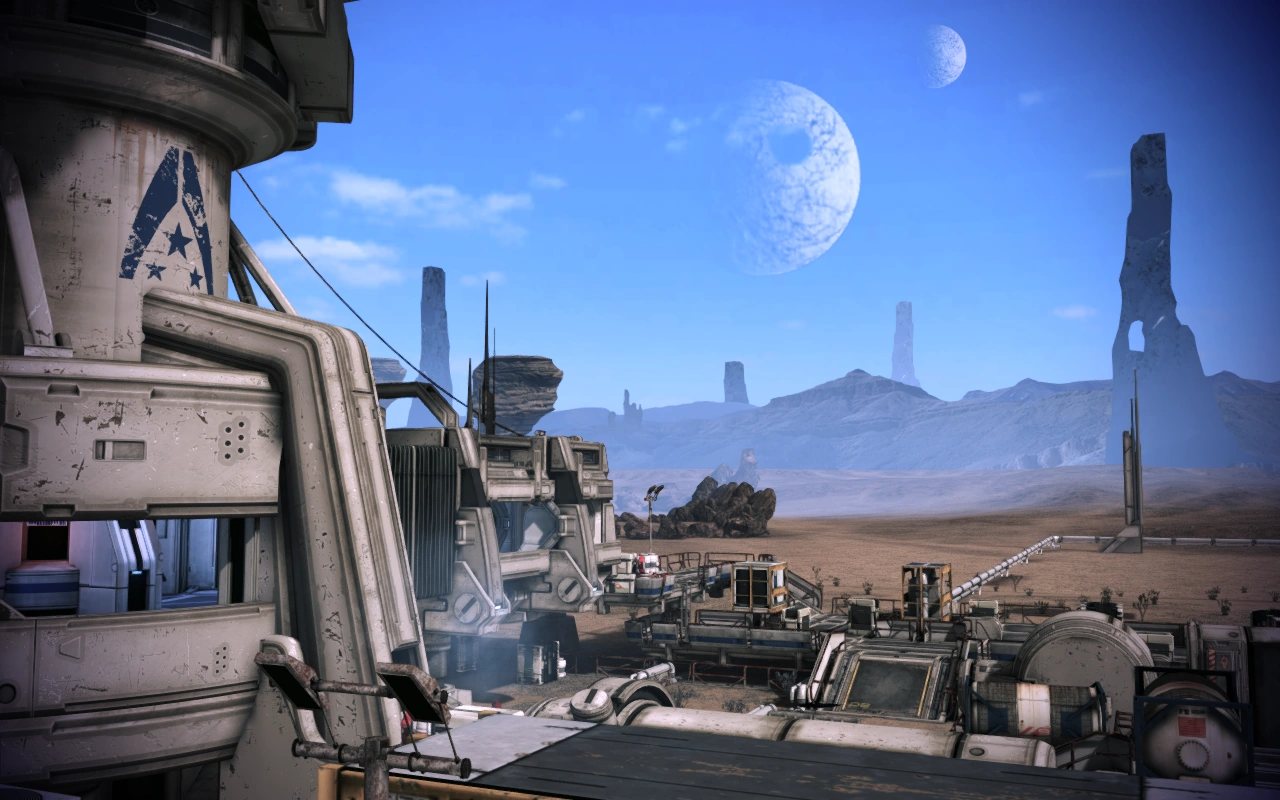
The location is not mentioned in either the Codex entry for the planet or in the mission briefing; it is located in the Kepler Verge, which is just up and to the right of Shadow Sea or almost straight right of the Ninmah Cluster.
You are dropped off in a combat zone that is the multiplayer map Firebase Dagger. Your initial opposition will be basic Assault Troopers and Centurions, plus a single Combat Engineer. Take him out first if you can; he can set up Turrets and nobody wants that. Wipe Cerberus out, then take your time and look around the map. You have infinite time before you must activate the NavPoint console, so find the following:
From your starting location, drop down into the courtyard. Head left, then take an immediate left up the ramp. You'll see a medkit right in front of you. From the medkit, face the satellite dish in the center of the map. Look to your right; there will be a console with the codes needed for Citadel: Cerberus Ciphers against the wall, alternately, take a left as you come up the ramp and they are right in front of you. Head along the outside barrier of the map away from the cipher console. You'll see another medkit. Face towards the satellite dish. Right in front of you is a tower labeled COMM 04; check the other side of it for another "Cerberus Technology" worth 3,000 credits. (This one looks like two red barrels).
Head up the ramp near the outside wall. To the right of the ammo pile, there's what looks like a jet engine on top of a crate marked "Cerberus Technology;" salvage it for 3,000 credits. Head forward, but just before the ramp, turn right and drop down the ladder leading to its underside of the satellite dish. Right in front of you will be a set of Ariake Technology Greaves. Go around the other side of the central pillar. You'll see two red barrels on top of a crate; this is a "Cerberus Technology" worth 4,000 credits.
Continue forward toward the left-side ramp. When you get to the ramp, turn right to pick up another med-kit. Go up the ramp, turn left and go up the second ramp. Turn left again to get into the circular room under the satellite dish itself. There's a medical station on the wall next to the right-side door.
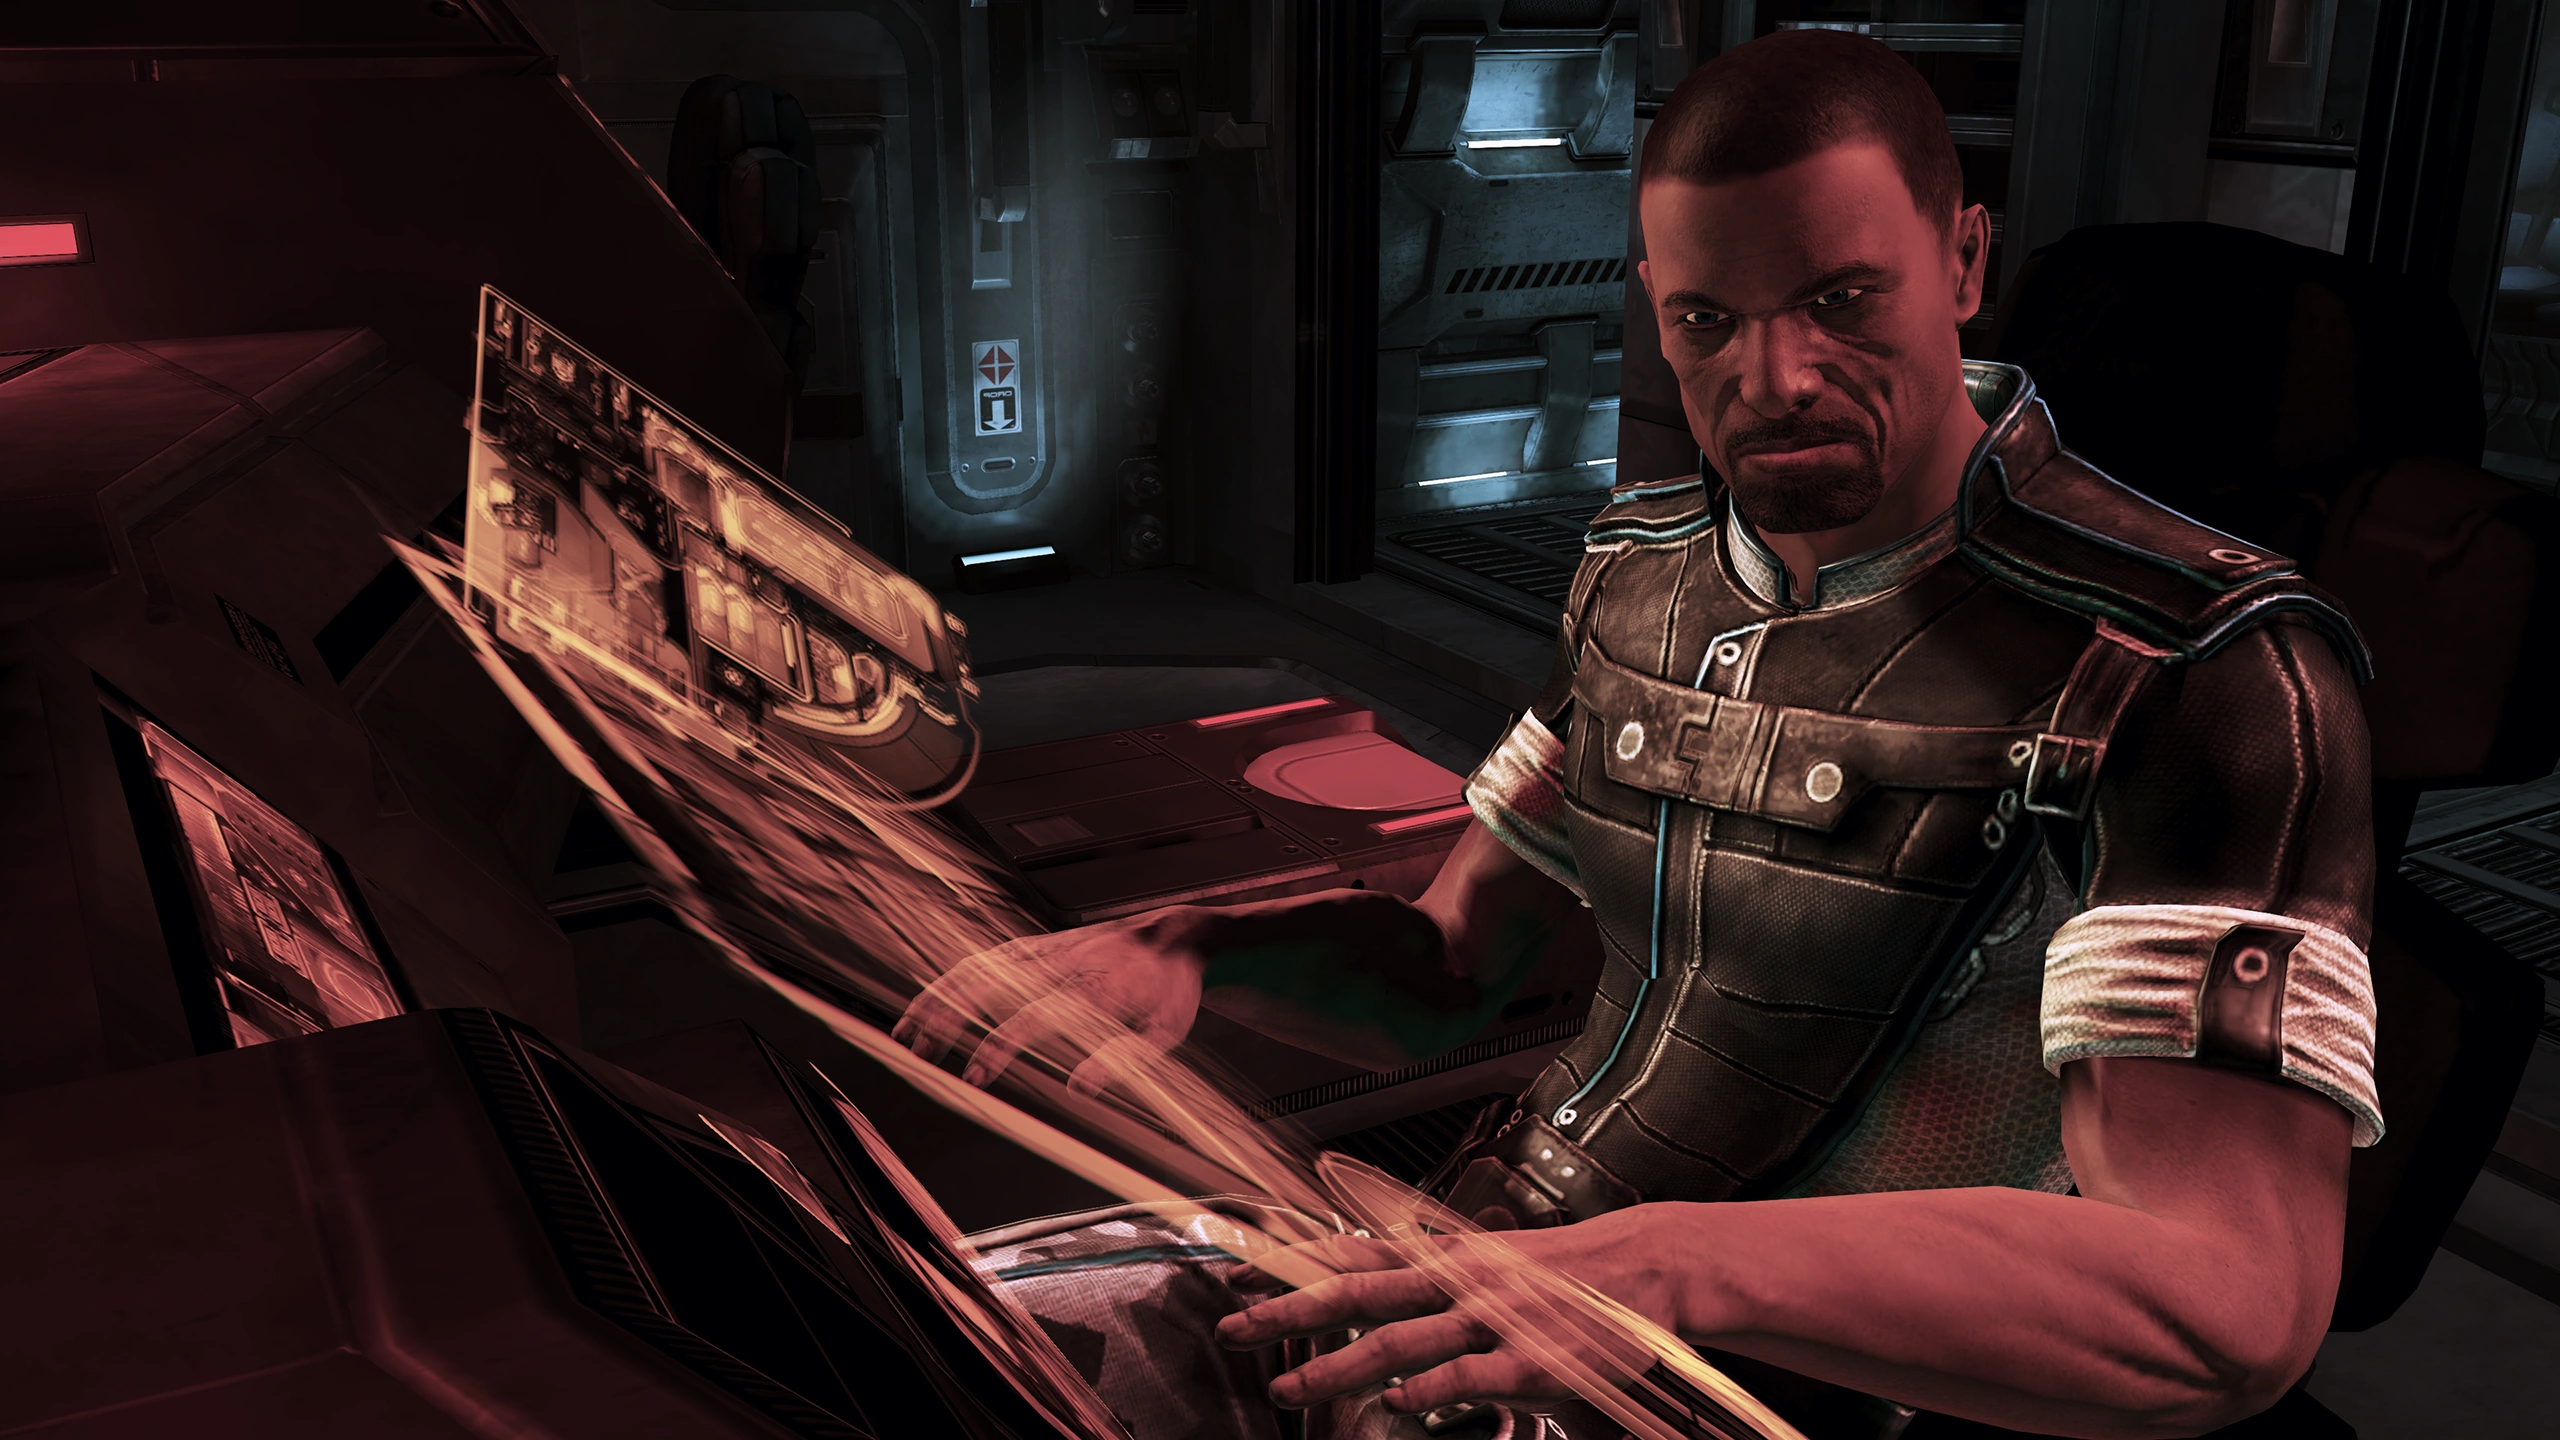
Once you've got all the loot, go ahead and deactivate the console. After this, a second NavPoint appears, along with more Cerberus troops. This next wave includes a few Nemeses. After they're dead and the second device is disabled, a cutscene and dialogue with Ms. Sato occurs. Make your choice (which doesn't matter), receive the info on the third NavPoint, and prepare for the final wave. Tip: When you activate the second NavPoint, triggering the cutscene, any downed squad members will be revived for free. Also, if you manage to draw enemies away from the NavPoints (or if you are an infiltrator), there is no requirement to kill any of the enemies in the NavPoint portion of the mission.
The final wave includes a Phantom and several Nemeses, so be prepared. Clear out the enemies and be sure to grab any loot you've missed--once you deactivate the third station, the mission will immediately end.
Completing the mission gives you +5 Reputation, 10,000 credits, and a Communications Array War Asset.