Jarrahe Station (Strabo system, Eagle Nebula) appears to be under high security lockdown by its resident VI. The station was the last known docking location of the MSV Corsica, which crashed on planet Neith soon thereafter.
Acquisition
After the MSV Corsica wreckage investigation has been successfully completed, EDI advises that further investigation at the Jarrahe Station, which, from the recovered logs analysis, appears as the last reported location of the merchant freighter, shortly before it crashed, could help understand the cause of the crash.
These mission notes are displayed after scanning the station:
“Data mining confirms the last reported location of merchant freighter MSV Corsica as the Jarrahe Station in the Strabo system. Possibility exists that clues pertaining to the anomaly that caused the mass malfunction of the mechs aboard Corsica can be found aboard Jarrahe Station.”
Walkthrough
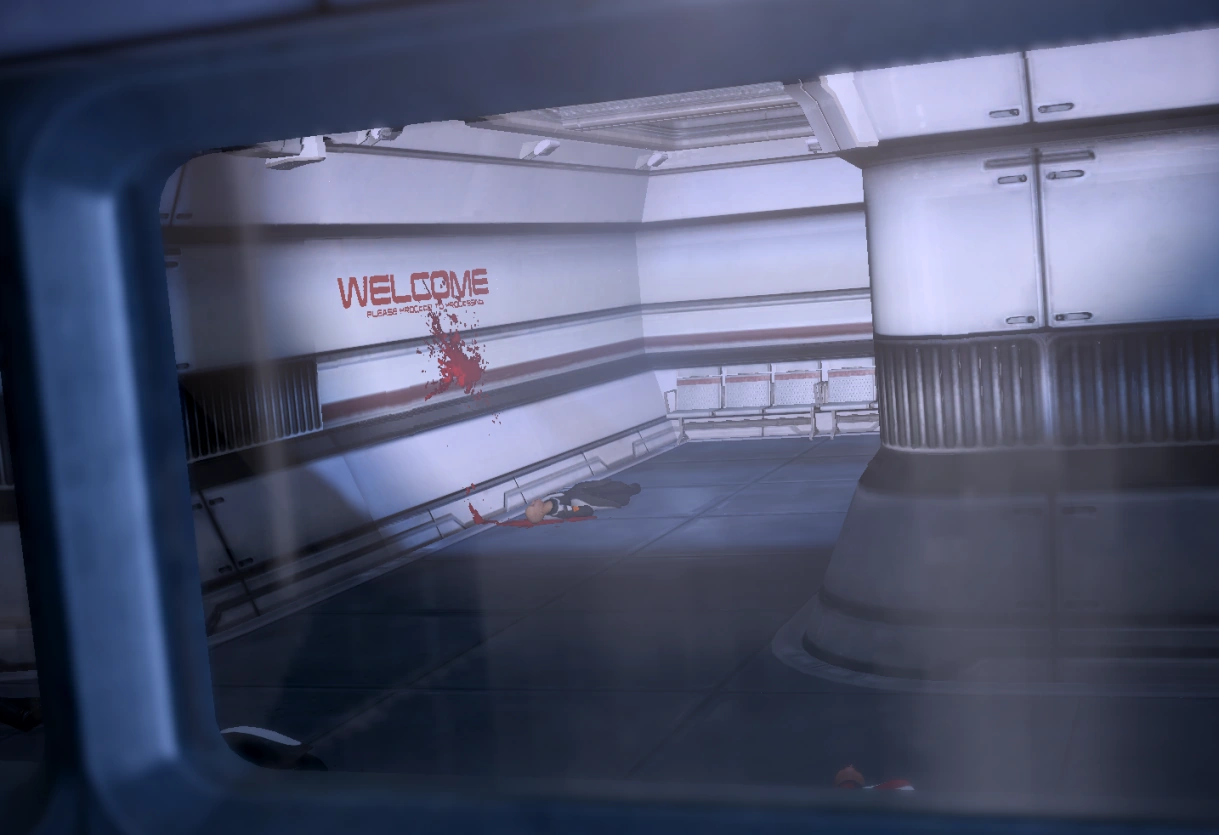
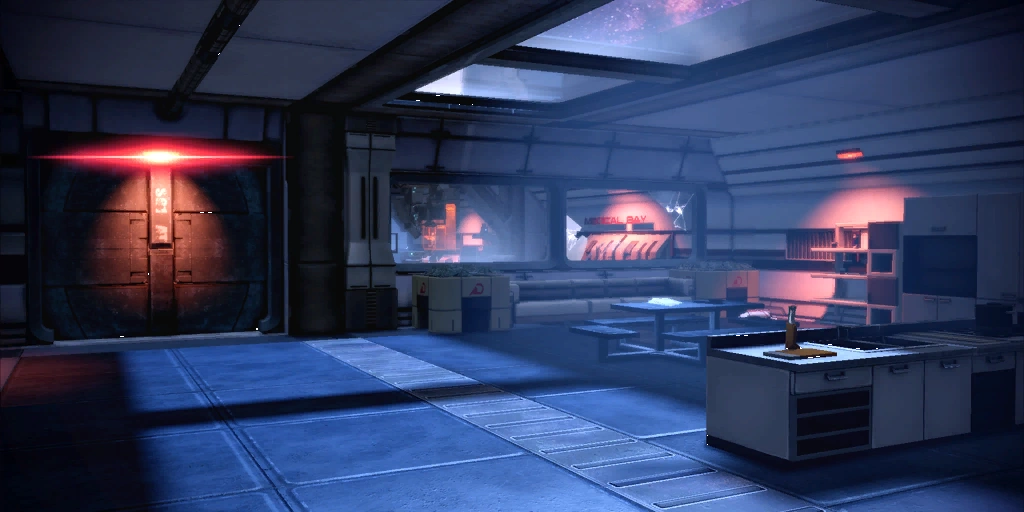
Upon entering the space station, it is clear that something terrible must have happened as there are the bloody bodies of dead scientists strewn about the floor and bullet holes in the station windows. The door behind the crew is closed, preventing them from returning to the Normandy and requiring the squad to find a way out.
To start figuring out how to escape, first follow the path around, and into the room with the blown out glass. Inside are two crates of refined iridium, and a way to restore power to the docking section of the station.
The first step consists in restoring power in the Processing area where you boarded, which opens the door to the central hub of the station. When you reactivate the power, the VI will tell you that intruders, i.e. you, have been detected and need to report to the cargo area for immediate removal from the station. Head out of the room and into the station’s main hub. Ahead of you is the VI’s control station, but it is currently locked down so you will need to find a way to fix that. Head into the living quarters, which will be the first door on the right.
Note: There are labels on the wall outside each door telling you which is which.
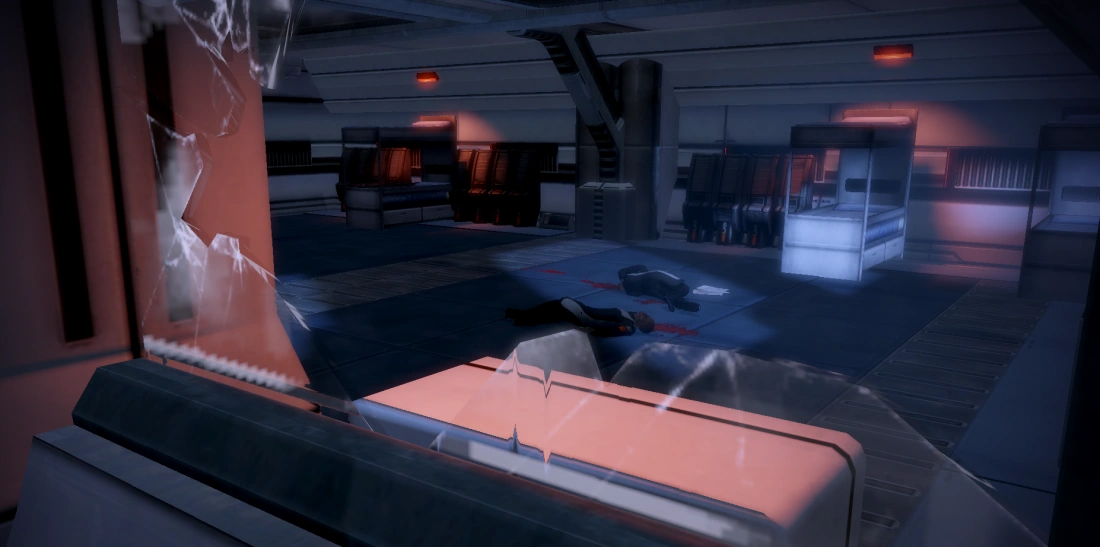
Inside the first area of the living quarters are more bodies, and another datapad, lending more clues as to what happened here. Head through the doors at the other end, and since the one on your left is locked, head a little further and go into the one on the right. Inside is the button to restore power to the living quarters and a med-kit. When you reactivate the power this time, the VI locks down the living quarters to contain contaminants that are a threat to the station. It also advises the people inside to commence “self-destruct procedures to prevent death by starvation”. Now you must get the doors open via the console behind and to your left.
The quickest solution is to select the left-most computer, then the right-most computer to get all five doors open again.
Before leaving, go into that previously locked room, and grab credits from the three Personal Lockers there. As you leave, the VI asks you politely to leave the station. Head around the VI core and into the Research Lab.
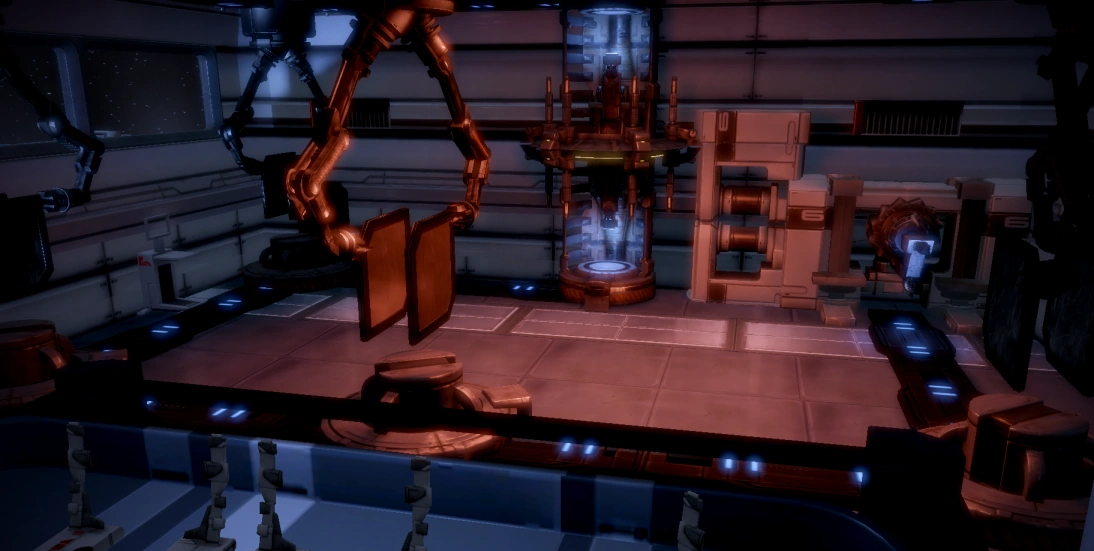
Inside the lab are another two crates of iridium, and another power button. Like the last time, when you restore power to the lab, the VI locks down the sector. Since an experiment is running, the VI locks it this time citing procedure M29-2. Now you have to get out. Head over to the computers and begin to bounce the laser beam to the tank of the far side of the lab. The procedure to do this is:
- Computer 1 - one time
- Computer 2 - two times
- Computer 3 - one time
- Computer 4 - three times
Once the tank explodes the area unlocks, and the VI again asks you to leave. Head to the engineering section to restore the hub’s power so you can leave, as the airlock is still locked down. When you enter the engineering section however, the station’s VI says that plasma venting is in progress, and trying to get to the controls will likely result in injury or death, and it will. One blast can knock out your shields, and can even kill you, so avoid them.
The best way to avoid them is to get your squadmates to stay in that alcove on the right, also there are two personal lockers there with credits, so grab them, and continue alone. Avoiding the jets is easy, and usually doesn’t require running. However, you may have to run when you round the corners at the end and head onto the catwalk. When you restore engineering power, the jets will be disabled, making it an easy walk back.
Note: It is sometimes possible to activate the power switch from below when you walk towards the alcove. Look at the catwalk above you.
There is only one thing left to do: shut down the VI. Head back to the hub, activate the power, and the VI will come to full power, and attempt to upload itself into the Normandy’s mainframe. Shut it down before it has a chance to. Once the VI is shut down, the assignment ends.
PDAs
PDA #1
PDA #2
- PDA #3
- PDA #4
Bugs
- After reaching the research lab, repositioning the reflective armor so that the beam fires into the wall may result in a crash. Currently, there is no patch for the bug. You can, however, prevent the crash from occurring by moving all the mirrors aside from the one that would alter the path of the beam. When all mirrors aside from that one are positioned correctly, look away from the beam and the reactor, and the game should not crash to desktop.
Mission Summary
Deactivated Jarrahe Station's security protocols.
Escaped the station.
- Experience reward: 125 (156)
- Credits: 7,500
- Cerberus Funding: 3,750
- Credits Found: 3,750
- Minerals:
- Iridium: 2,000
Trivia
- Several of the dead bodies inside Jarrahe Station are clothed in uniforms bearing an "SR2" shoulder patch.
- The story of this mission is similar to the 2001: A Space Odyssey movie, an AI becoming homicidal killing the inhabitants because they are trying to shut it off.
| ← Previous Assignment | Assignment Index | Next Assignment → |
|---|---|---|
| N7: Wrecked Merchant Freighter | Assignments | N7: Hahne-Kedar Facility |