| This article is about the mission in Mass Effect 2. For the mission in Mass Effect 3, see Priority: Horizon. |
The Illusive Man has received information about a potential Collector attack against the small colony world of Horizon.
Acquisition
After acquiring the first four team members — Archangel, Jack, Grunt, and Mordin Solus — Shepard will be unable to select a new destination for the ship. Both Kelly Chambers and Joker, if you access the galaxy map, will inform Shepard that the Illusive Man wants a chat. Shepard must go to the FTL comm room to talk to him and begin this mission. Note that, if the player has the requisite Downloadable Content, it is possible to acquire both Zaeed and Kasumi before acquiring the four teammates mentioned above; this allows Shepard to have as many as eight team members (including Jacob and Miranda) before the mission on Horizon begins. Note also that by delaying recruitment of one of the four original squad members, Shepard can take time to reach a higher level by completing as many N7 Assignments as possible, as well as the DLC missions for Overlord and Firewalker Pack. Delaying Horizon in this way is also the only way Shepard can be maximized in level before encountering the Collector Ship mission, because after Horizon an inexorable five mission countdown begins.
This mission is the actual field mission acquired after arriving on Horizon following Stop the Collectors: Go to Horizon. It begins once Shepard arrives on the planet.
Preparation
Consider bringing Miranda for her Warp power, especially if Shepard doesn't have it. Most Collectors will have biotic barriers and some will have armor as well. An ammo power such as Warp Ammo, which provides bonuses against both barriers and armor, helps quite a bit as well, but if Shepard is only trained for pistols don't neglect to bring at least one squadmate who can use a bigger weapon. There are several points where you may face waves of Husks while under suppressing fire - remember that either Concussive Shot or Pull will instantly kill any Husk that's had its armor stripped off.
For heavy weapons you can choose between the Cain for disintegrating the final enemy or perhaps the Arc Projector for frying masses of small critters.
Walkthrough
Mission Briefing
The Illusive Man will give Shepard information about the mission. Shepard agrees to go to the colony in order to save it. After talking with the Illusive Man, Shepard walks to Mordin’s Tech Lab to ask him if he has developed a countermeasure to the seeker swarm. He will reply yes and show Shepard the schematics.
Horizon Before Normandy’s Arrival
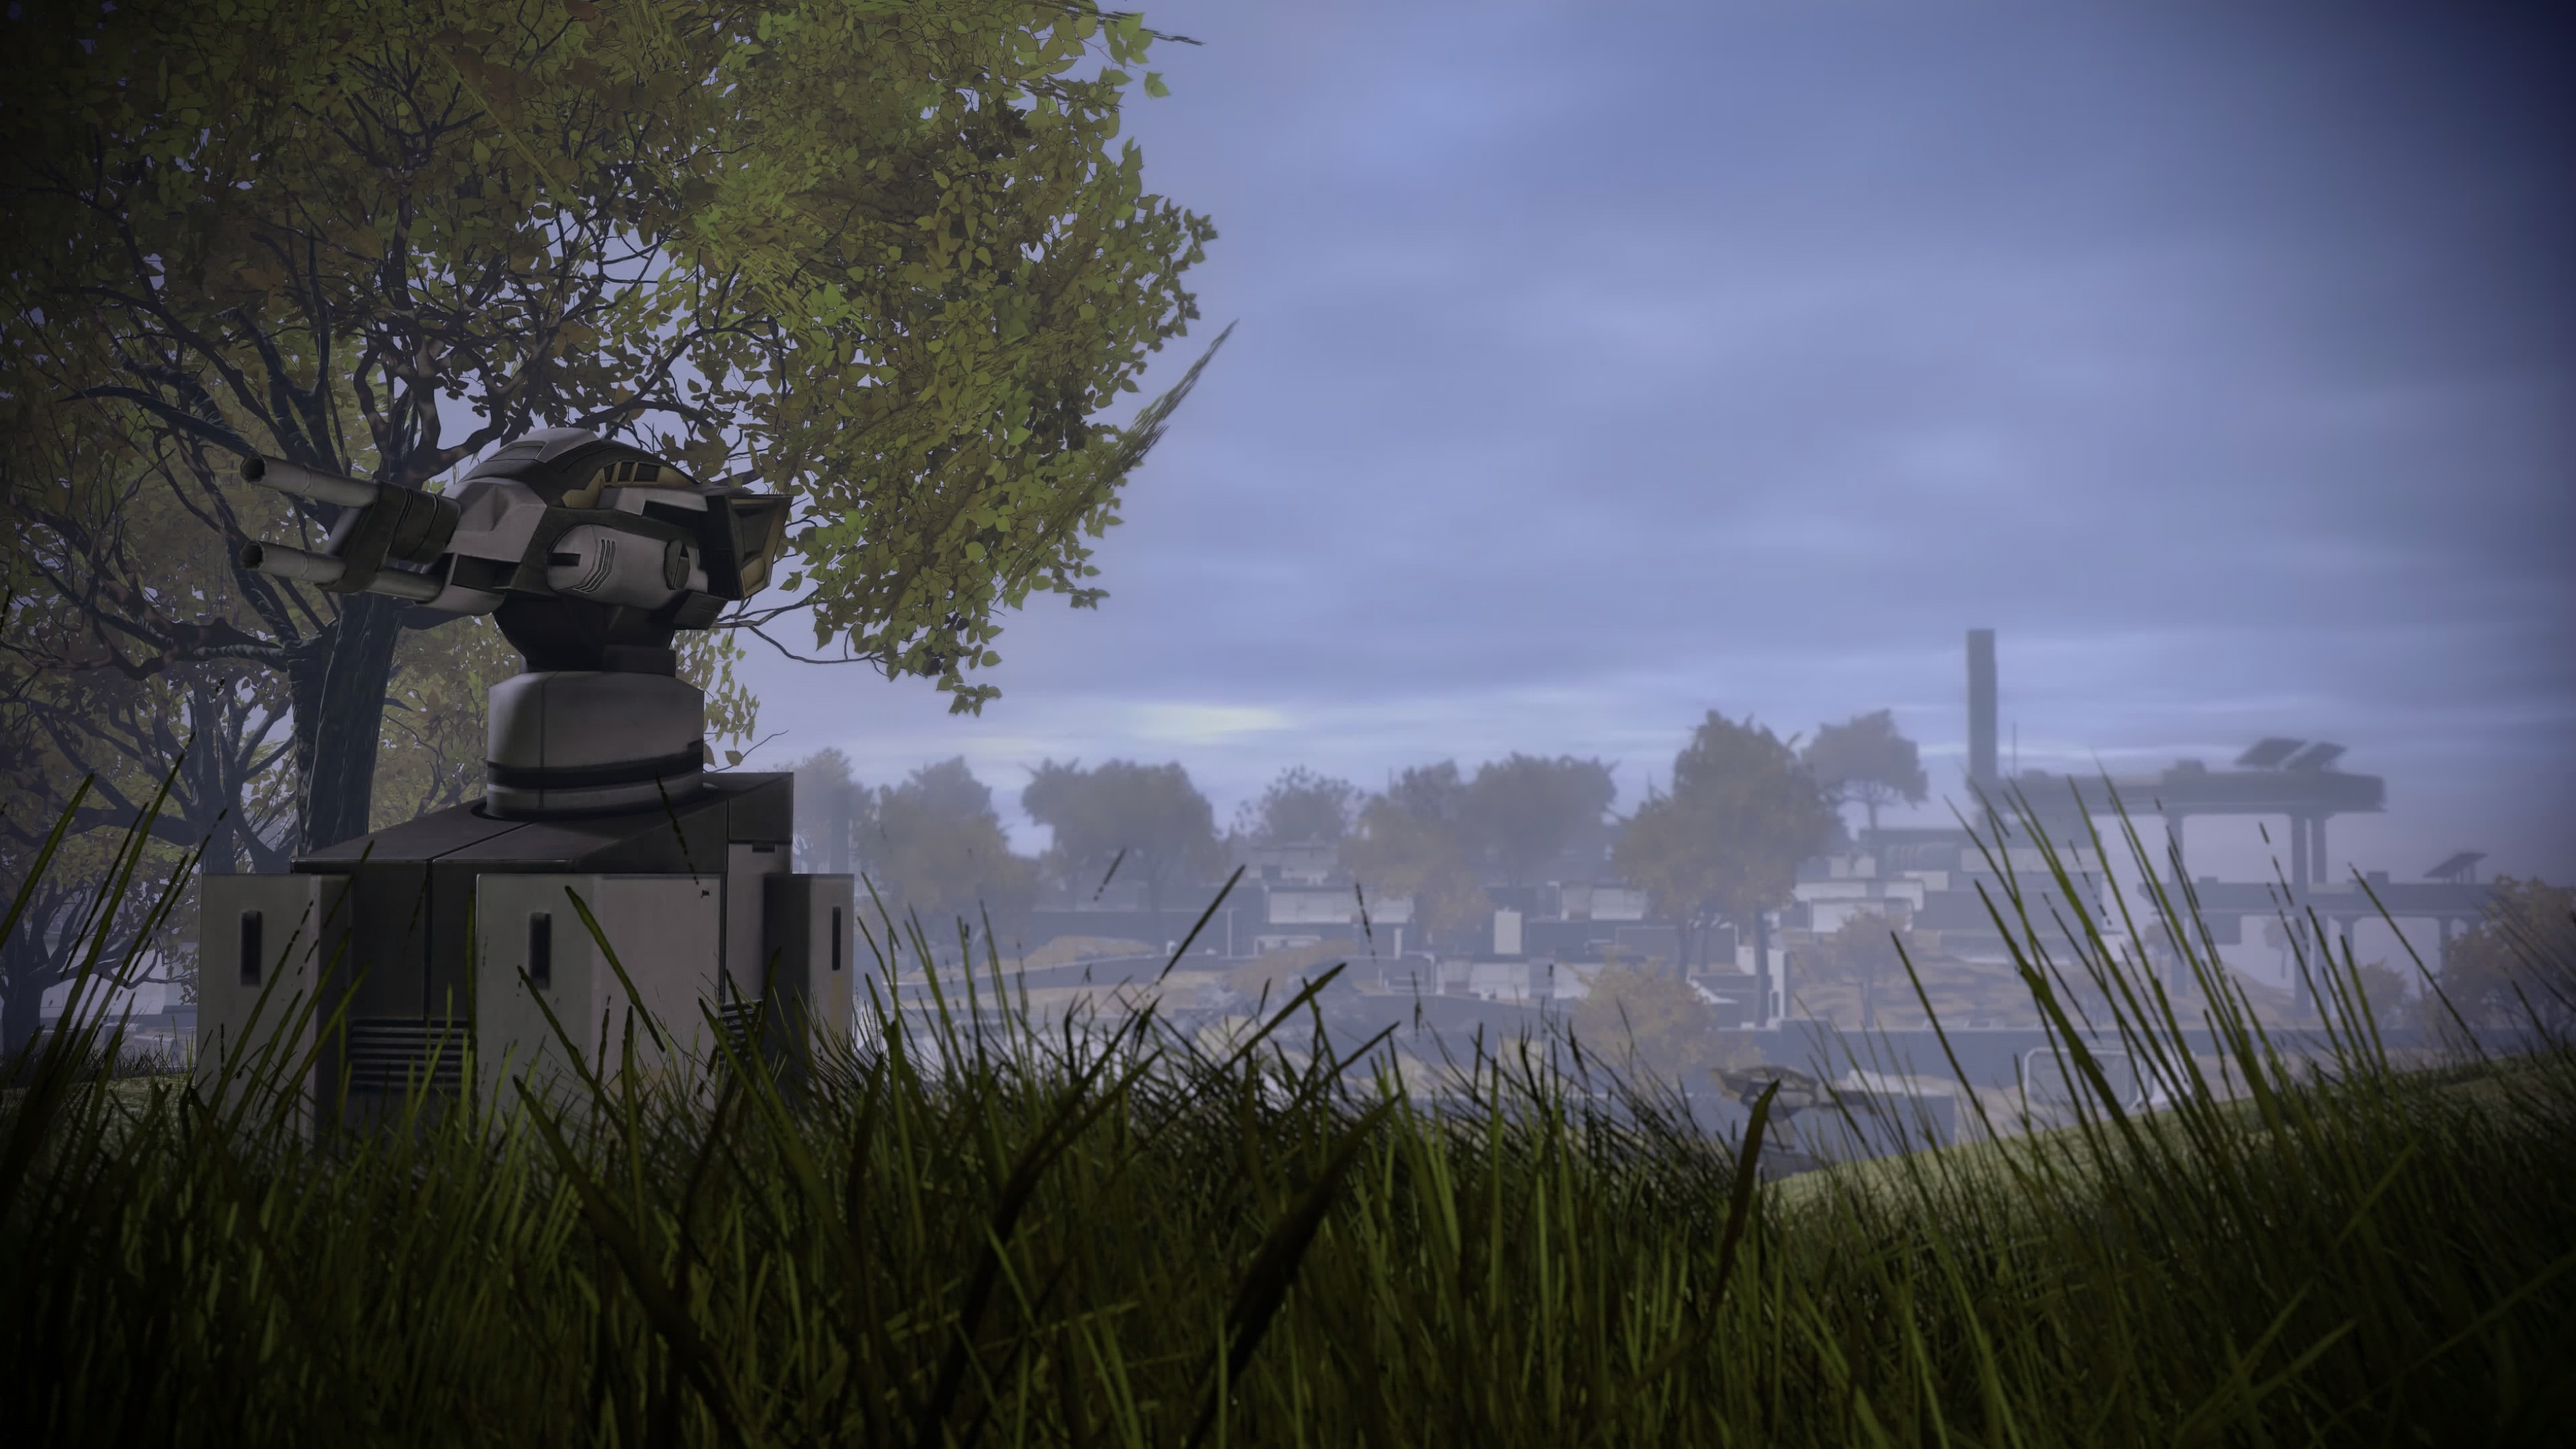
Horizon had been recently fitted with GARDIAN laser turrets which were provided by the Alliance to defend the colony. The turrets, however, could not be calibrated correctly, and so the Alliance had sent either Ashley Williams or Kaidan Alenko to help get the turrets functioning, depending on the Virmire decision in Mass Effect.
The Collectors attack Horizon after establishing a communications blackout. While Shepard's former squadmate is talking with one of the colonists, Lilith, the Collector Cruiser drops into the atmosphere and the seeker swarms are released. The former squadmate will try to provide cover but ends up getting stung and incapacitated. The colonists run for cover as the swarms sting more and more people.
Arrival On Horizon

Landing on Horizon, you find the Collectors in mid-operation: they have started moving colonists into their ship. Your job this time is to hit them and stop them before they get away. As you move away from the landing site, Mordin will tell you that his countermeasure for the swarms may not work because they haven’t had a decent test yet. With that reassurance, move on and after rounding a corner, engage the enemy.
Keep behind cover, move around and take out the attacking Collectors in a surprise assault. Don’t move forward too quickly, as more reinforcements will come in by air. Once all the collectors are down, move on, but pick up the heavy weapon ammo in the middle of the area where the Collectors were. Beyond that, hack the datapad on the picnic table for 6000 credits and then move on down the path.
The next area that you come across will have several buildings around, and Collectors who just happened to be harvesting. Move into cover and take them out quickly. Several husks are also present. Remember, they only have melee attacks, so shoot them at a distance. A good way to end this fight quickly is to use the buildings on either side to flank the Collectors with your squadmates or yourself. Once the enemies fall, go into the building on right for a datapad worth 4200 credits. Outside the building is a dead Collector, which you can scan for a Heavy Skin Weave upgrade.
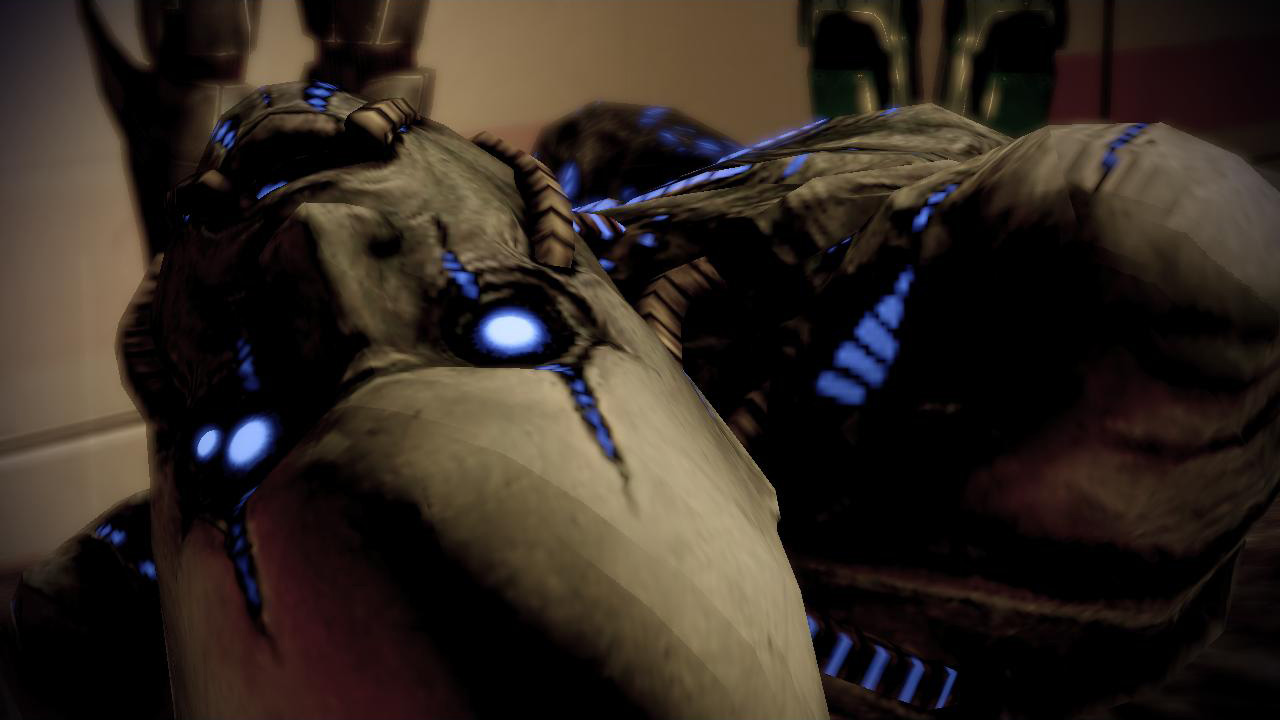
Around the corner is a dead husk. A cutscene will play and Shepard will describe how they are different from the ones encountered on Eden Prime, or Mass Effect in general. Shepard and the squad realize that the Collectors must have come with these husks and not created them on site. At the end Shepard rallies the squad, and they move on to prevent more abductions.
Enter the next area slowly and put your squad in cover if you wish. Before you do so run up the stairs from where you enter to bypass a wall safe for 4800 credits and Medi-gel in the building to the left. Once that is done, move into cover and take out the attacking Collectors. Use cover and the buildings to flank the enemy to make things go a little bit faster.
Once the battle is over, do not go past the pods further up or where the path narrows as more Collectors will spawn. Instead, move around this area collecting items and equipment. You will find a med kit in a building to the left of where you entered. Move across from that building to where you see some colonists in stasis on some stairs. Continue up those stairs to find ammunition and a computer in the room at the top for 3000 credits. Going down, look in the center of where you just fought to pick up the Collector Particle Beam heavy weapon. Once you are ready, save your game and go beyond the choke point.
As soon as you pass it, more Collector troopers will arrive via airborne infantry. Here, Shepard will encounter Harbinger for the first time. He will assume control of other Collectors and direct the battle, often taunting Shepard. He is more formidable as he has barriers and armor, but no health. Any time he possesses a Collector, take him down first, then quickly target the others so he can’t do it again. He can only possess one Collector at a time, but he will typically possess a Collector that is almost dead and make it beyond full strength again. Move around this area for cover and use it to eliminate your foes. Once they are down move around and recover the power cells in a building to the west and a computer containing 3000 credits immediately to the north of the Particle Beam's location. Move to the large doors to the south and bypass them to enter the structure.
Insanity Tips:
- It is possible to retreat back from the area where the Collectors appear and head up one of the staircases on the right for a safer vantage point.
- Also, an alternate tactic with Harbinger is to strip away all of his weaker allies before taking him on - as long as you do not let him get to point blank range, this will prevent you from facing multiple harbingers in a single battle. Or if you at least remove the weaker Drones he will be forced to possess one of his more valuable Guardians or Assassins.
- Beware Harbinger's "warp" shot, the slow moving one, because it will usually knock Shepard out of cover accompanied by a temporary stun which can allow fatal incoming fire. When you see warp coming, scoot back and forth behind your cover and the warp will usually pass you by.
Garage

Once you move inside far enough you encounter an unharmed colonist, the local mechanic. You can get some information about the attack, where your former squadmate is, what towers were installed and his anger at the Alliance, and you can earn some morality points as usual. You determine from the conversation that the GARDIAN laser towers are the key to destroying the collector ship. Once you are done he will tell you to move to the spaceport to get the towers operational.
Once you finish your conversation, use the weapons locker in the garage if you want, but don’t forget to pick up the platinum, medi-gel and access the wall safe to get 6000 credits. Move towards the door and beyond. Save your game before leaving.
Get to the Starport
The next area is difficult because of the lack of cover and the enemies' spawn points. As you near the edge of the wall to the right, move into cover and position your squadmates where you can cover them or vice versa and take out the attacking Collectors, husks, and scion. A scion has a powerful attack similar to Shockwave, and Harbinger also makes an appearance every now and then. Insanity Tips: If you remain behind the low thick wall that first separates you from the area with the collectors, Harbinger's warp bolt will not have its usual cover-knocking-out-of potency, and you will have a good vantage point to take him out along with his smaller minions. If Harbinger or the Scion is about to come around the wall, run back to the large piece of farm equipment and play "circle the tractor" as necessary. On Insanity it is usually best to save the Scion for last because of its toughness and slow movement rate.
Once the enemies have fallen, move around and collect the clips that they dropped. The area also contains some power cells on a walkway to the left of the entrance and a computer with 3000 credits on the upper level. To the right is a dead Collector that yields a Hyper-Amp research. There are power cells with heavy weapon ammo on one of the balconies, and a few miscellaneous ammo shells if needed. Once you have these items, move to the doors of the Starport, save the game, then bypass the doors and enter the Starport.
Starport

Move to cover and be prepared for a husk mass attack and two scions. At this point it is good to save your heavy weapon ammo because of the enemies that you will encounter later. Move around and use cover, melee attacks and powers to take out the attacking enemies. You can make the fight partially easier before it starts by moving to the far right or far left side of the doorway, where you should just be able to see part of one Scion. You can now take it out without it being alerted to you (a sniper rifle is highly recommended as it will allow squadmate powers—as well as your own—to be aimed more effectively. A heavy pistol, warp or incinerate will also be effective). After one scion is dead, stand to the other side of the staircase to defeat the second Scion. If both Scions are defeated without detection, no Husks will spawn. If you are quick enough with hacking, you will be able to skip the whole first fight with scions and husks.
When playing higher difficulty levels, the Husks are more of a threat due to their numbers and melee combat style. An easy way to deal them is to climb on the vehicle to the left of entrance. While the husks can follow you, with a powerful enough punch, you can knock them back to the ground. In addition, this vehicle contains a respawning clip. On top of that, the platform's location could confuse the Scions that appear until you can deal with Husks. Choosing this vehicle also makes dealing with the Husks easy because there is only one way the Husks can attack you, so there will be a lot of enemies in one tight space. Insanity Tips: On insanity it is best to avoid getting cornered in the truck, and instead mount a "mobile defense" running away from husks while keeping obstacles between you and the scions. Note that vaulting over obstacles, especially the large L-shaped covers at the far end of the field, will force husks to take a long circuitous route to get to you. If you end up with them coming at you from several directions at once that's usually the best solution.
Once the enemies have fallen and before you go to the transmitter, make note of a crate of heavy weapon ammo to the north; take it only if you need to. The south holds a med kit—again, don’t take it if you don’t need it.
Once you have everything, or you left it for the upcoming fight, move to the transmitter. Shepard will ask EDI to realign the lasers and bring them online. However, there is a hitch: the lasers will take time to charge, so you have to defend the tower prepare for a hard fight.
Defend the Tower
This fight will be hard, because enemies will come from everywhere. They will include Collectors, husks and Harbinger. Stay mobile and focus on the husks first. Focus on the Collectors once you take down Harbinger. Also watch out for Collector Guardians, who will deploy shields much like the geth barriers in Mass Effect to protect themselves. Flank rather than shooting out their shield. Once one wave is down, move around to combat the next, but don’t stay in one place for too long because the enemy will flank you and take you down. Stay in cover, put your squadmates in cover and focus on keeping the enemy off your flanks. Insanity Tips: For the first two waves the best cover is the raised deck to the left of the area. There will be a pause after these two waves and a squadmember will make a comment - at this point leave the raised deck and head to your left to the far end of the area. This avoids having husks spawn on top of you, and better yet gets the collectors to spawn near the group of trucks where they will remain throughout the battle and not approach you. You can safely rearm and pick them off one by one.
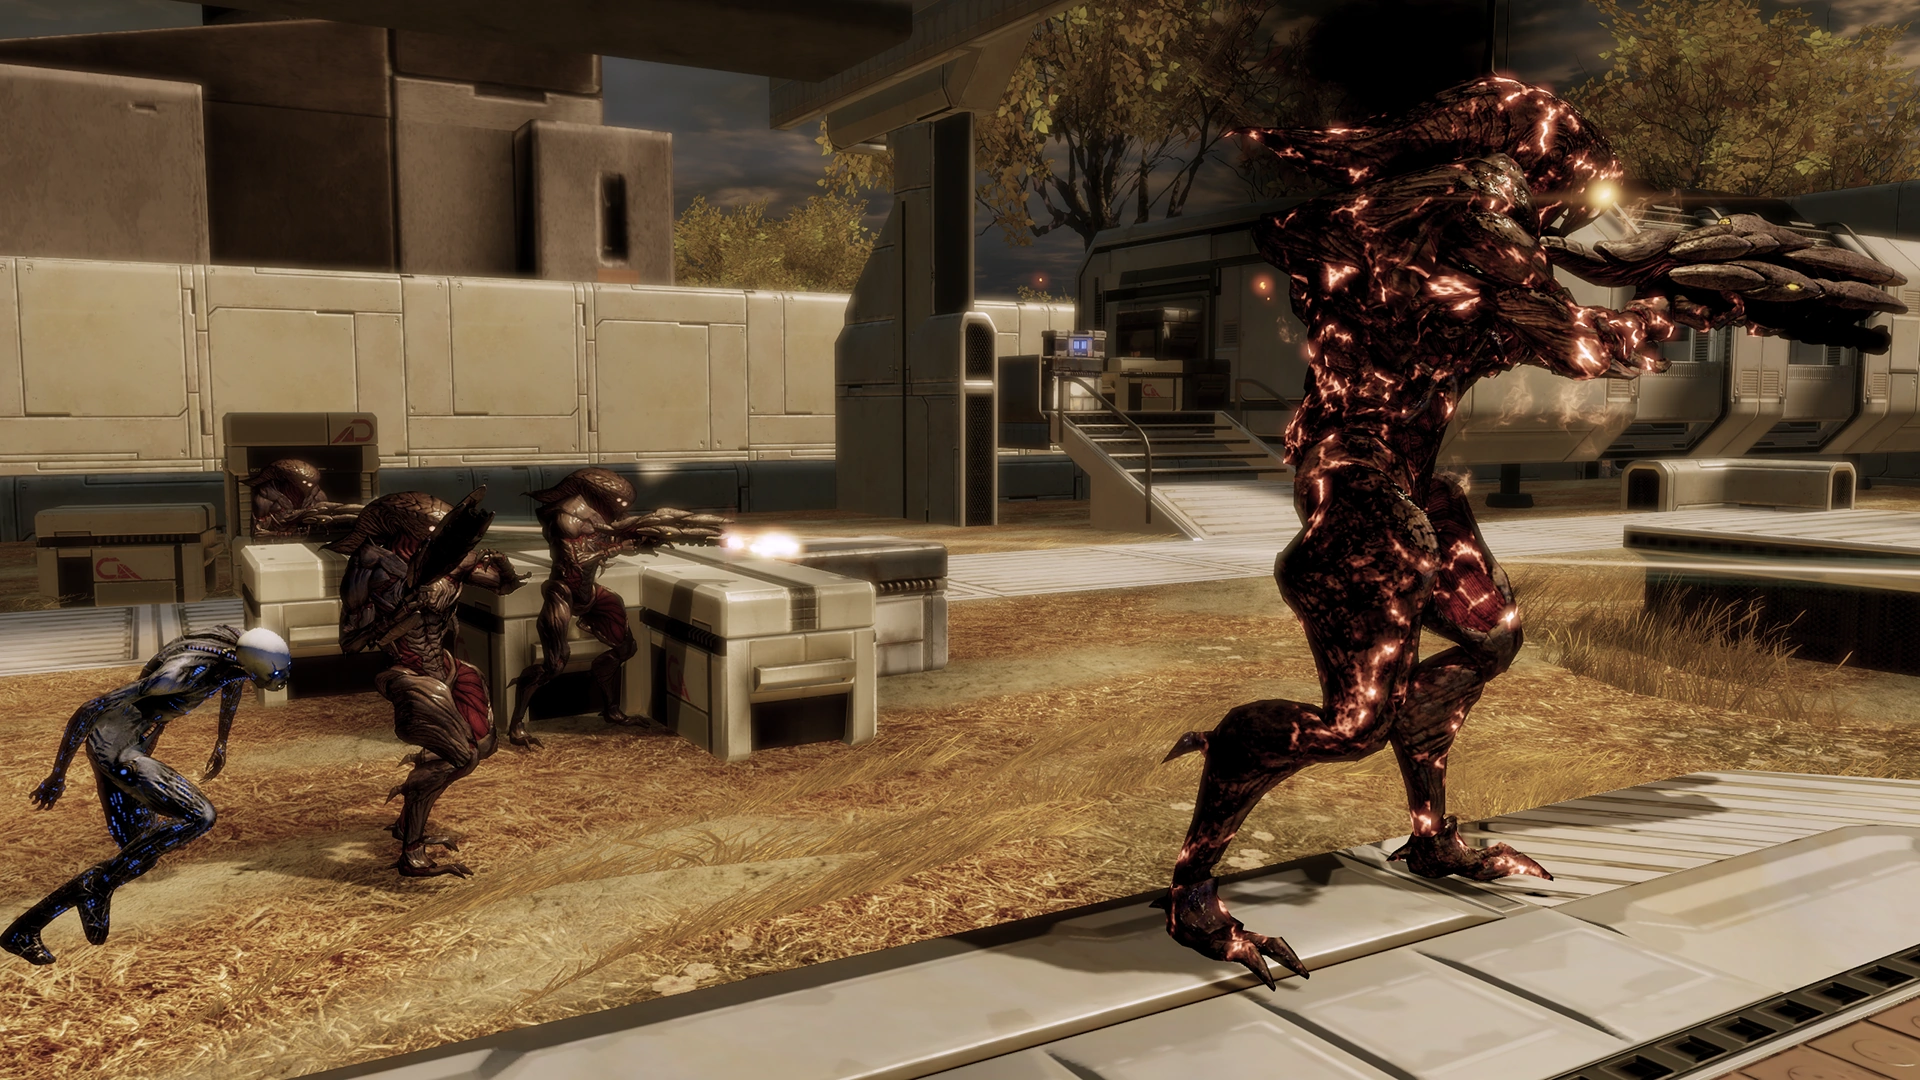
There are a total of three waves that you will have to fight off. The first wave consists of two Husks, a Collector Assassin, a Guardian, several Drones, and Harbinger. The second wave will contain a Guardian, a Drone, and Harbinger. Harbinger will be mobile and move around to try and flank you, while the Drone and Guardian take cover. The final wave initially starts with four Husks, an Assassin, a Drone, and Harbinger. All husks spawn on raised deck to the left of the area, while the Collectors and Harbinger spawn right of entrance door on a raised deck. As you kill the Collectors they are replaced close to their original position. Between two to four replacements are made after any of Collectors are killed.
EDI will keep you up to date on the status of the lasers, and once they reach 100 percent, you know the fight is almost over. However, there is one more problem.
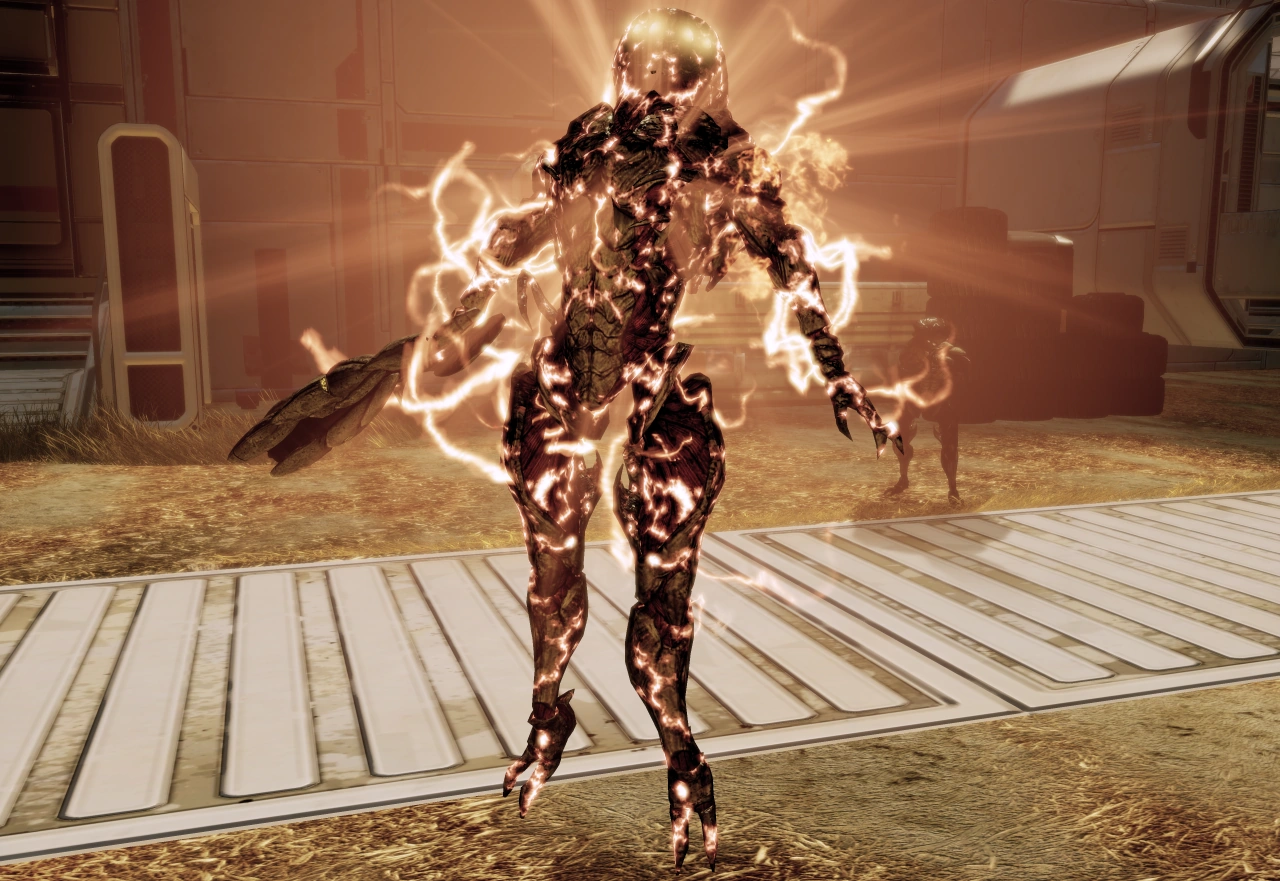
The Praetorian

Once the Collectors get whittled down and the lasers are near full charge, Harbinger sends in a Praetorian. A Praetorian is a deadly enemy, but it is the only opponent you have to deal with for this fight. The praetorian has two deadly attacks, Death Choir and its particle beams. The Praetorian itself has just two levels of defense: barriers and armor. When its barriers drop, you'll want to put as much damage on it as possible quickly, because it will soon glow and slam to the ground: this is its "Death Choir" ability and it can kill you off if you are close enough. During this time, when it is on the ground and glowing, DO NOT shoot at it because you will waste your ammo. Typically one of your squadmates will probably shout something about their attack being ineffective, and if the Praetorian is currently not in your line of sight, that will be your cue to take special precautions. This is a good time to revive squadmates and recharge your shields and health. Once it takes off again, open up. Repeat this process until the Praetorian disintegrates in midair.
Combat Notes: This enemy is why you hopefully saved your heavy weapon ammo. Your basic strategy for this fight should be to move around and keep as far away from the Praetorian as possible. Duck into cover or behind an obstacle when the Praetorian is firing, but don't become too attached to any particular piece of cover as the Praetorian will move to flank you quickly. When it gets close, wait until it finishes a firing cycle and then run as fast as you can, counterclockwise around the area to the next good cover. Fire on it until its barriers drop, then open up with your heavy weapon until it glows and slams to the ground. Use the period it is in Death Choir to open up more range or move to the next good cover location.
Because the Praetorian goes only after Shepard, you can also let your companions kill it for you if you position them properly - during the lull before the Praetorian arrives, put them on the walkway where the Husks crawled out during the second wave. Then, your goal is to keep the tall back panel of the computer you hacked between you and the Praetorian. It has enough height that the Praetorian's beams are almost always blocked. Even if it floats high enough to shoot over it, you can approach the panel and quickly be out of its angle of fire. Whenever it loses line of sight, it stops firing and its beam attack goes on cooldown. Now just keep circling while your squad eventually kills it in a war of attrition. If the Praetorian activates its Death Choir, back up quickly to avoid as much of the blast as possible, but return as soon as the energy pulse is done.
After the Fight

The activated GARDIAN towers hammer away at the Collector cruiser, forcing it to retreat with about one-third of Horizon's populace. After the battle is over, Shepard meets with the former squadmate. If Williams or Alenko had been a romantic partner in ME, a brief cutscene plays showing their reunion. The mood quickly changes when the former squadmate discovers that Shepard is working with Cerberus. Williams or Alenko reveals that he or she had been dispatched to Horizon after the Alliance received a tip that Horizon was the next colony to get hit. They also came to the colony in part to learn whether Cerberus was behind the attacks on the colonies. The former squadmate is highly upset about Shepard's alliance with Cerberus. Williams or Alenko question Shepard's loyalty and refuse to join Shepard's mission. From the conversation, you learn about what has happened over the last two years and what Shepard missed while being on an operating table.
Once you are done, you automatically return to the Normandy.
Normandy
You are immediately taken to a holo-conference with the Illusive Man. He is impressed that Shepard's squad managed to stop the Collectors from destroying the colony. However, Shepard is not pleased to discover that the Illusive Man had leaked information on Shepard's relationship with Cerberus. The Illusive Man lets slip that he lured the Collectors to the colony because he was not willing to wait for the Collectors to strike.
The Collectors have made clear, through their attacks on the SSV Normandy and human colonies — particularly a colony where one of Shepard's former squadmates was located — that they are after humans in general and Shepard in particular. The Illusive Man says he will find a way to go through the Omega 4 Relay and adds that Shepard should keep building the team. He hands over three more dossiers for new squadmates.
E-Mail Message (Can you help?)
Upon completion of mission at Horizon, Commander Shepard receives this letter from a colonist. The Alliance soldier mentioned in the letter can either be Alenko or Williams.
Enemies
Mission Summary
Collectors escaped with approximately one third of Horizon's population. Front corporation will funnel supplies, monetary aid to colonial survivors. Collector leader, Harbinger, demonstrates a personal interest in Shepard. Unclear whether his ability to possess his minions is cybernetic override, indication of hive mind among Collectors, or even Reaper technology at work. Salvage teams captured Collector bodies for study.
- Experience gained: 1,000 (1,250)
- Total Credits: 60,000
- Cerberus Funding: 30,000
- Credits Found: 30,000
- Acquired weapons:
- Upgrades
- Resources
- Platinum: 2,000
Trivia
- If Williams or Alenko had been a romantic partner in the original Mass Effect, Shepard later receives a message from her/him apologizing for her/his reaction, and expressing a desire to possibly continue the romantic relationship at a later time.
- The track of the same title (assumed to be the non-combat music for this mission) is very similar to the music that plays after the player character's death in Mass Effect (assuming you sit at that screen for a significant period). This motif is also apparent in the track Humans Are Disappearing.