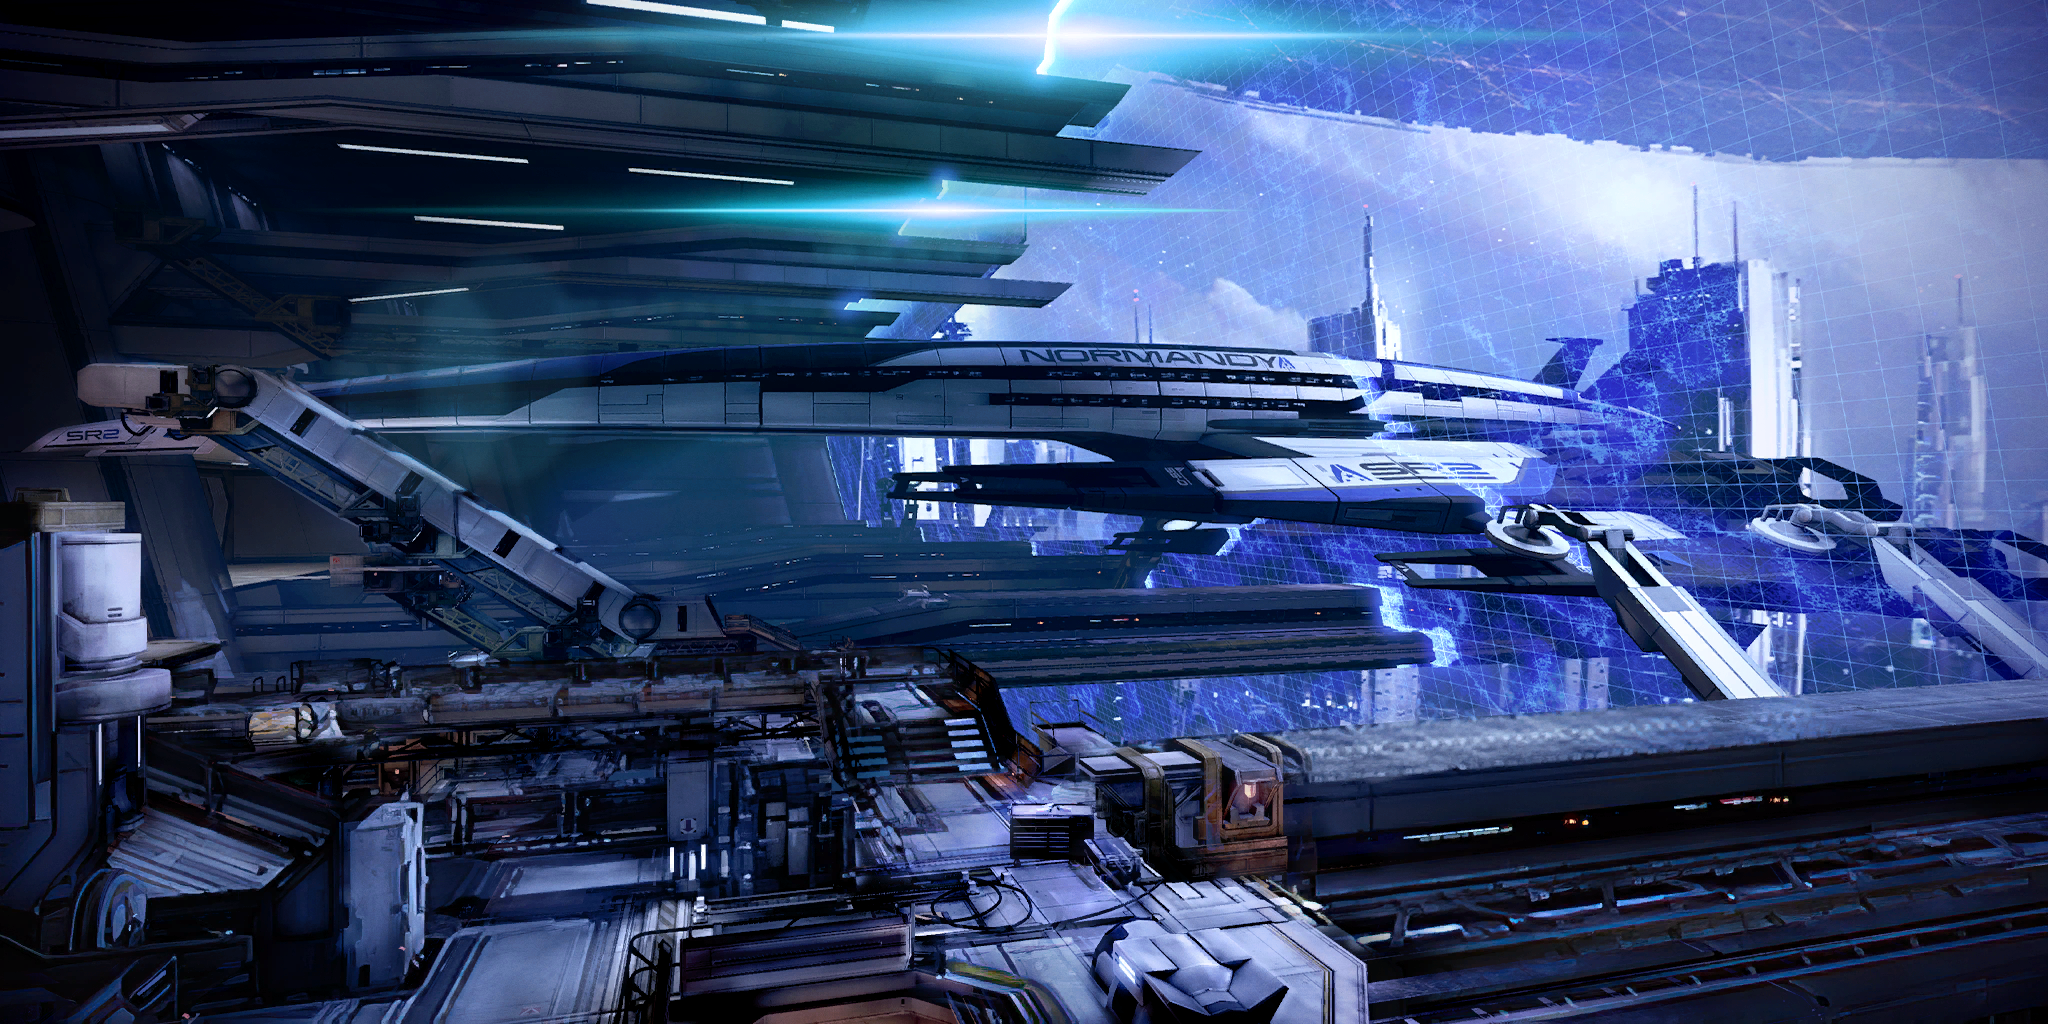
A clone of Commander Shepard is attempting to steal the Normandy. Get to the Normandy and stop him/her.
Acquisition[]
This mission is automatically acquired shortly after being released from the Citadel Archives trap.
Preparation[]
Once Shepard and the team manage to make it out of the archives, Joker arrives and says he has room for Shepard plus two. Make it fast because the other Shepard is stealing the ship. Pick your squadmates and continue; you'll be facing similar enemies to the previous mission plus a heavily armored version of yourself, with either shields or barriers depending on your class.
Emphasizing anti-shield and anti-armor abilities is once again appropriate, and tech powers and the Tech Bursts they can trigger will devastate both the regular enemies and the final bosses you'll be facing. A squad-wide ammo power useful against armor will come in especially handy, as will a weapon modded to penetrate light cover. At least one weapon that deals bonus damage to shielding such as the Adas Anti-Synthetic Rifle or the Acolyte should be carried by the squad, especially if the party lacks shield-stripping powers like Overload.
Your other teammates, particularly the one that has been used least throughout the game, are a bit resentful of being left behind. Blame skycar designs, people.
Walkthrough[]
Get to the Normandy[]
During the ride to the docks, EDI, if she was chosen to be in your squad, will suddenly start to malfunction and then goes offline. Don't worry, because she'll reactivate momentarily, though her visor is gone. She explains that the clone has blocked her connection to the Normandy and she cannot prevent it from taking control of the ship.
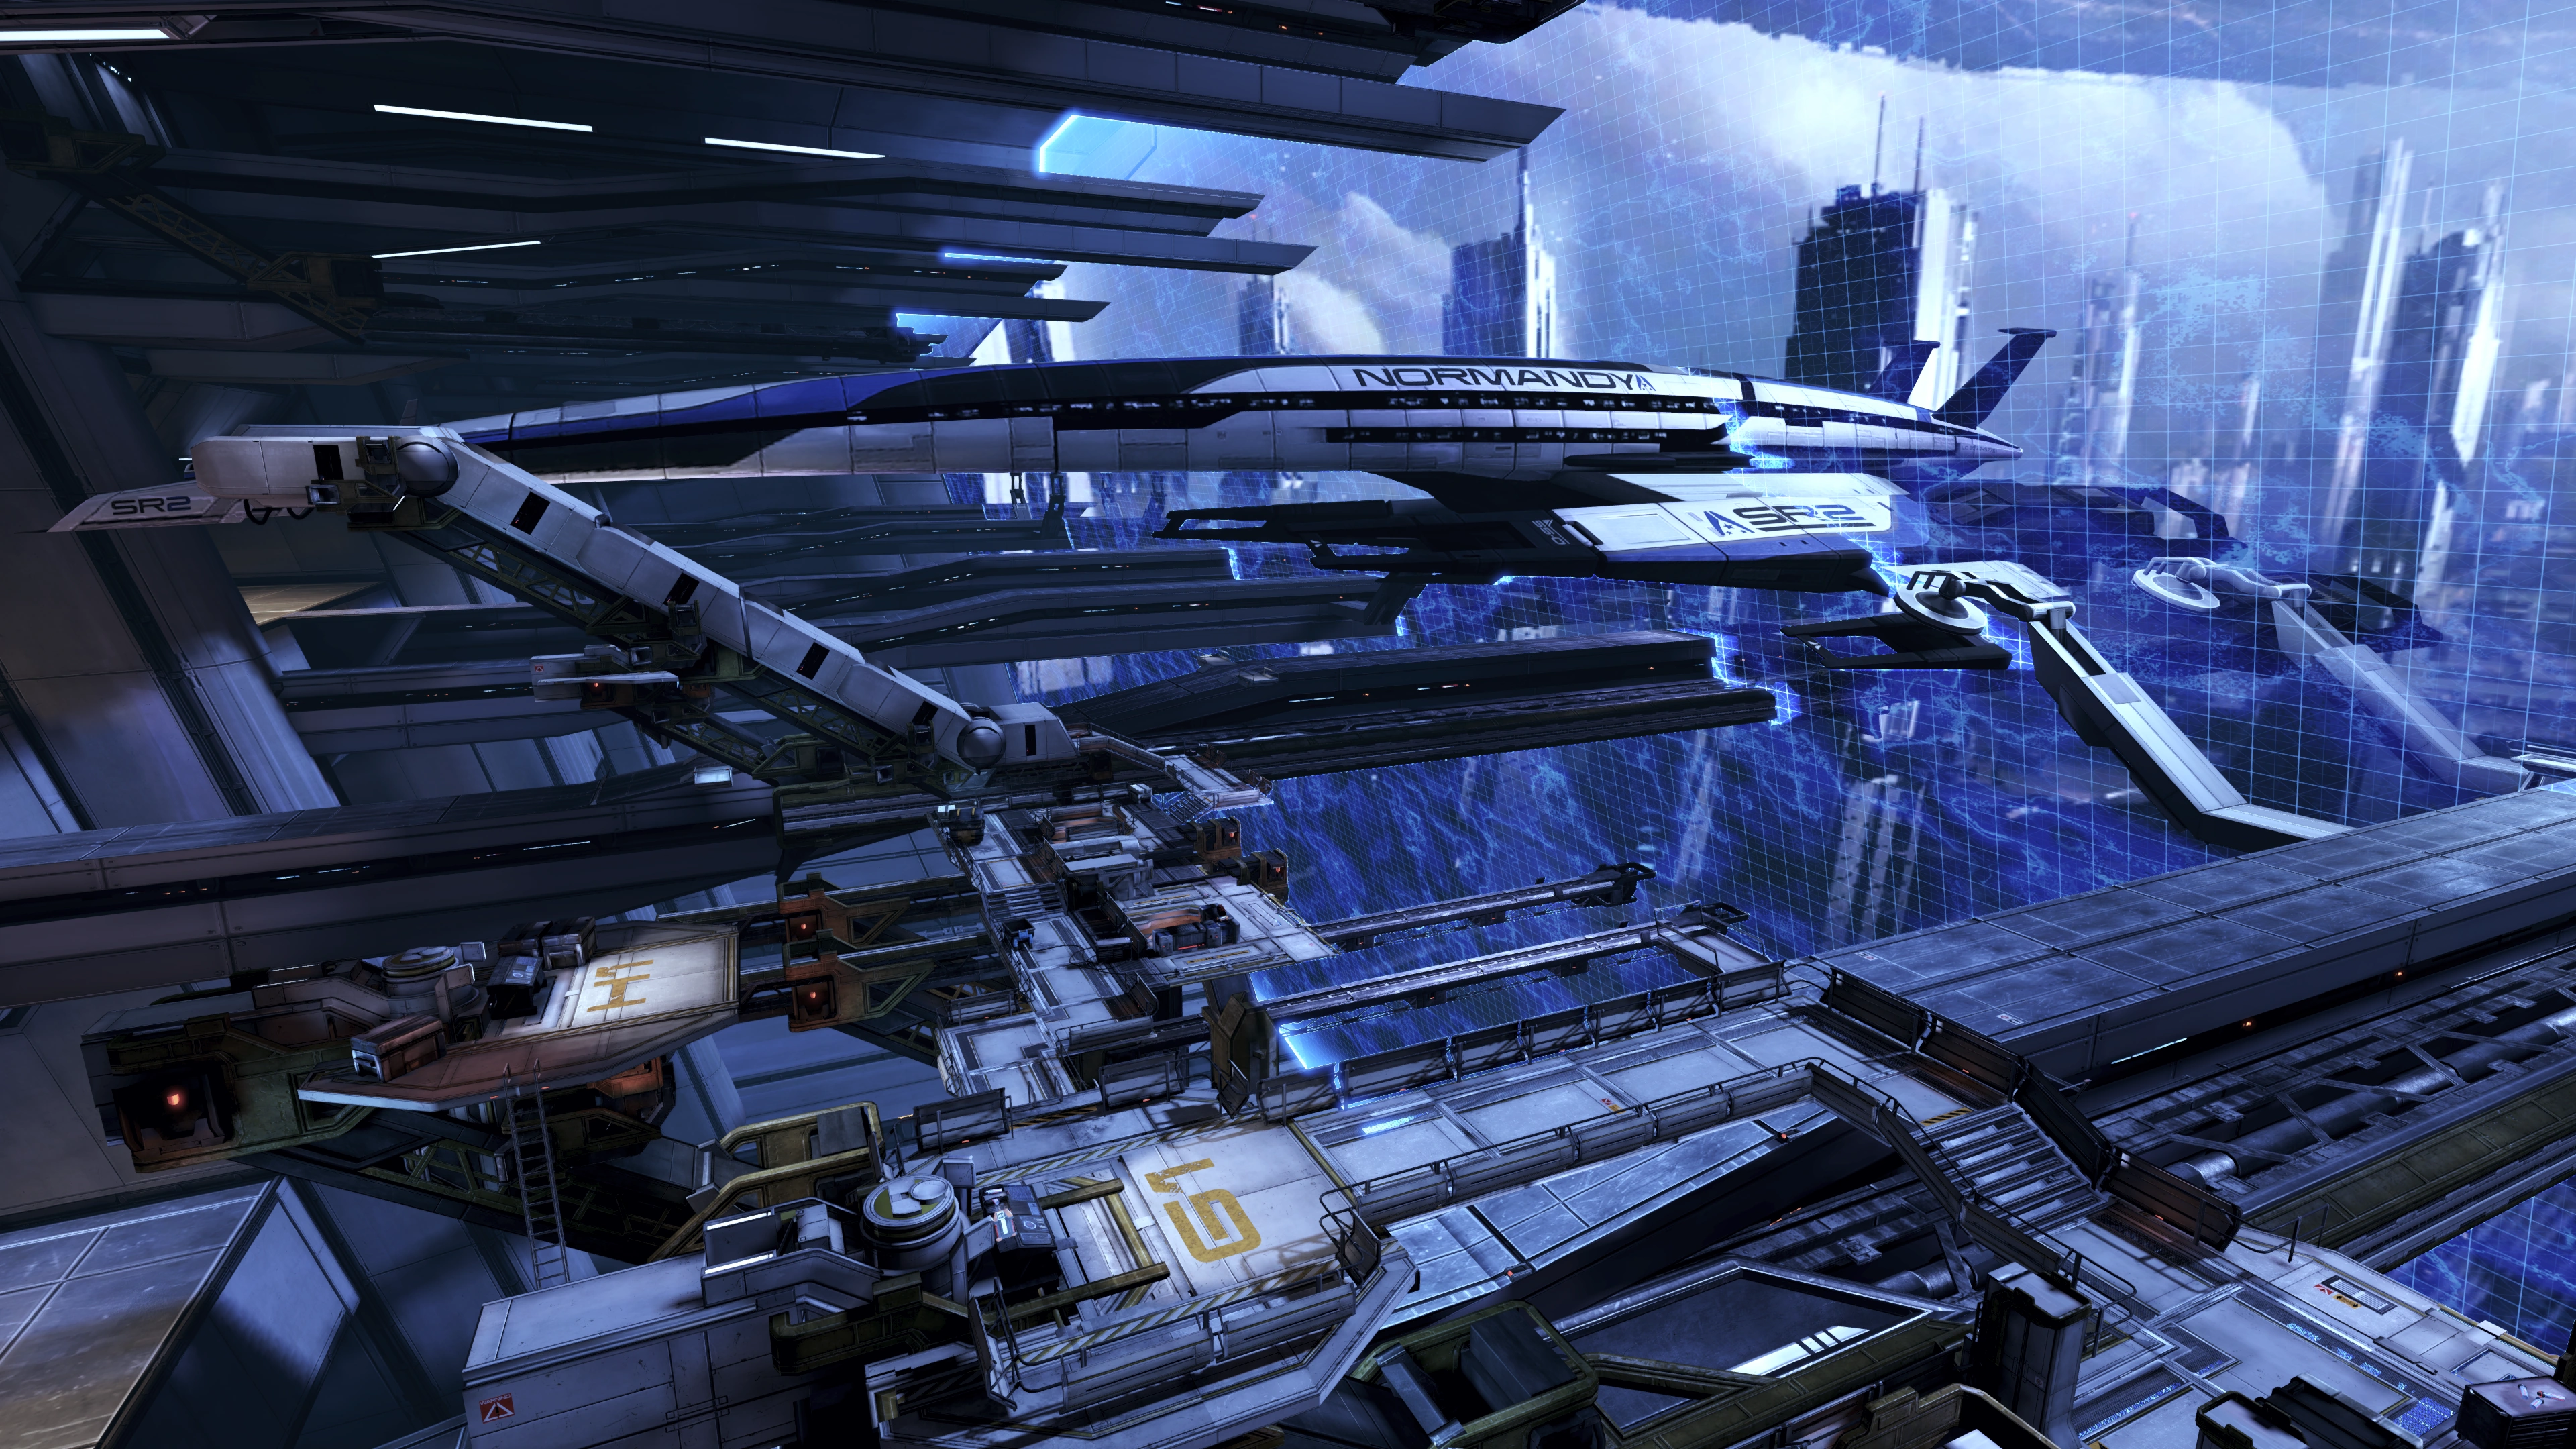
Joker gets Shepard and the squad as close as possible before the Citadel’s auto targeting system brings them down. Once you arrive, you can use your elevated position to take out the small initial group of enemies. Then, head down the ladder to the right and find cover quickly as a much larger wave of CAT6 enemies, including both Heavies and Snipers, will spawn, some quite near to your position. Take them all out before advancing.
Two more large groups of enemies trigger as you advance across this platform toward the Normandy, and if you've advanced too far they may even appear at your flanks, so move up slowly and carefully. You can help avoid getting flanked by returning to earlier positions as each new group spawns. Alternatively, if you have the means (Biotic Charge, Tactical Cloak, Adrenaline Rush, etc) or the opportunity to do so, just rush past them.
When you reach the other end, take the medical station and the Sniper Rifle Ultralight Materials, and head down the ladder. The Normandy is prepping for a quick takeoff and apparently planning to skip the half-hour preflight checklist, but only a single wave of enemies awaits you in the next area, and they're all standard Specialists. Once all enemies are down, grab the Shotgun Ultralight Materials mod and a med kit and head up the ramp and into the Normandy.
Boarding the Normandy[]
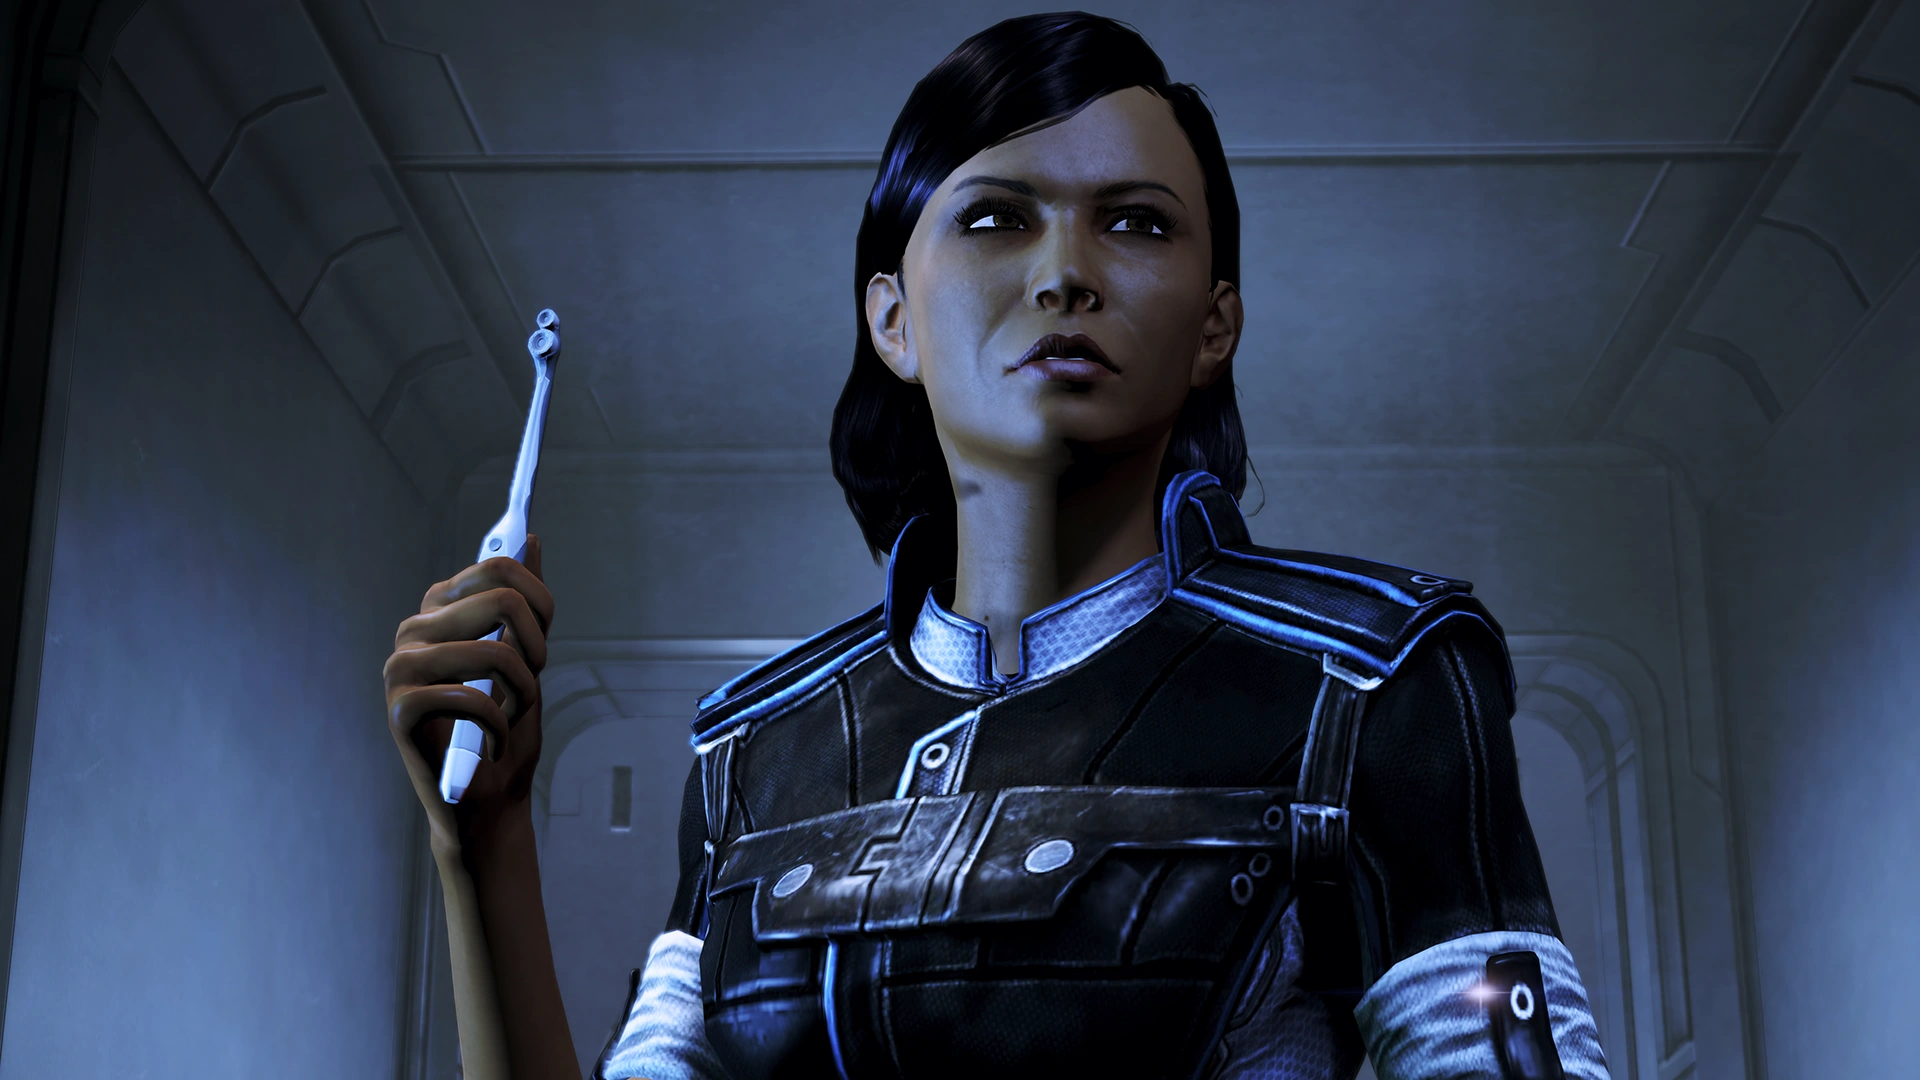
On the ramp, you will find Traynor, furious because she was fired and discharged by the clone (whom she thinks was you) for alleged conduct unbecoming. The clone kicked her off the ship with barely enough time to grab her toothbrush. Shepard convinces Traynor that the clone was not the real Shepard (possibly with a kiss as a Paragon interrupt, if Shepard is female and Traynor is romanced). Your squadmates will head into the airlock to get the door, but it is sealed. Shepard asks Traynor if there is any other way in, and she notes that there is an emergency hatch in the airlock, but that it was designed to only open from the inside. As Shepard and the squad try and figure out how to get in without tools, Traynor meaningfully holds up her toothbrush (it uses tiny mass effect fields to remove plaque and massage the gums).
Soon after the squad boards, the Normandy jets away from the Citadel, and the clone with the CAT6 mercs is shown in the CIC. The crew has shut down a lot of systems, including EDI, but they did register a security breach before launch. Brooks and the clone head down to the armory while ordering the rest to slow you down.
Stop the Clone[]
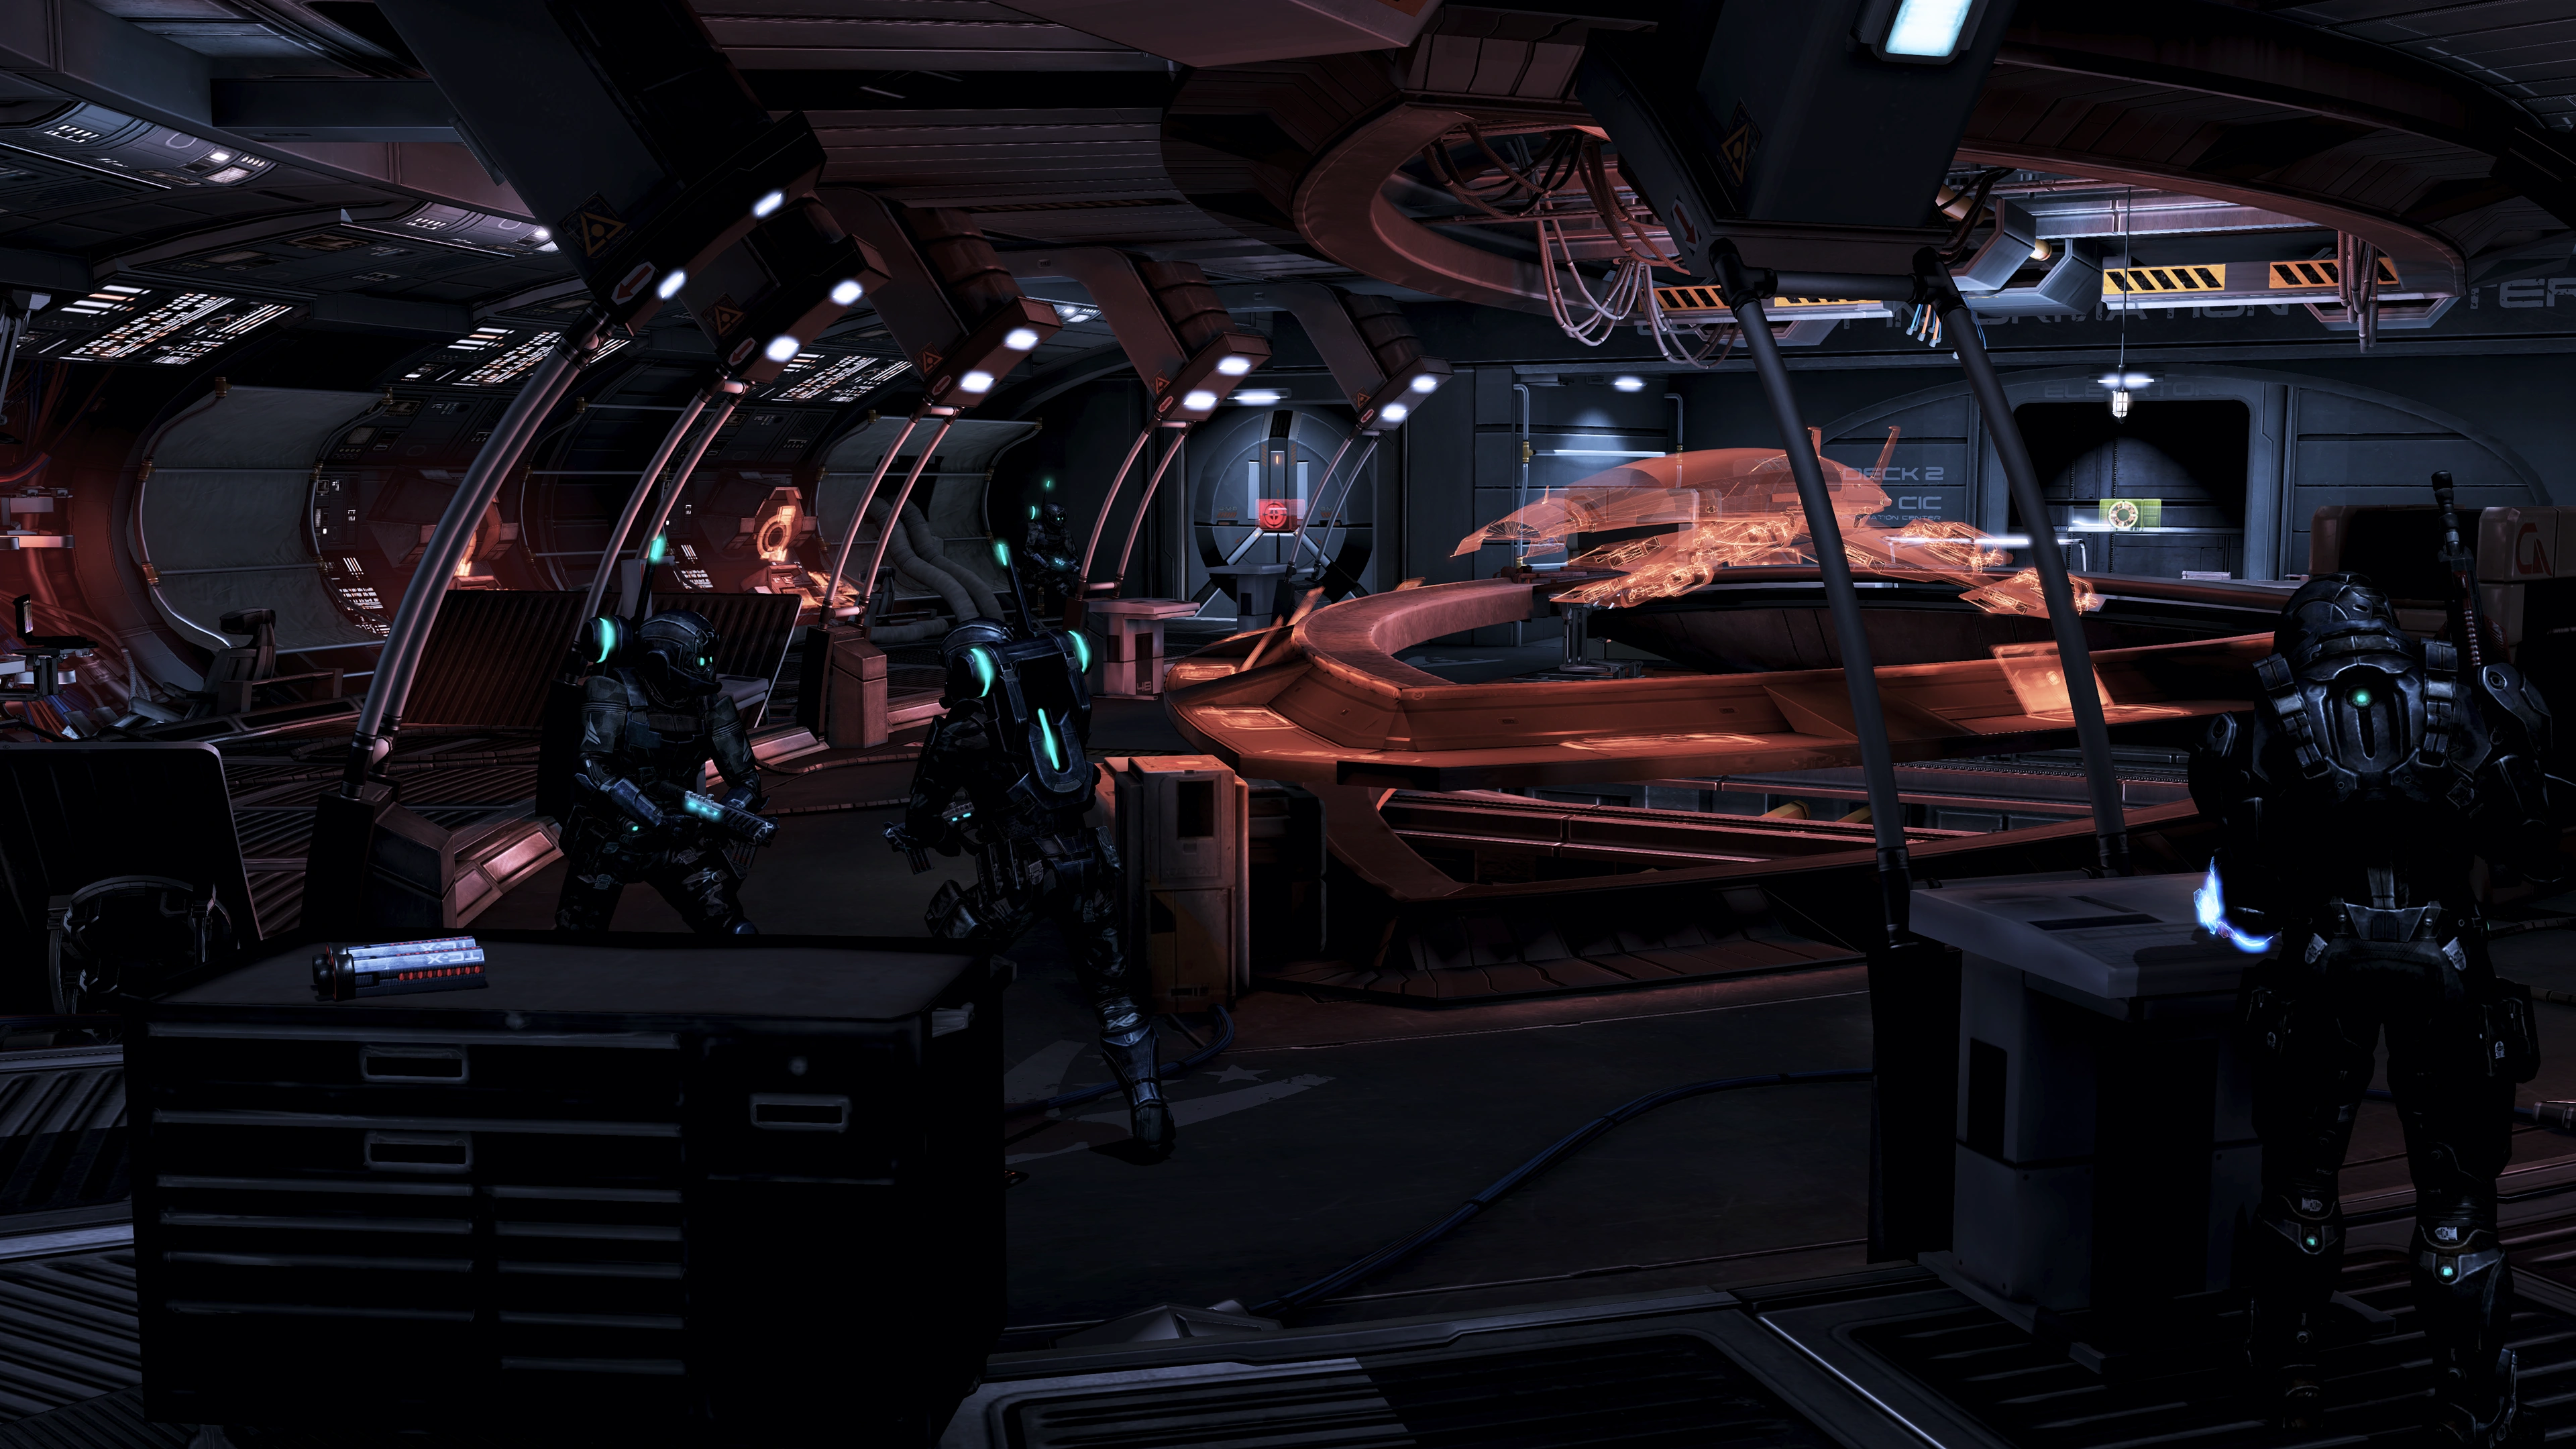
Crawl to the end of the passage and hit the switch for the stairs, but be ready as you'll immediately be in the thick of it. Though it appears that you start in the open against two Specialists and a Heavy at point blank range, there is a very tiny piece of cover on the left just at the top of the staircase, so run up and quickly take shelter.
There are plenty of enemies in CIC, and more will spawn from the other end by the security scanner leading to the War Room, including another Heavy and a Sniper. There is precious little cover, and plenty of enemies here so take them out quickly. Target Specialists first as their grenades will quickly force you out of the little cover there is; the Heavy is also capable of stunning you with its shield slam at close range. Banter about having a firefight in the CIC will ensue, depending on which squadmates you brought: apparently everyone has been dying to have a firefight here.
Once you are done, head into the access room to the War Room to get Private Campbell’s favorite mug, an Assault Rifle Thermal Scope mod, and a merc PDA with a story of someone shooting their own foot off. When you are done, head over to the galaxy map and pick up the merc payment worth 15,000 credits.
Before you head to the elevator, you will discover that "somebody" dumped all of the personal effects from your cabin, including your Model Ships, pets, and medals, into a large bin with orders to dispose of everything. Shepard will have something to say about that—several things if you're persistent. You can hear also hear screaming from Bryson's experiment, if it was in Shepard's quarters.
Once you've had enough, head down the elevator. Depending on who is in your squad, you'll hear some final comments from them during the ride down. Hit the button to exit the elevator and begin the final showdown.
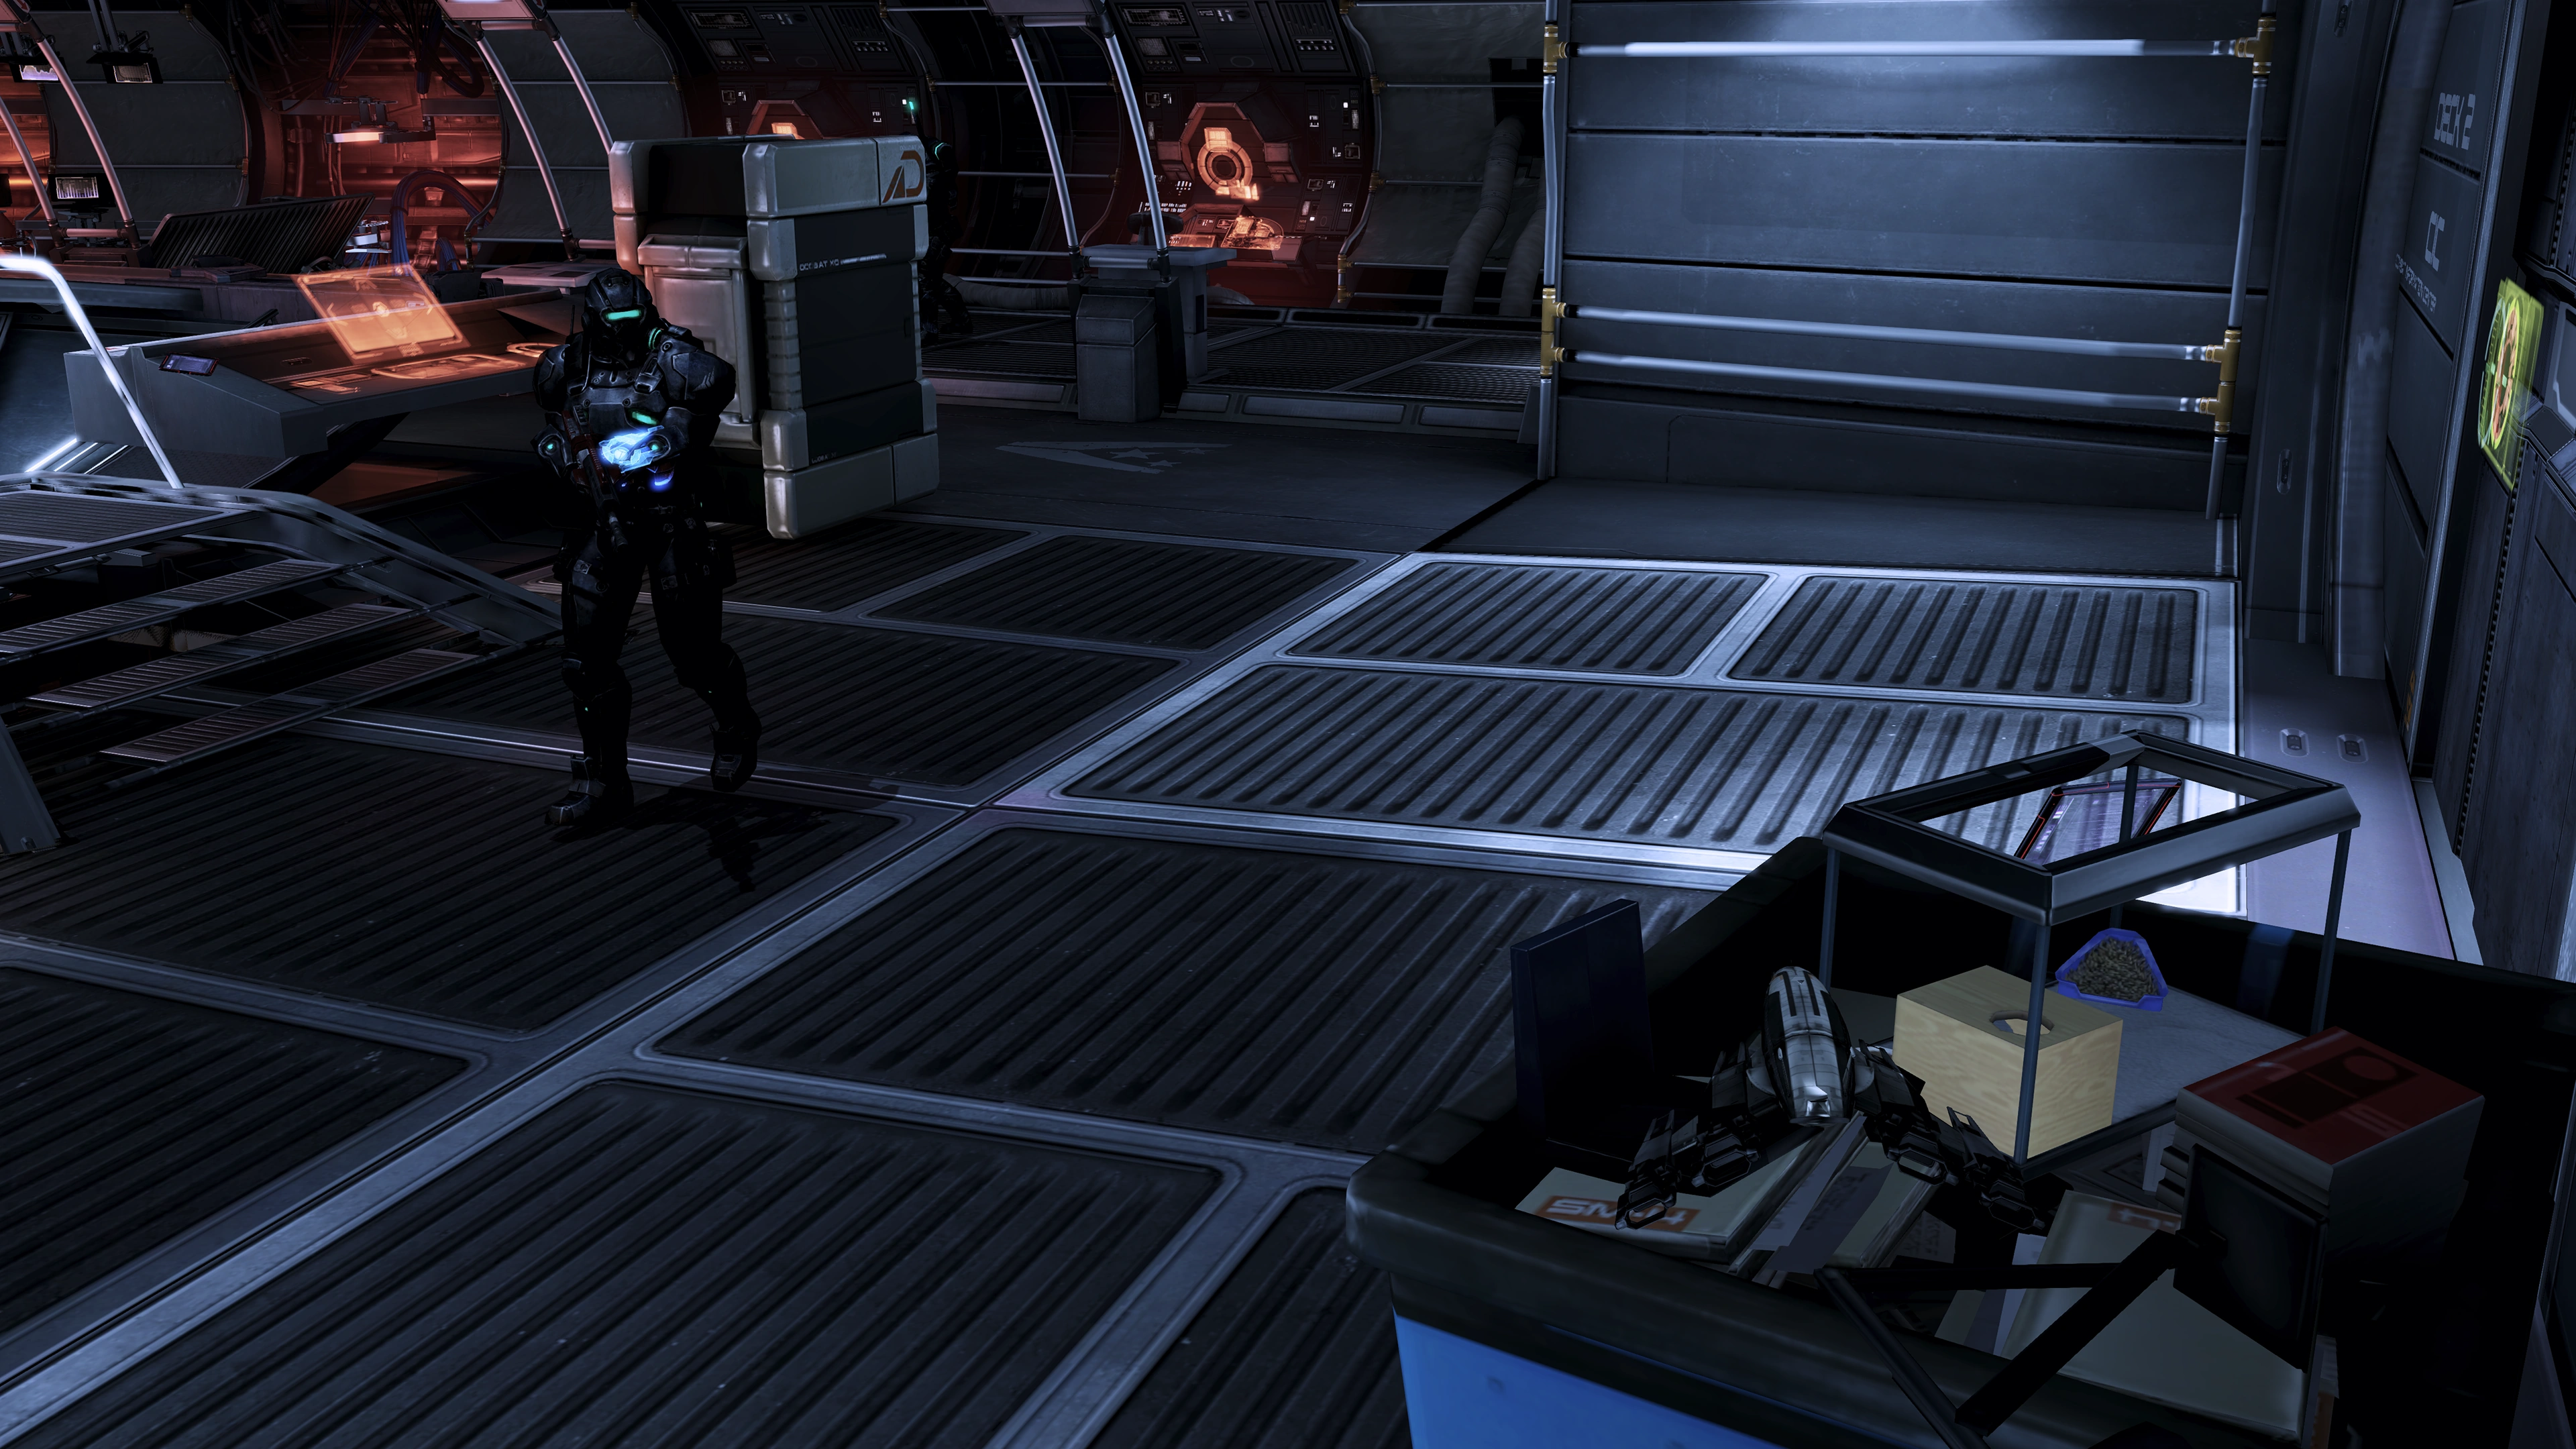
Finish the Clone[]
Once inside the Cargo Bay, the clone emerges in a full set of N7 Armor, striped blue or red depending on whether your own armor is a full-body set (Collector Armor, etc) or if your pattern scheme is of either opposing color. The real Shepard takes offense at this and opens fire, which the clone evades while returning the favor. When Shepard taunts the clone, there will be a Renegade interrupt where the clone tries to sneak up on the real one with a class-specific attack: Vanguard and Adept clones try a surprise biotic attack while the other classes try stabbing with an omni-blade. Regardless of whether the interrupt is taken or not, the real Shepard successfully defends the attack, at which point Brooks summons "Hatchet Squad" to the shuttle bay as reinforcements. The final battle between the Shepards begins.
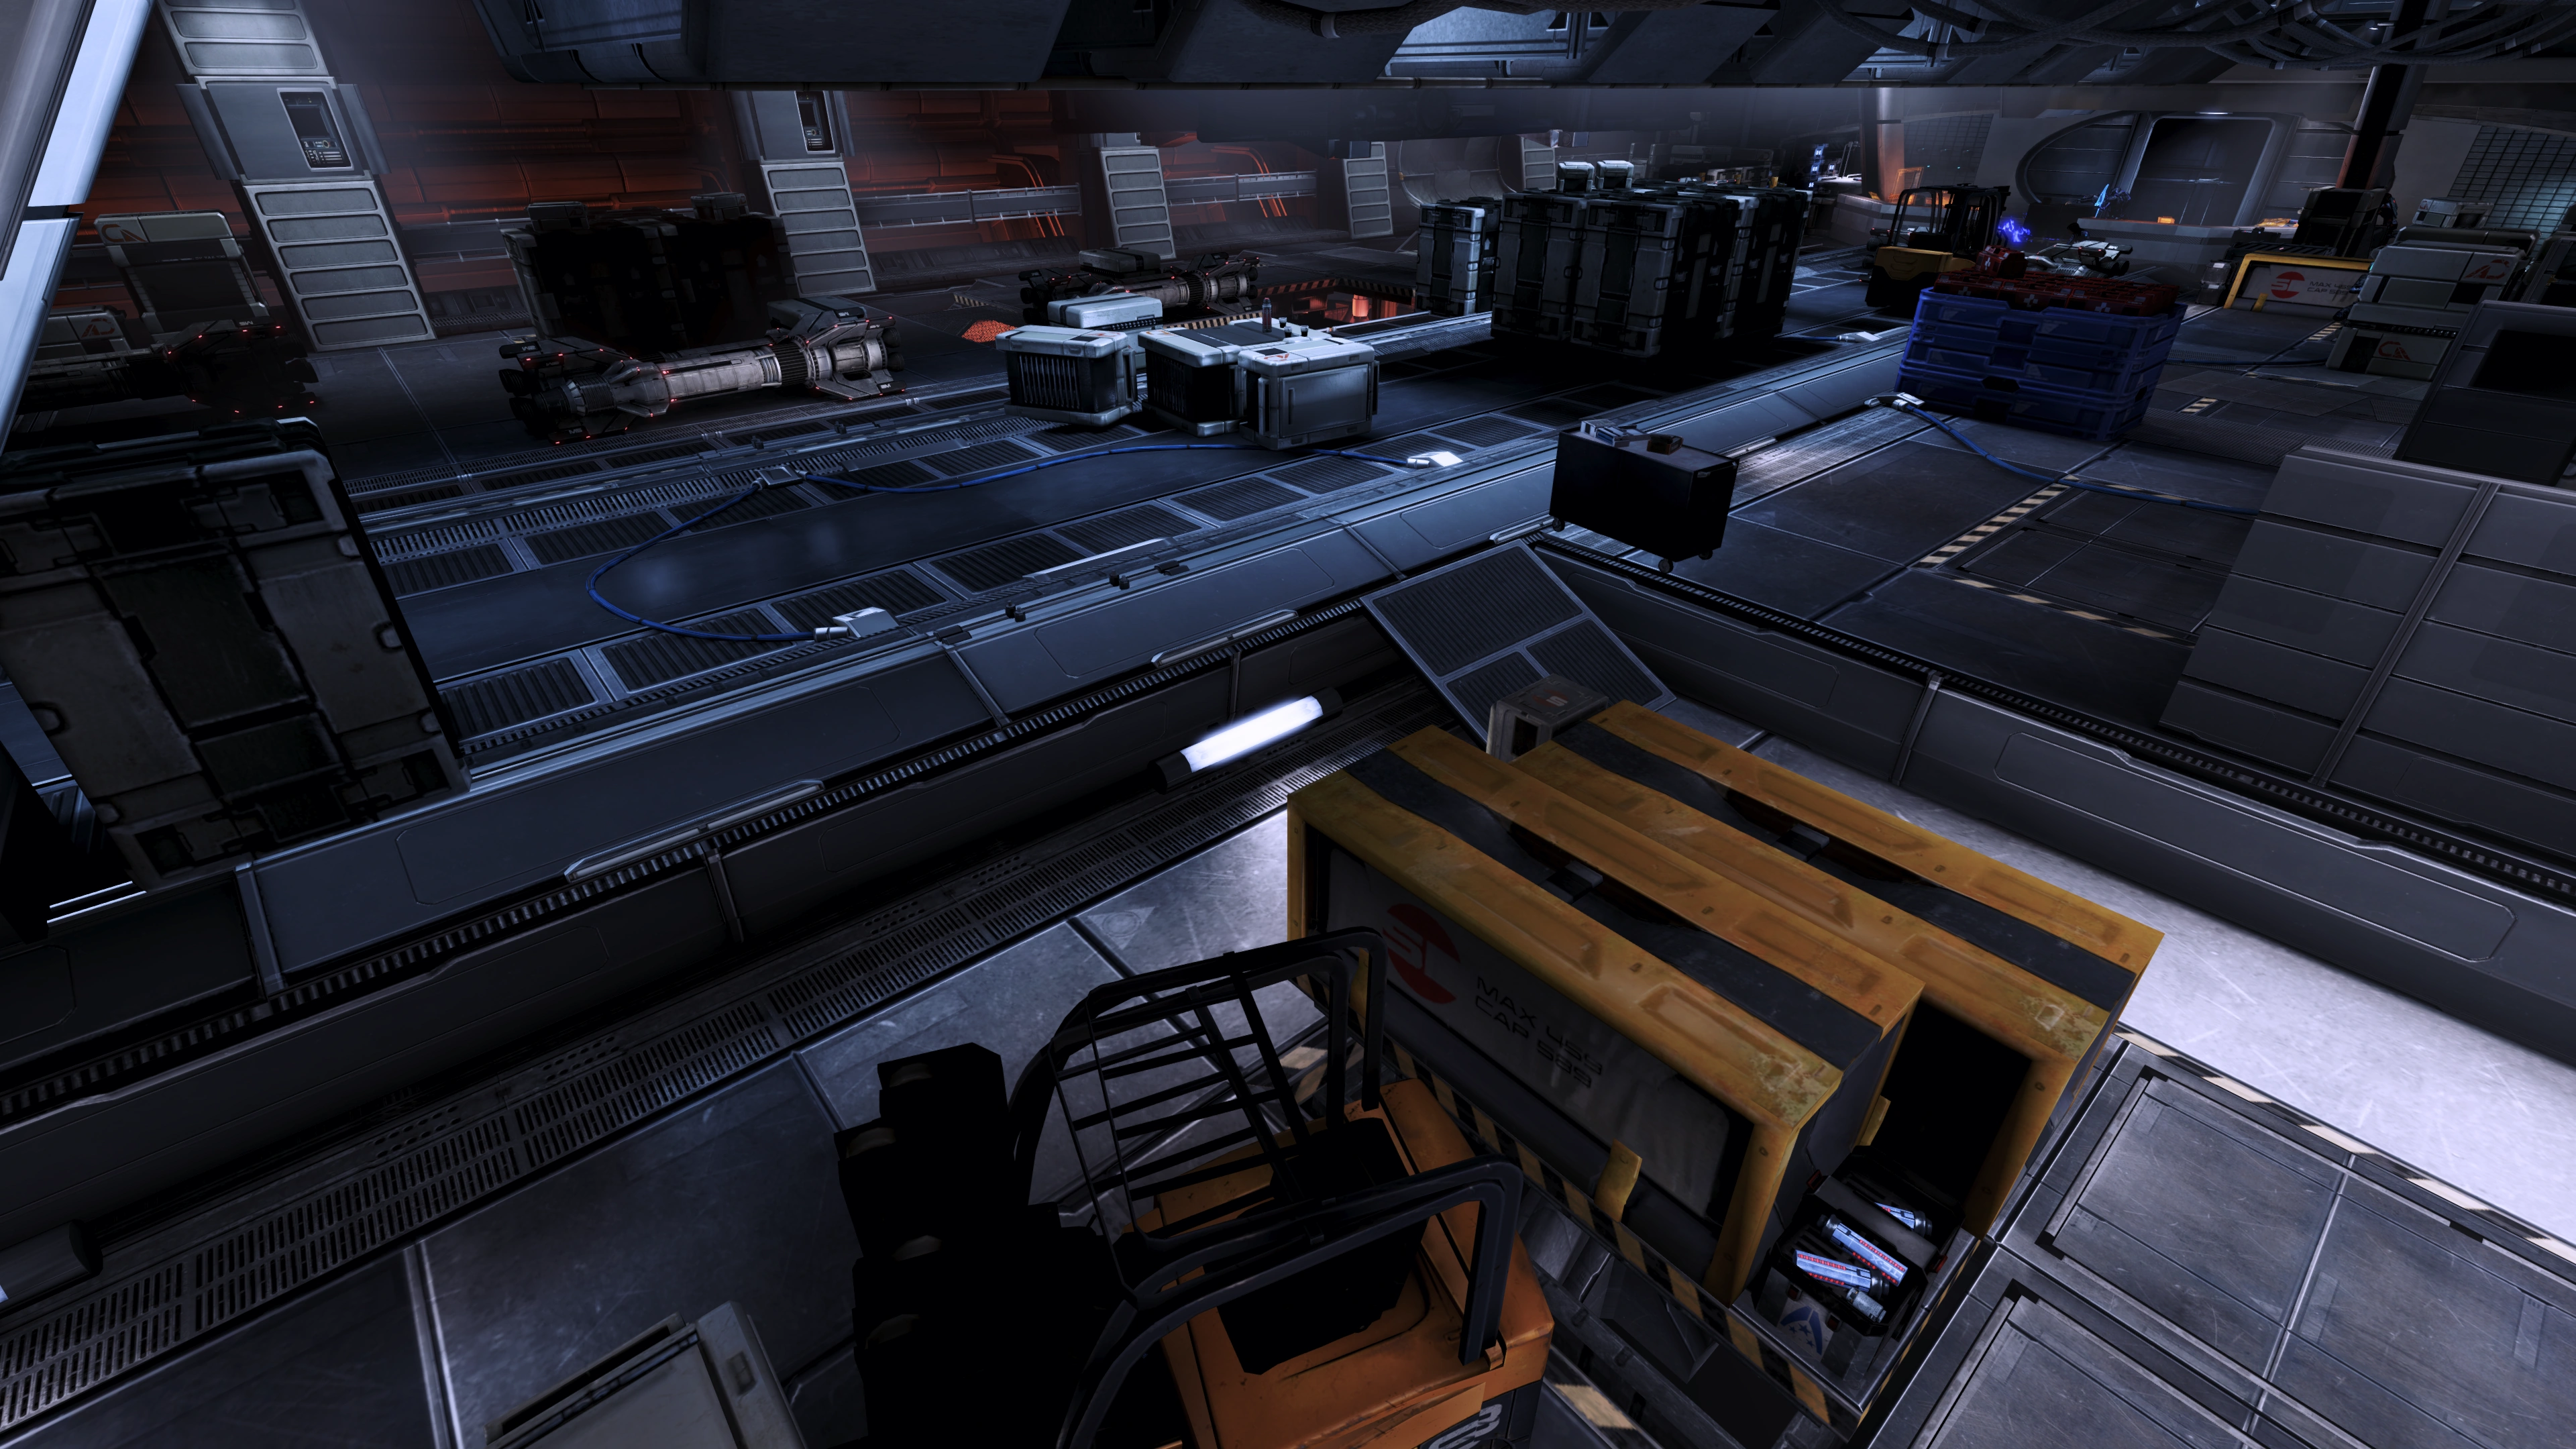
At first, keep to the cover around the elevator. There are lots of different places to hide in the cargo bay, including depressions in the floor of the deck. One of the best initial cover locations is off to the far left behind some of the taller crates. The clone can throw grenades including a special grenade that leaves a lasting burning effect on the ground which denies that area from being used as cover, but it often can't manage to throw that grenade over the tall crates to the left.
In the upper right corner of the screen is a count of the clone's medi-gel (Legendary Edition: there is no medi-gel counter visible). You will have to force the clone down to two to end the first stage of the fight, and then force it down to zero before you can win the second and final stage. The clone is quite aggressive especially in the first stage and it will try to get up close and personal. Brooks on the other hand tends to hang back and snipes with an N7 Crusader which can down your shields in one shot. She can use Tactical Cloak as well and does so when she takes heavy damage in the first part of the fight. The clone itself has weapons and abilities that vary depending on the real Shepard's class. For more information on this as well as specific tactics on dealing with the clone, see its own page.
Brooks, the clone, and any CAT6 Snipers in the area can all do very high damage and if they all get a bead on you, you can die in the blink of an eye on higher difficulties, so the safest strategy is to stay behind cover and focus on anything that advances on your position (which is usually the clone). This keeps the battle simpler and minimizes the risk of getting flanked. CAT6 mercenaries regularly replace the ranks of the fallen, so don't get hung up on trying to eliminate lesser enemies and keep your attention on the clone whenever possible as it can otherwise sneak up on you.

There is a large crate containing an unlimited supply of medi-gel in the center of the hold should you run out of it yourself, and another near the shuttle bay doors at the far end. With an unlimited supply available, you should use medi-gel freely every time a squadmate goes down and any time your health gets damaged below full. There are also 3-4 boxes with thermal clips and grenade refills scattered throughout; one can be found near each of the two weapon benches near your starting position.
When the clone gets down to its last two medi-gel, you will get a cutscene of Cortez (and a backseat-driving Joker) flying a skycar in front of the Normandy, preventing it from plotting a course and jumping to FTL, and sending it on wild maneuvers as the CAT6 pilot tries to get past them. The clone orders the pilot to shoot them down, but that proves to be easier said than done. A frustrated Joker offers to take over piloting duties, but Cortez declines. On the clone's orders, the Normandy's shuttle then launches to chase the skycar away, leaving the bay doors open. At this point the game will create an autosave point (if enabled).
The fight continues, but now the whole ship is banking sharply back and forth, which will substantially impair your ability to aim sensitive weapons such as sniper rifles. On the plus side, the clone becomes noticeably less aggressive from this point onwards and will actually start retreating back towards the open shuttle bay doors along with Brooks. Move up carefully with your squad, stay in cover, and pour on the pressure.
Once you get the clone to exhaust its last medi-gel and get its shield down one last time, the final cutscene will play. Both Shepards begin to brawl at the mouth of the open shuttle bay where they disarm each other and exchange blows. The ship swerves, resulting in each combatant being left dangling precariously over the edge of the open bay door. The clone then demands to know what makes Shepard so special; as if on cue the loyal squad arrives to pull the true Commander to safety. The clone looks to Brooks, who only returns a regretful glance and turns away. A squadmate then asks what should be done with your rival. You can offer a hand to save the clone, or unceremoniously kick it off your ship. If you choose the merciful option, the clone, realizing the futility of continued existence, lets go and falls to its timely demise.
After the Normandy is brought under control, Cortez and Joker assess the damage. You have one last chat with Brooks, who is already thinking of escape—a Paragon dialogue followed by a Paragon interrupt will lead to Shepard talking Brooks out of hacking the cuffs and giving herself up; a Renegade dialogue will result in Brooks hacking her cuffs and making a run for it, leading to a Renegade interrupt that allows Shepard to put a bullet in her back. In either path, if the interrupt is not taken, one of your squadmates will finish her off with a bullet and a few choice words. After that, the Normandy returns to dock. Upon their return, Shepard's two teammates make some ironic remarks about the way their shore leave ended up going—Shepard promises they'll finally be able to take some actual time off now.
Back at the apartment, Joker (and Wrex, if he is present) takes the Commander at their word and begins making plans for a party. Before Shepard can even respond yay or nay, Joker has invited Traynor, EDI, and Cortez, who all accept; Glyph notifies Liara about the party; and Cortez invites James as his plus one. Realizing that saying no is futile at this point, Shepard still insists on final say over the rest of the guest list, and demands time to explore the rest of the Strip. On regaining control, you may now do just that—or begin party planning straight away.
Enemies[]
Trivia[]
- Despite EDI stating her intention to kill Agent Brooks if she is brought along on this mission, she is ironically the only squadmate who doesn't shoot Brooks in the back at the end.
- If Wrex and Tali are the two squadmates, in the elevator ride down to the shuttle bay Wrex asks Tali if she remembers the "fast-reloading trick" he taught her. This may be a reference to an actual gameplay technique in both Mass Effect 2 and Mass Effect 3.
Datapads[]
| ← Previous Mission | Mission Index | Next Mission → |
|---|---|---|
| Citadel Archives: Escape | Missions | Citadel: Party |