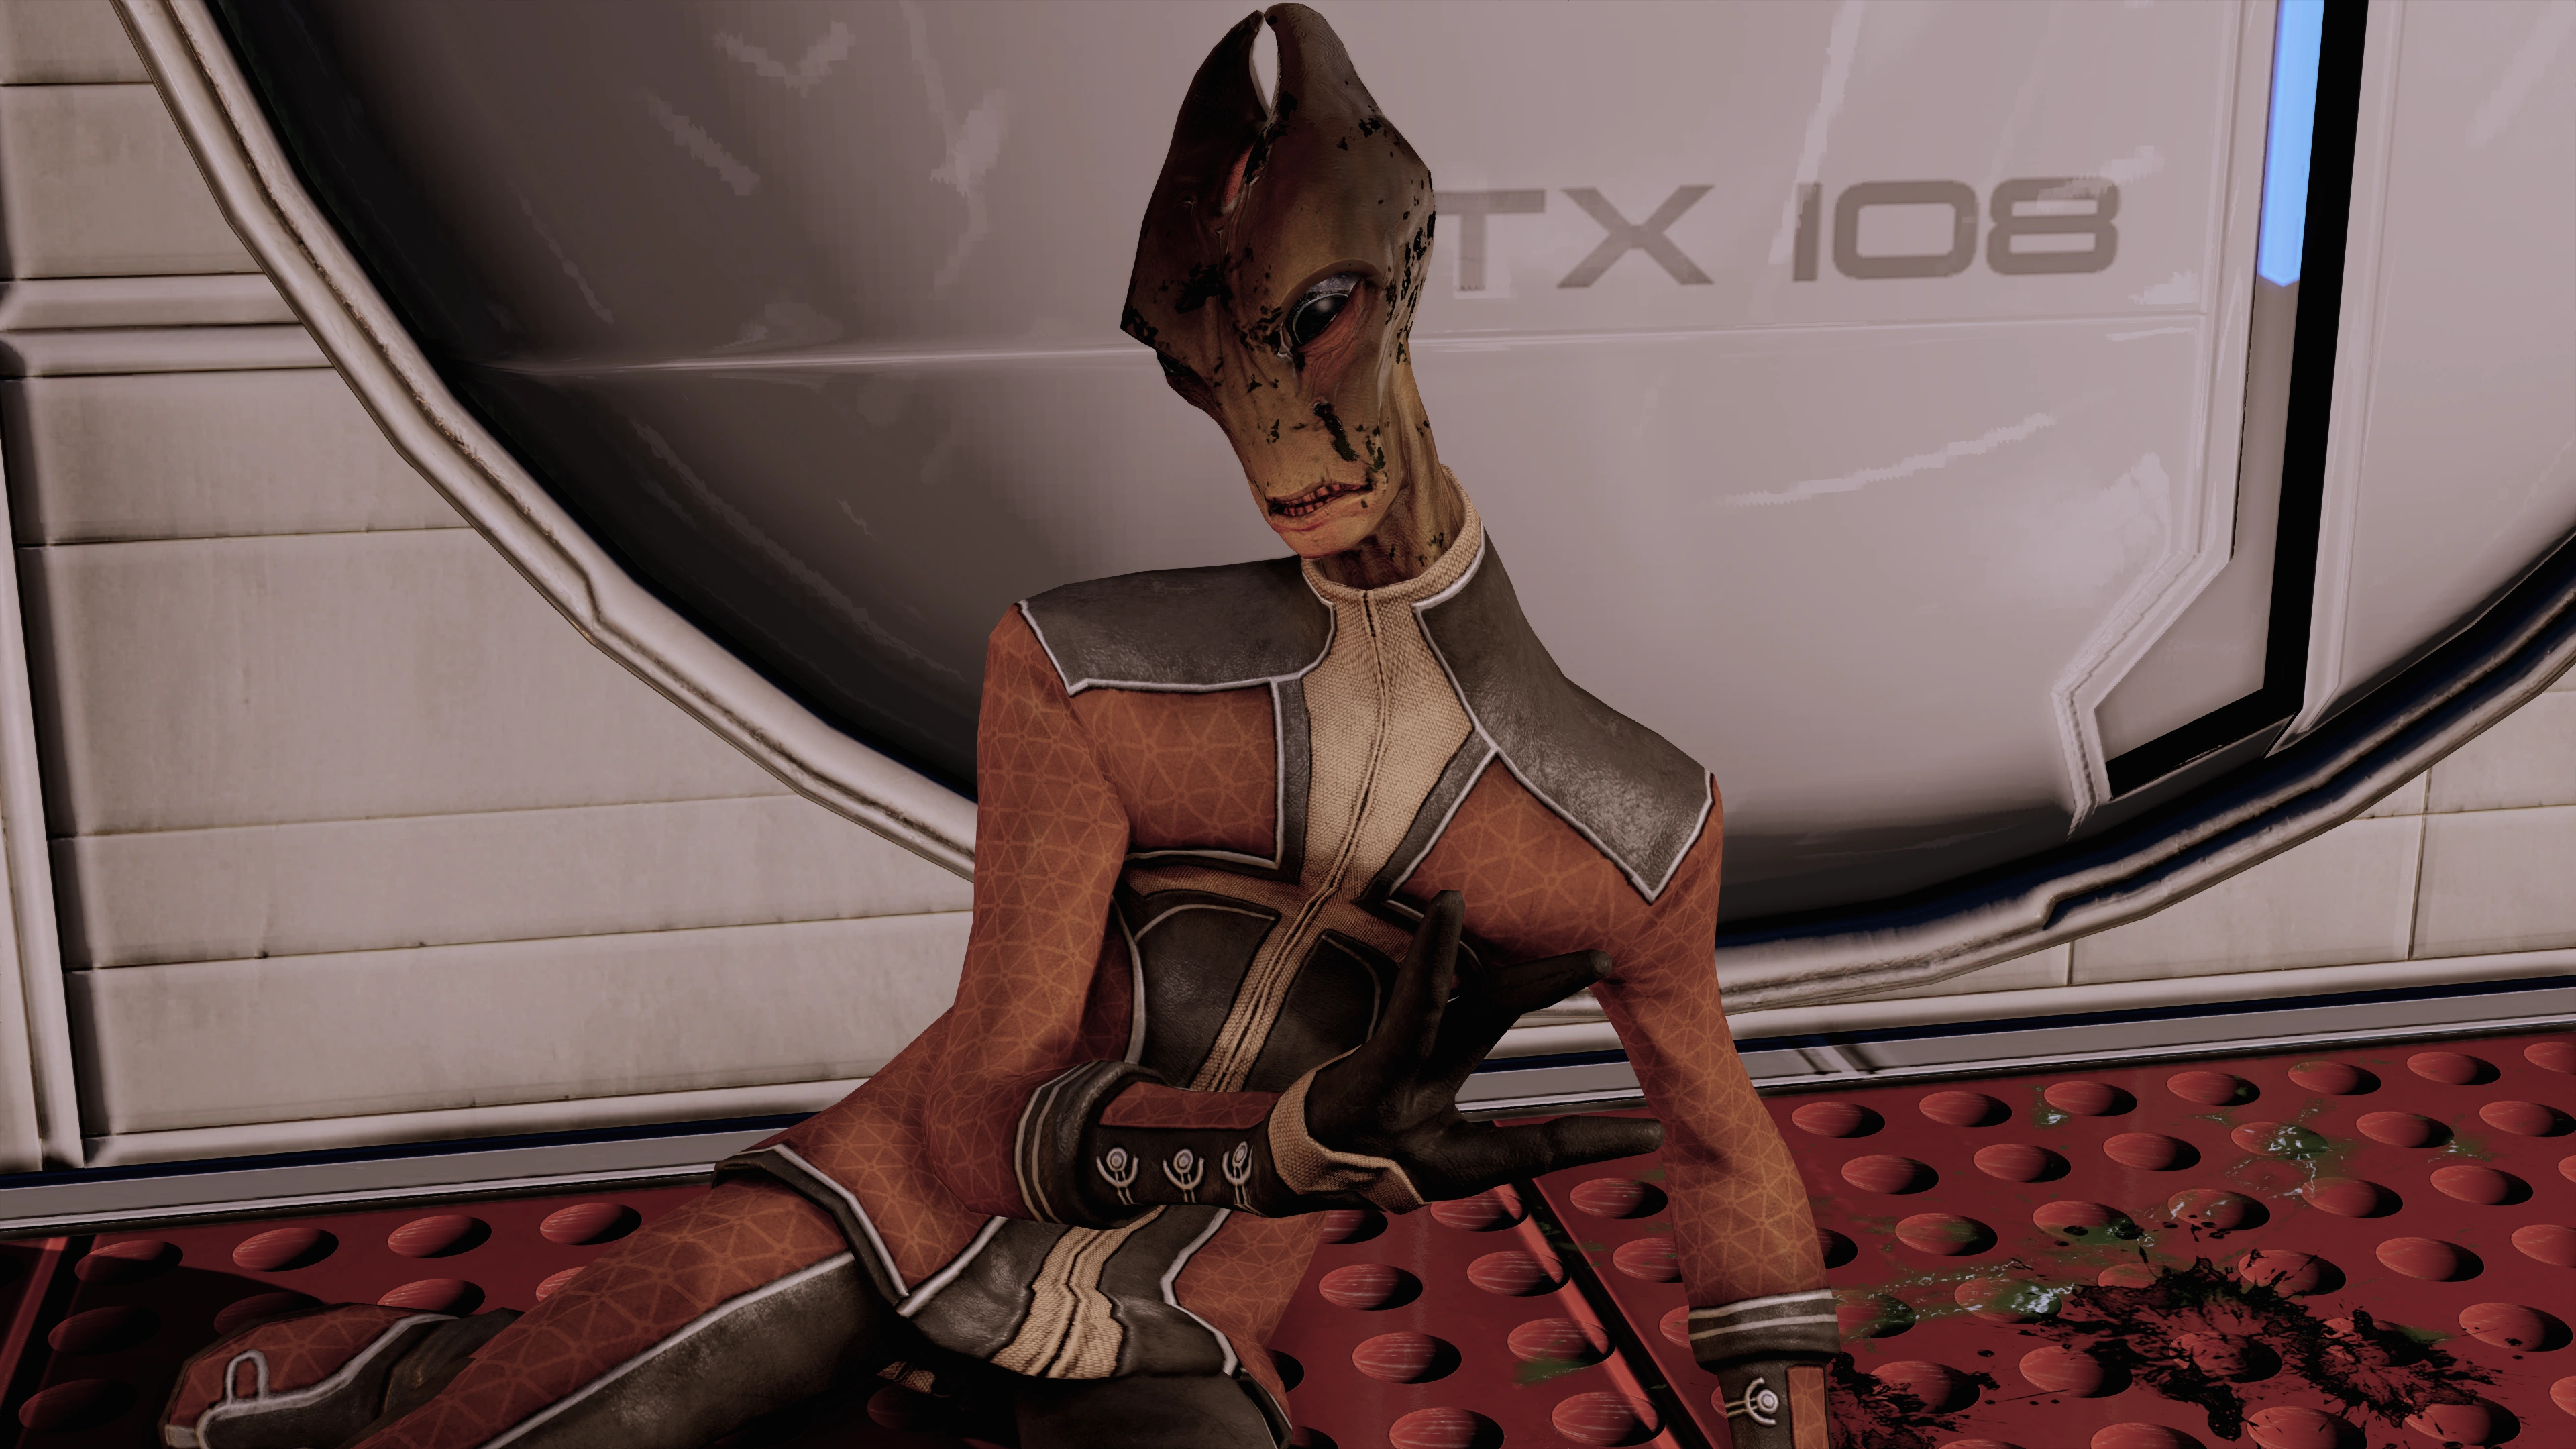
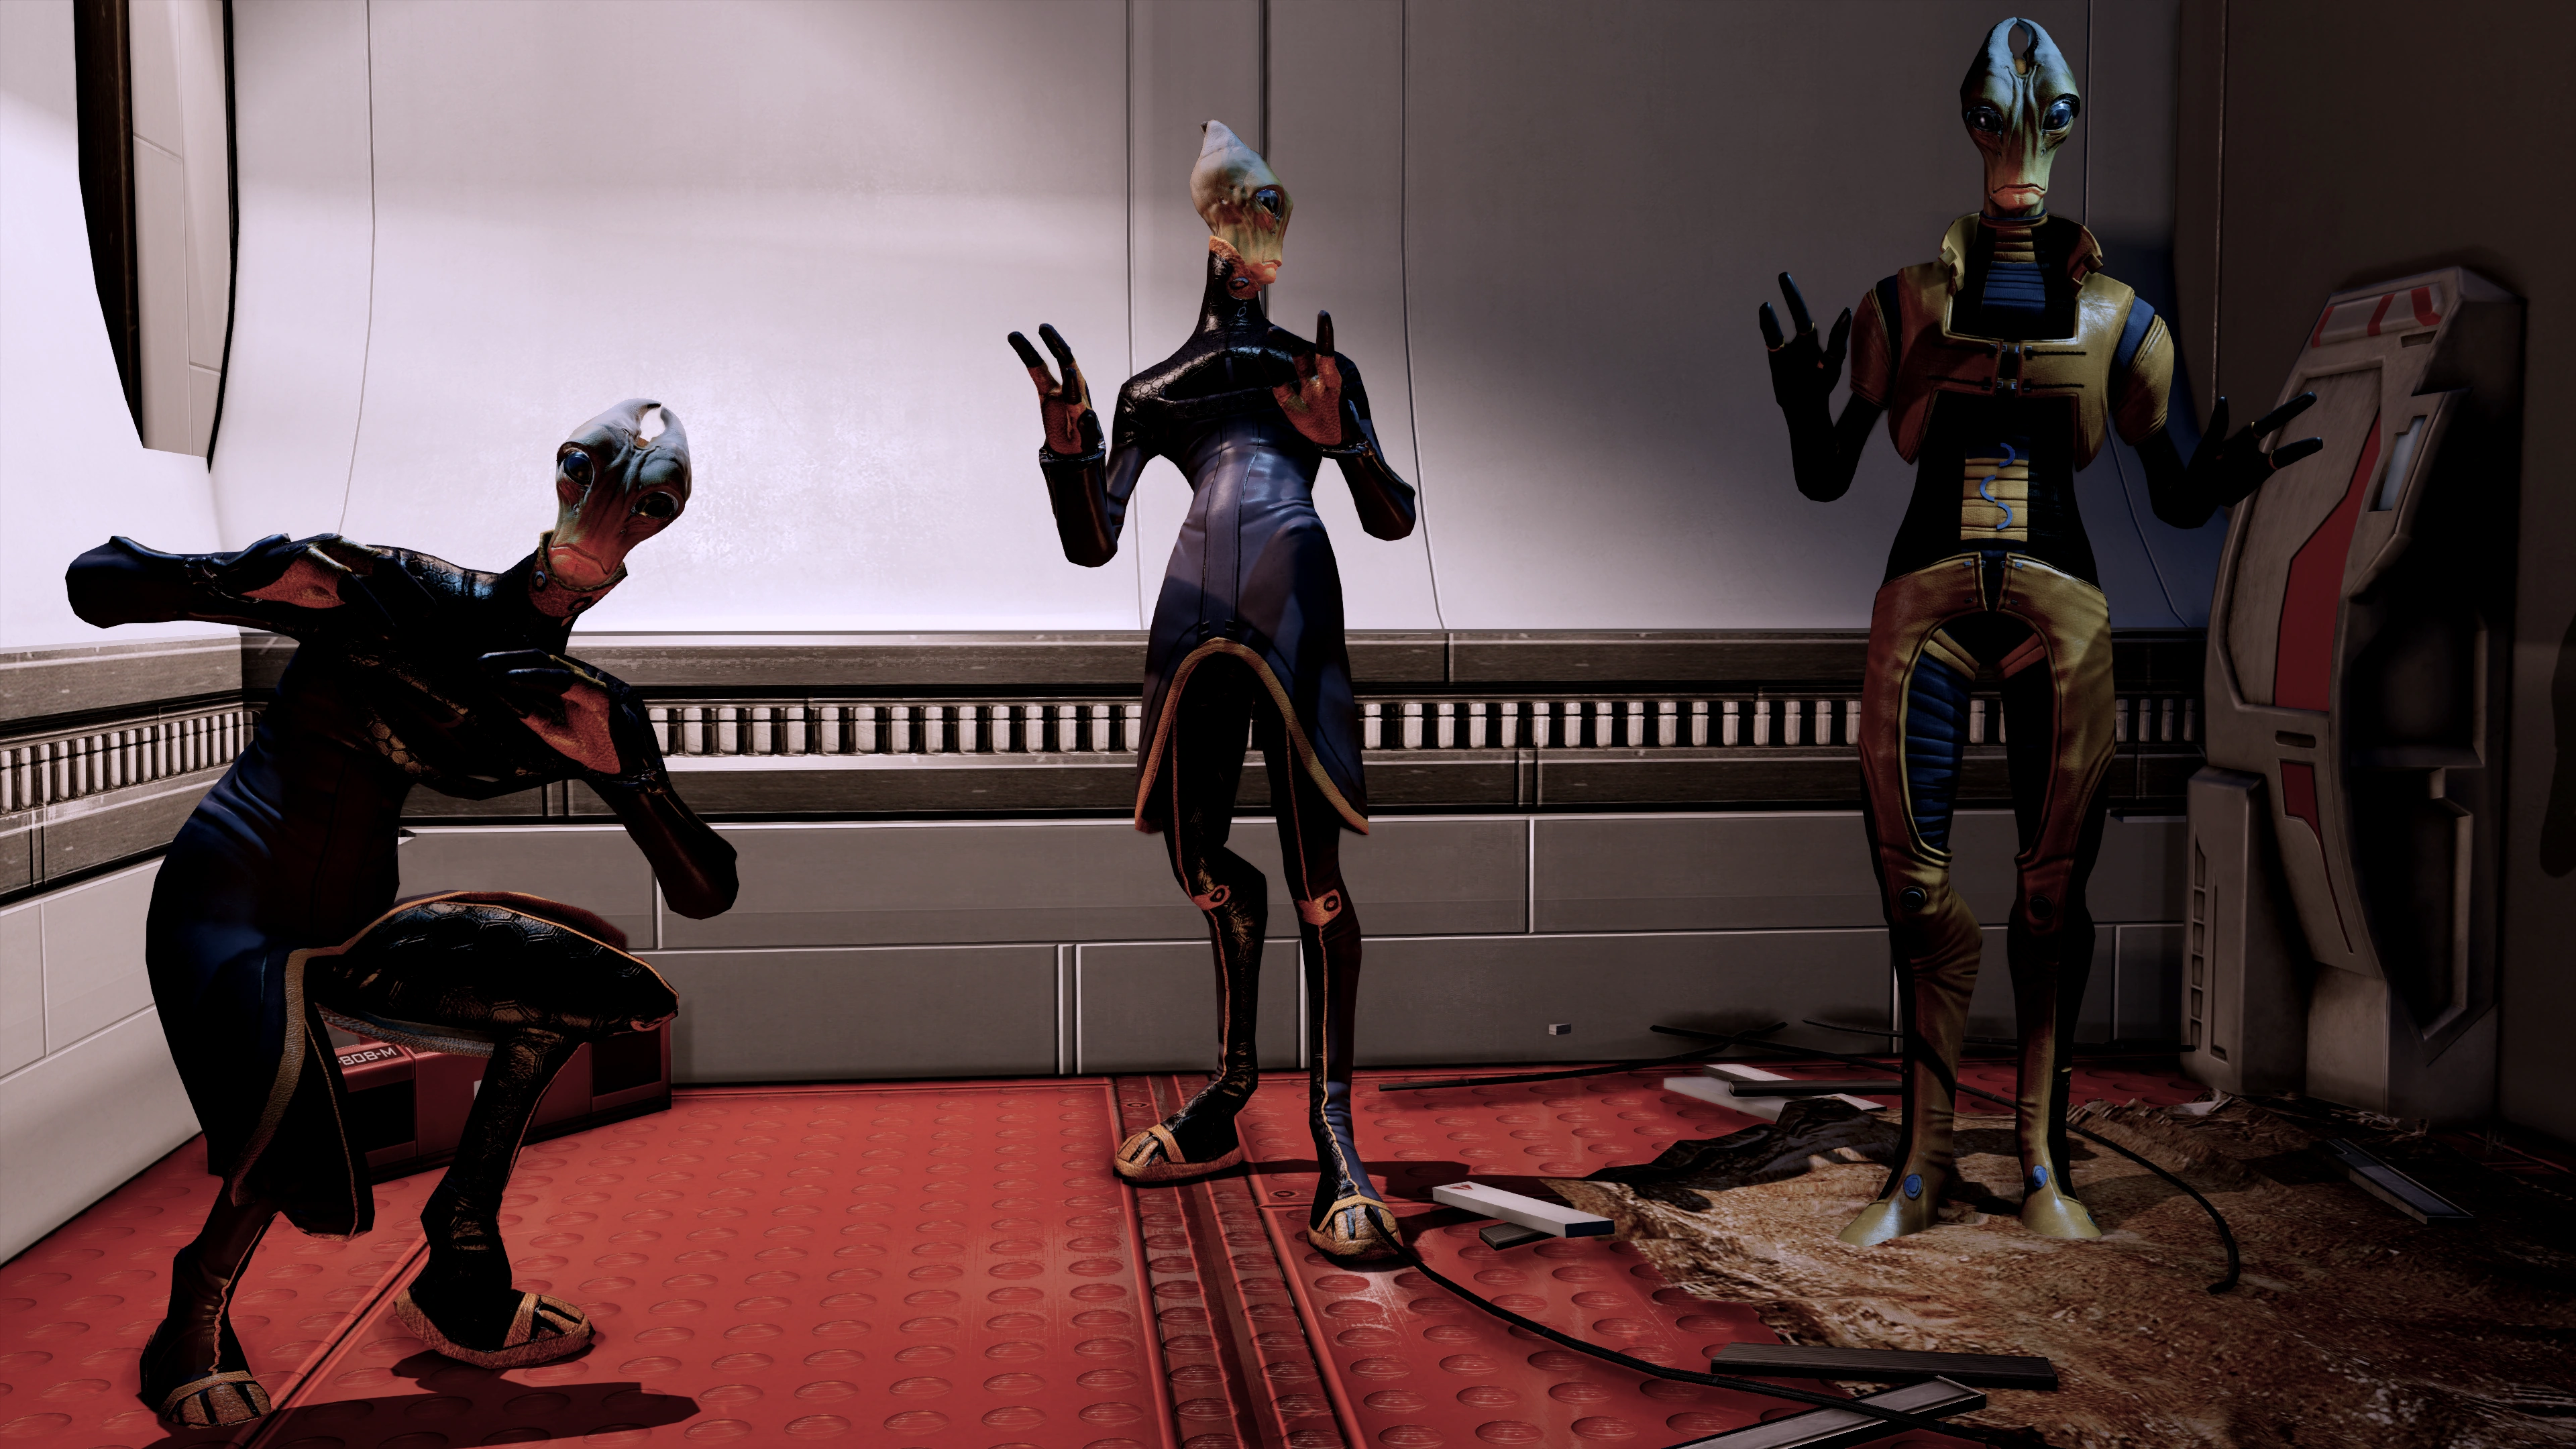
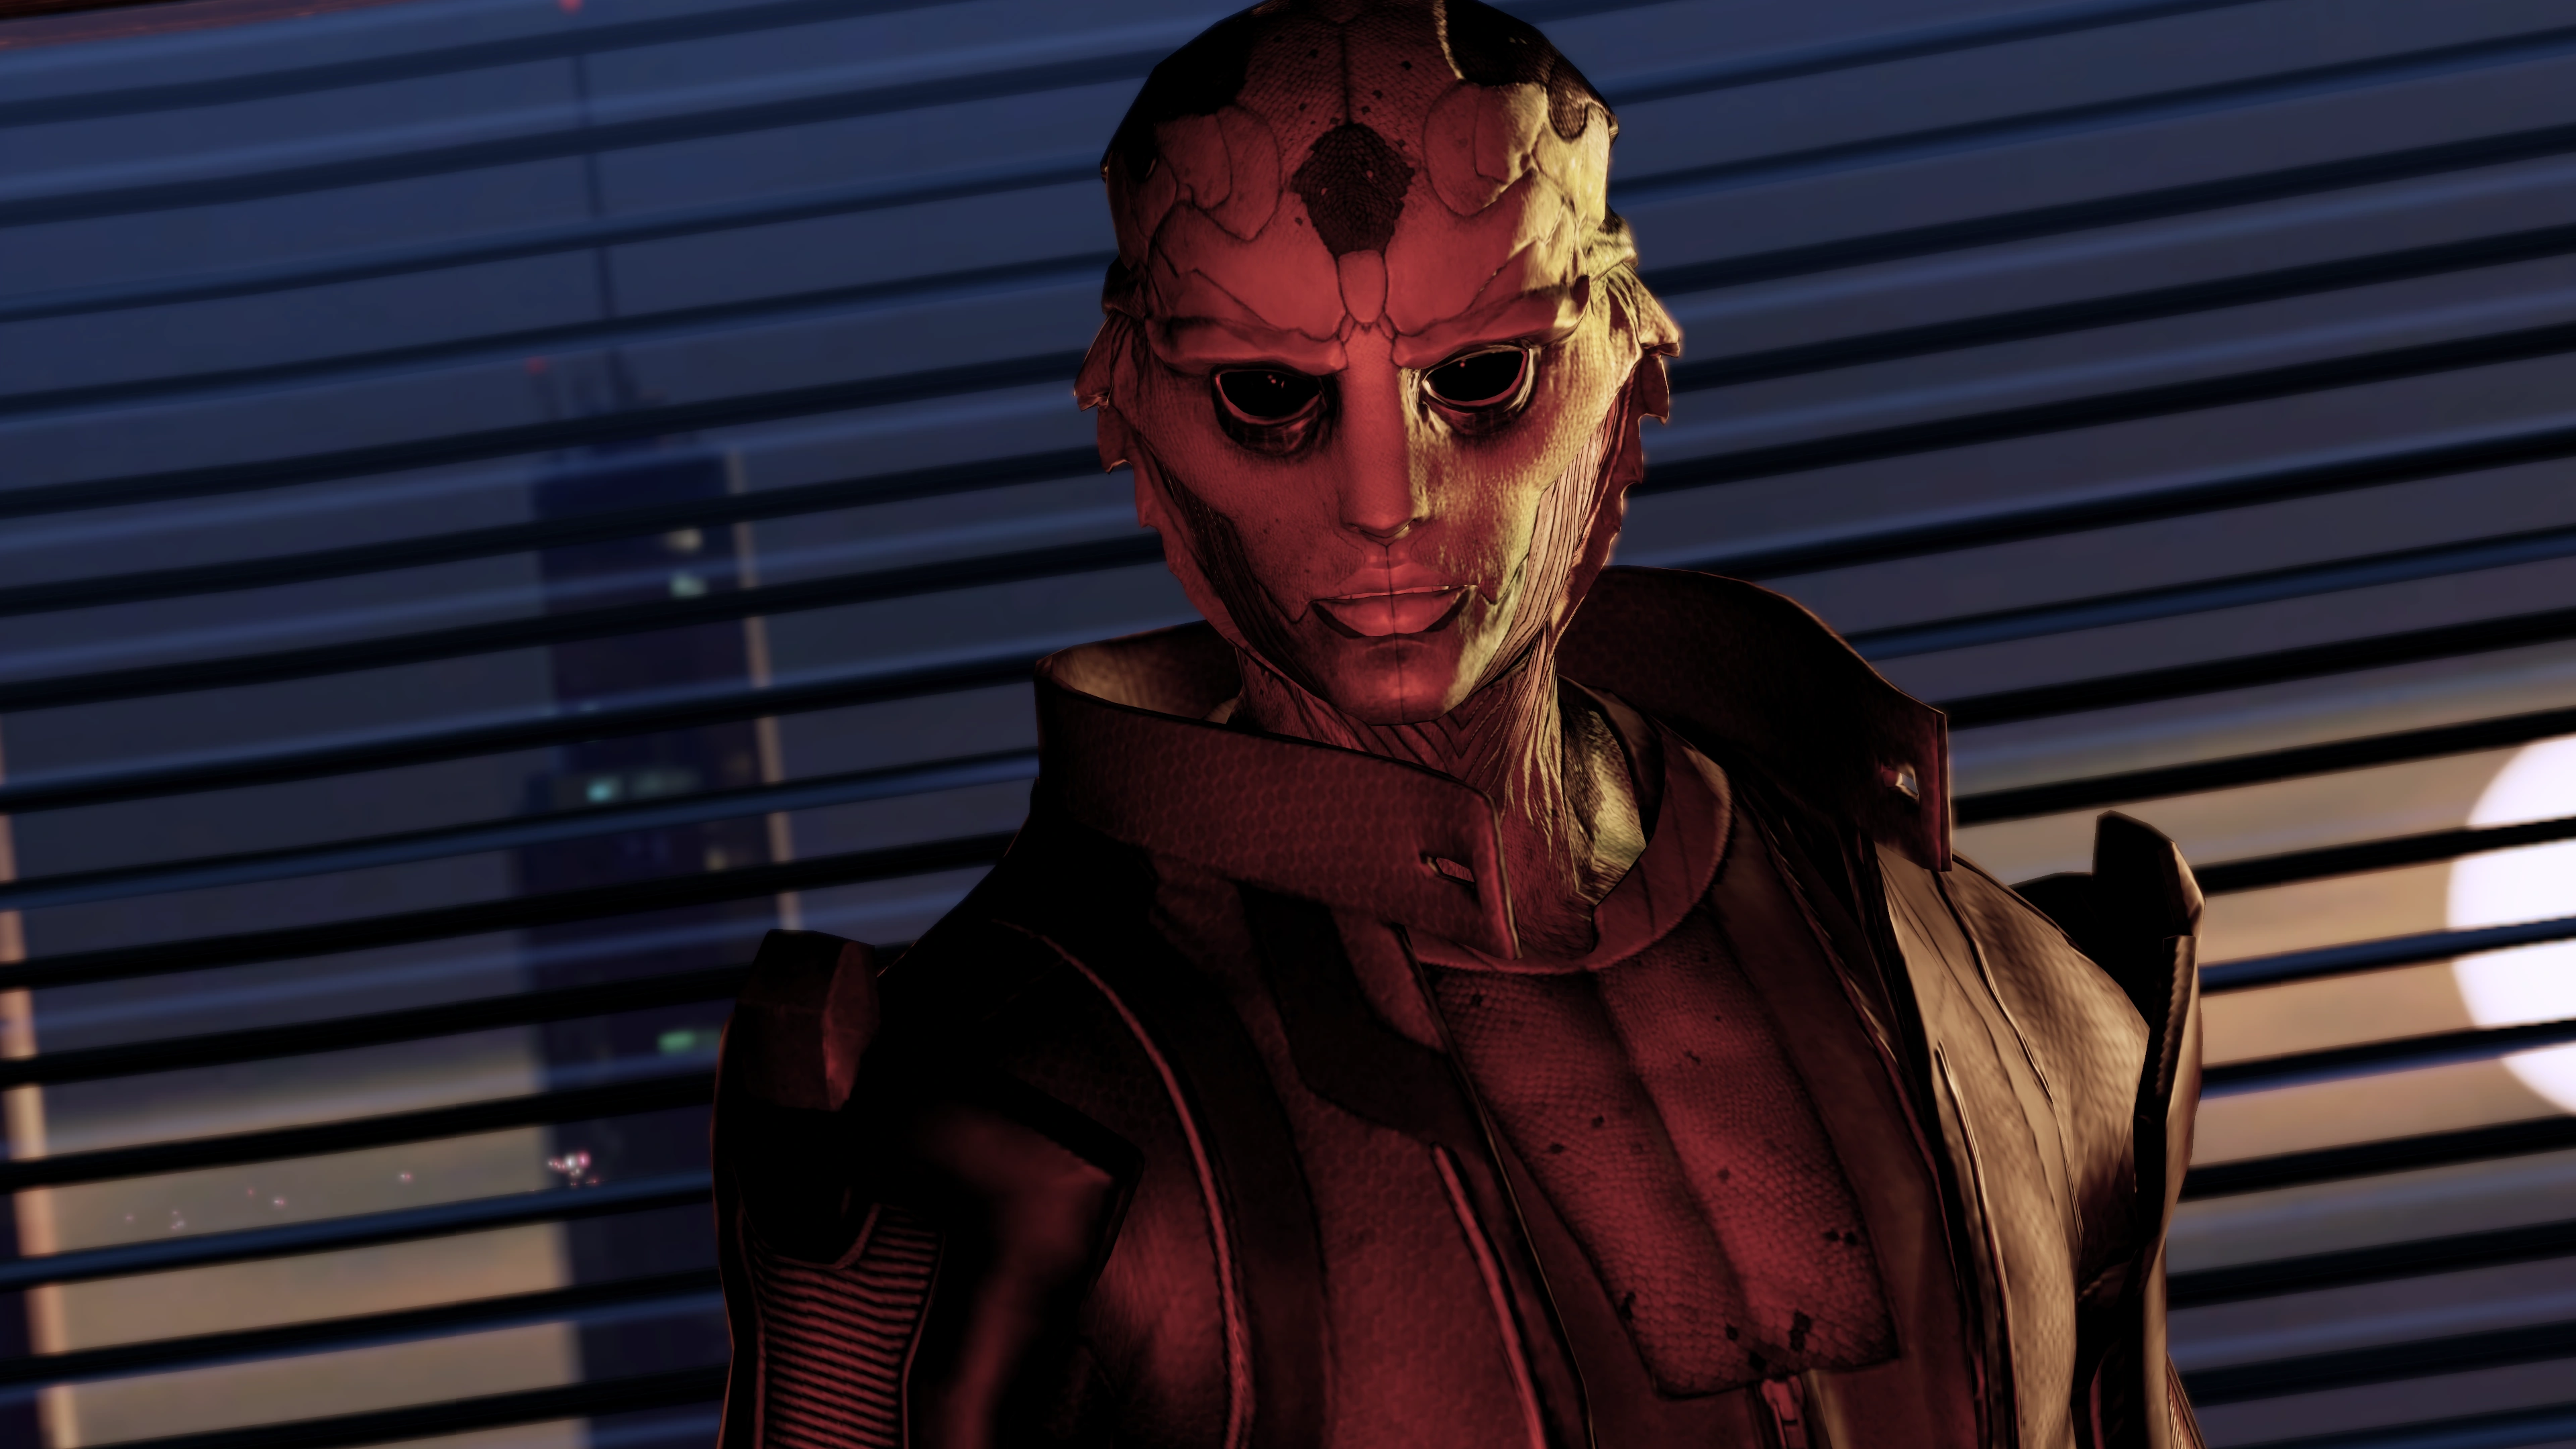
Thane Krios is a drell trained from childhood as an elite assassin, proficient in both long-range sniping kills and close infiltration. He has slowed his activities in recent years but is rumored to have a target on Illium.
Acquisition[]
After the mission on Horizon, the Illusive Man provides a second batch of team-building dossiers. This is one of them.
Preparation[]
In this mission you will face, not to put too fine a point on it, 105 enemies. In other words a whole lot of small stuff plus one seriously tough krogan and two nasty Commandos, but no boss fight. For selecting powers to bring the Armor/Shields/Barrier ratio is approximately 3:3:1 but the Vanguards and Commandos with the barriers are substantially tougher. Warp and Warp Ammo can deal with both armor and barriers well, which makes them very useful in this situation. Overload helps with shields and can detonate the generous number of explosive/containment items found in Dantius Towers. The high density of smallish enemies means powers evolved for area effects (e.g. Concussive Blast, Pull Field, Area Overload, Incineration Blast, etc) will work well. There will be mechs intermixed with mercenaries throughout the level, so AI Hacking can be put to excellent use here.
As far as weapons go this mission features several long corridors/bridges where squad members with sniper rifles will do very well, but there are some shotgun-range knife fights coming too. Heavy Weapons choice should emphasize area-of-effect, which makes the Collector Particle Beam rather unsuitable here.
Walkthrough[]
On your first visit to Illium, an asari concierge named Careena, accompanied by two LOKI Mechs, greets Shepard upon arrival. She informs you that Liara T'Soni has paid for the Normandy's docking and administrative fees and that Liara would like to speak with Shepard. After the chat with Careena EDI advises Shepard that Liara may have information on Thane's location.
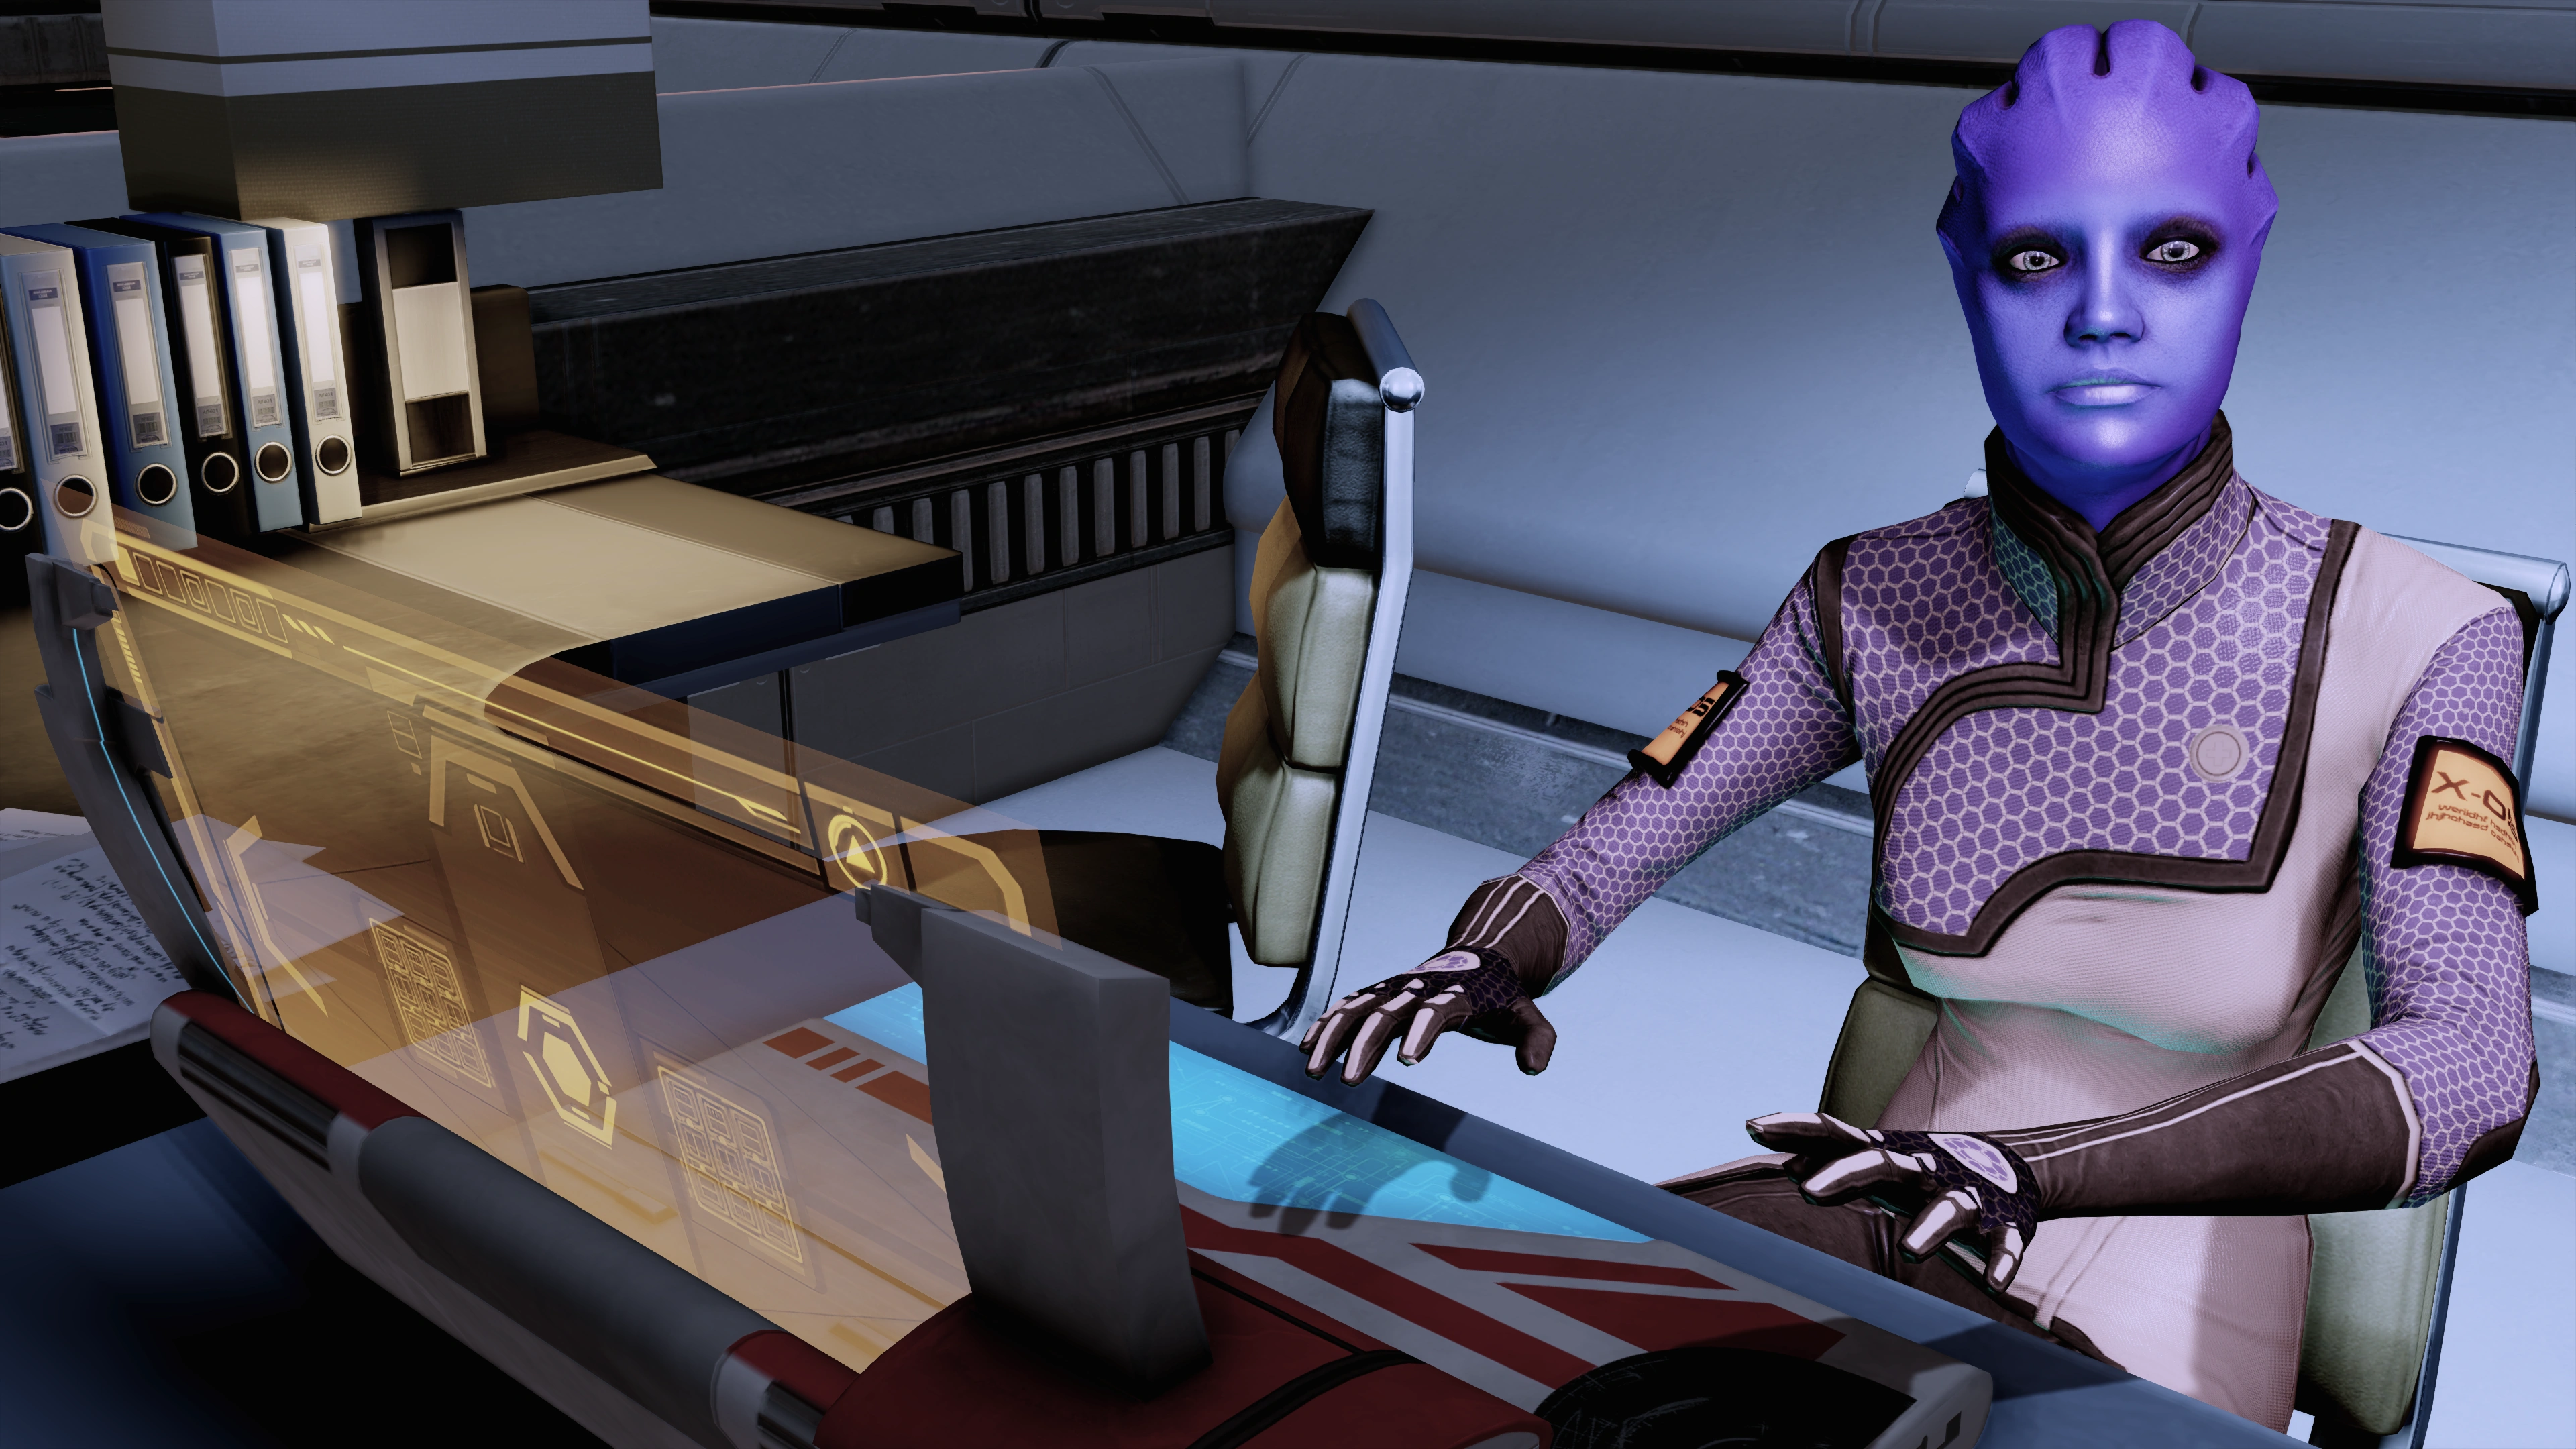
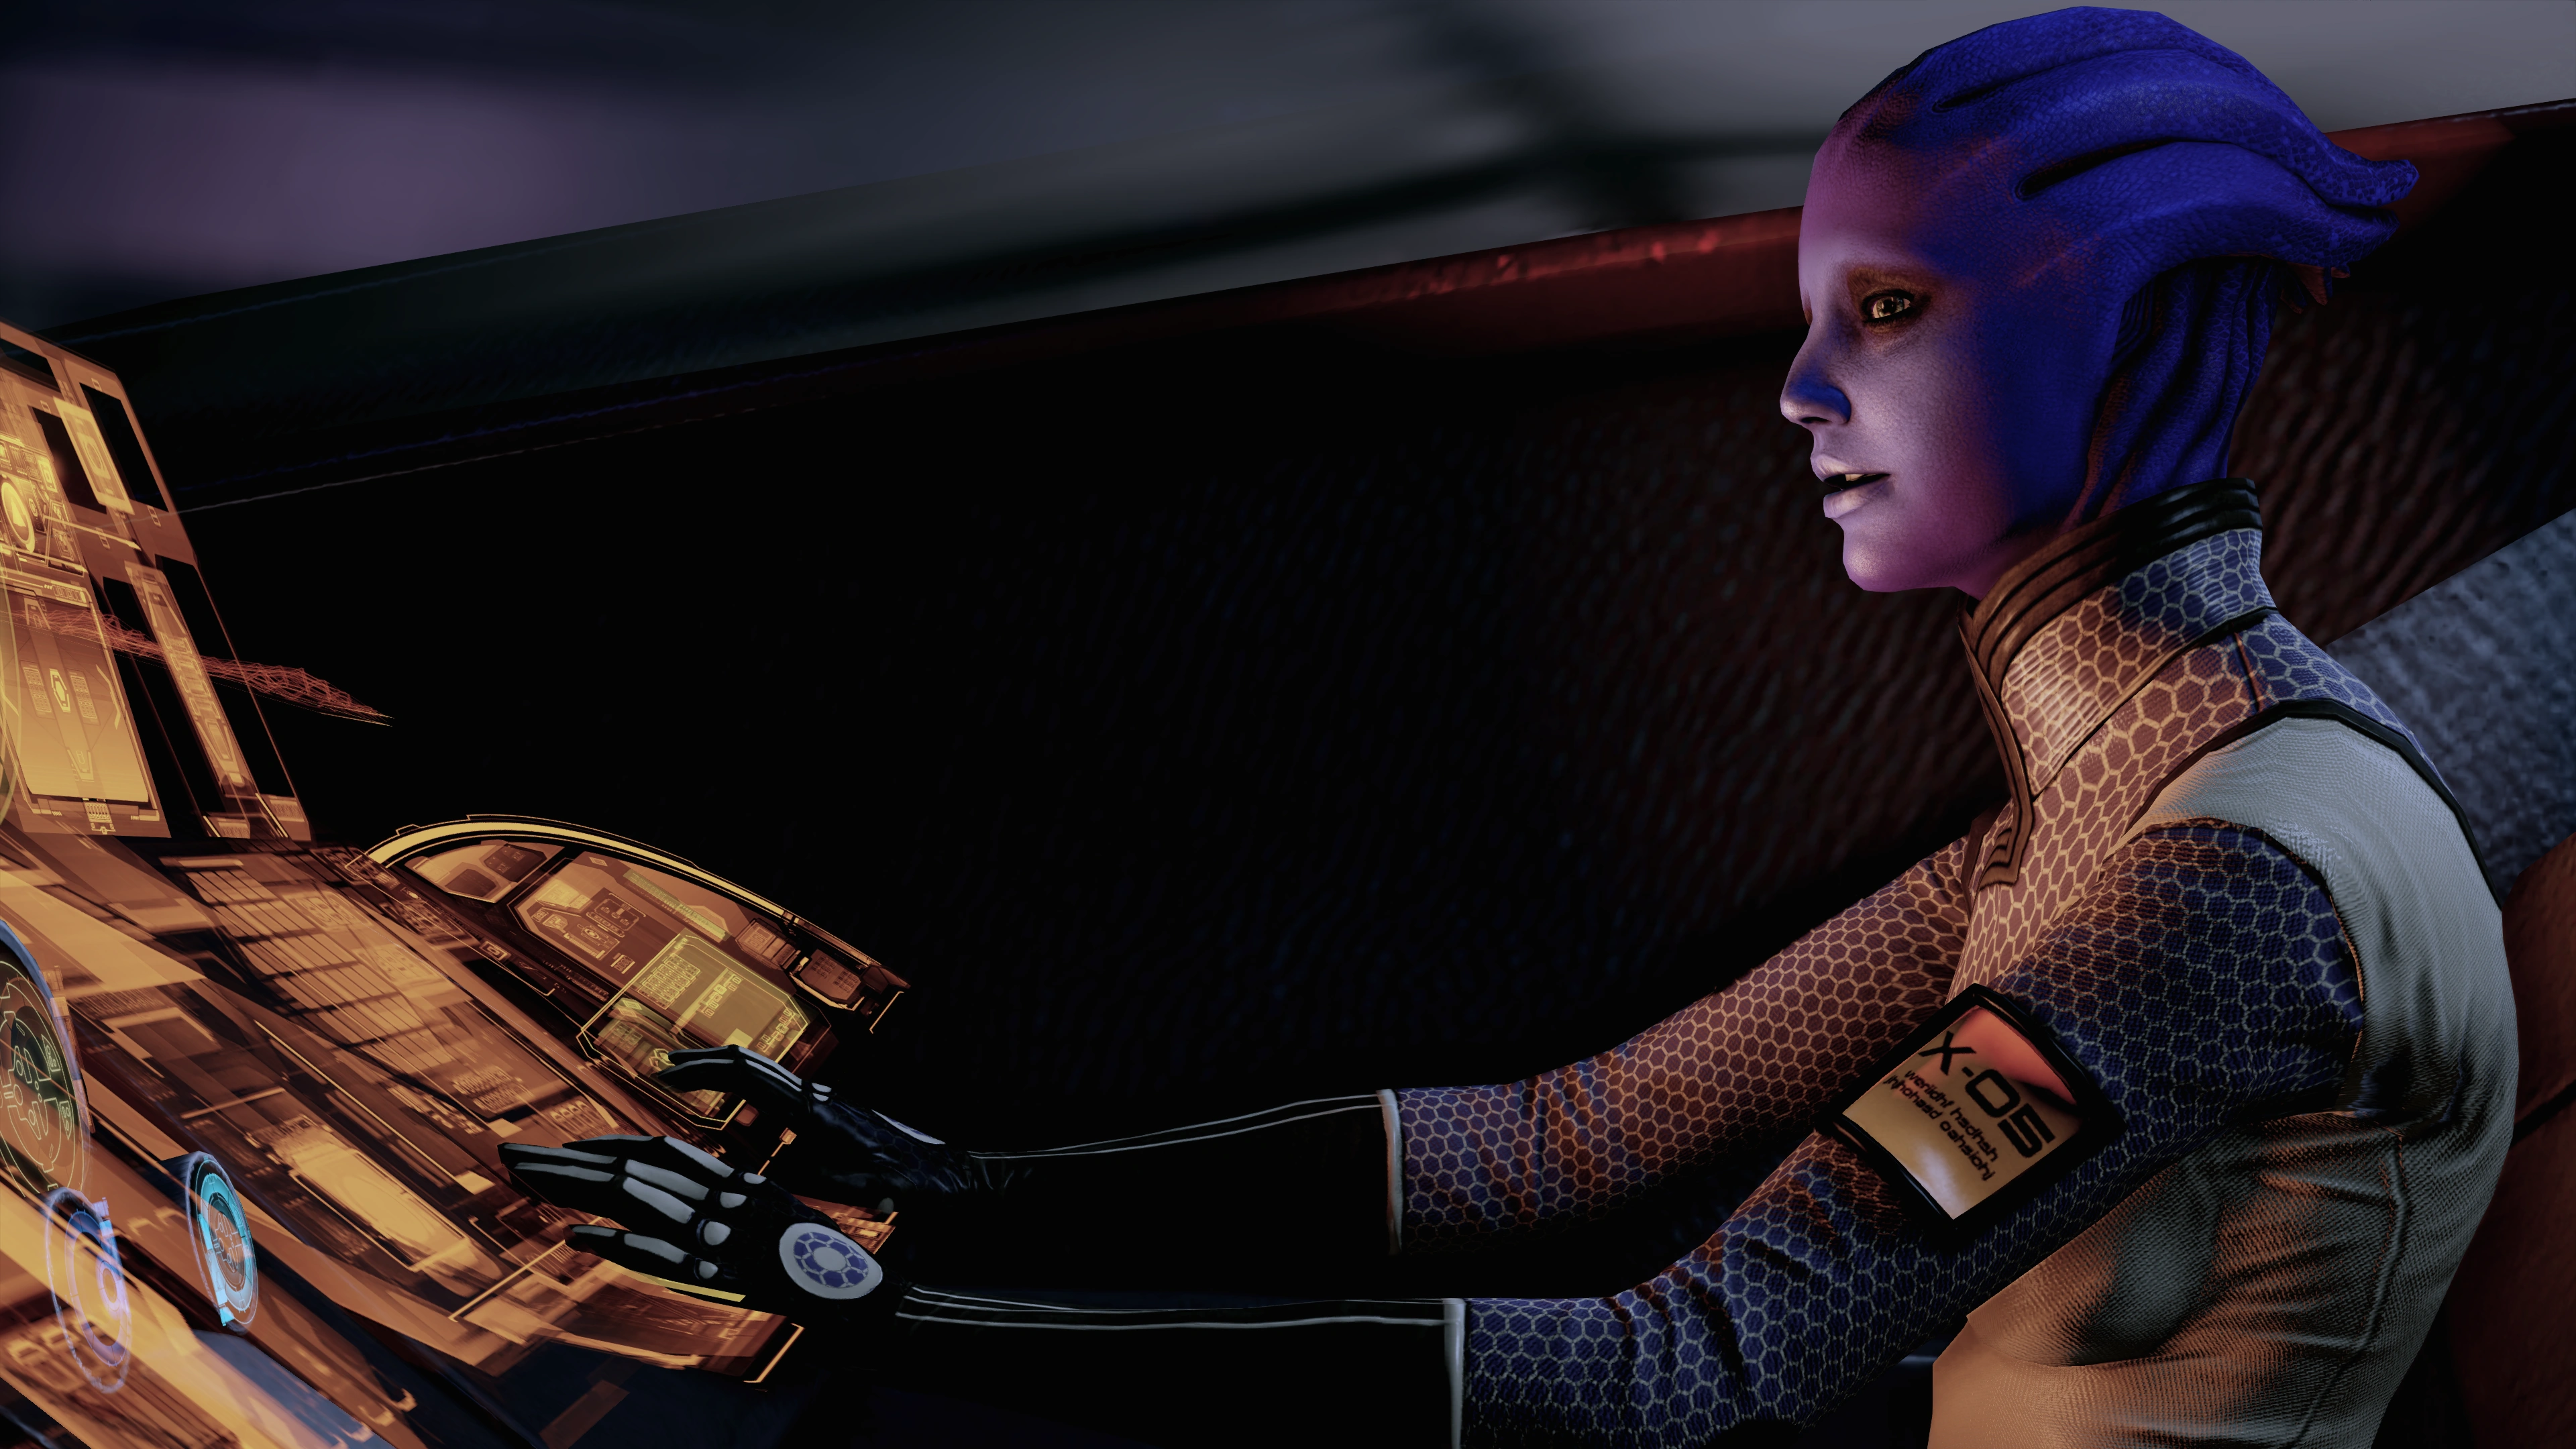
Liara can be found in the admin office overlooking the trading floor. Go there and speak to her. As this is a reunion with your former squadmate you may have to discuss a few matters first before you can proceed to the business of progressing this mission. Those other matters can be tabled for later. As an information broker Liara can point you to the relevant people for recruiting Thane Krios or Samara, so ask about the former.
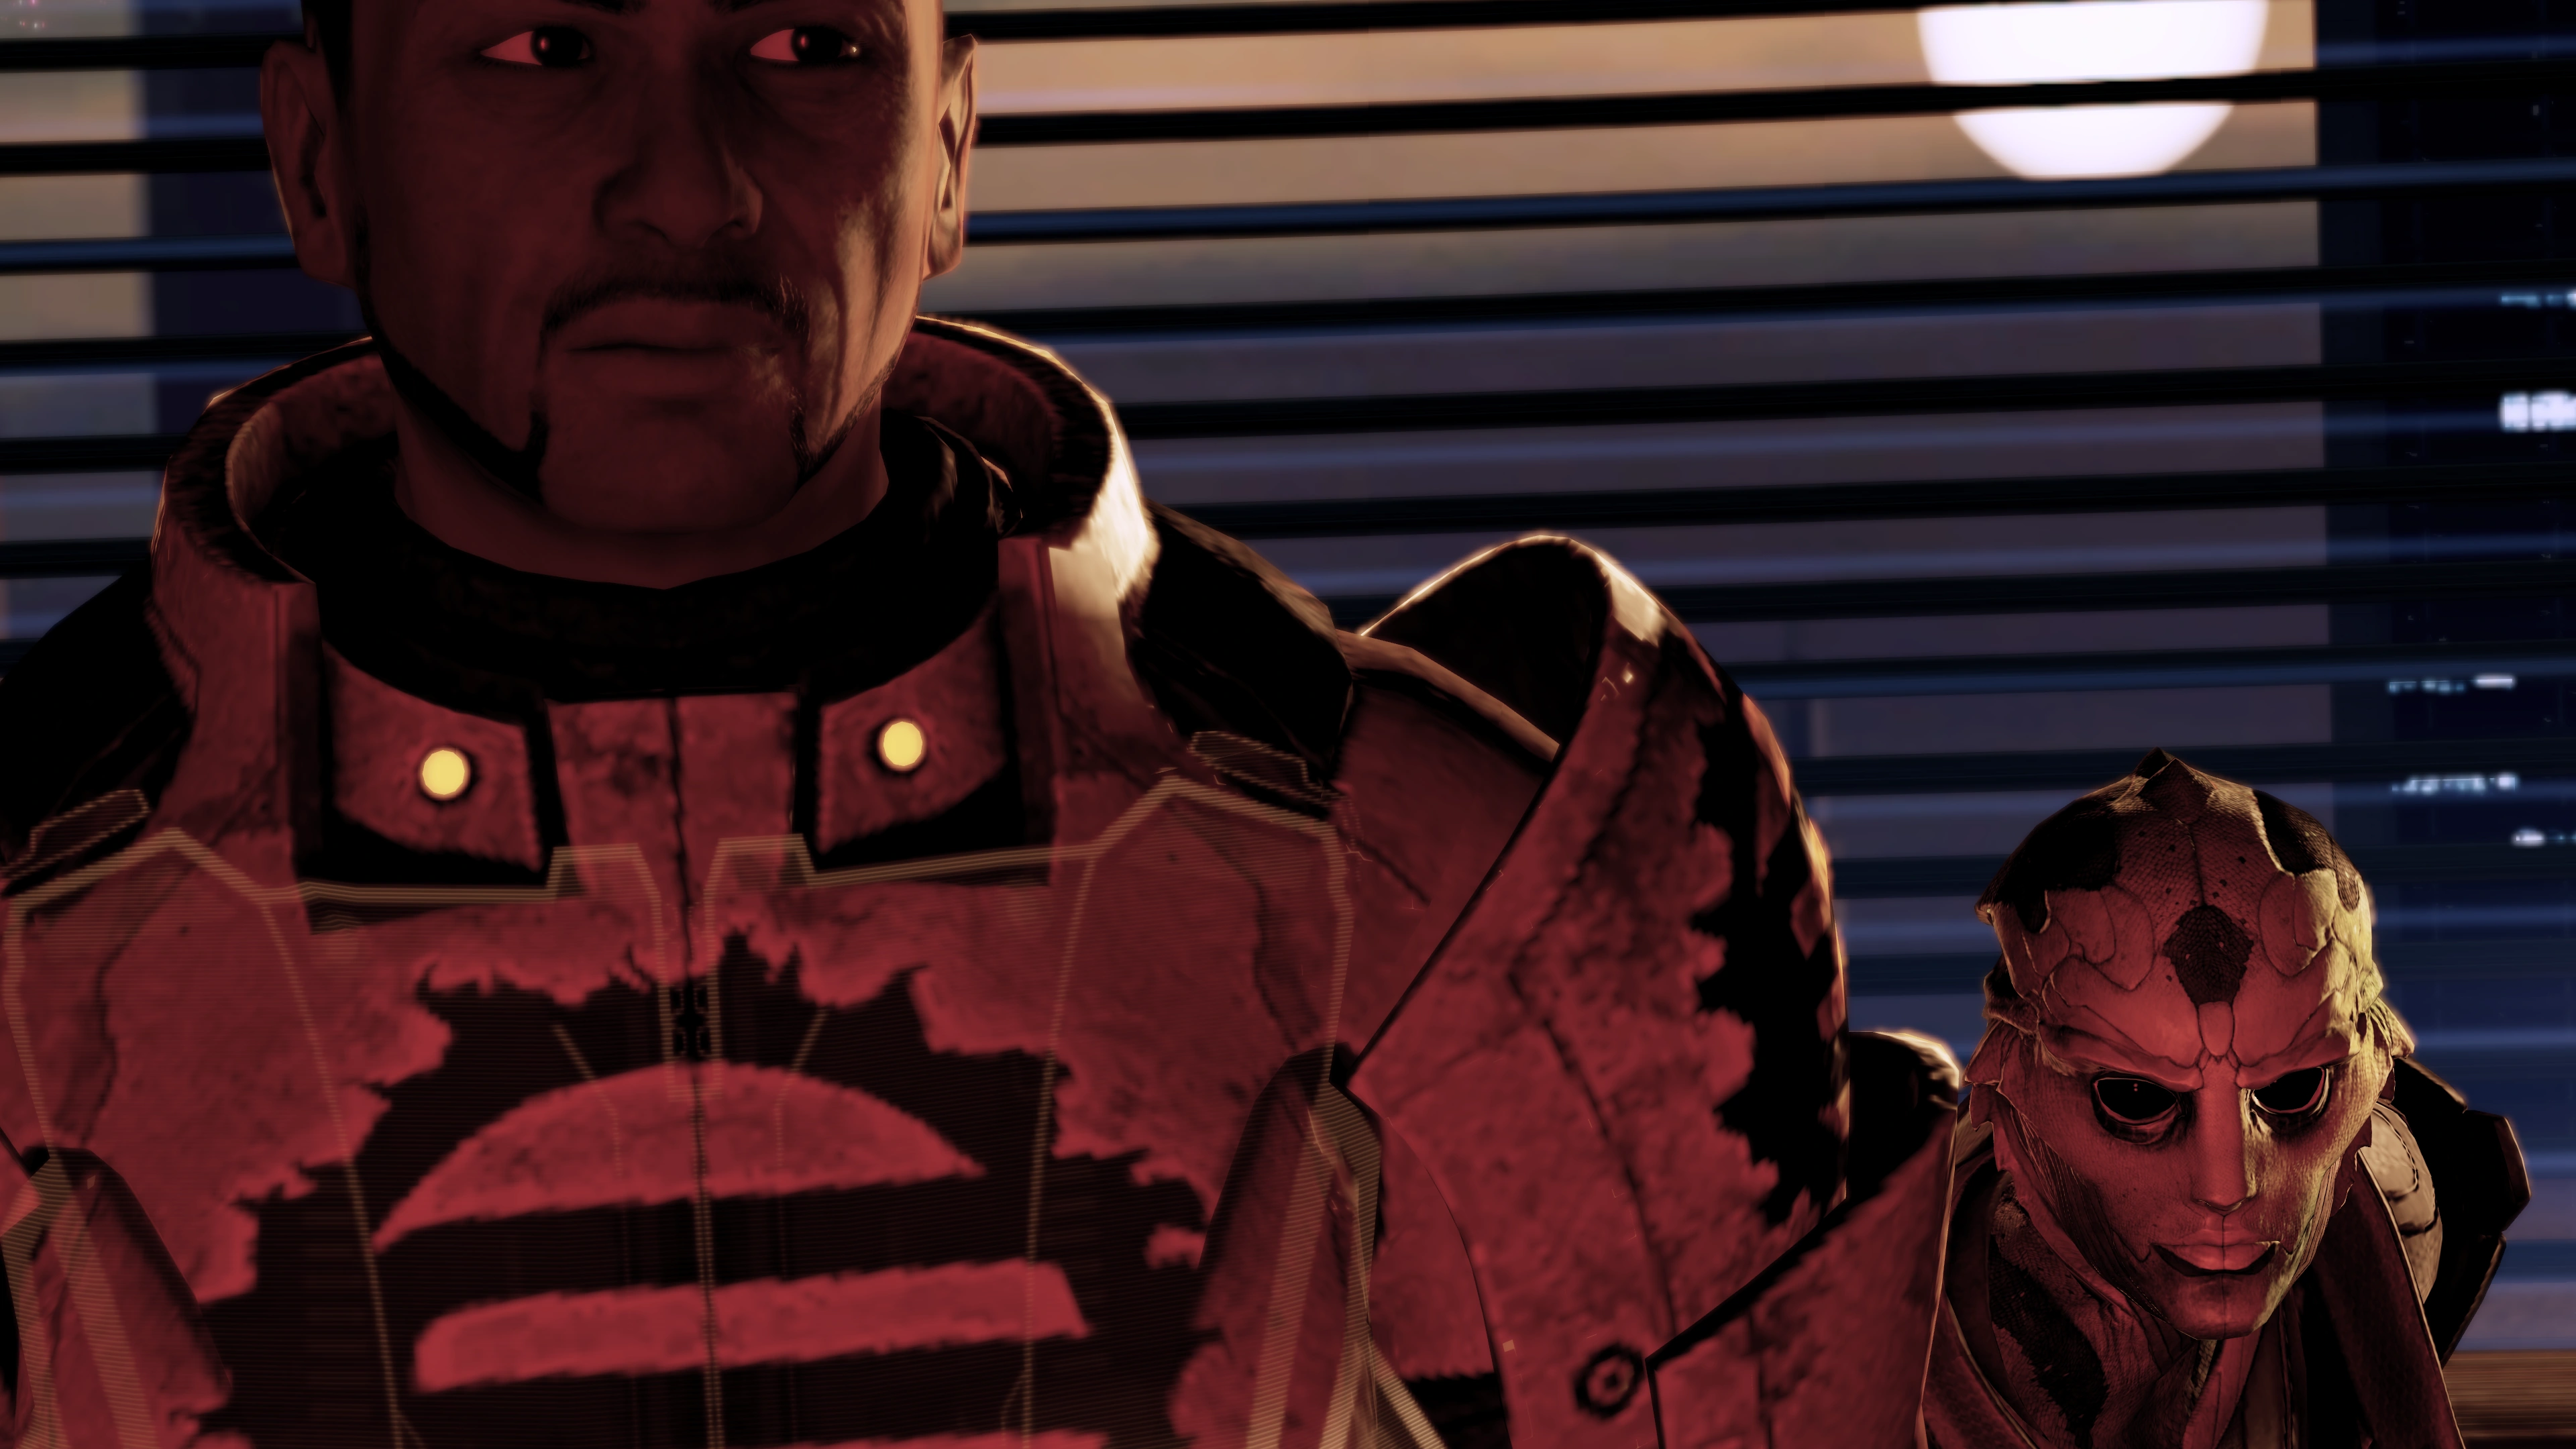
Liara tells Shepard that Thane arrived a few days ago and his target is a corporate executive, Nassana Dantius. You may be acquainted with Nassana depending on choices made in Mass Effect. Thane contacted an asari named Seryna, who has an office in the cargo transfer levels. Follow the lead to Seryna's office.
Getting to Thane[]
Seryna's office is under the shipping sign. You learn that Seryna is a disgruntled former employee of Nassana, who was dismissed after confronting her boss about her routine assassinations of her enemies. If you imported a Mass Effect game with UNC: Asari Diplomacy accomplished, you tell Seryna you killed Nassana's own sister on her behalf. Thane learned about Nassana's security from Seryna, and she wants to help anyone who will help Thane kill Nassana.
Nassana is in the penthouse of Tower One of the Dantius Towers. Seryna believes that Thane will likely infiltrate through Tower Two, which is still under construction. She describes Nassana's paranoia of killers, and rightfully so given her business practices. Seryna volunteers to take your team to the Dantius Towers, and you're given a choice to proceed or back out for now. If you back out, talk to her again when you're ready. You can only go to the Towers once, and once you're there you cannot return to Nos Astra without first completing the mission.
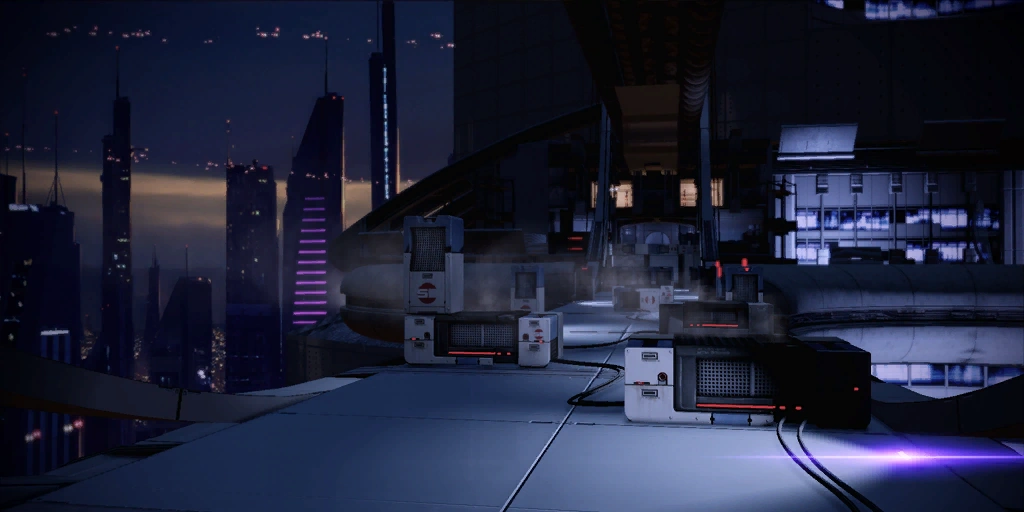
Dantius Tower Two Entrance[]
When you agree to go, a cutscene plays where Seryna flies your team via skycar to the towers. You can ask Seryna for further details about the destination and waiting defenses: as many Eclipse mercs as Nassana's money could buy, and there are no static emplacements, only moving ones.
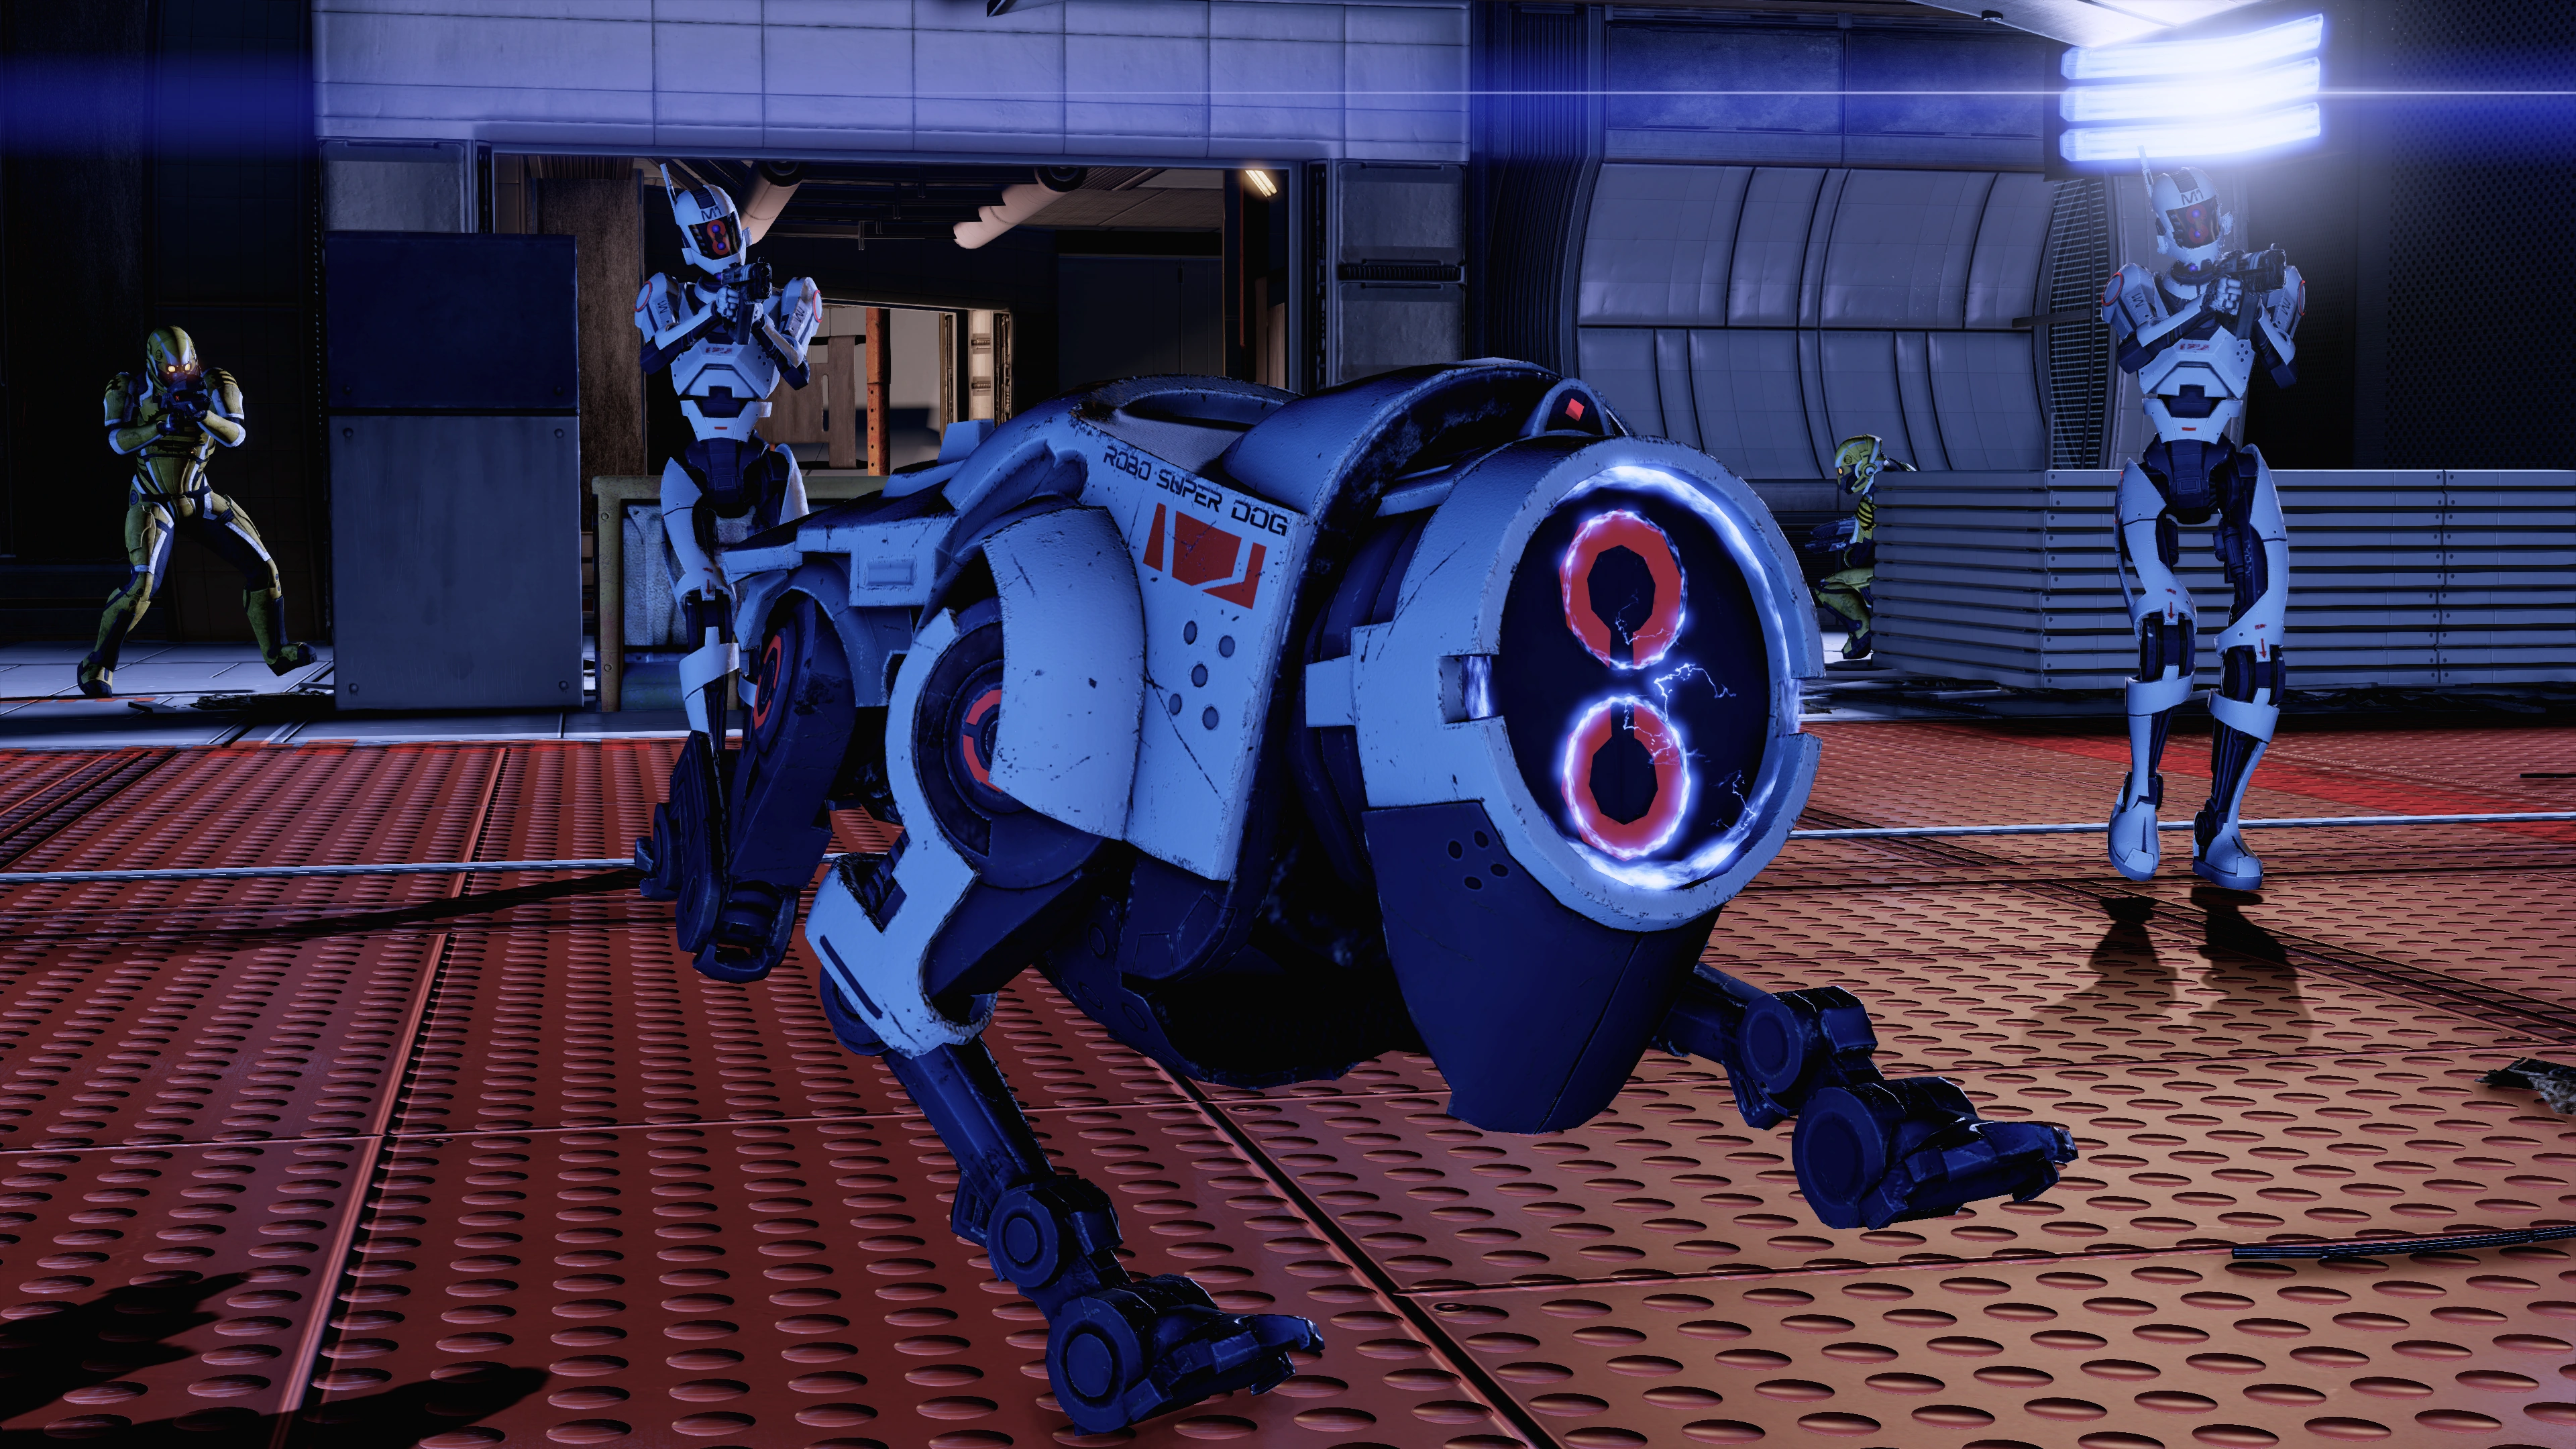
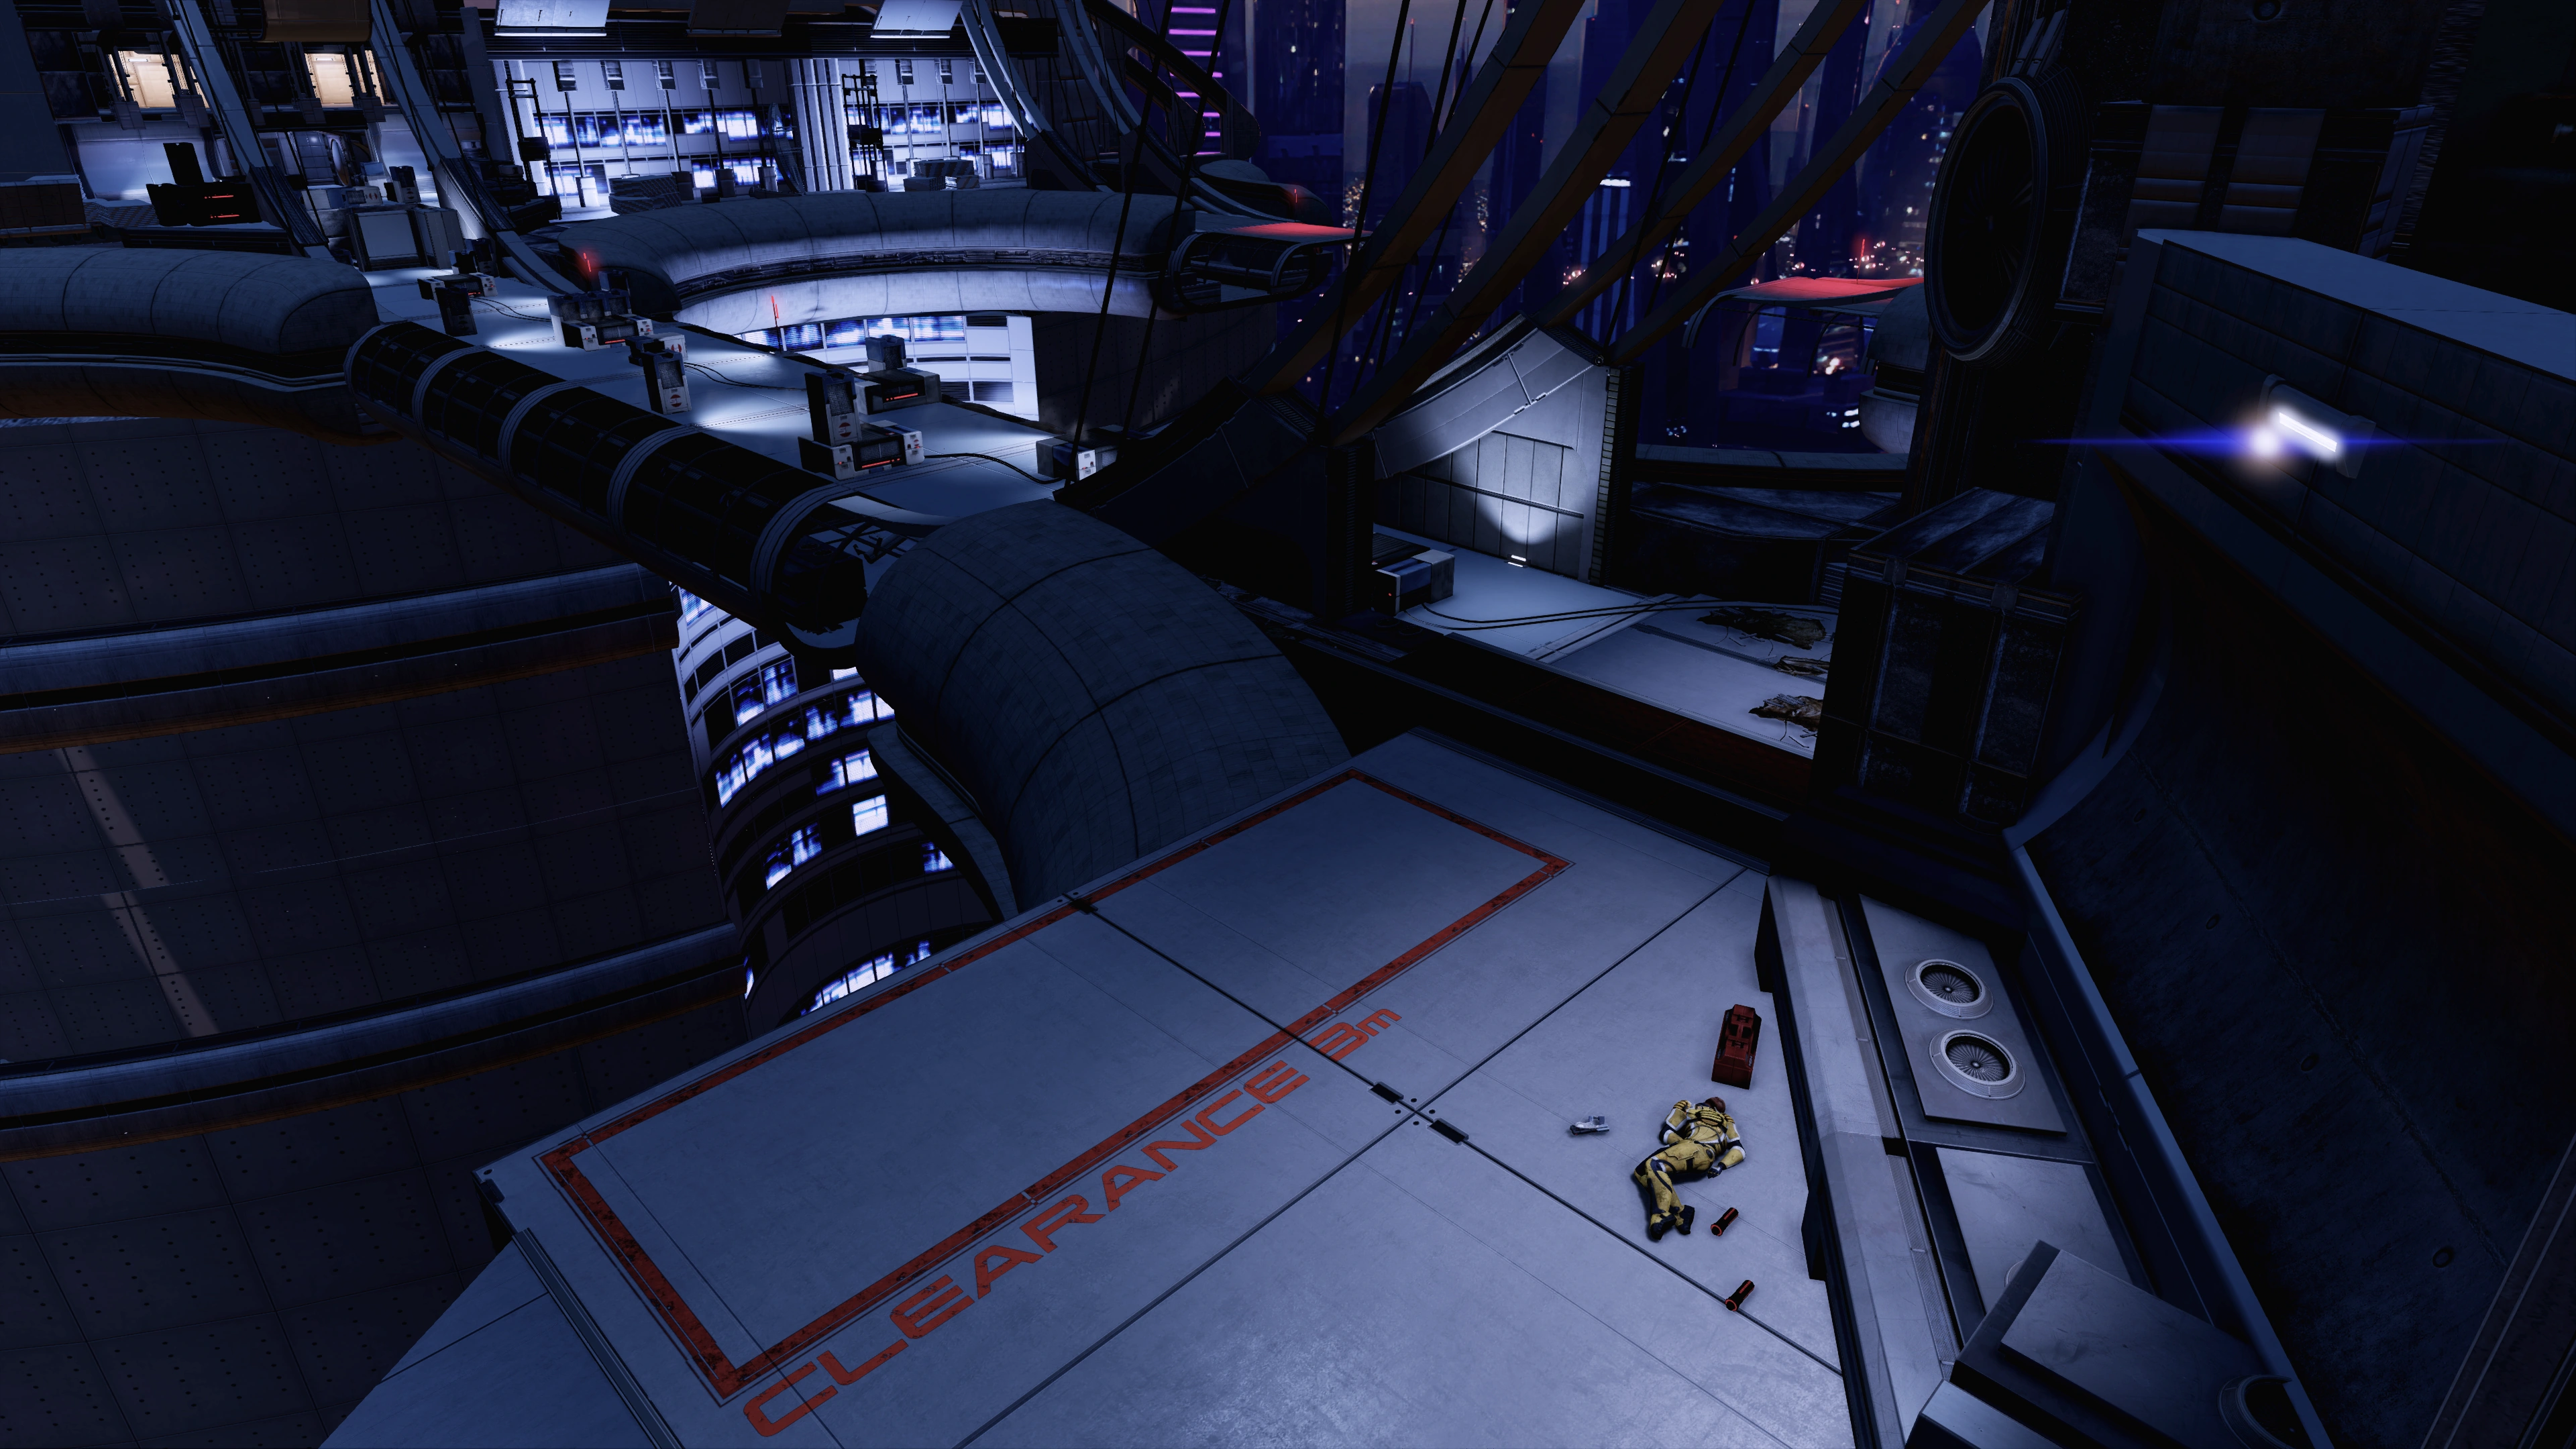
After being dropped off at the bottom of Tower Two, your team quickly encounters a bunch of security mechs gunning down panicked salarian construction workers. Once you regain control, quickly activate ammo powers and other combat prep. A thin sheet of glass at the entrance separates you from the mechs, once they break past it simply by moving towards you they start shooting. This initial group is composed of 2 LOKI Mechs and 2 FENRIS Mechs. There are no cover positions in this starting area.
Once the mechs have been disposed of, check out the room to the left where you can find a medical station with medi-gel and a hackable Terminal (+4800 credits).
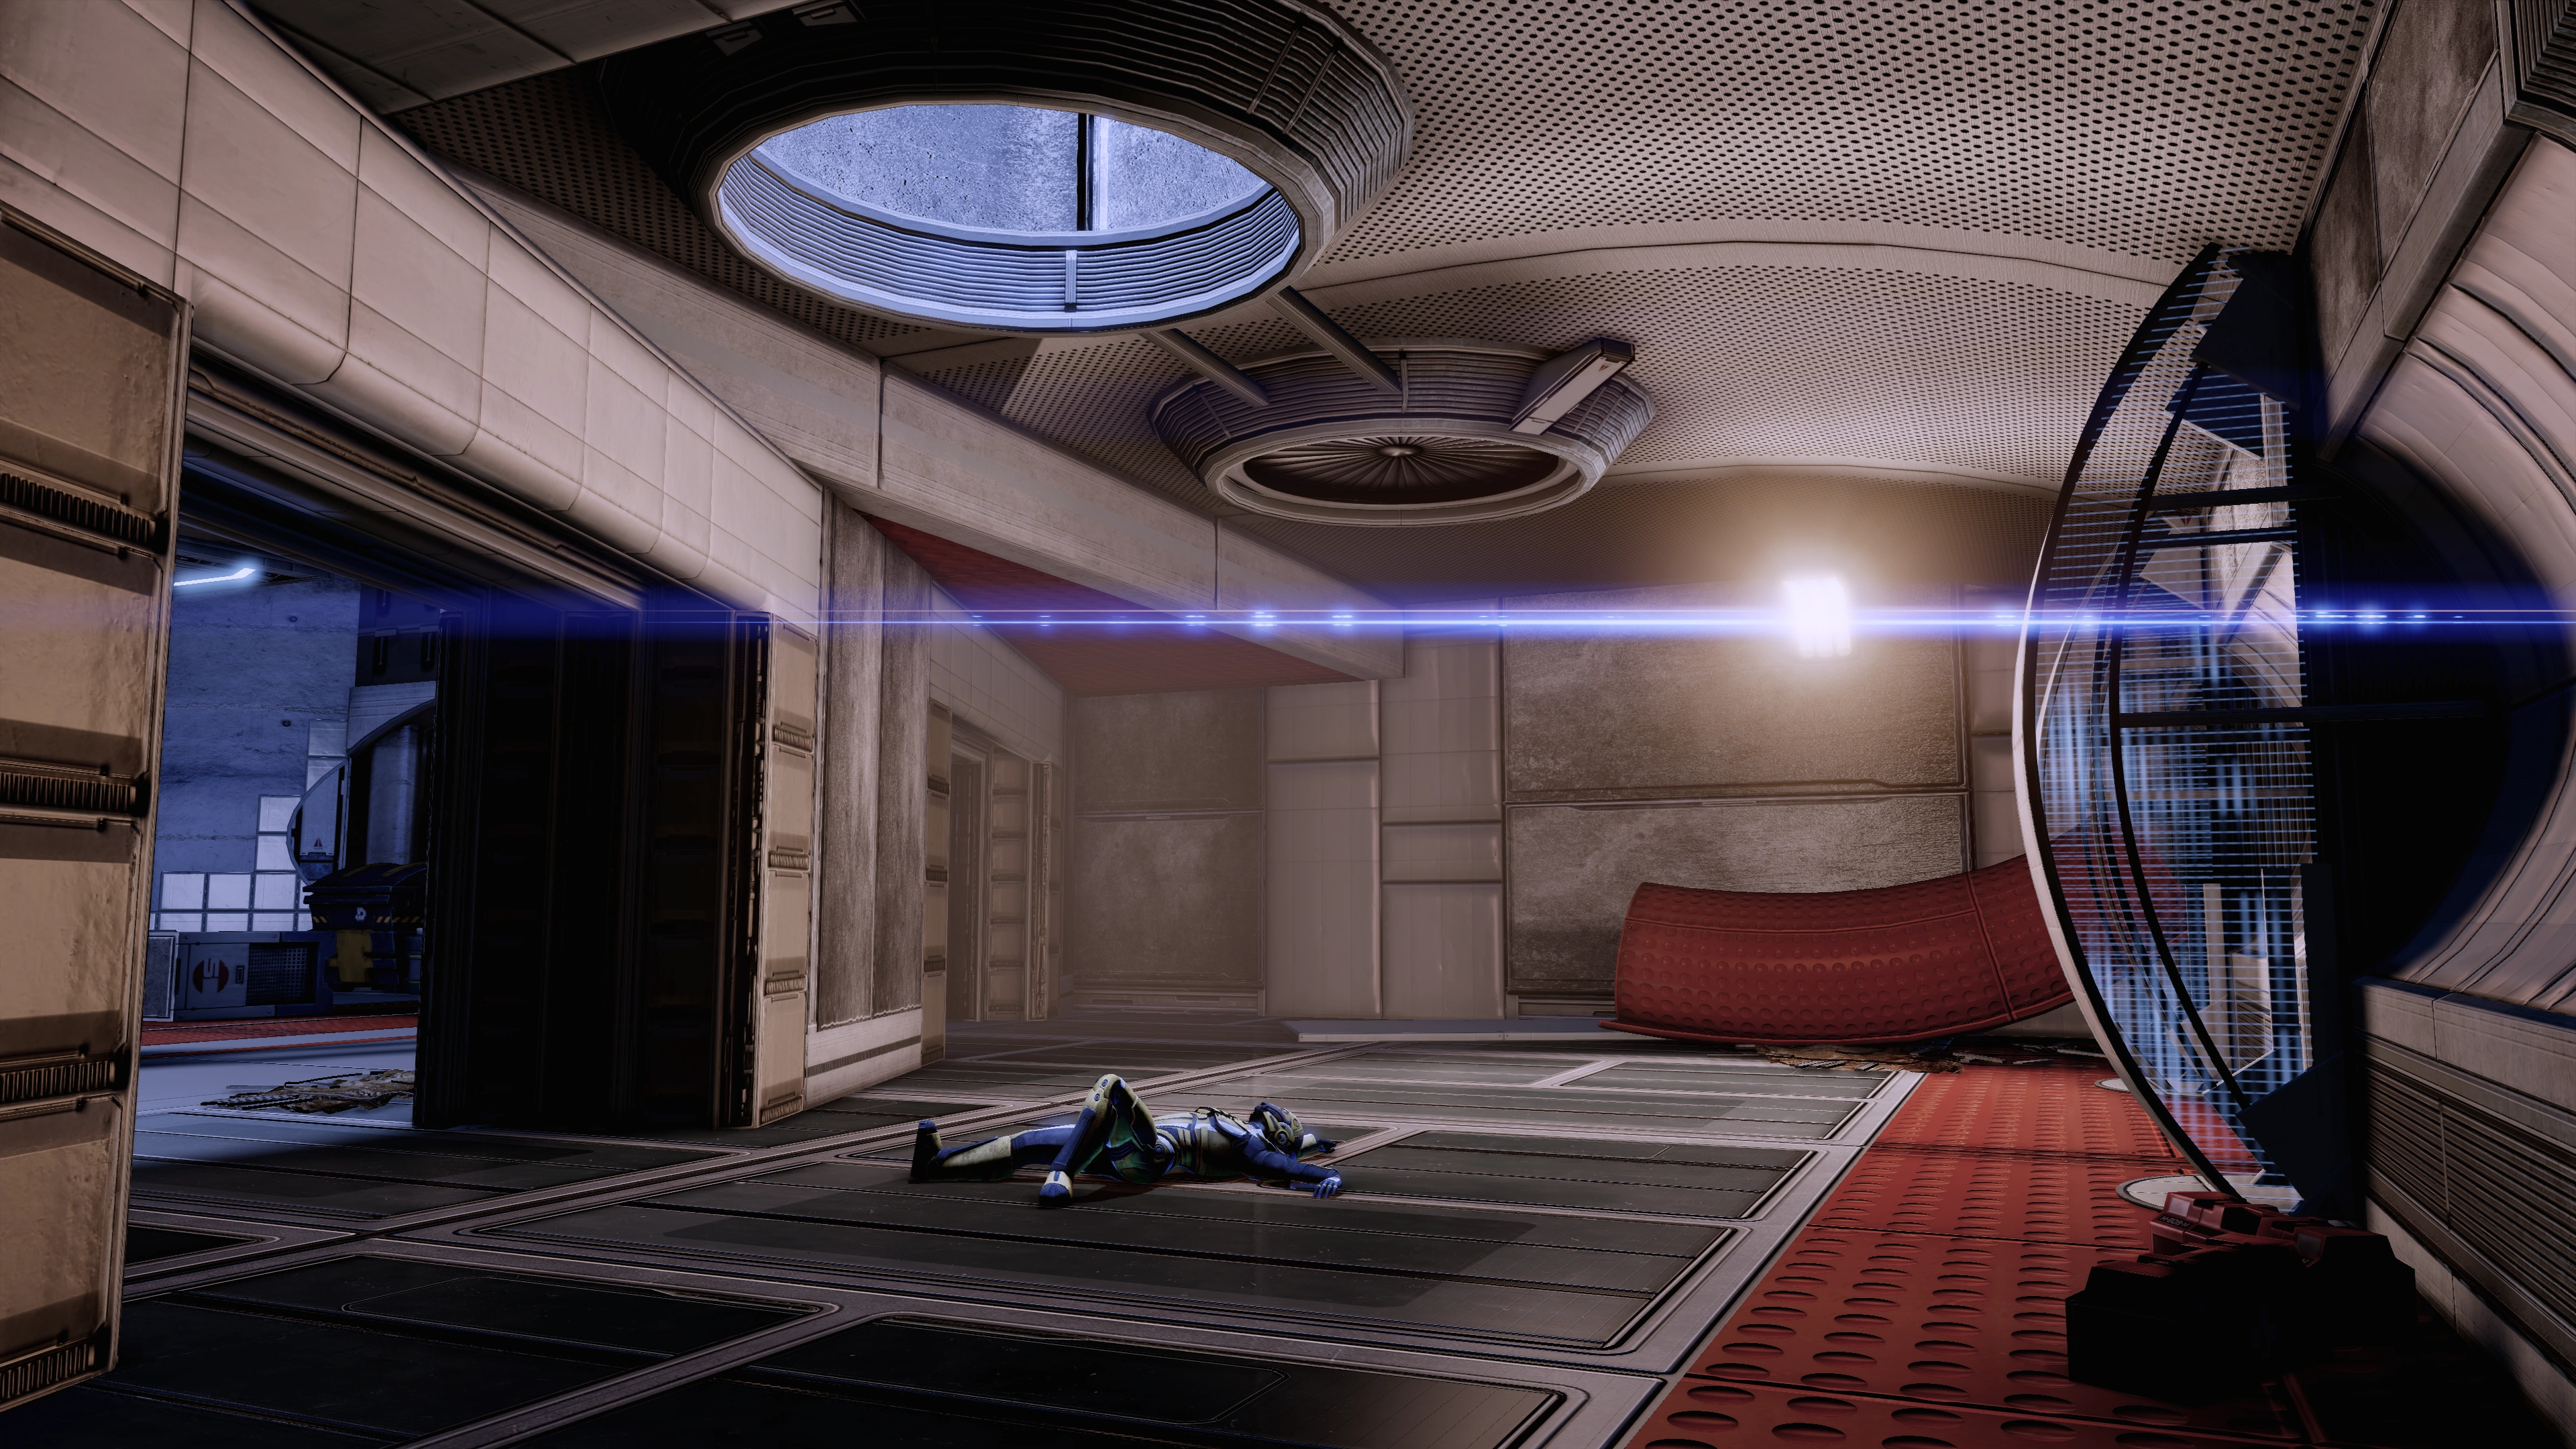
After collecting the loot, head back out and straight across, where you will encounter a wounded salarian by a door. The worker will explain that Nassana sent the dog mechs to round up all the night workers to get rid of them immediately. A Paragon interrupt uses some medi-gel to stabilize him; not taking it will lead to some morality choices, two of which will result in letting the salarian die. Saving the salarian lets you learn more information from him, including a good picture of what to expect on your upcoming trip through the towers.
Level 1[]
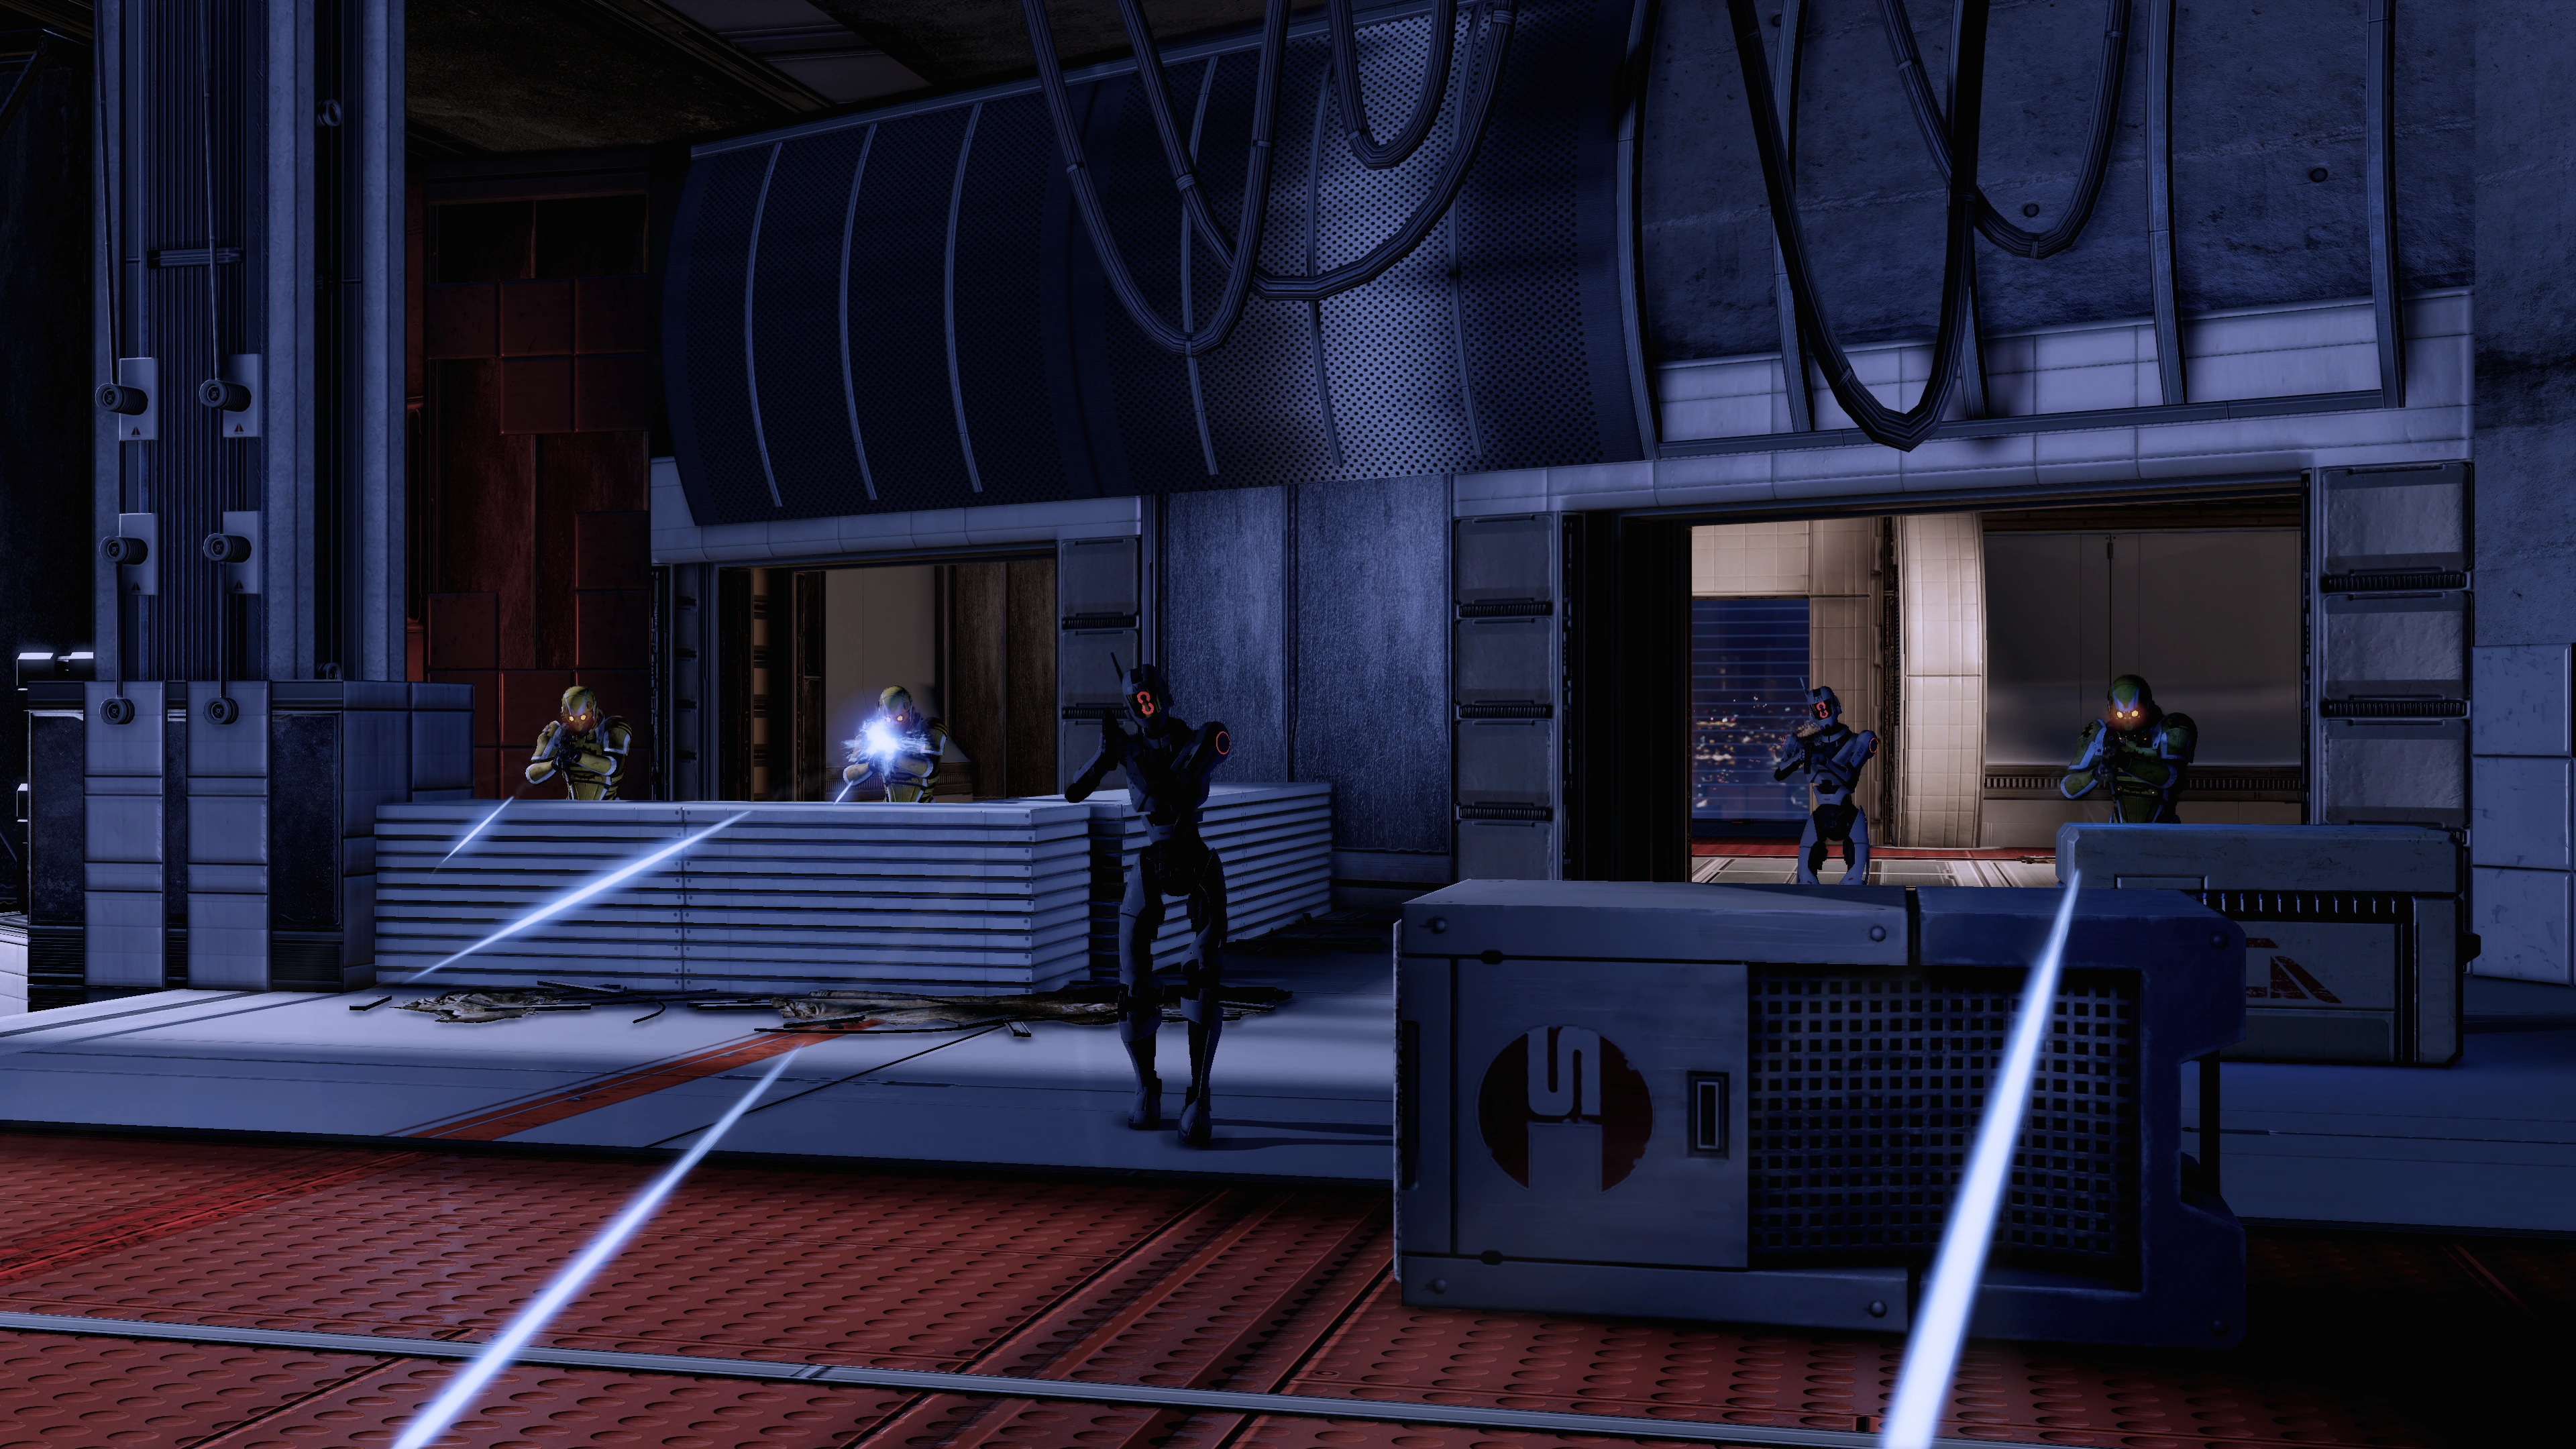
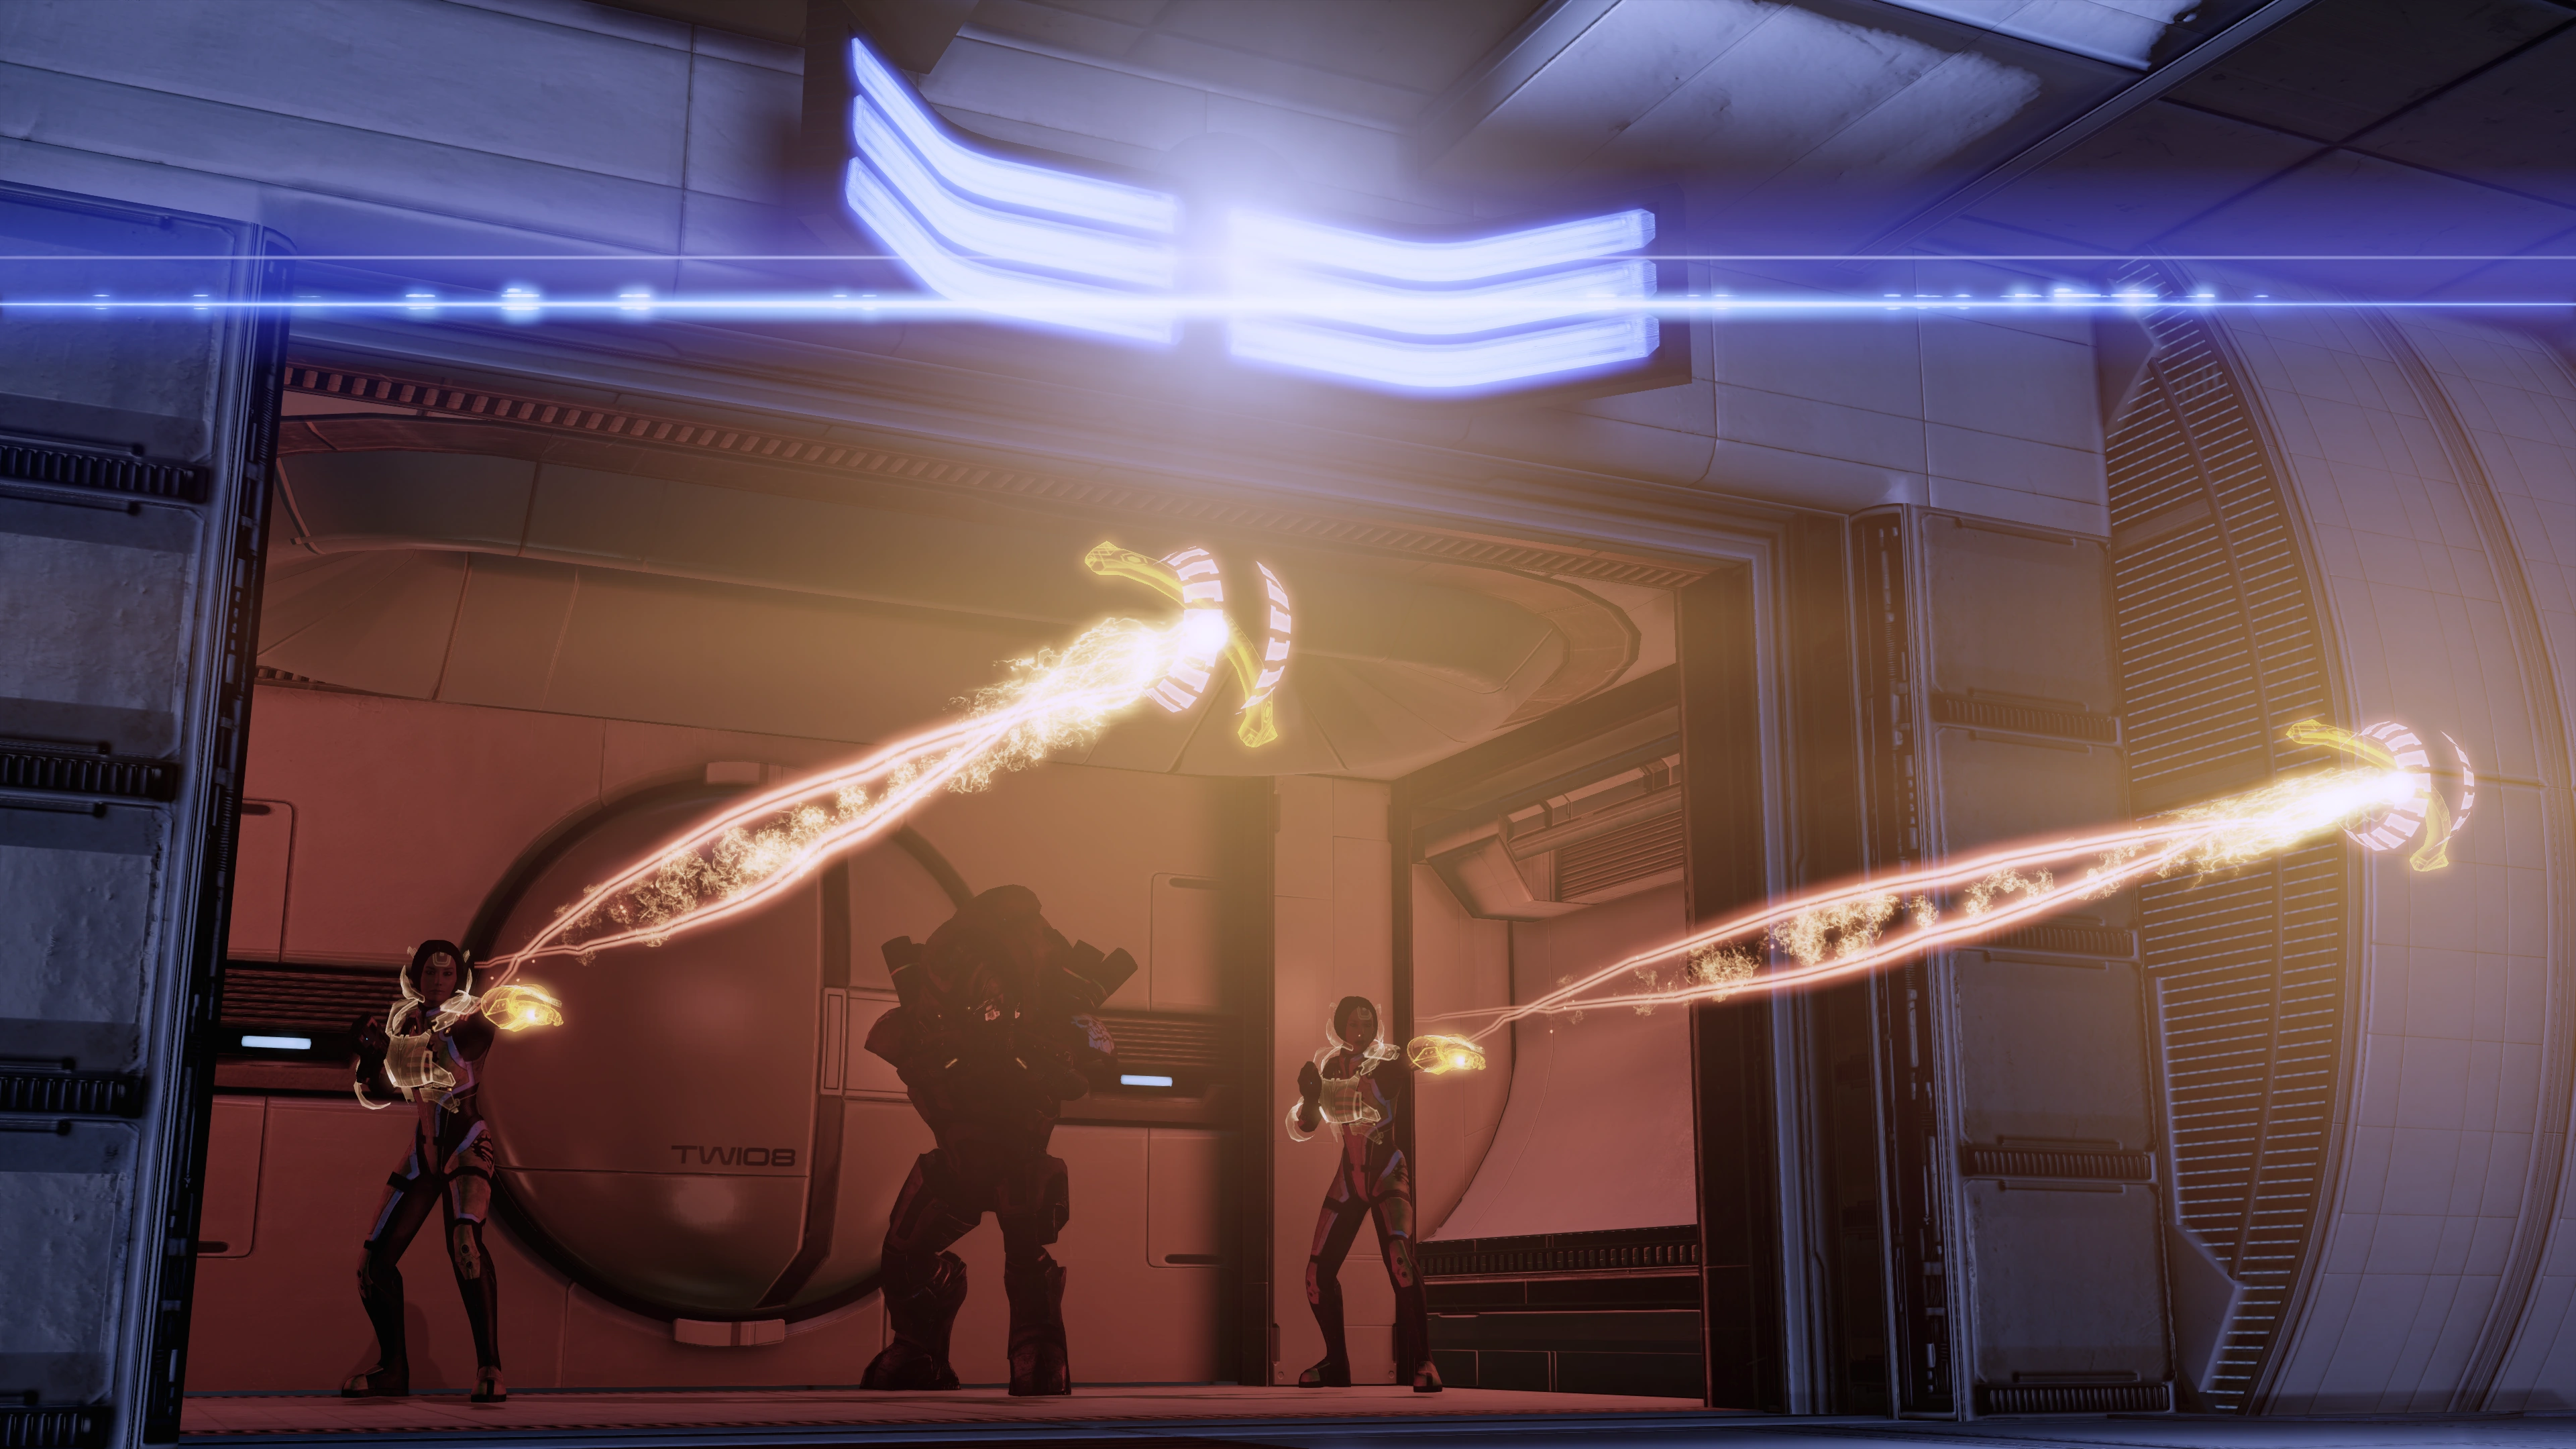
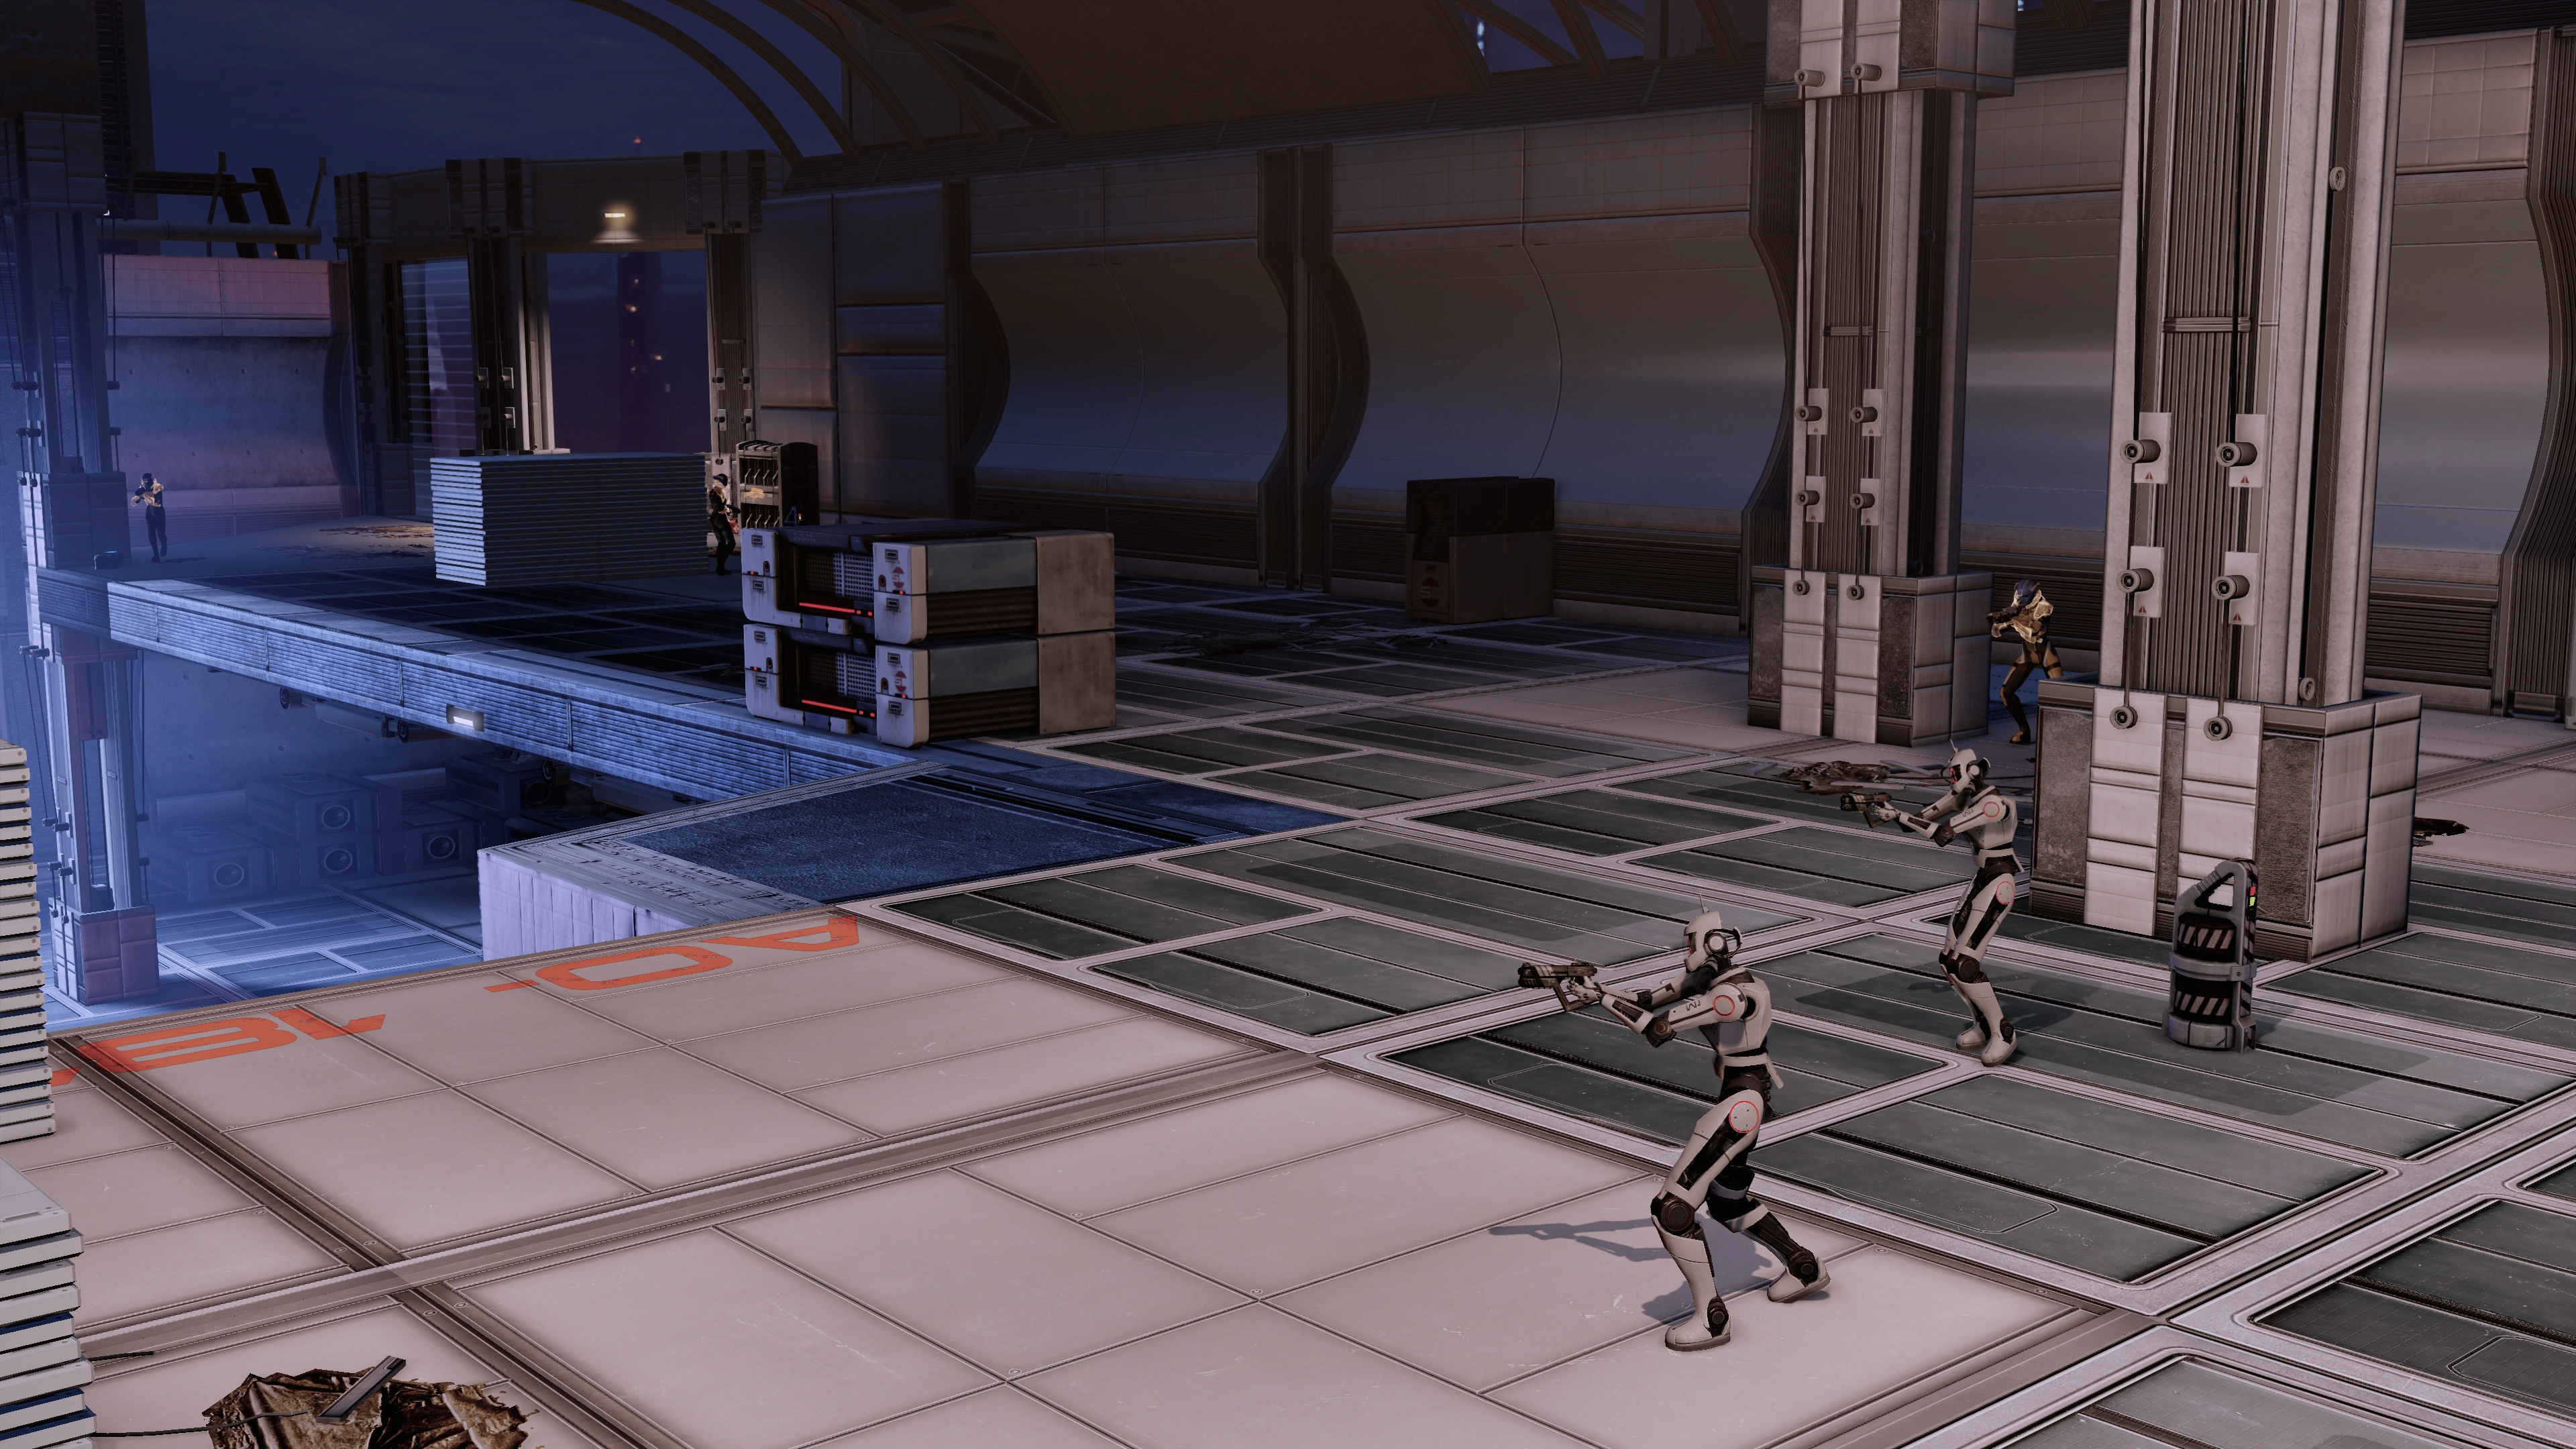
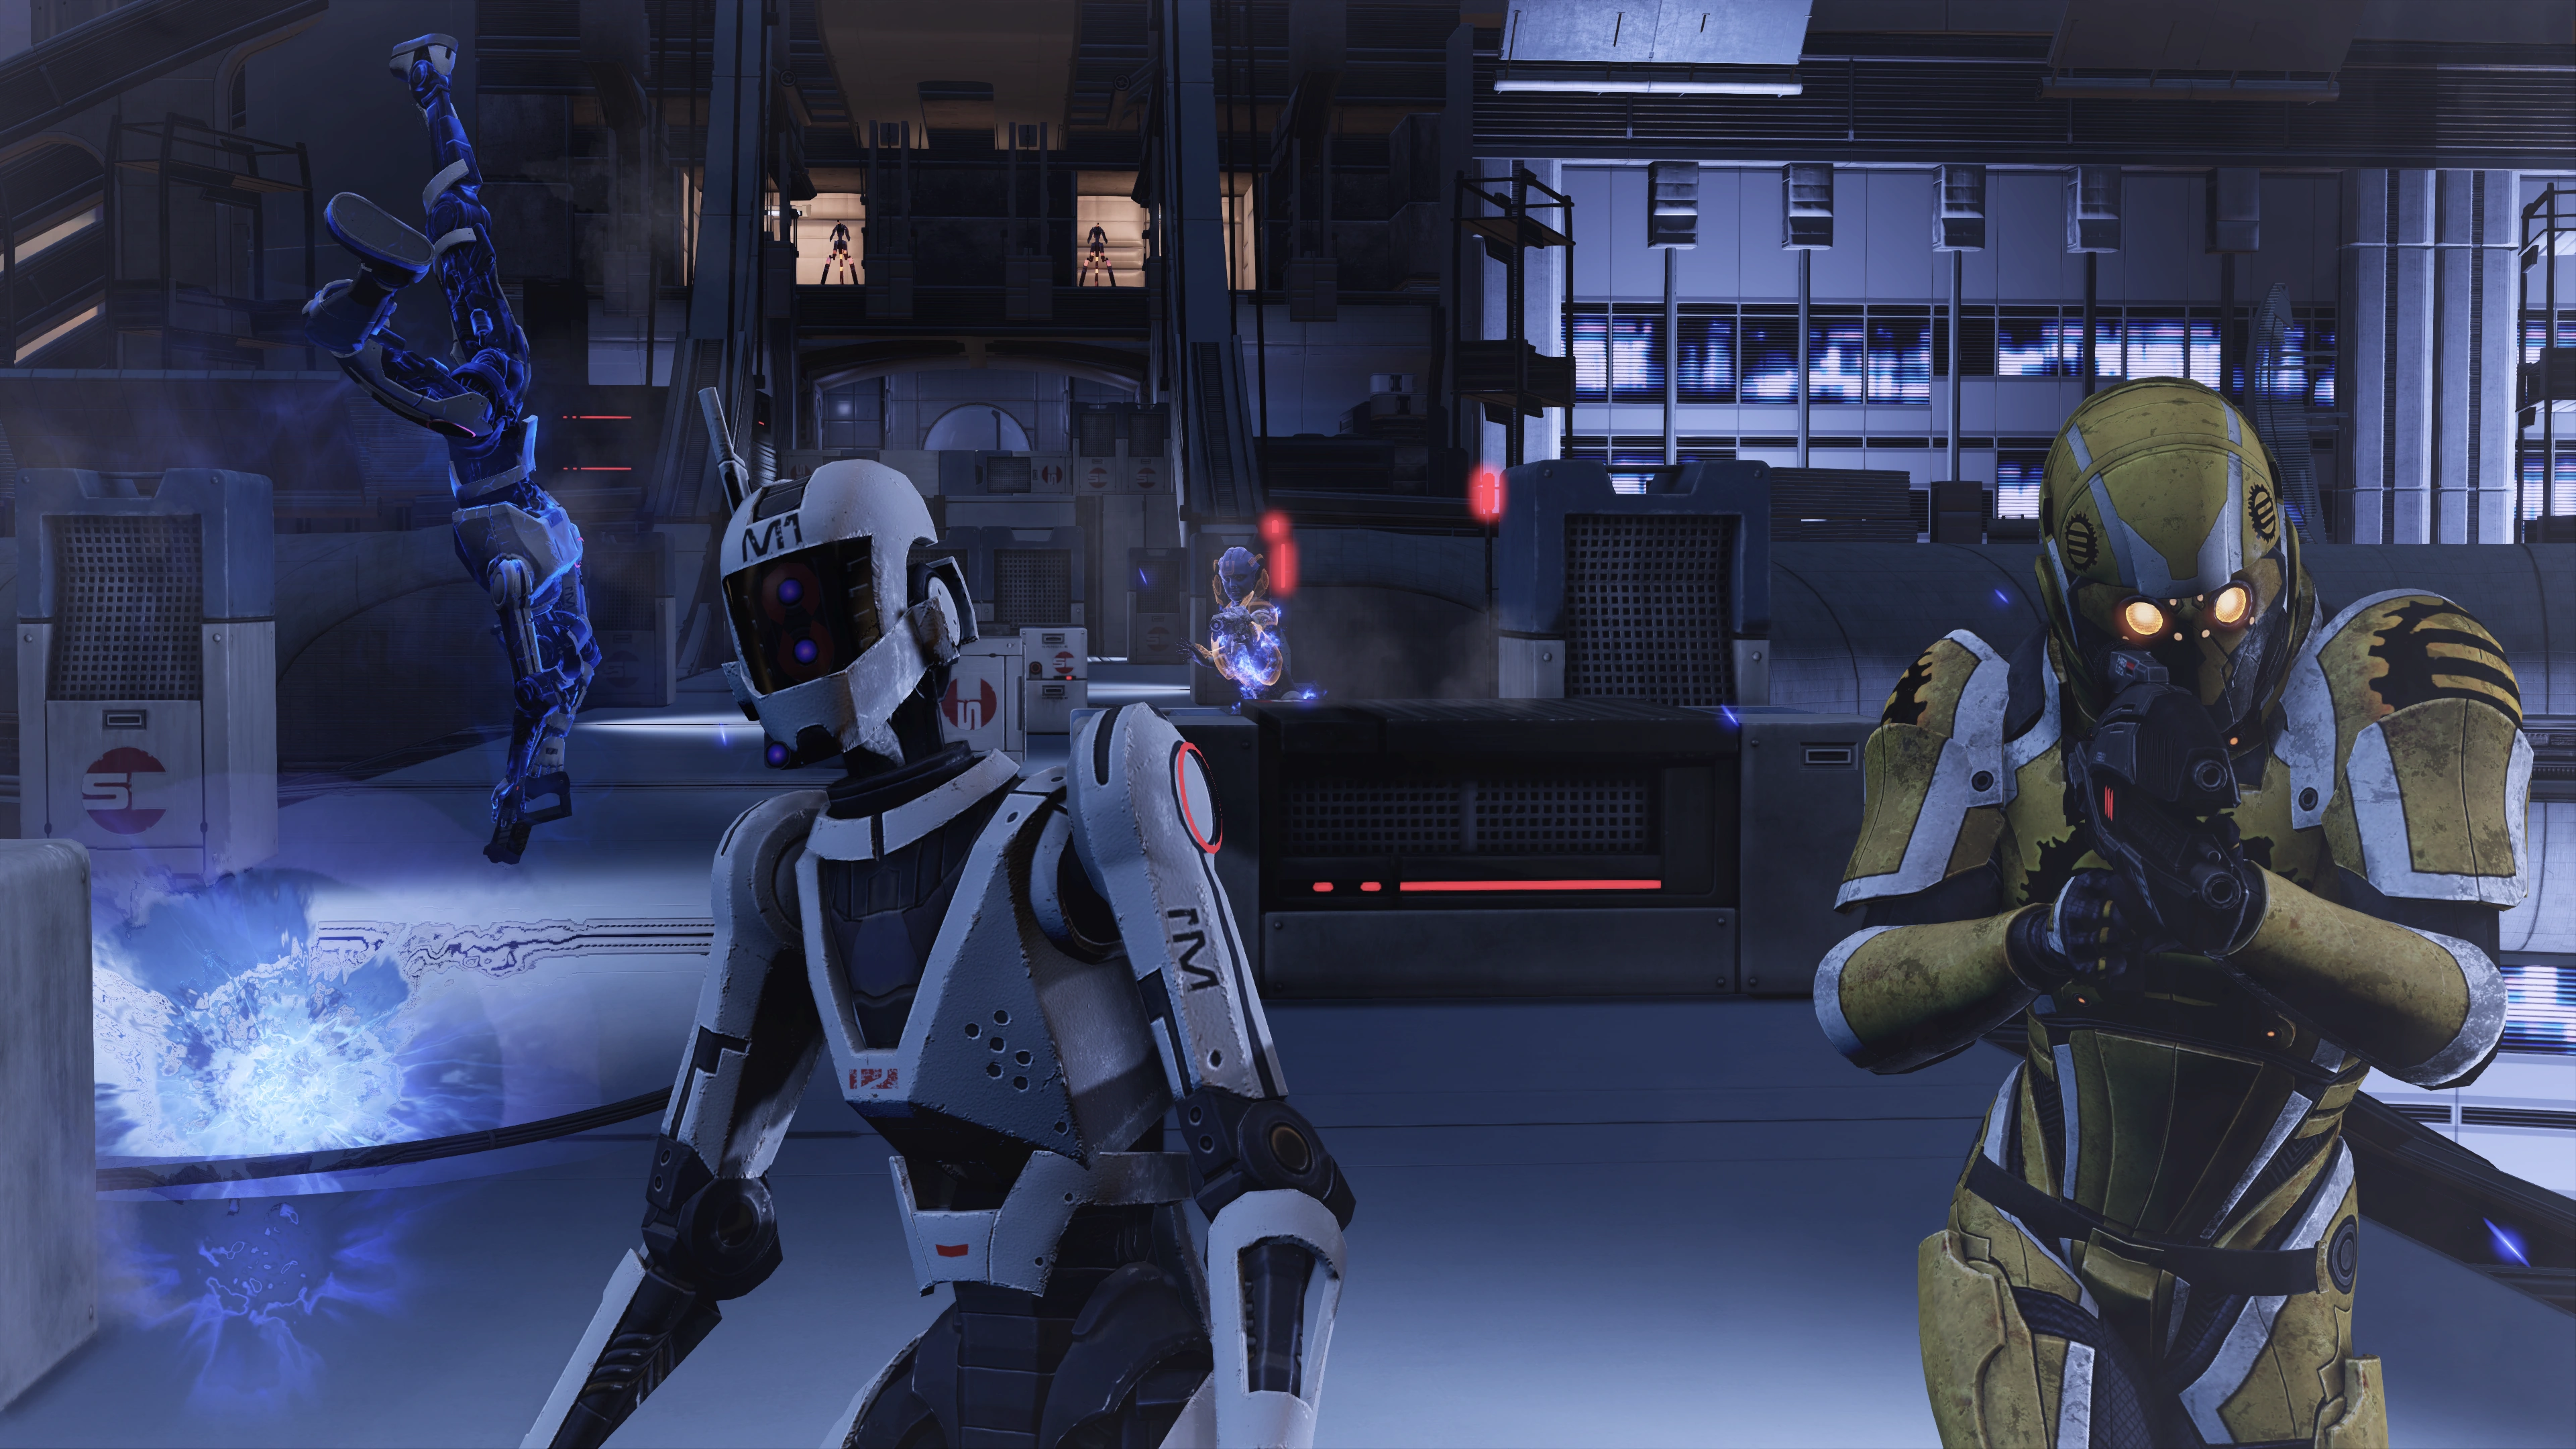
After dealing with the salarian in whichever way you choose, go through the door and down the hall. Be prepared to take cover as soon as you exit. Eclipse mercs and a passel of mechs will attack you. The initial group is composed of 2 Eclipse Troopers, 2 LOKIs and a FENRIS. You will fight more of the same until you reach the way to the next level.
This begins a long series of fights around and through a U-shaped level. Take cover and eliminate the 24 enemies as they come along. Be careful throughout the level, and also the entire mission, as the mercs are fond of shooting at you and your squad from the flanks. At each of the corners, send your squad ahead of you to flush out the enemies, but keep your squadmates in cover. As long as you move forward slowly, you will also get several "breaks" between waves of enemies, during which any downed squadmates will revive for free.
It's advisable to concentrate on the mechs first in each wave, as they are the only enemies which will attempt to approach to dangerously close ranges - target the fast-moving FENRIS mutts first, and then LOKI mechs.
Once you round the second corner there are two corridors that the Eclipse mercs will attack from. One has cover and the other doesn’t. One option is to use your squad to pin down the mercs, then either send one squadmate or go yourself to flank the mercs and reach the ramp at the end of the level. Note: If you take cover right at the "turning point" of the U-shaped level, you can cover the entrances of both corridors. Most of the enemies, especially the mechs, will helpfully come toward you while you mow them down from safety. Whittling them down until there are only one or two left will make the process of advancing to flush out the last holdouts far less dangerous.
When you finally reach the end of the corridor, head up the ramp to level 2.
Level 2[]
An autosave is generated as you enter the next level. At the top of the ramp and past a door there will be two med-kits with medi-gel, thermal clips, and ambient Eclipse chatter coming from above. One guard admonishes another for being too lazy to patrol, but he never realizes his error as someone beats him up then dumps his corpse to your level, courtesy of a ventilation tube.
Tip: If you're already at maximum medi-gel capacity, leave the two med-kits on the ground for now, in case of emergencies. You'll be able to return here and replenish your medi-gel any time before you enter the elevator at the end of the level.
Once you engage the mercs you will encounter up to 8 distinct enemy waves coming along the corridors and rooms of the level. Each wave consists of 5 units. Odd-number waves are made up of 3 Troopers and 2 LOKIs, while even-number waves consist of 2 LOKIs, 2 Troopers, and one tough male Eclipse Vanguard with barriers. Between each wave you'll usually have a moment to grab thermal clips, move up a bit, etc, but you will not be able to save until all are eliminated.
The onslaught begins when you move out of the two doorways beyond the dropped Eclipse corpse. Enemy behavior is to beeline to your position: Succeeding waves will go to you, even if they walk slowly in case of the LOKIs. The next wave spawns when the current wave is sufficiently destroyed, and each spawn is farther down the level. The first 4 waves easily spawn one after another, the later ones may require you to push farther along the level for them to trigger.
Combat Strategy: This entire section can be completed much easier by parking yourself and squadmates in the initial area where you came in, near the 2 med-kits. Most waves will come to you anyway, and you can have Shepard peek around the corner, use weapons and powers to chip away at the mercs through all of the waves and even the Vanguards won't charge you. You will have to move up to trigger additional waves but can run back to the starting section to take them down safely.

If you wish to fight this conventionally, use the cover and move when necessary to take out the attacking mercs -- as before it's best take out the mechs first. The safest plan is to start behind the first low cover that faces the L-shaped cover at the end of the area - this covers both of the directions enemies will approach and keeps you from getting flanked. When things calm down you can approach the L-shaped cover and face another wave of enemies.
You now have two options, either go straight up the hall (directly confronting the waves of foes) or go through the door back and to the right to reach a fairly safe flanking position that tend to separate you from your squad but will let you mow down enemies crossing an area with little cover. Once the mercs are down take a second to gather clips and reload. There is also a med-kit with medi-gel just after the two paths converge. The next area is complicated because of the narrow entryway but creative and intelligent usage of squadmates can help in this situation.
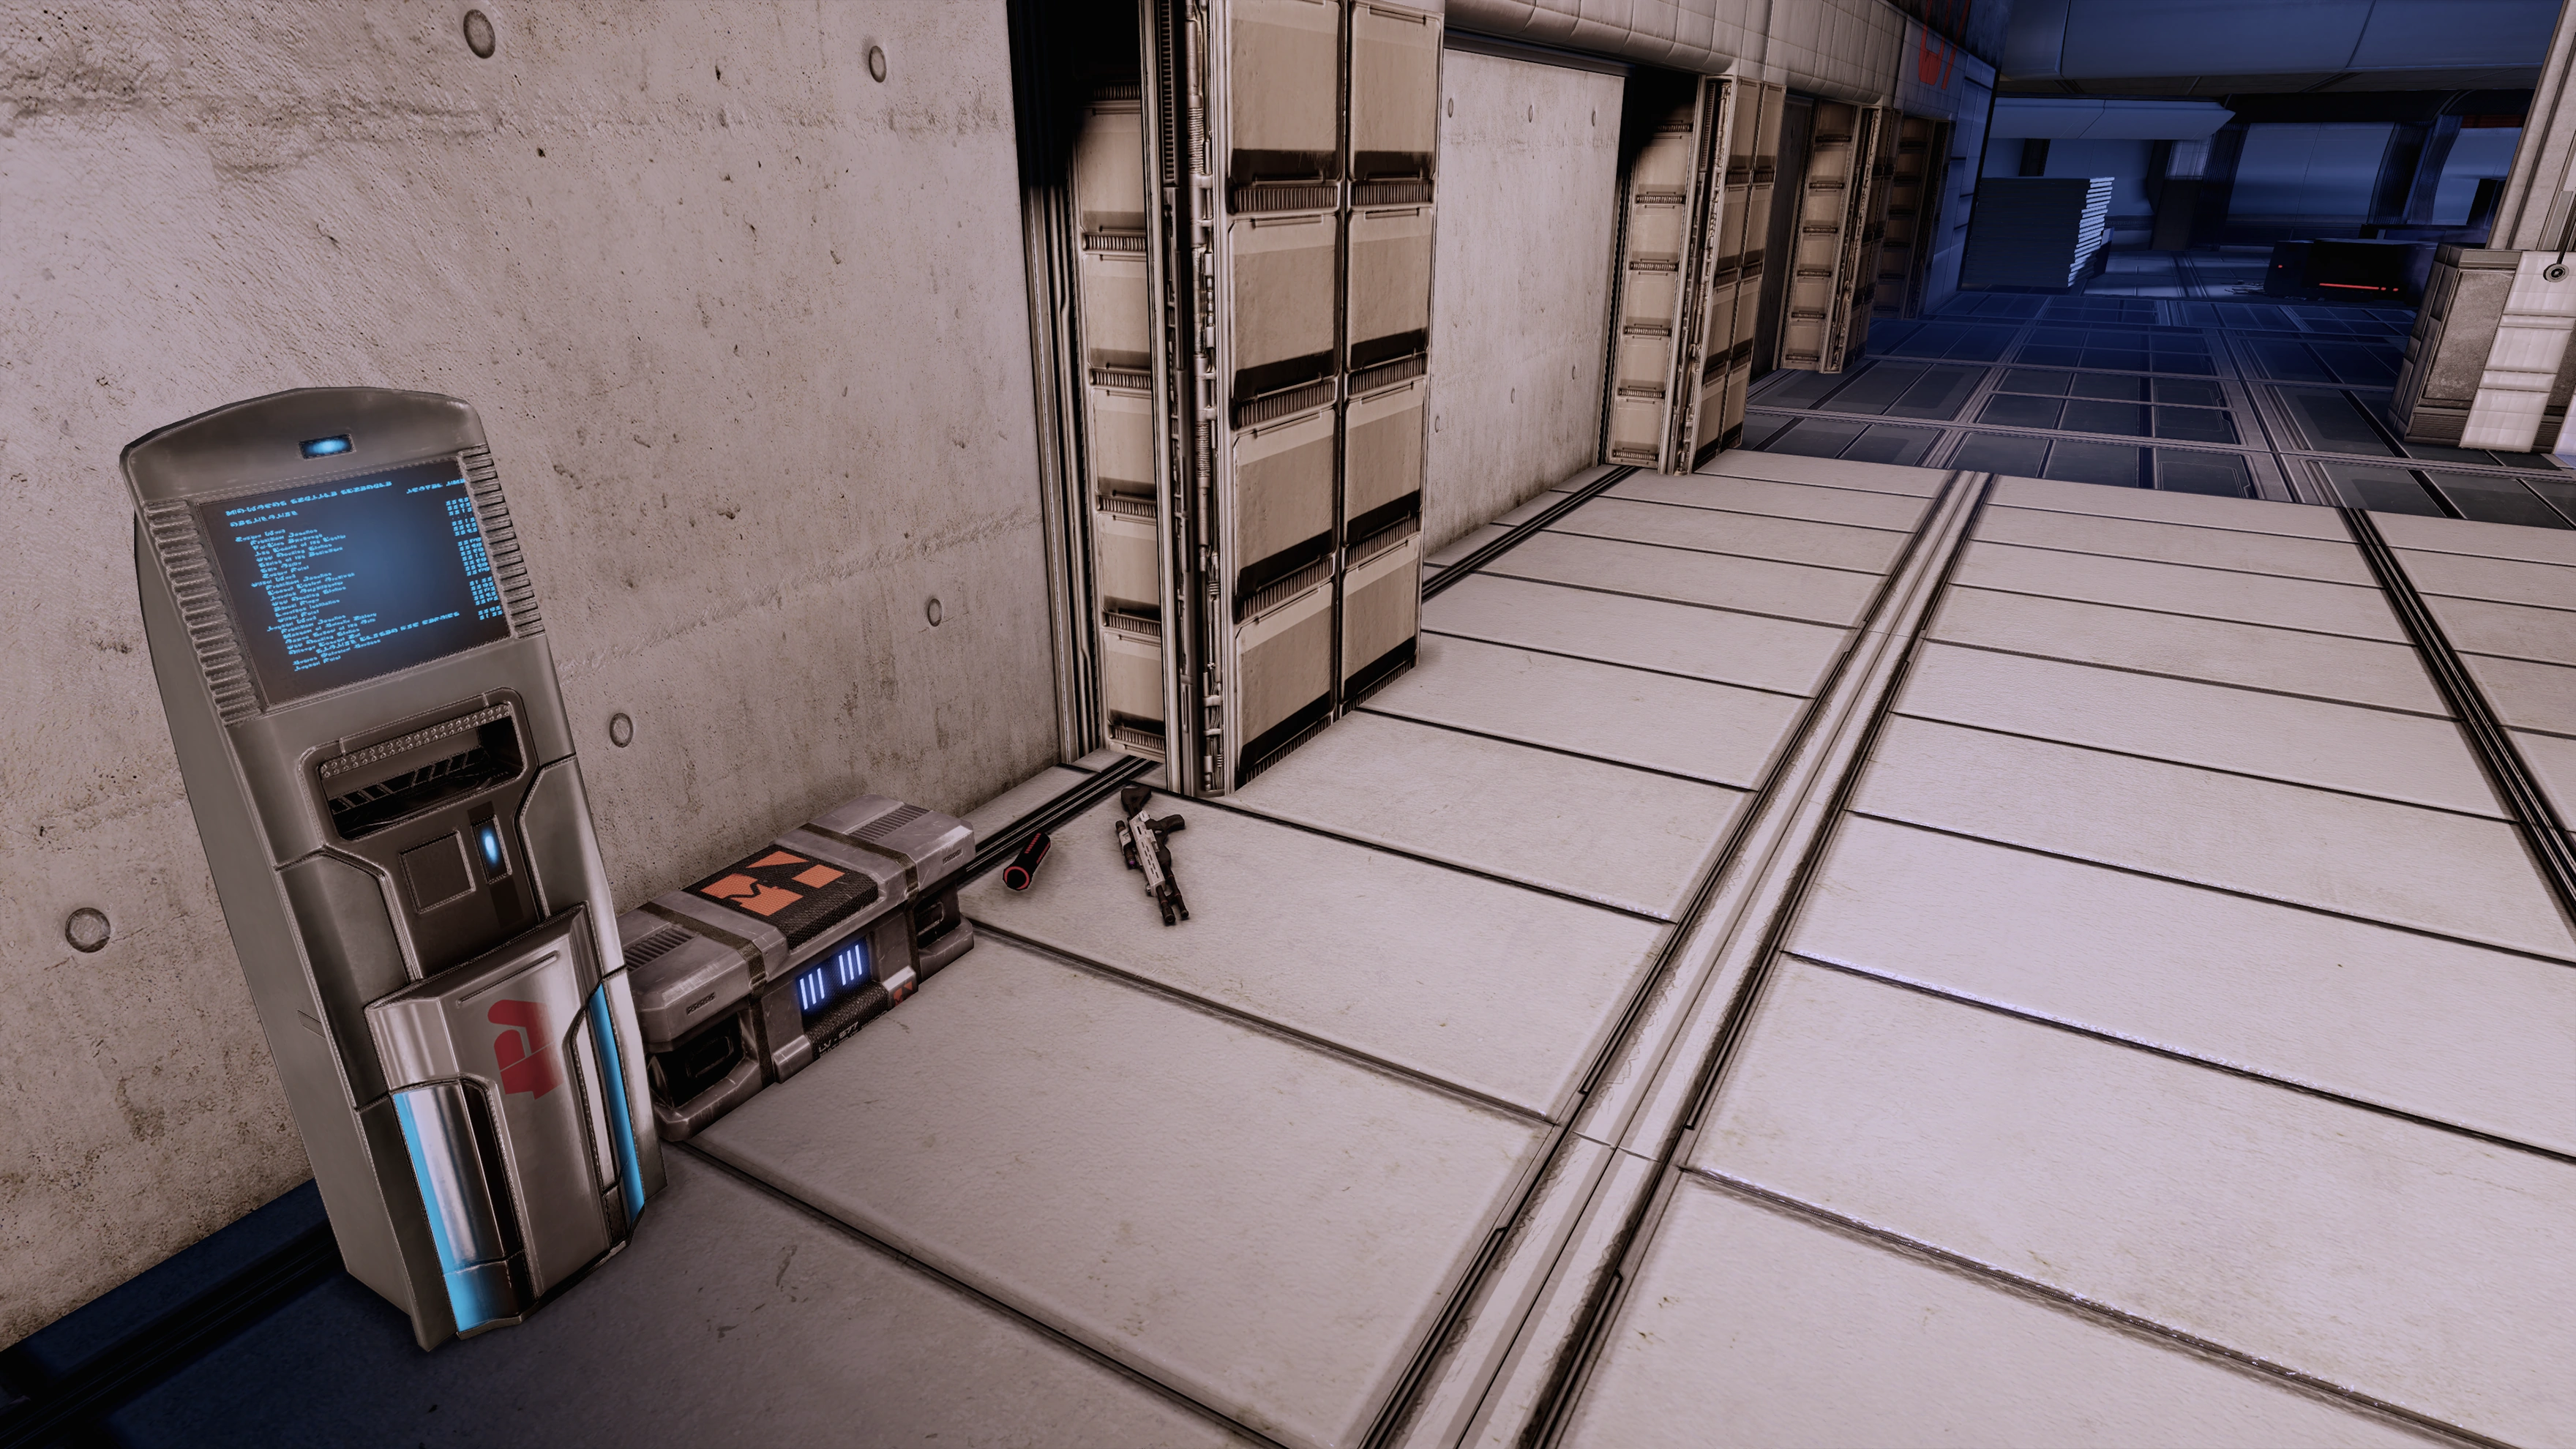
Once the mercs stop coming, explore a little. Do not access the elevator yet. Go to the other side from where you entered and down the hallway. Here there is the rapid-fire M-97 Viper sniper rifle, some power cells, and a hackable Terminal (+4200 credits).
Warning: If you pick up the M-97 Viper at this point, Shepard and any other squadmates with a sniper rifle will automatically change models to the Viper as well. With the upcoming elevator battle, you may not want to get the Viper at this point if you prefer a different sniper rifle. You can pick up a second Viper in the next section, or simply return to this after the elevator fight.
Go back and bypass a nearby door to find some salarian workers: Daroth, Shelum, and their coworker. The salarians will tell Shepard that someone who was not an Eclipse mercenary locked them in the room. You can earn some morality points with the conversation, depending on your choices. Inside the room is a med-kit and a secure locker (+3000 credits).
Now it's time to deal with the elevator. Before you do, put your squad in cover. Tip: If you stick one squadmate behind each of the cover locations on the left and right of the elevator, it will help keep the enemies from dispersing rapidly when they emerge.
Next, activate the elevator. You have a few seconds before the elevator opens, so take cover immediately: one good spot is to climb over the L-shaped cover in the middle rear directly facing the elevator, but if you prefer having an easy retreat you'll want to be somewhere with a corridor at your back. A krogan Bounty Hunter and two Eclipse Engineers will come out of the elevator. Using the Arc Projector or the M-100 Grenade Launcher can be helpful here, particularly when the elevator first opens and the enemies are all clumped up together. It's safest to start by concentrating on the Engineers and eliminating them one at a time - they're much weaker than the Bounty Hunter and taking them down eliminates the danger of their drones zapping you out of cover at an awkward moment.
Combat Strategy: There is no reason to put your squadmates into cover right near the elevator. Put them into cover far back into the hallway leading into the elevator room. You can then activate the elevator and run back to your squadmates. There's plenty of space to retreat into if needed and take this battle slowly and carefully.
Once all the enemies are down, you have a moment to return for any medi-gel you left in reserve, the M-97 Viper (if you want it now) and grab any ammo left. When you're ready, take the elevator up.
Level 3[]
When you exit the elevator you'll find an Eclipse Trooper communicating with his superiors. Shepard interrupts and the merc turns around to see three weapons pointing at him. The conversation that follows gives you a few morality points and a Renegade interrupt. Using the Renegade interrupt sends the merc through the window, but if you let the merc live you can persuade him to talk or simply let him go. Either Paragon or Renegade option results in the merc relaying hearsay about Thane's position as Eclipse really don't know where he is, so you allow him to walk away without further consequence. Even if the merc warned he's got nearby buddies who can shoot you down, no such enemies immediately follow up whatever the outcome.
Regardless of how you handled the lone merc, head over to a datapad on the floor. The datapad contains the Kirosa genetic database for the Salarian Family Data assignment.

Open either of the doors into the next room, which is large, open, has plenty of cover, and more than a few explosive containers. It's the unfinished top of Tower Two, and one more level above this room is the bridge that leads to Nassana's penthouse in the other tower. If you enter quietly you can hear conversation between Nassana and her hired help. They think Thane's traveling through the ducts as they've been receiving multiple reports on several levels, although some of that might be your team's fault.
The room has an initial enemy count of 2 LOKIs and 2 FENRIS mechs, in 2 undeployed groups of 1 each. 1 Trooper enters the room from the ramp at the far end once the mechs become active, followed by another Trooper and an asari Eclipse Vanguard when the first few units have been destroyed or when you're near enough to the ramp. The mechs unfold when you reach the first barricades from the doors or when you or your team start shooting. Tip: Once in cover, Overload the big explosive container if possible, and then target one of the two FENRIS mechs so that it can't dislodge you from cover; then take down any LOKI mechs for similar reasons.
There is no need to go running into the room and get torn the shreds. Place your squadmates into cover / squatting down at the starting point of this section. You can walk forward to one of the doors (it will open automatically), use weapons and powers on the mercs / mechs, and then move back to the starting hallway to recharge shields. Be aware that the enemies can follow Shepard through the doors! Chip away at the enemies and soon they will all fall.

Once the Eclipse Mercs are dealt with go to the door on the left side of the room and bypass the door. When the door opens a terrified salarian points a pistol at you. A quick Renegade interrupt will cause you to punch the salarian, but it may be better to wait it out. No matter your choices, the armed salarian, Telon, will fall unconscious and his brother, Chesith, rushes to his aid. The conversation tells you how they were threatened by a Merc, whose head then exploded and Telon took his gun. Once the conversation is over, the room contains a med-kit and a hackable PDA (+6000 credits) on an Eclipse mercenary corpse.
Head back out and before the ramps up to the roof and bridge, there are power cells, a comm terminal, and the second M-97 Viper in case it wasn't taken earlier. The terminal provides some options for annoying Nassana but no morality points. Head up the ramps to the roof and the bridge to Tower One.
Tip: You don't have to take the second Viper at this point if Shepard/squadmates have sniper rifles that you prefer. You can come back down the stairs after the upcoming battle and then pick up the Viper. There is a weapons locker to change back to your preferred sniper rifle in this section after you pick it up.
Roof and Bridge[]
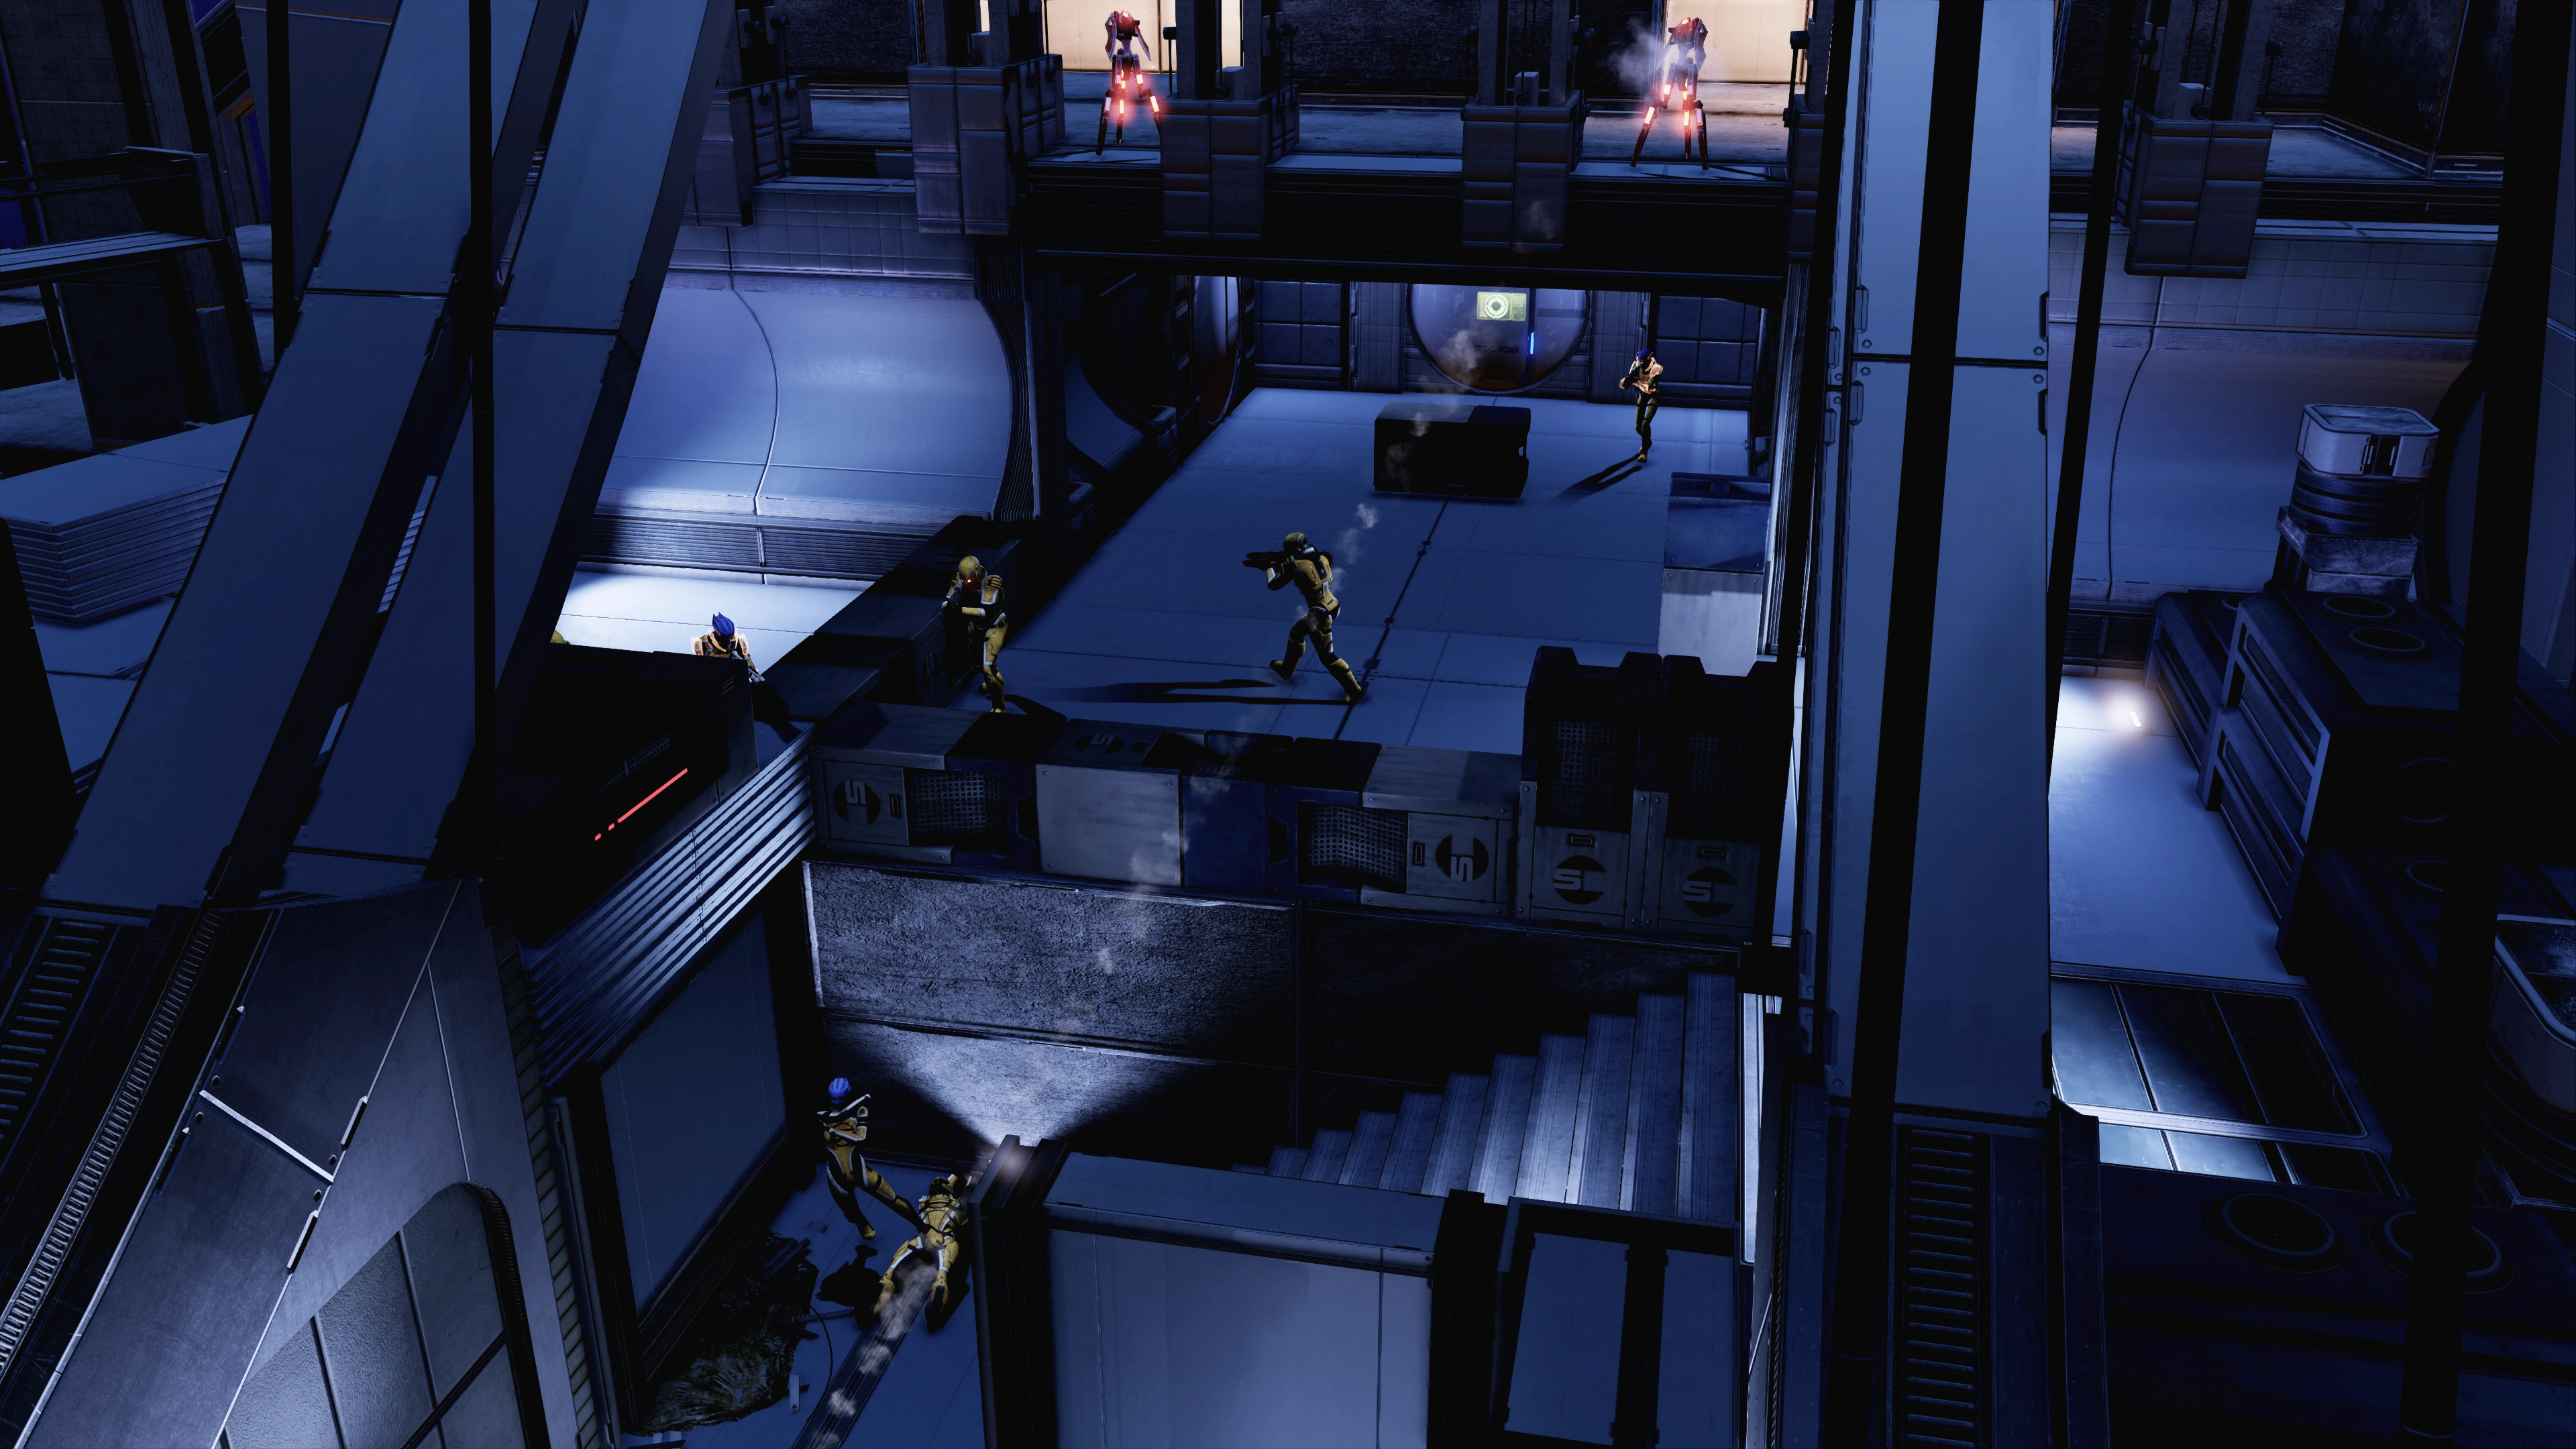
Get into cover fast because there are flanking enemies on your left. Two mechs provide a screen for three Vanguards, so this can be a sharp fight. Use what cover you have to take out the enemies. Move up when you get the opportunity to get to the pillars and crates on the opposite side from where you entered.
Combat Strategy: There is no need to stay in the battle area to get cut to ribbons. Set your squadmates into cover / squatting at the bottom of the staircase leading to the battle area. You can then run up the staircase, trigger the LOKI mechs and Vanguards, and then draw them down the staircase. The LOKI mechs will follow you down the staircase but the Vanguards tend to stay up top in cover. Chip away at all of the enemies using weapons and powers and run back down the staircase at any point you need to recharge your shields. Note that because this is a wide open space if the Vanguards are ragdolled into the floor below they may still live, necessitating the need for you to head back the ramp and shoot them down.
Once all the mercs are down, move up and take the refined eezo crate (+500 eezo) and if you need new weapons, use the Weapons Locker. Also don’t forget to pick up the med-kit with just to the left of the locker. This is a good save point.
Around the corner, if you are careful you can avoid being detected until you start shooting, and if you shoot or overload the big explosive container first you'll do massive damage to the two mercs standing right by it. Be careful in this area because in addition to the LOKIs, Troopers, and the last human Vanguard of the mission, there is an Eclipse Commando who has both barrier and armor. The area has little room for your squad to take cover or maneuver. Concentrate on one enemy at a time, in what ever order they present themselves.
Combat Strategy: There is no need to stay in the battle area to get cut to ribbons. Set your squadmates into cover / squatting near the weapons locker. Shepard can then peek around the corner, trigger mercs and mechs, and then chip away using weapons and powers safely from around the corner. The LOKI mechs will come around the cover in the area so back up if you need to get help from your squadmates but the mercs tend to stay in cover. Run back into the weapons locker area at any point you need to recharge your shields.
Once the mercs are down go to the end and there will be a submachine gun upgrade, another med-kit, and a hackable PDA (+12000 credits) on another dead Eclipse mercenary corpse. Warning: Be sure to loot everything, change your weapon configurations if you want, and/or save your game before heading to the bridge entry point. The ledge drop next to the last set of items is a point of no return.
The bridge to Tower One is a long narrow walkway that is ideal for sniper rifles and certain assault rifles. The initial enemy count is 3 LOKIs, a Vanguard, and a Troopers. When Nassana orders nobody will cross the bridge 2 Troopers and a Vanguard then spawn at the far end of the bridge. Pay attention whenever Nassana speaks, as that is a sign another set of enemies are deployed. The spawns from here onward are Troopers and Vanguards, unless noted.
It is possible to use powers to knock enemies off for instant-kills. Move from cover to cover on the shaky bridge until you start taking rocket fire. At the opposite end of the bridge are two stationary Rocket Drones (turns out Seryna's intel is slightly inaccurate). They start firing long before they become "targetable" by powers. This presents problems in using squad powers or the Missile Launcher, because Shepard will often lock onto another target even if pointed at one of the rocket drones. However the drones only have shields so once the shields are down they're gone.
Class Tip: Infiltrators with Incinerate can throw the plasma bolts over very long distances using a sniper rifle. Zoom into one of the rocket drones using any sniper rifle and place the crosshairs on the body of the rocket drone. While still zoomed in, throw an Incinerate bolt at the rocket drone, and it will strike the drone. (Use a hot-button / hot-key to use the power without going to the power wheel). You'll know you hit the drone when it starts firing rockets back at Shepard. Using this method, you can continuously throw Incinerate bolts safely from cover until the drones fall without having to be far up the bridge. Note: This long distance Incinerate tactic works at any time on any enemy in any other mission as well even when very far away. As long as you can see the enemy clearly, you can hit them. If you are close enough but still out of target lock, the target lock can actually show up in sniper zoom, and the plasma bolt will curve to hit the enemy. This tactic doesn't work if the enemy is behind cover though.
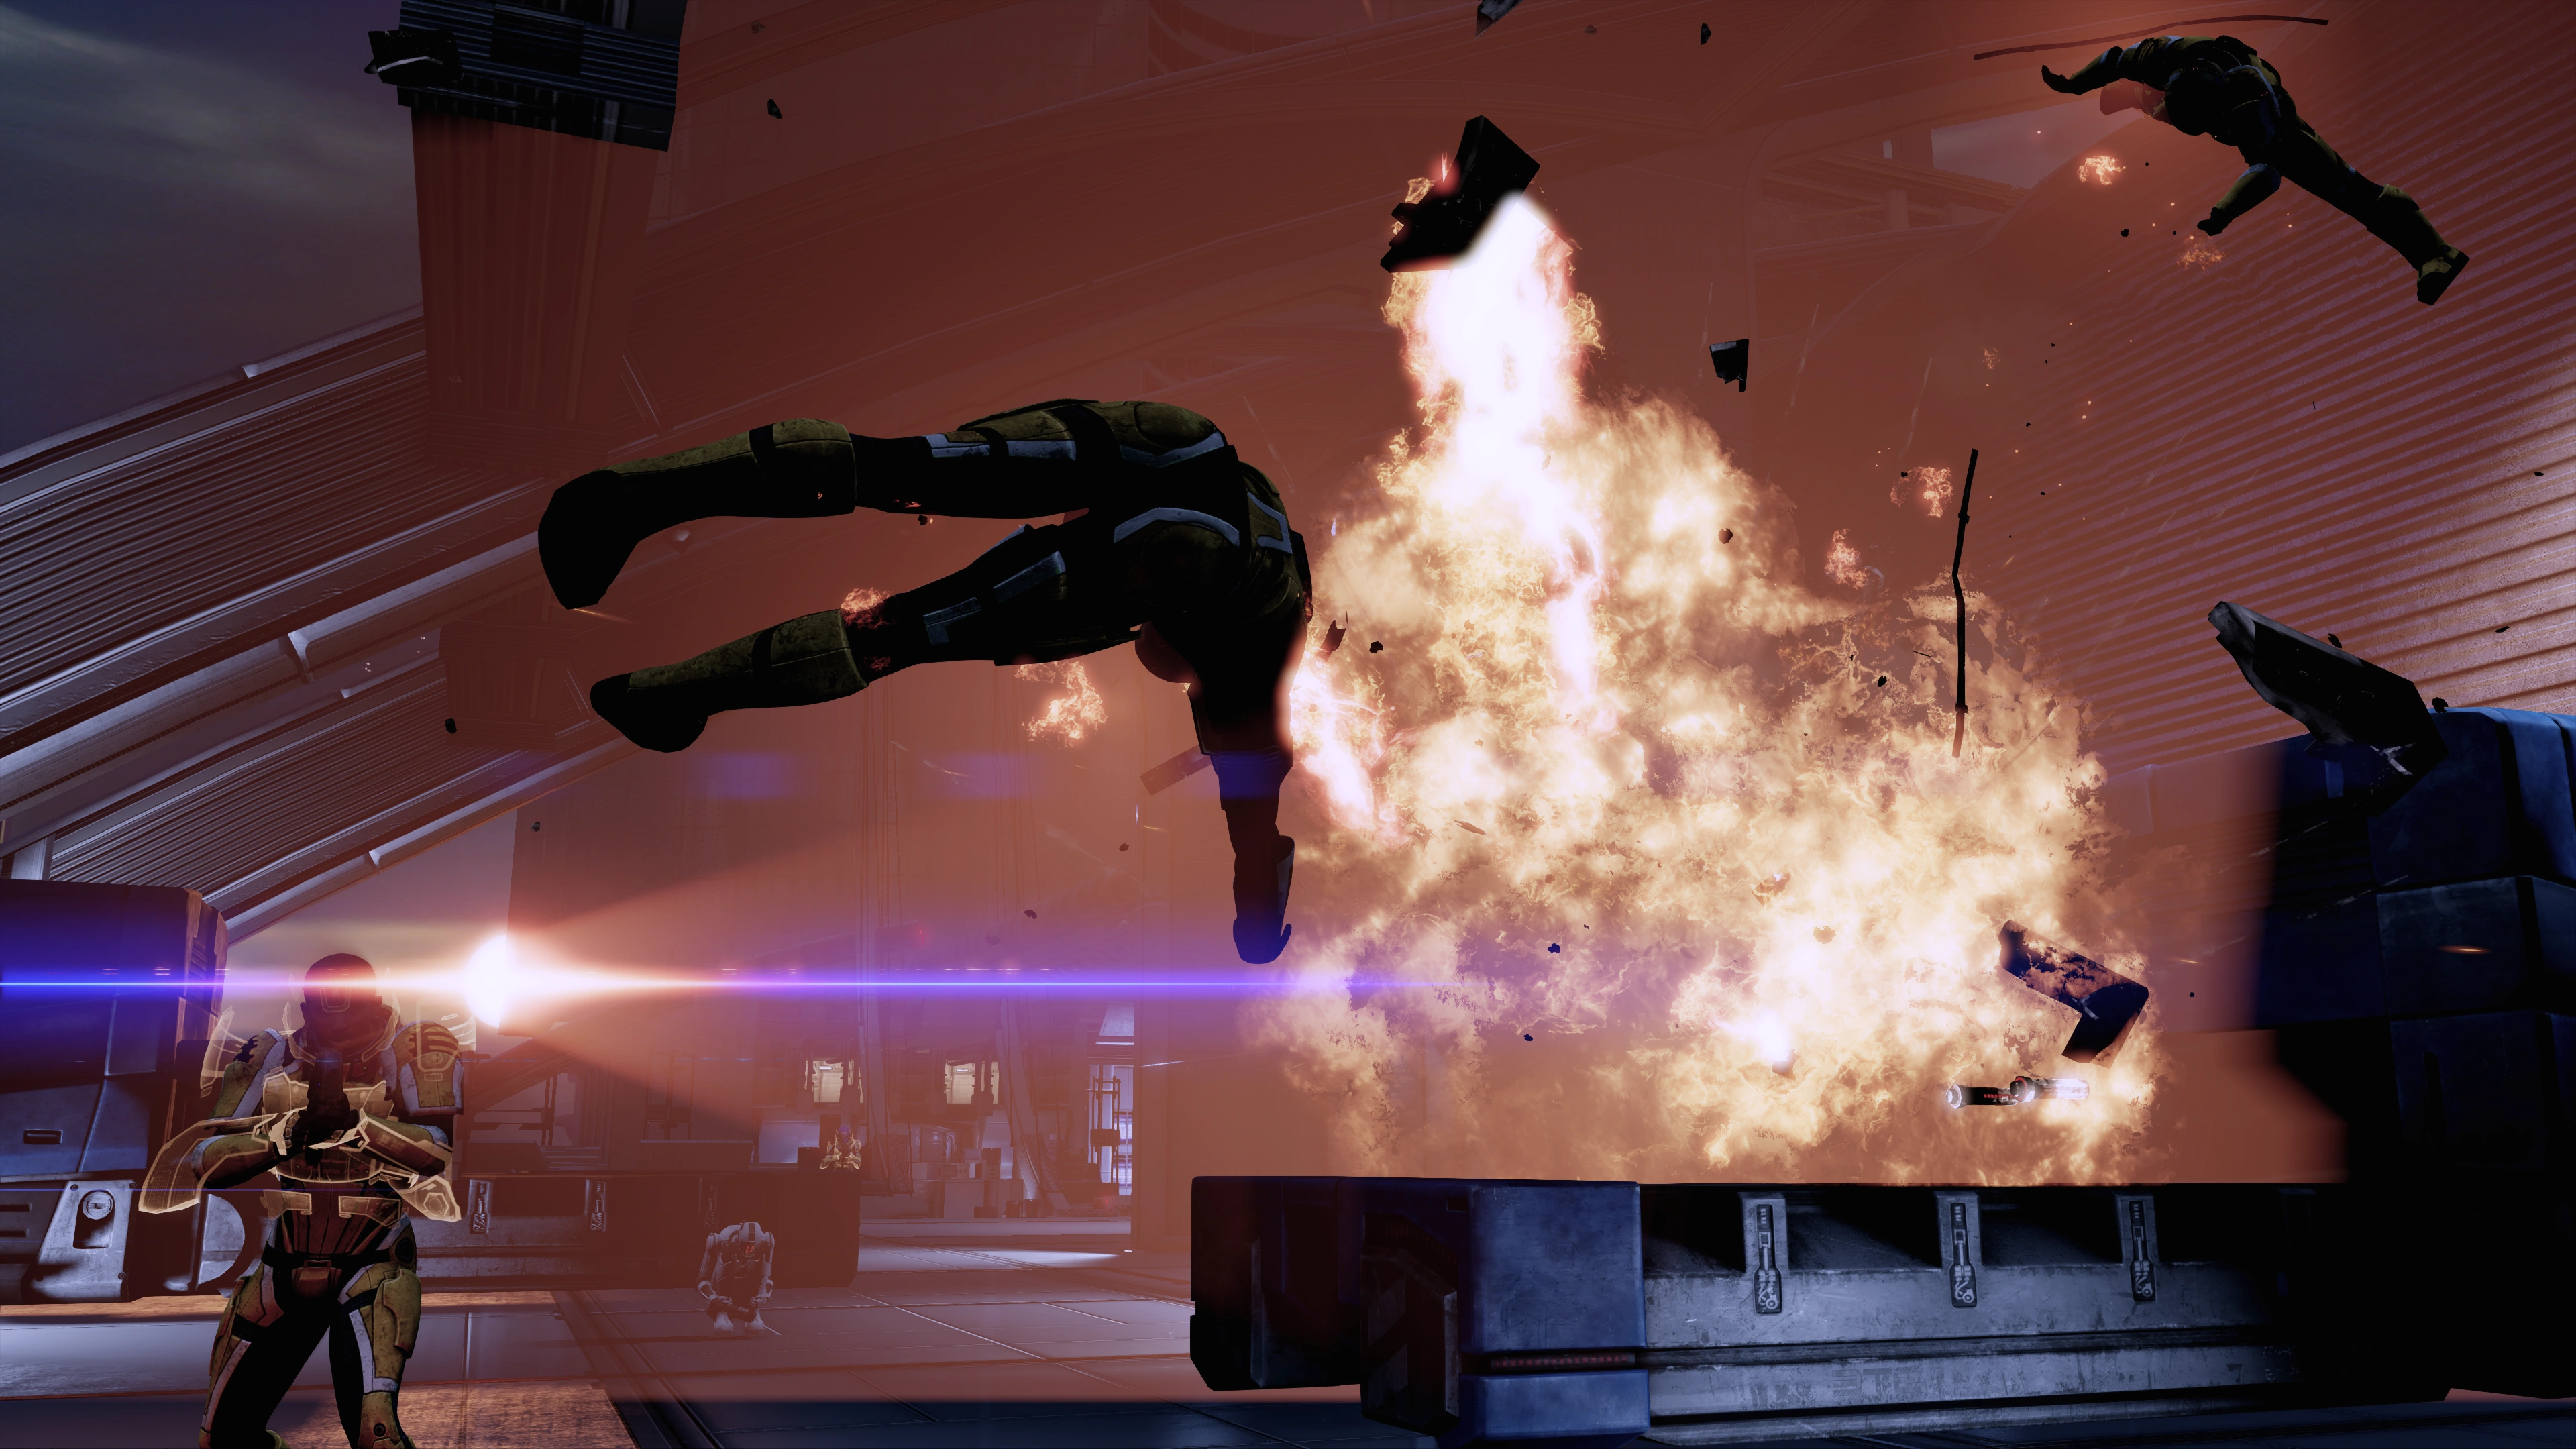
Once you have cleared the bridge of enemies, get into cover at the end of the bridge but not the wall, because another wave will appear on upper level of the bridge leading to Tower One’s penthouse. Take these guys out before you go up the stairs, or you will regret it no matter what difficulty you are on. Once they are out send your squad up the stairs but keep them close to the right and equip a short range weapon as another shotgun-armed Eclipse Commando awaits in a confined space as the last barrier to Nassana’s Penthouse. If you can, use your squad to fire from cover, but most of the time you have to lure the Commando away so you can fire on her from cover. The Commando will not follow you back down the stairs so stay on the upper level and retreat if necessary to regenerate shields and health.
Once the Commando and any other mercs are down, the combat portion of the mission is over. Enter Nassana’s Penthouse when you have nothing more to do in the area.
Nassana's Penthouse[]
Once you open the door, the few remaining Eclipse mercs, tending to Nassana herself, raise their weapons. Nassana turns around and comments in shock "Shepard, but you’re dead!", at which point Shepard will humorously respond by saying "I got better."
There is more dialogue with Nassana if your Shepard is imported from a Mass Effect save (provided that you did the related side assignment). She is shocked to see Shepard again, then comments on the irony that she had Shepard kill her sister back in 2183, and now it's her turn.
Nassana asks Commander Shepard who hired Shepard to kill her; she disbelieves that the commander is not there to kill her due to the recent rampage. A subsequent noise distracts the mercs and Nassana tells them to check all the other entrances. Clearly she is even more paranoid than she was described. Thane is waiting in the ventilation ducts for the right moment. Once the mercs have their backs to the windows, he makes his move.
Thane jumps down from the ducts and kills one merc silently by snapping his neck, then he immediately kills another with a quick punch in the neck and proceeds to shoot the last of Nassana's mercs before he grabs her herself. He shoves his pistol into Nassana's gut and pulls the trigger at point-blank range, causing Nassana to slump dead. Thane gently places her on the desk and folds her arms, before he starts praying over Nassana's dead body. At this point, you can start speaking with Thane by choosing to be nice or angry that he is ignoring you.
During the conversation, Thane comments on how he was working his way up and how you provided a great distraction that allowed him to get further and faster than he had hoped, to which you can respond however you like. After that, you can tell Thane about the suicide mission and that you need his help to bring down the Collectors. Interestingly, Thane has little problem with being on a mission that will likely result in death, because he admits that he is dying regardless and wishes to make the universe a brighter place before his death, but assures that his condition is not contagious and will not affect his performance. Thane then agrees to work for Shepard for no charge, after which the conversation will end and you will automatically be returned to the Normandy.
Normandy[]
On the Normandy, Jacob distrusts Thane because he believes the drell is essentially a mercenary. Thane asks to be quartered in a part of a ship that is arid. EDI recommends the Life Support section because it is slightly more arid than the rest of the ship. You can find Thane there for the rest of the mission. Thane is unperturbed by the presence of an AI. Morality points are available here based on how you respond to Thane and Jacob.
Email[]
If he was saved, Jeirt, one of the salarian workers, sends the following email (titled "You changed my life.") to Shepard regarding his encounter with Thane:
Enemies[]
- Bounty Hunter
- Combat Drone
- Eclipse Commando
- Eclipse Engineer
- Eclipse Trooper
- Eclipse Vanguard
- FENRIS Mech
- LOKI Mech
- Rocket Drone
Mission Summary[]
Recruited Thane Krios for the team, but medically questionable unless mission is resolved quickly.
Legal representatives dealing with public damage to Dantius Towers.
- Experience reward: 1,000 (1,250)
- Credits: 60,000
- Cerberus Funding: 30,000
- Credits Found: 30,000
- Weapons:
- Upgrades
- Minerals
- Element Zero: 500
Trivia[]
- Jacob is dismissive of Thane because he is essentially a gun-for-hire. Ironically, Shepard may call Jacob a gun-for-hire in an earlier conversation with the Illusive Man.
- The Renegade interrupt with the Eclipse mercenary on Level 3 and Nassana's comment about Shepard are seen in a few Mass Effect 2 trailers.
- Dossier: The Assassin was the mission featured in 2009's E3 demo.