
While on Noveria, you found a log listing an unauthorized transmission. Apparently someone thinks a doctor located in the Newton system is in grave danger. Unfortunately, it appears the message was intercepted by Noveria security before it could be delivered.
Alternative journal entry:
Years ago, a group of Alliance scientists conducted a secret project on Akuze, the planet where your entire unit was wiped out. Now someone is killing those scientists. The only project member still alive is located in the Newton system of the Kepler Verge.
Alternative journal entry:
Someone has been killing every Alliance scientist who was involved in a secret project years ago. The only project member still alive is located in the Newton System of the Kepler Verge.
Acquisition[]
The assignment can be acquired through the following:
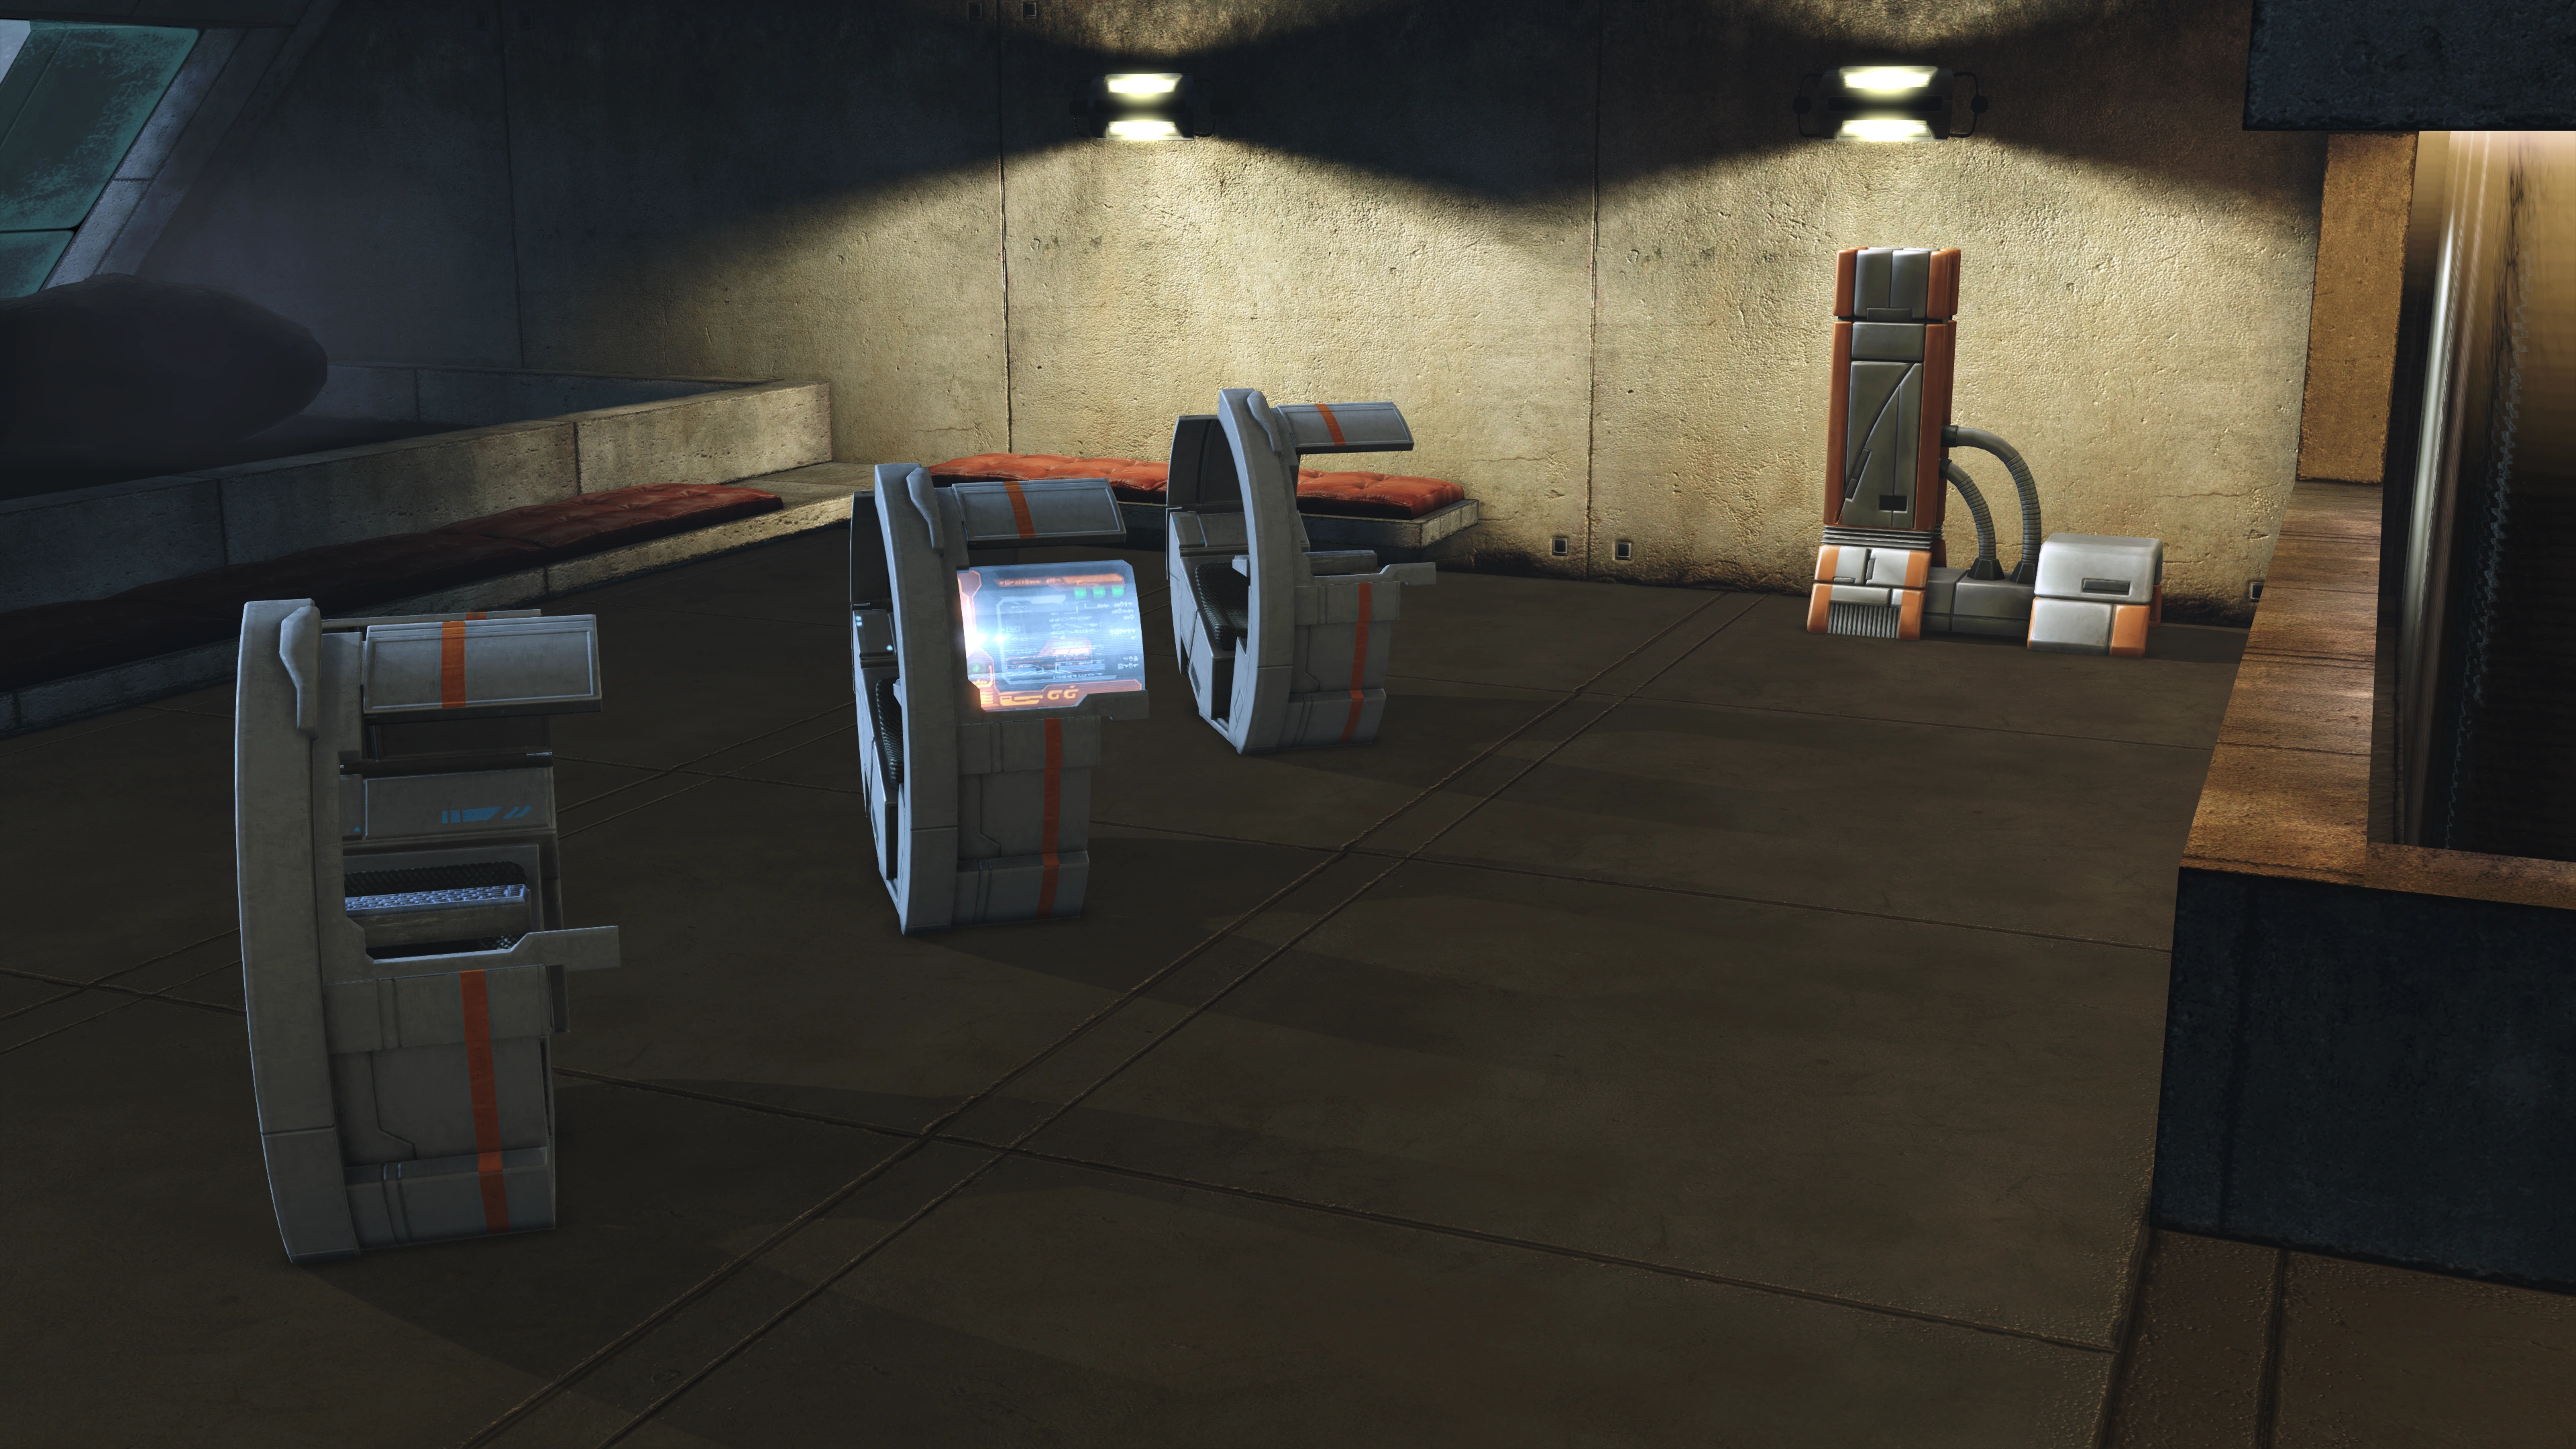
- Head to the upper level of Port Hanshan Mezzanine on Noveria. In a small room to the south you will find three terminals. Access the middle terminal to obtain this assignment (average decryption), which will be initially labeled Doctor at Risk. The terminal reads as follows:

“SECURITY LOGS: UNAUTHORIZED TRANSMISSION
"Not sure if you will receive this, Doctor, but it is imperative you make your way to the safe location. Your history with our organization has been leaked. Your base in the Newton system is no longer secure. I repeat, make your way to the safe location immediately."”
- Admiral Hackett will also give you this assignment if you travel directly to the Newton system. He explains that someone is killing former Alliance scientists, all of whom worked on a classified project on Akuze. The only remaining scientist is Dr. Wayne, and the Newton system was his last known location. If your background is Sole Survivor, he will say this assignment might be of personal interest to you. The assignment becomes known as UNC: Dead Scientists even if you initially obtained it from Noveria.
Preparation[]
You'll be facing mercenaries backed up by snipers, so you may want armor mods that provide extra shielding or damage protection. Any squadmate you bring will probably do fine. Be aware, however, that physics abilities used outdoors may send enemies flying further than you'd like.
On the inside, you'll be facing krogan opponents in cramped quarters, so if you're trained in them, a shotgun becomes a very valuable weapon, and area-of-effect abilities would do great here as well. Consider taking durable teammates, since cramped corridors with large amounts of opponents can quickly overwhelm and incapacitate other, more fragile teammates. If he's around, Wrex is especially strong here, his fighting style makes him an excellent choice for taking on the horde inside.
This assignment has a story connection to UNC: Hades' Dogs. Completing or not completing the latter assignment beforehand can change some dialogue.
Walkthrough[]
The assignment takes place on the planet Ontarom in the Newton system of the Kepler Verge. When you land on the planet drive to the base southeast of the Mako's landing zone.
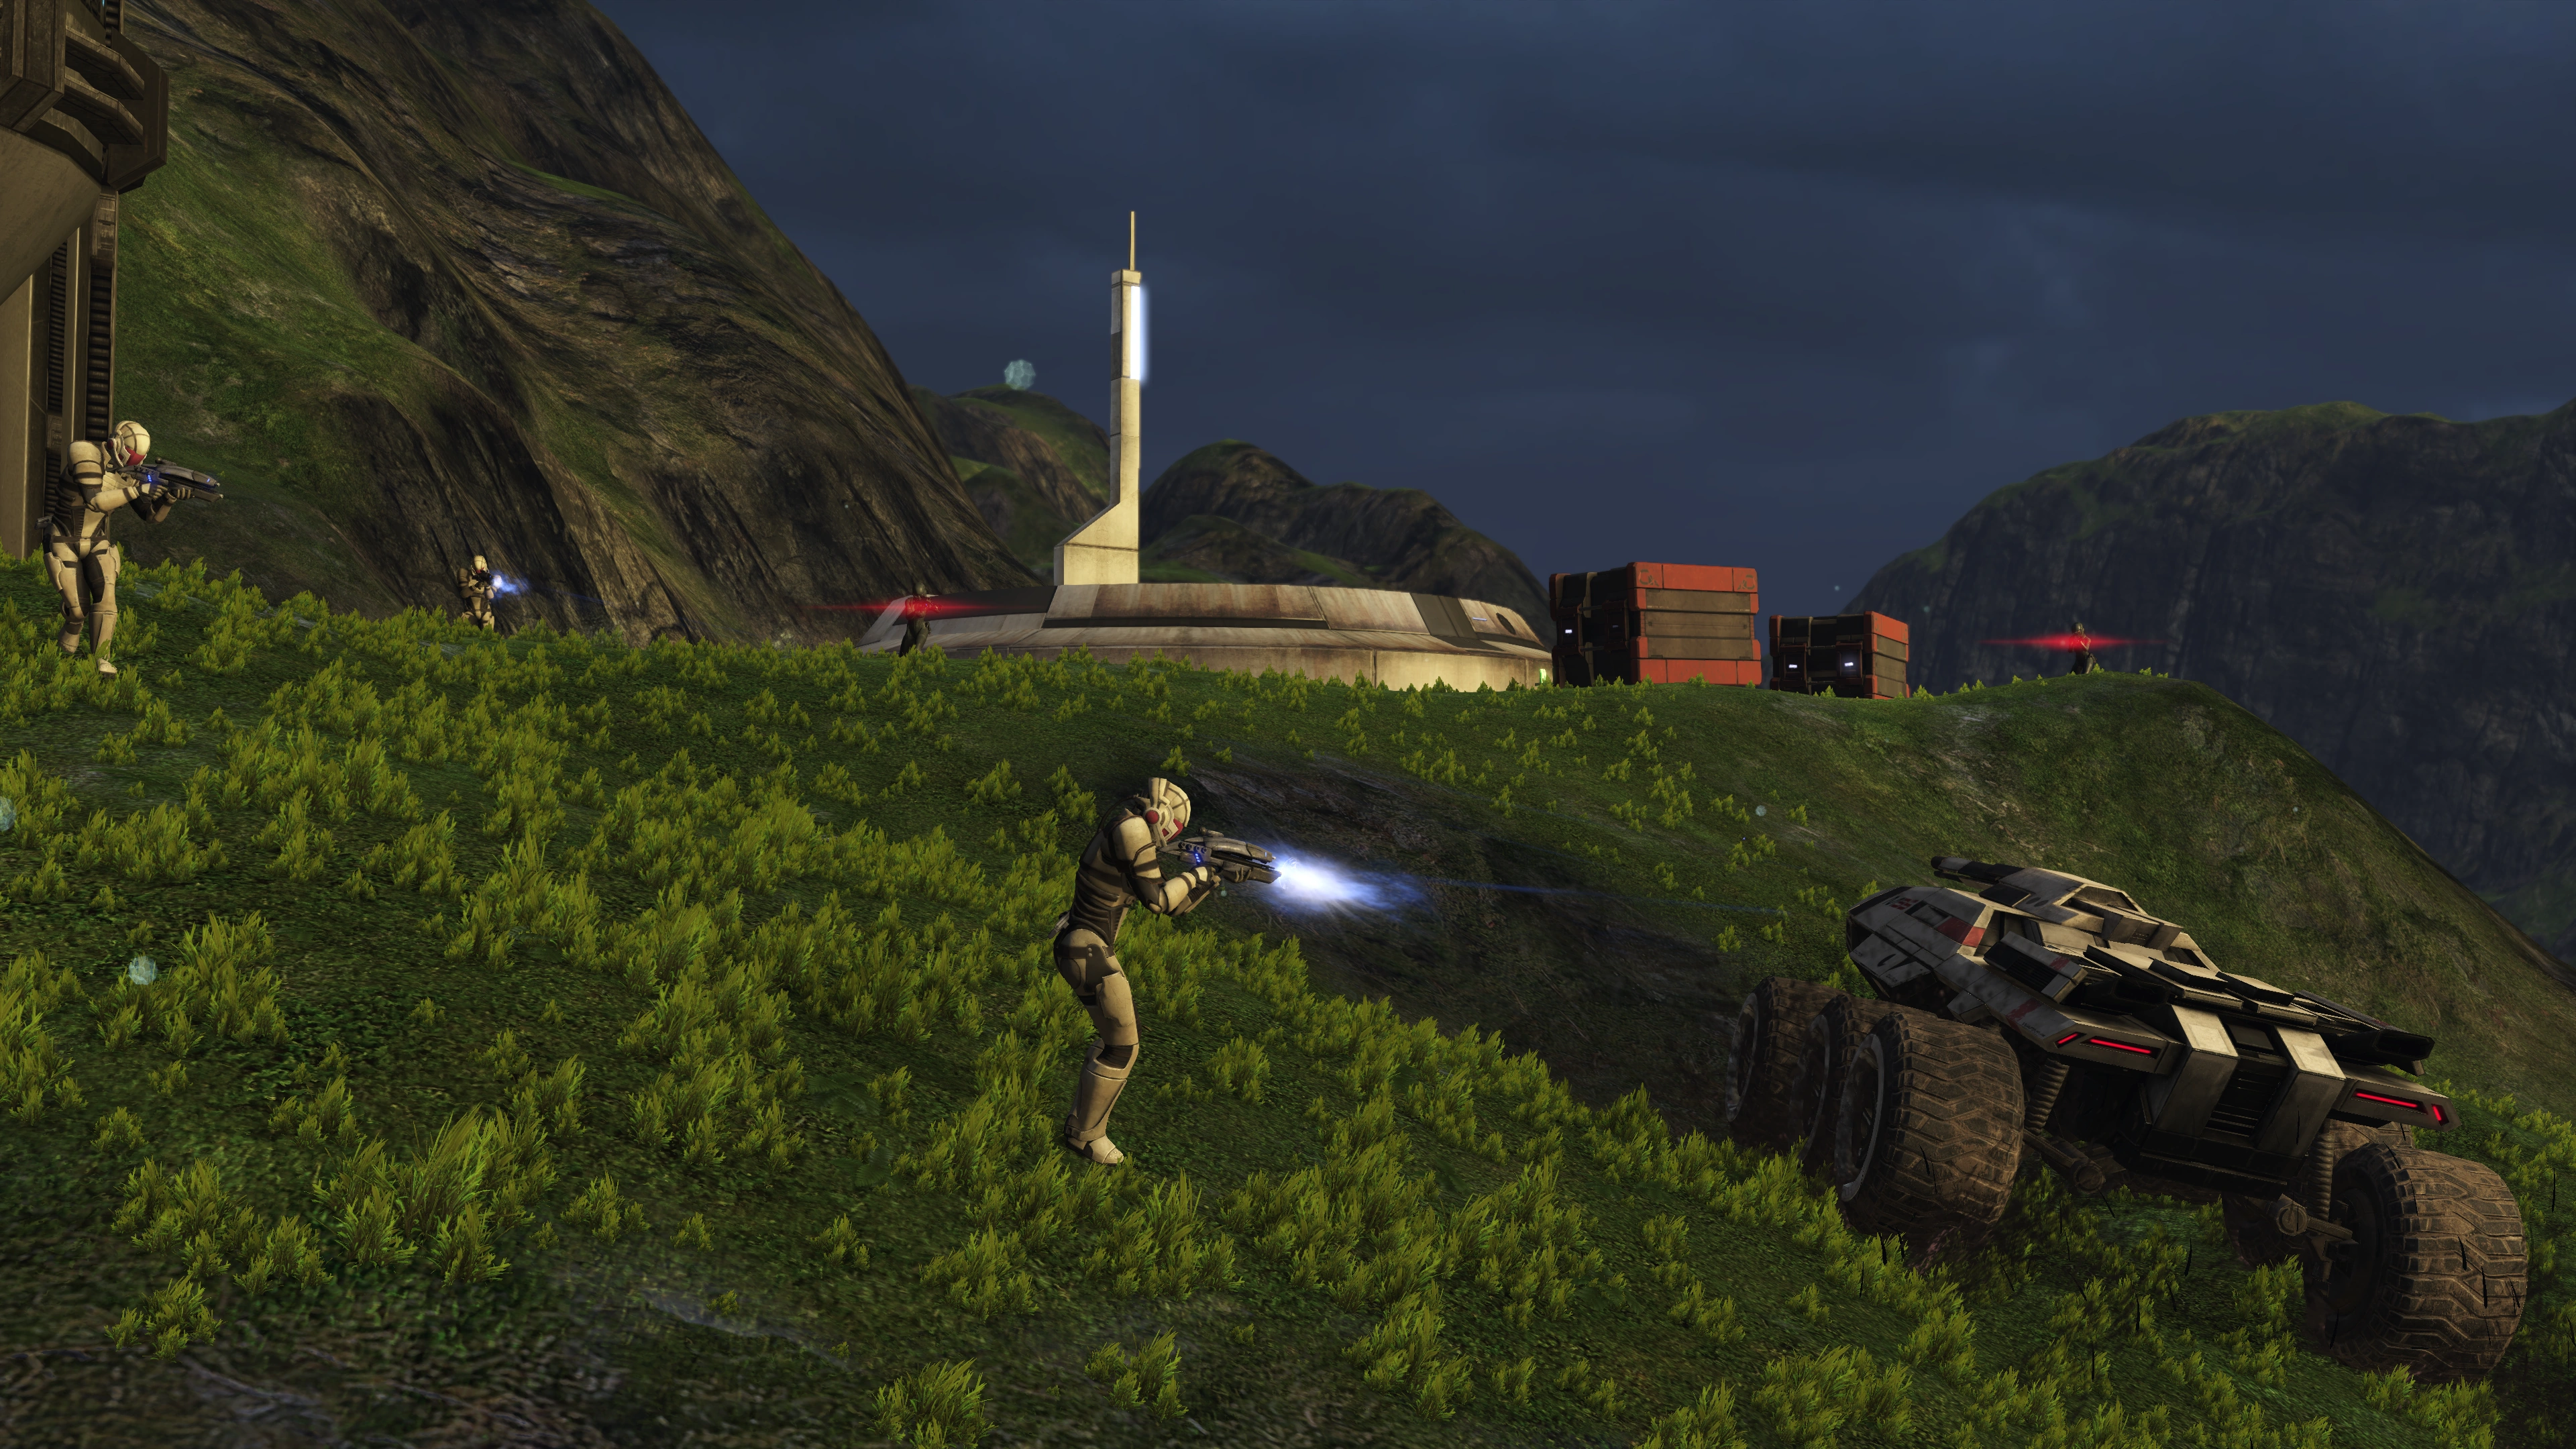
There are five mercenaries (three regular and two snipers, all human) guarding the entrance. You can either drive up to the plateau around the base and snipe the mercs from there, or you can simply drive the Mako right up to the base and kill everyone point-blank. Aside from the facility entrance and nearby tower, there are also two destructible crates where the mercs can take cover.
Deal with them at your discretion, you can enter the base with or without wiping them out. Note: You may want to watch where you're shooting, because ragdolling the enemies with the Mako's guns, certain ammo mods, or with talents like Throw and Singularity could send them flying very long distances and you on a chase just to kill them. On the other hand, knocking someone into the distance usually results in an instant death for them, so biotic abilities like Throw do have value.
As usual, the first chamber and two passageways are clear of enemies. There's an aid station and two lootables in the first room: a Malfunctioning Object and an Upgrade Kit.
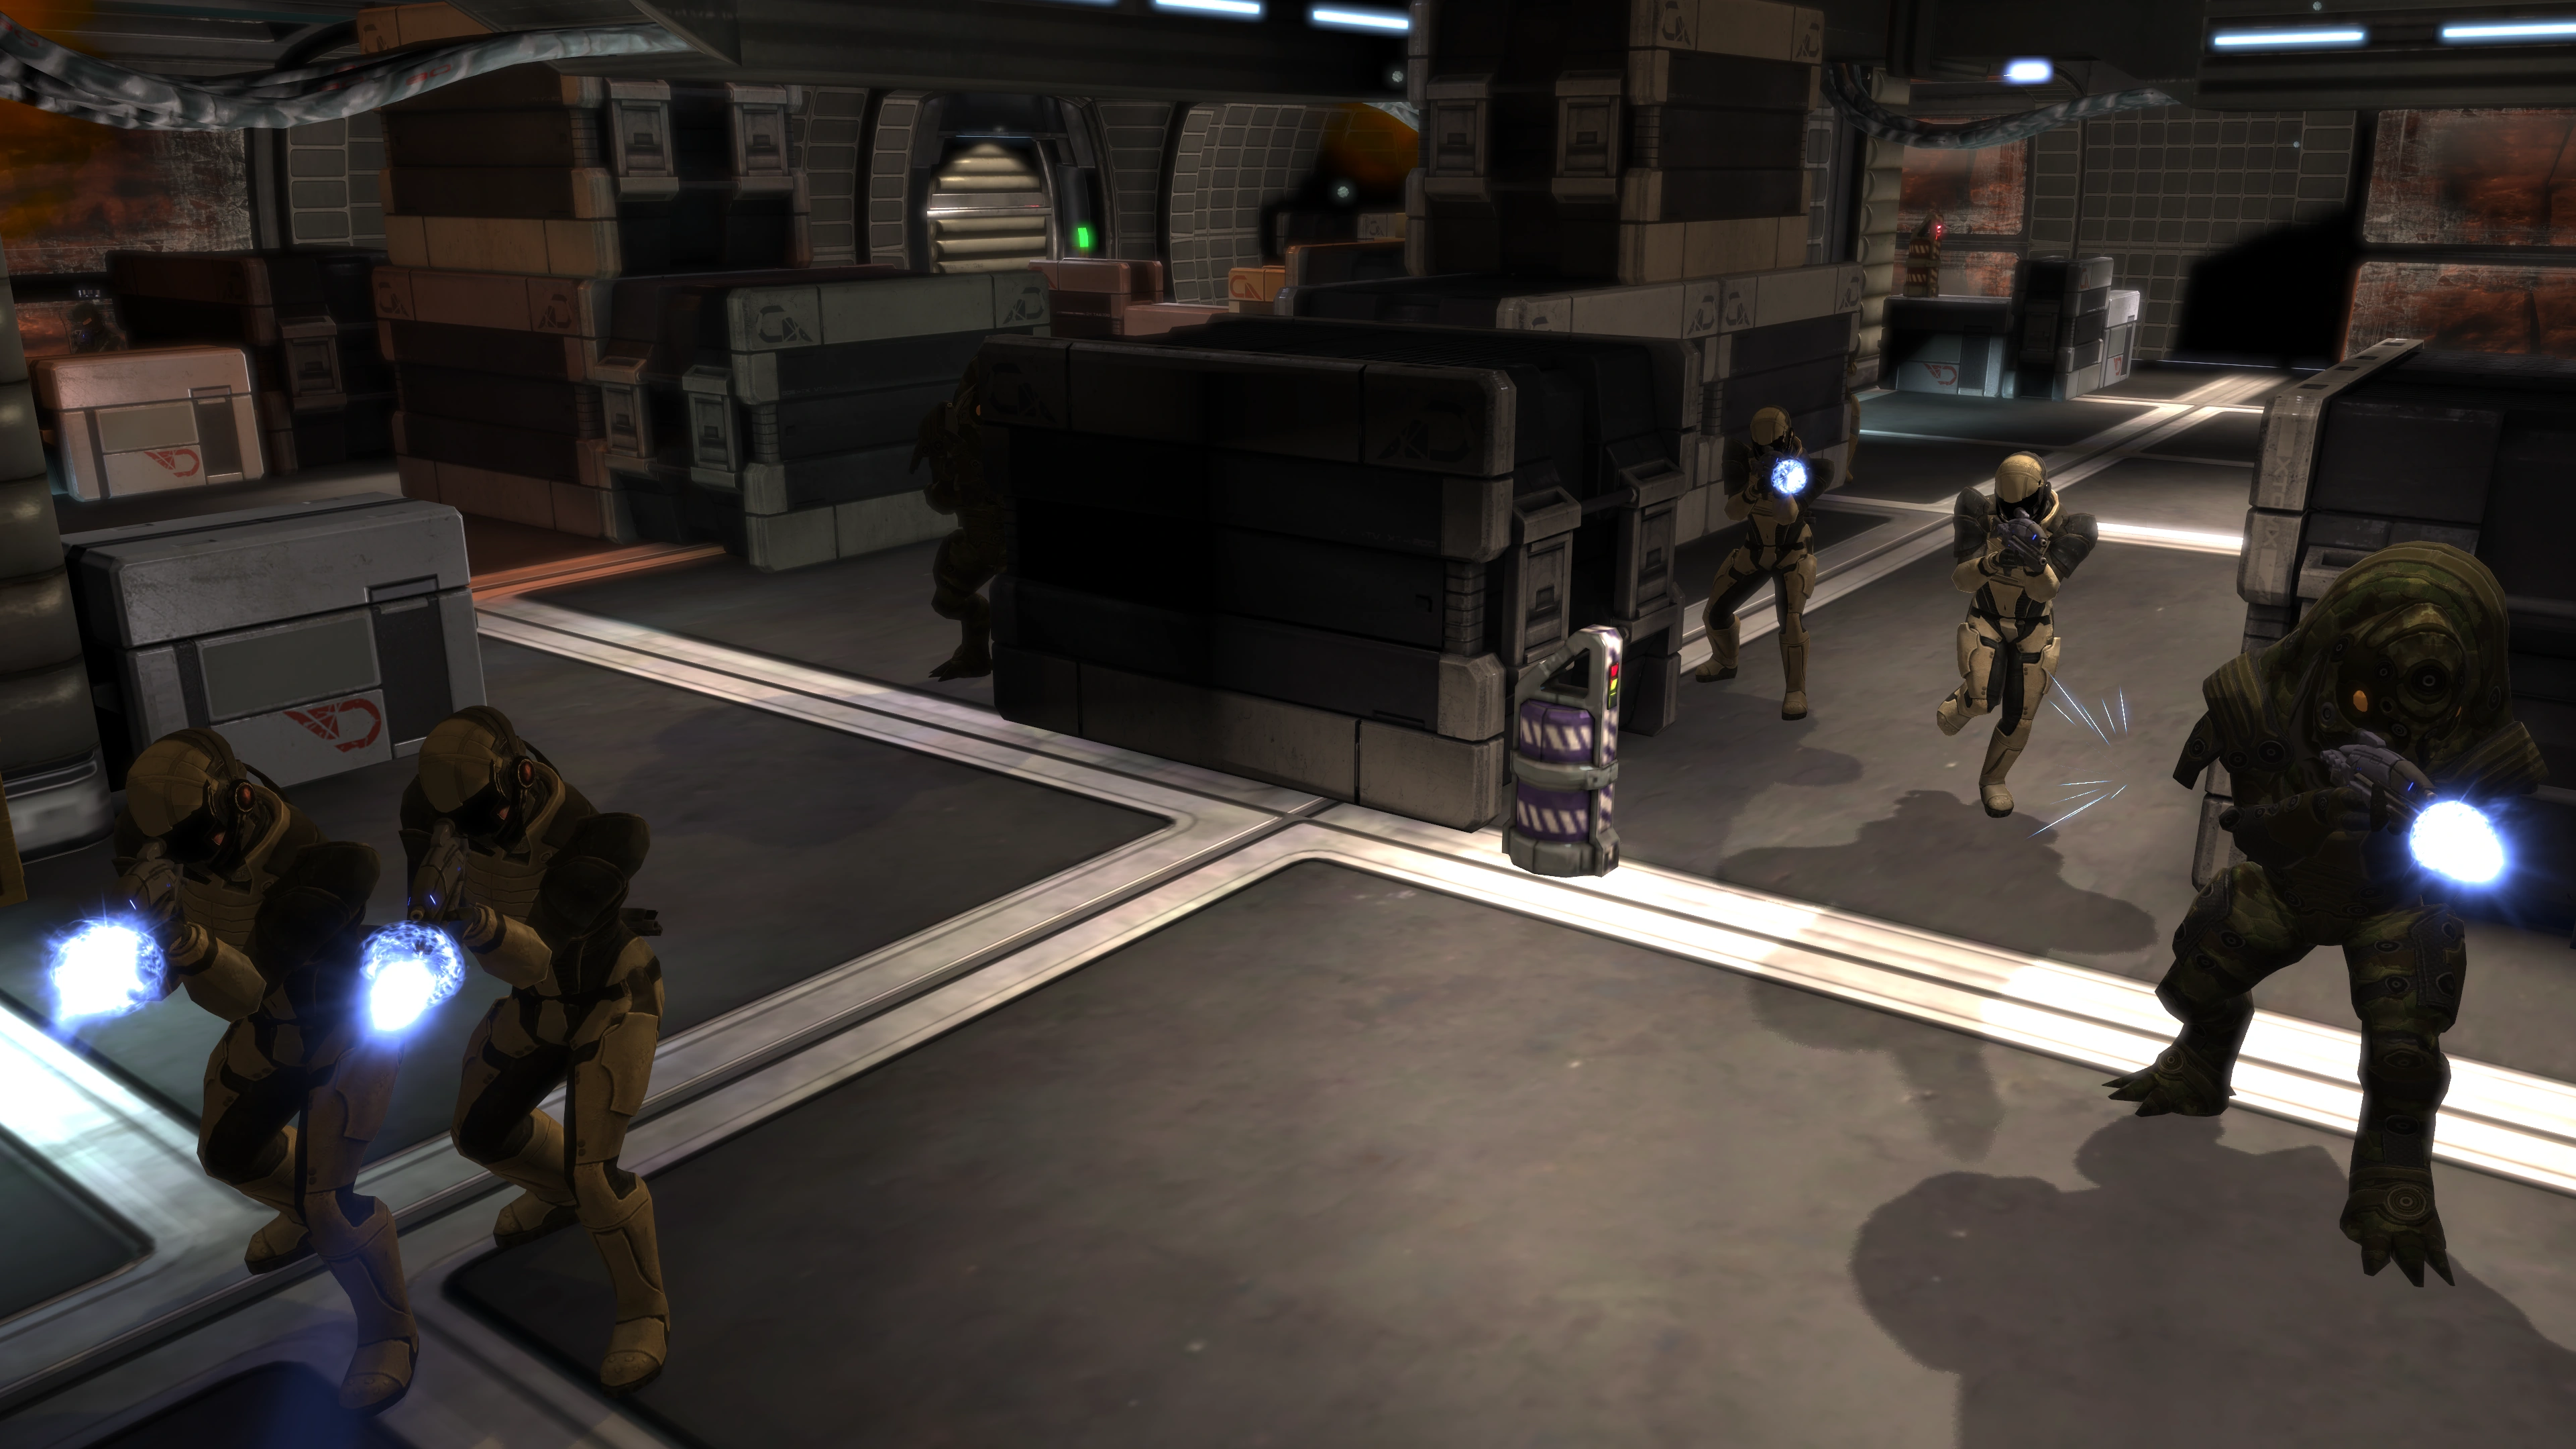
The next and main room contains 8 mercenaries, including 2 krogan, and a sniper. All of them can use Immunity in higher difficulties, which can make the fight a slog to go through, hence it's recommended to stop them from activating it in the first place.
The room is a maze of tall crates, meaning combat is likely restricted to short/medium ranges. You can use the limited cover near the entrance of the main room to stage your offense, though watch out for the gap on the right, because the mercs will be using it to flank you. You can also retreat into the antechamber if things get too hairy, though don't expect to camp there as these mercs aren't stupid to funnel through an obvious killzone. Move around if you need to because sometimes the mercs stay in the back and out of your firing solution.
There are a couple of Ion Containment Cells in the room that you can shoot to deal area damage to passing mercs.
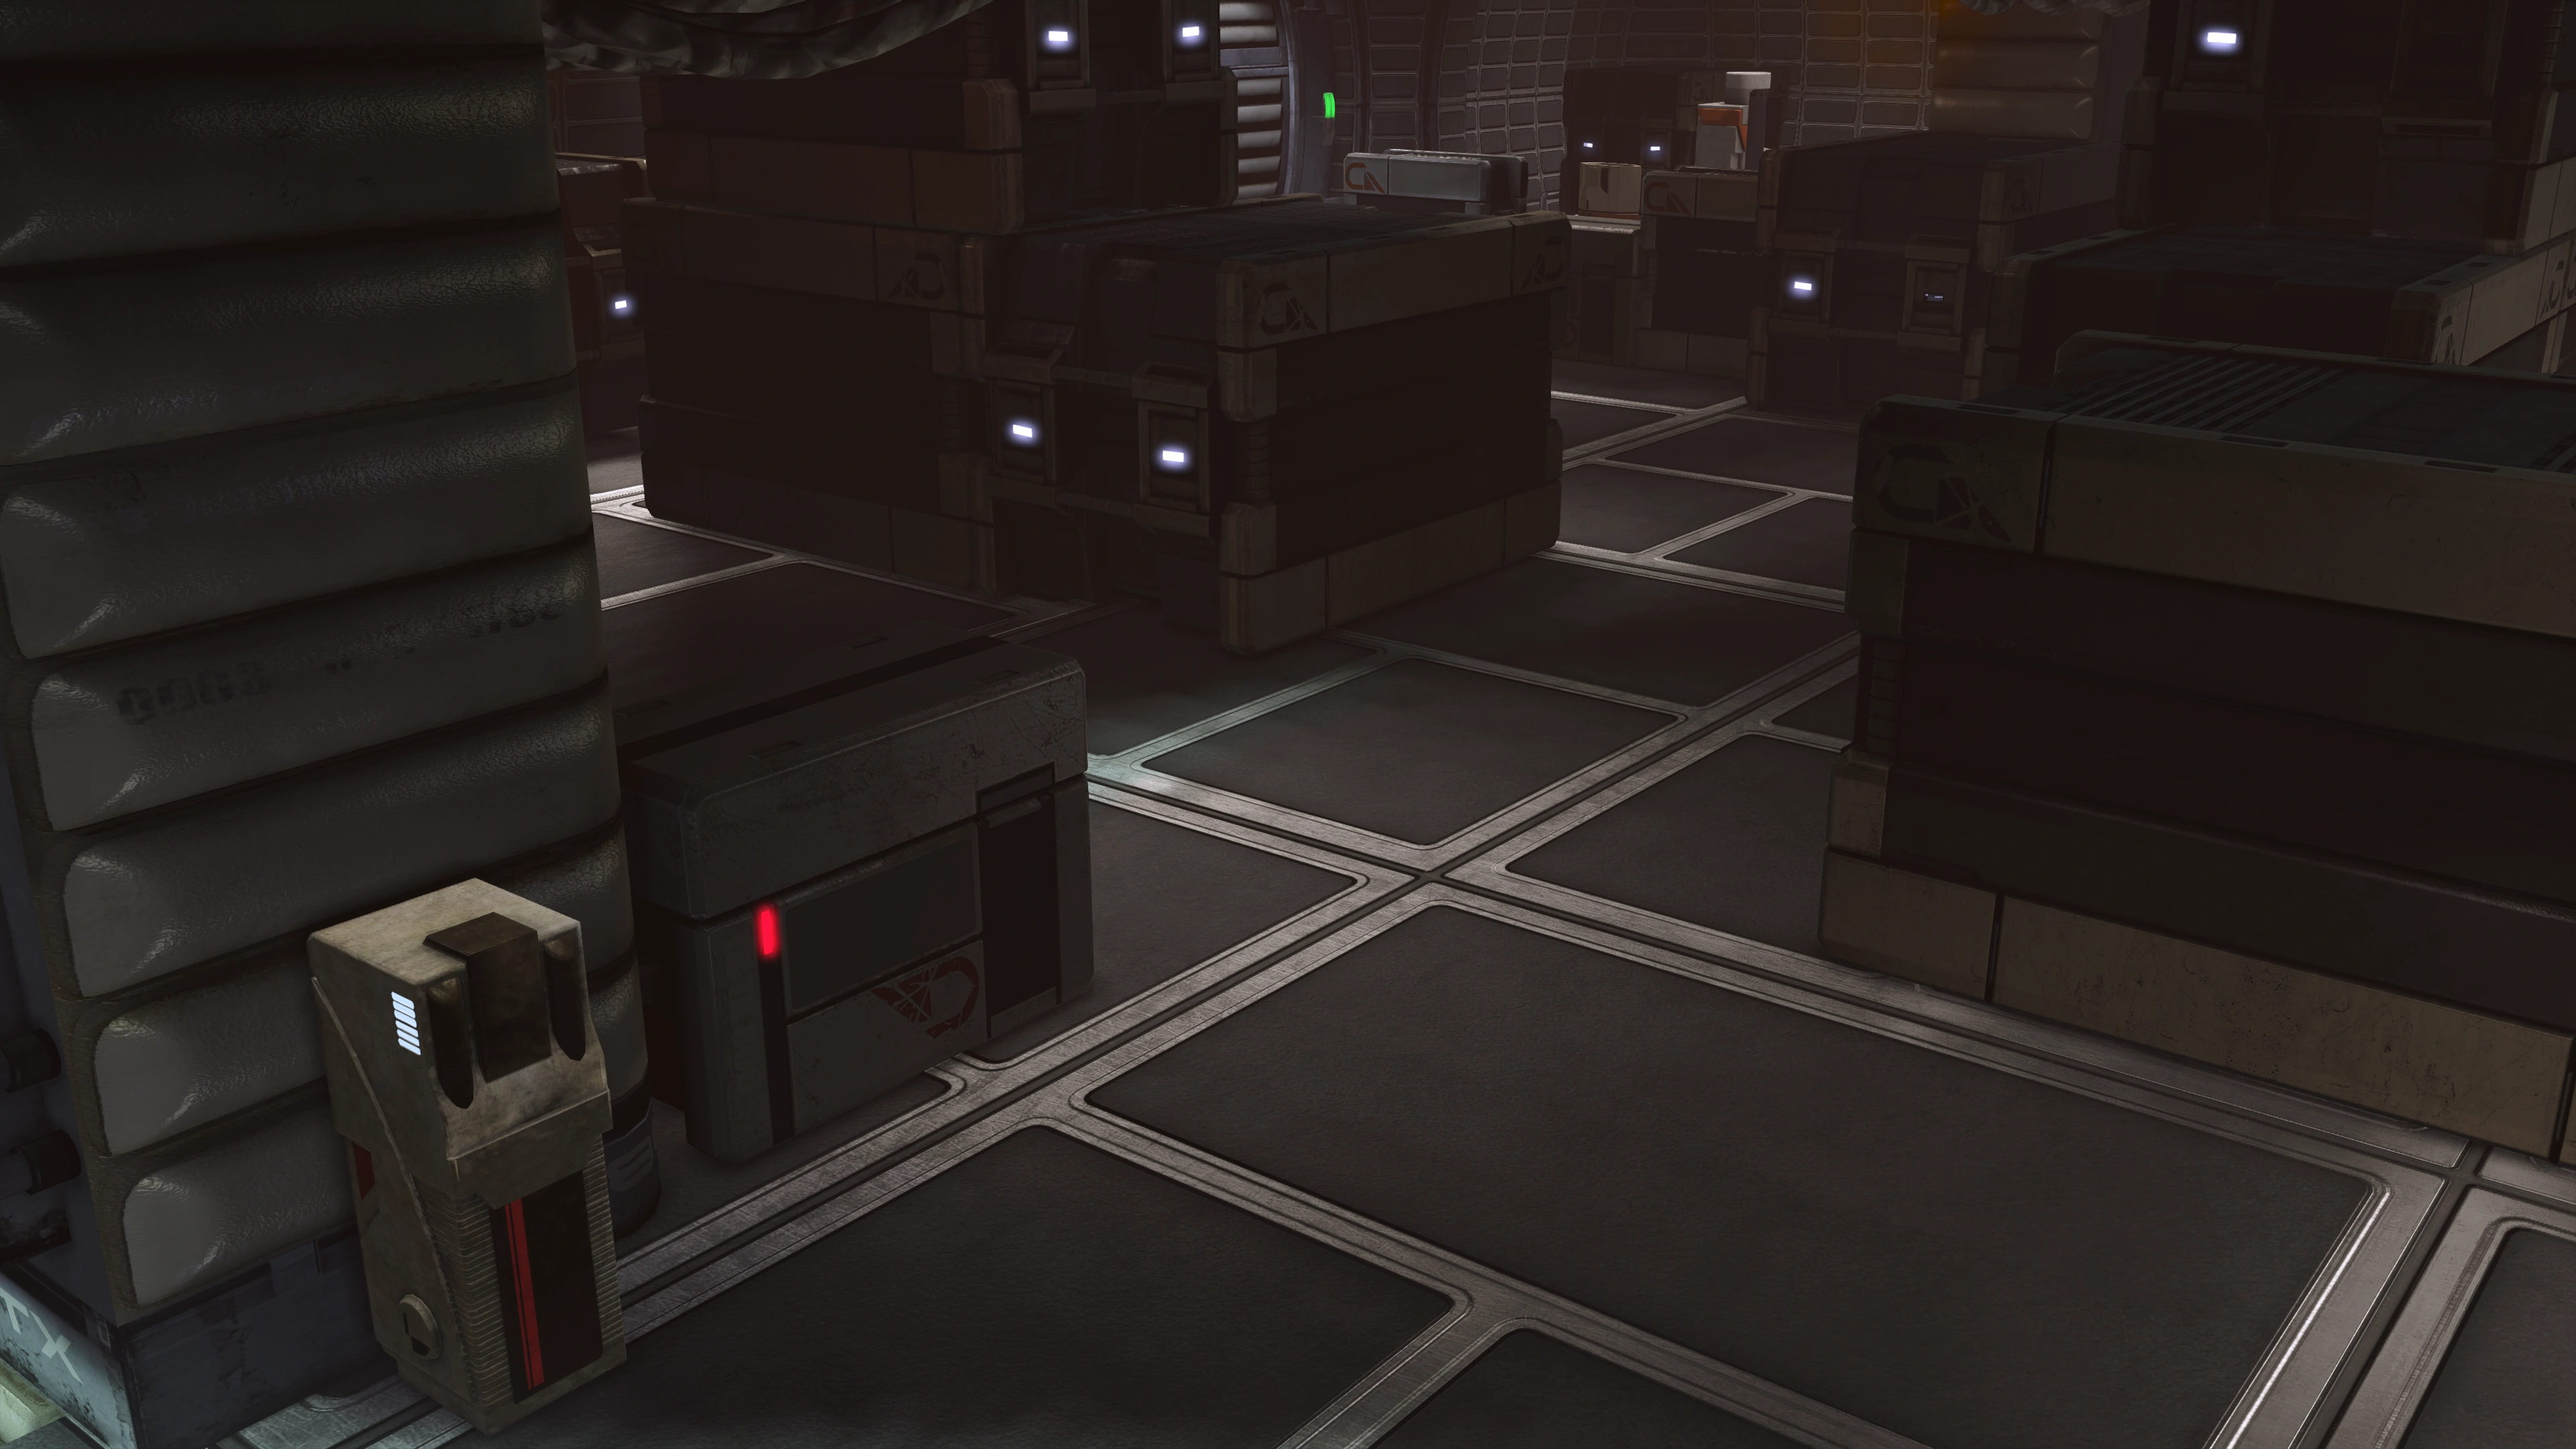
Inspect the room for lootables once all the mercs have fallen. There are four: on the south pillar in line with the entrance door, a Locked Crate (easy decryption). The other three are near the door that leads deeper into the base: a Medical Kit, another Locked Crate (easy decryption), and a Secure Storage Locker (average decryption). Afterward, proceed to the back of the base. When you reach the T-junction, the door to the left (southeast on the map) will be locked, so head to the right to finish this assignment.
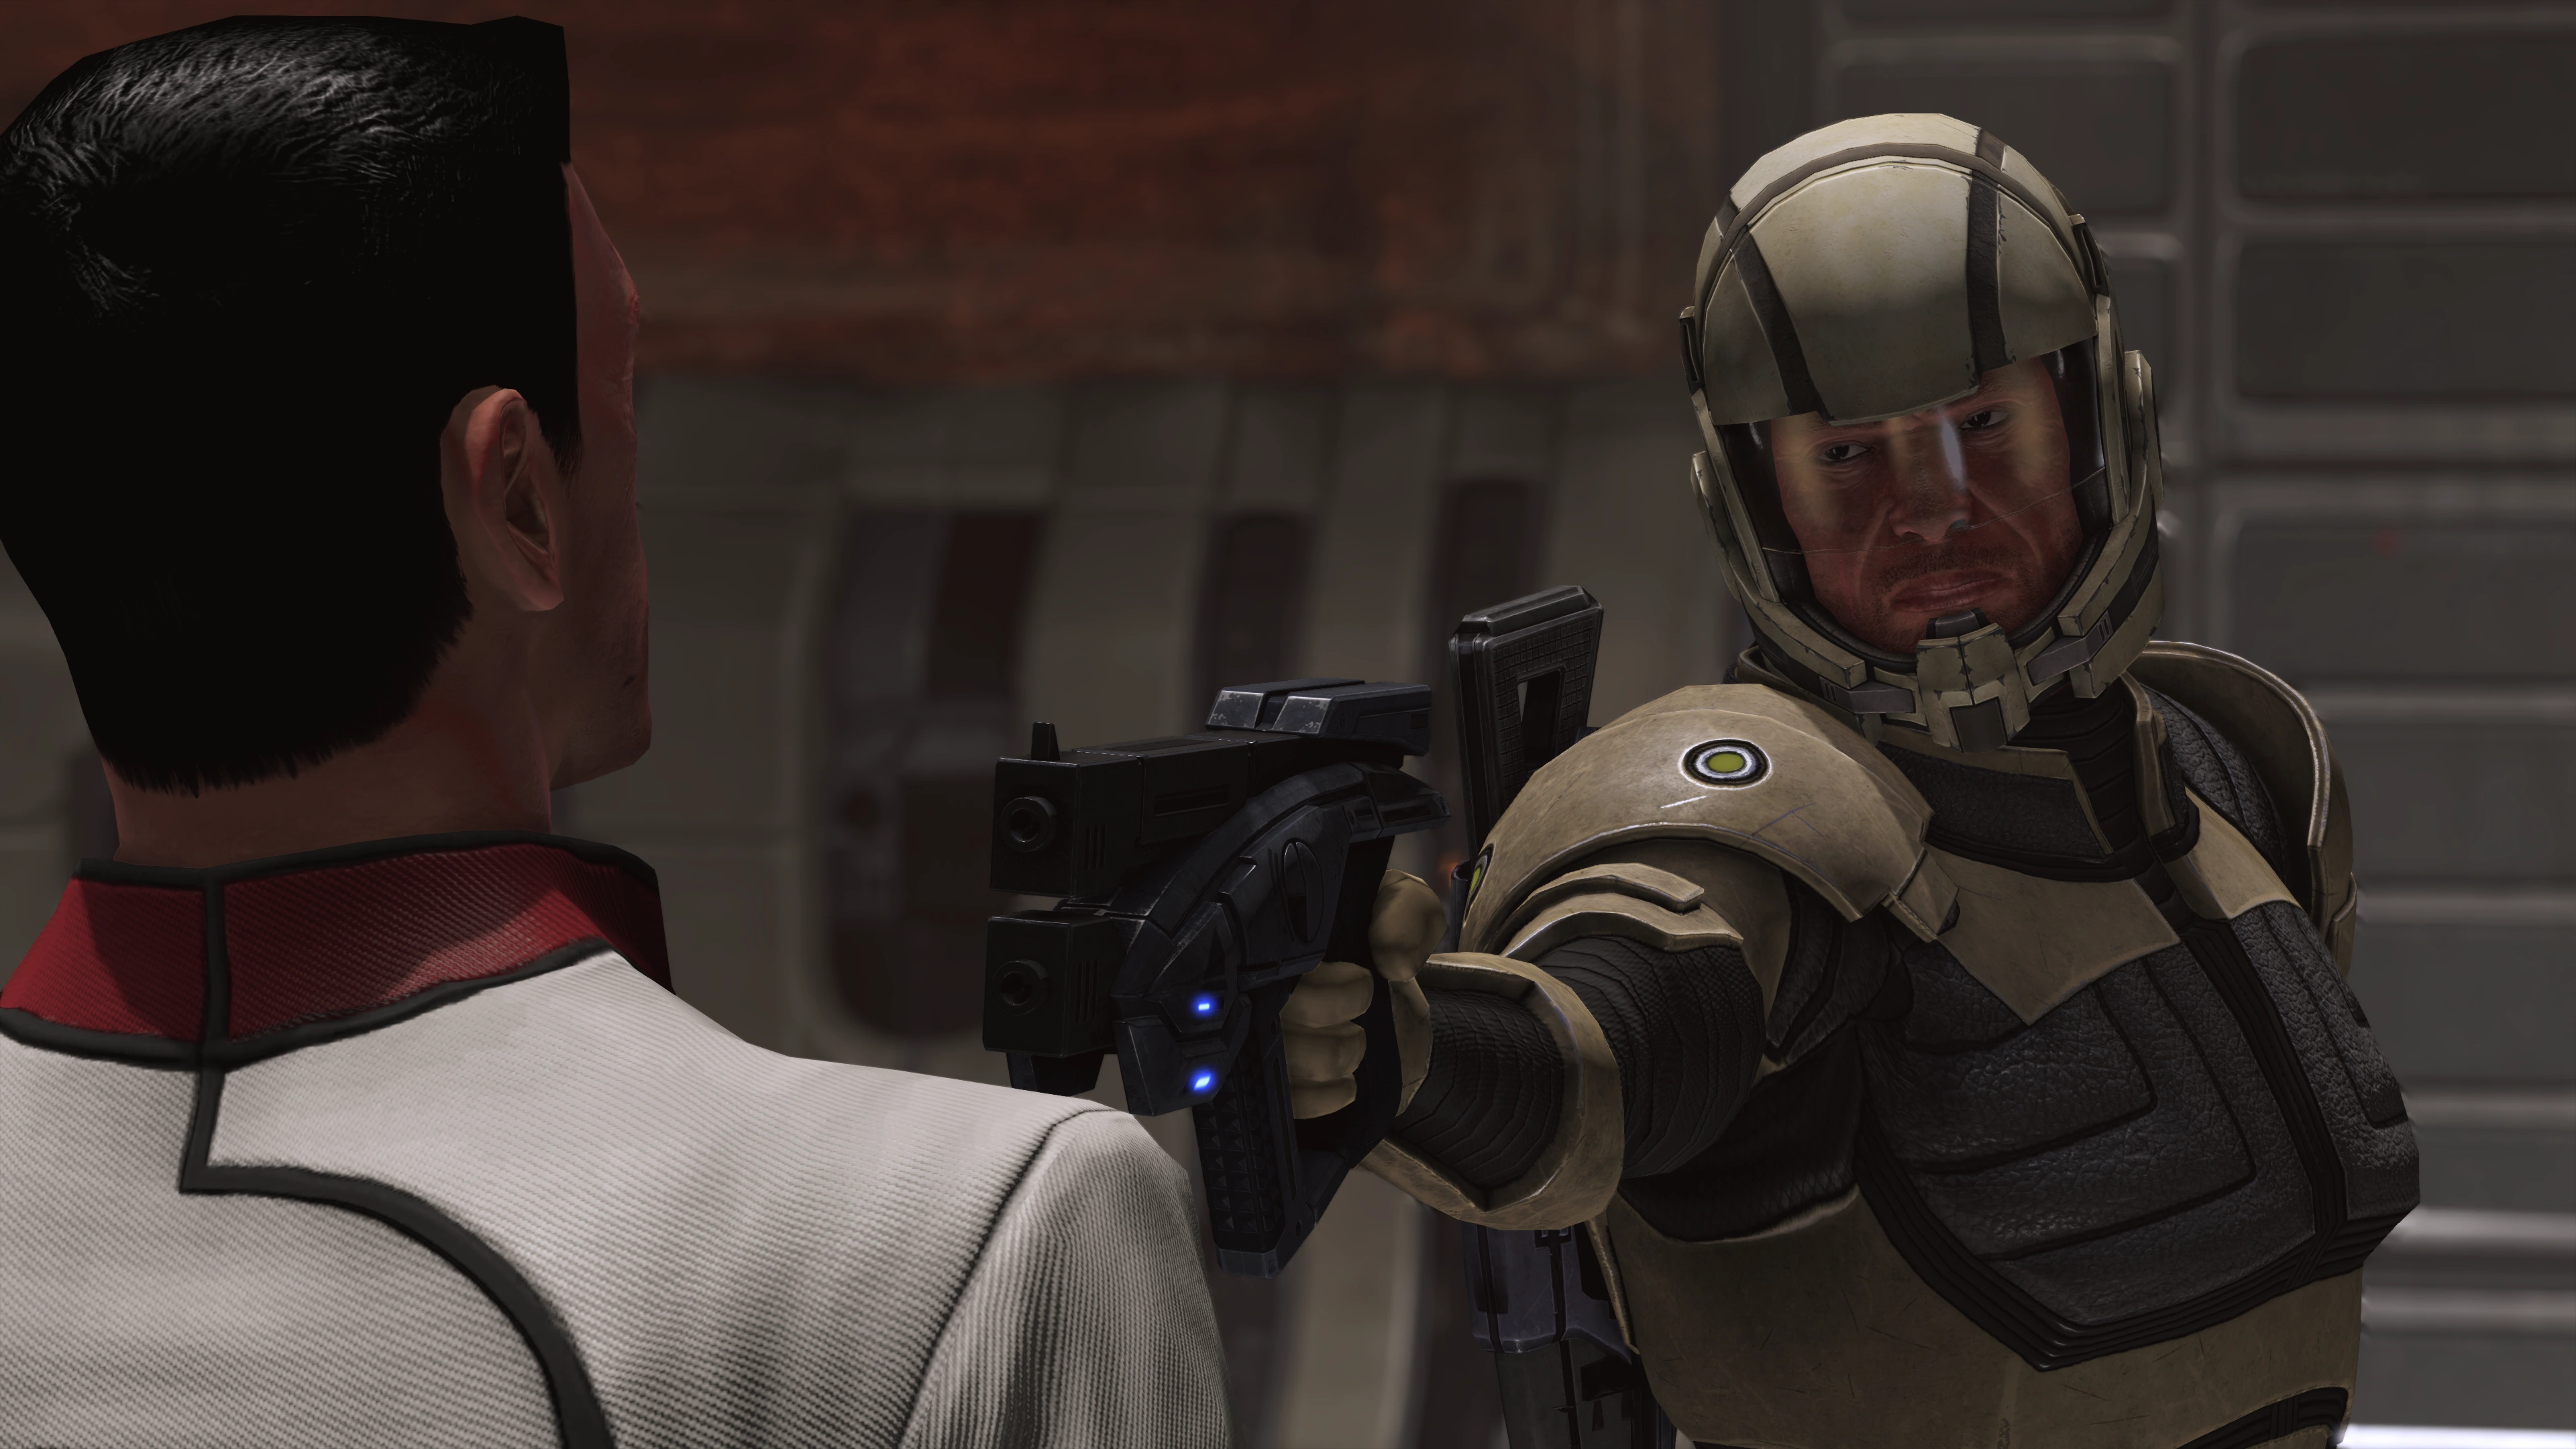
When you open the door, you find a soldier, Corporal Toombs, holding the scientist Dr. Wayne hostage. The confrontation happens a bit differently if Shepard is a Sole Survivor. If not, you learn that Toombs is on a mission to kill the people who ruined his life. The scientist repeatedly claims Toombs is crazy and demands you shoot him. You can ask Toombs what happened, try to talk him out of this, or shoot him.
Trying to persuade Toombs without asking what happened will be unsuccessful and result the scientist's death and Toombs' suicide. Shooting Toombs kills him and the scientist rewards you with some credits. He either claims he has no idea why he was targeted, or allege that he and his colleagues were studying Thresher Maw early detection methods and were blamed by Toombs for failing that after he lost his unit to an attack.
Asking Toombs what happened will reveal that he and his squad fell victim to a thresher maw attack. While the other members of his team were killed, he was captured by scientists working for a shadowy organization called Cerberus, and he was used as a guinea pig in their experiments. Toombs had been killing the scientists responsible in revenge. When he tells his story to Shepard, he will describe his escape from Cerberus in two ways:
- If you finished the UNC: Hades' Dogs assignment, Toombs comments that he managed to escape because someone already took Cerberus down.
- Otherwise, Toombs' escape will not be explained - only that he managed to escape.
Morality points can be obtained based on your decisions. If you have at least 10 points in Charm, you can convince Corporal Toombs to lower his weapon and let the Alliance authorities arrest the scientist. If you have 8 or more points in Intimidate, you can shoot the scientist yourself (you can still let Toombs do the shooting, but he kills himself afterward). If you shoot Toombs, the scientist will give you credits as a reward, but you can still arrest him afterwards.
If Shepard is a Sole Survivor, the initial confrontation has Toombs recognizing Shepard, and Shepard in turn blurts out he was presumed dead on Akuze along with everyone else in their unit. Because there are two witnesses to the attack—Shepard and Toombs—the scientist has a weaker argument on Toombs being just a regular crazy this time.
Because of your background and shared experience with Toombs, the option to shoot him does not appear when he wants you to decide what happens next. Instead you can egg him on or beg him to reconsider, which will result in the same outcome as the above: dead scientist and suicided Toombs. He thinks making this public is a futile effort as Cerberus would not let their activities be exposed. The only way to avoid Toombs killing the scientist and then himself is to use the Charm or Intimidate options, and if the latter, you'll have to shoot the scientist yourself instead of letting Toombs do it.
All outcomes result in a text display describing the aftermath, followed by an immediate exit of the bunker on closing the notice. You can still reenter in case you haven't finished looting. A monitor in the room with Toombs and the scientist can be interacted with, though it does nothing.
The assignment is marked complete upon returning to the Normandy and accessing the Galaxy Map. Admiral Hackett provides further details on the aftermath of your decision.
Mass Effect 2 Consequences[]
- If Shepard convinces Toombs into sparing Dr. Wayne, it will be revealed in a news report that both Wayne and Toombs give their testimonies regarding Cerberus. Wayne, however, is given immunity from prosecution in exchange for cooperation with the Alliance.
- If Toombs survives, it is possible for Shepard to get a message from him in which Toombs expresses shock and disgust that Shepard has now joined Cerberus. Toombs ends the message by threatening to kill any Cerberus operatives he runs across, including the Commander.
- If Shepard shoots Dr. Wayne using Intimidate, it will be revealed in a news report that Toombs' testimonies against Cerberus were dismissed based on insufficient evidence.
- Surprisingly, if Toombs is shot but Dr. Wayne is arrested, there is no mention of his fate in Mass Effect 2.
Enemies[]
Trivia[]
- Even on Shepards without the Sole Survivor background, choosing the Paragon option results in Toombs complaining you "got away with a few scratches and a scary reputation" as if Shepard was also involved in the thresher maw incident.

|
The following information is drawn from cut content and is not to be considered canon in any way. |
Cut Content[]
- An option for Shepard to refuse this quest from Hackett was cut.[1]
- The game's internal name for this assignment appears to be "Survivor's Revenge".[2]
References[]
- ↑ Mass Effect Cut Content/Normandy and UNC Voicelines#sp120_transmission
- ↑ Plot Database: all plot elements related to UNC: Dead Scientists start with "LE1.Light_Content_Subplots.SP120_Survivors_Revenge."