


Matriarch Benezia, a top advisor to Saren, is on Noveria. If you can capture her, it is likely she has insight into his plans.
Acquisition[]
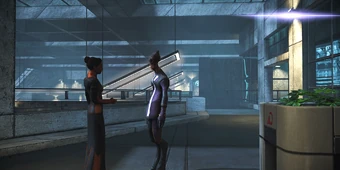
You'll learn from your first talk with Gianna Parasini that Matriarch Benezia is on Peak 15 on behalf of Saren.
Walkthrough[]
The first part of this sprawling mission entails getting a garage pass in order to leave Port Hanshan and reach her. See Noveria: Leave Port Hanshan and/or Noveria: Lorik Qui'in for details.
Once you have the pass, head over to the Mako parked at the garage.
Port Hanshan Garage[]
The ERCS guard at the garage entrance will allow you through once you explain you have authorization. Save before proceeding, because as you might have guessed, there are geth in the garage. Two Geth Destroyers and two Geth Stalkers will attack you.
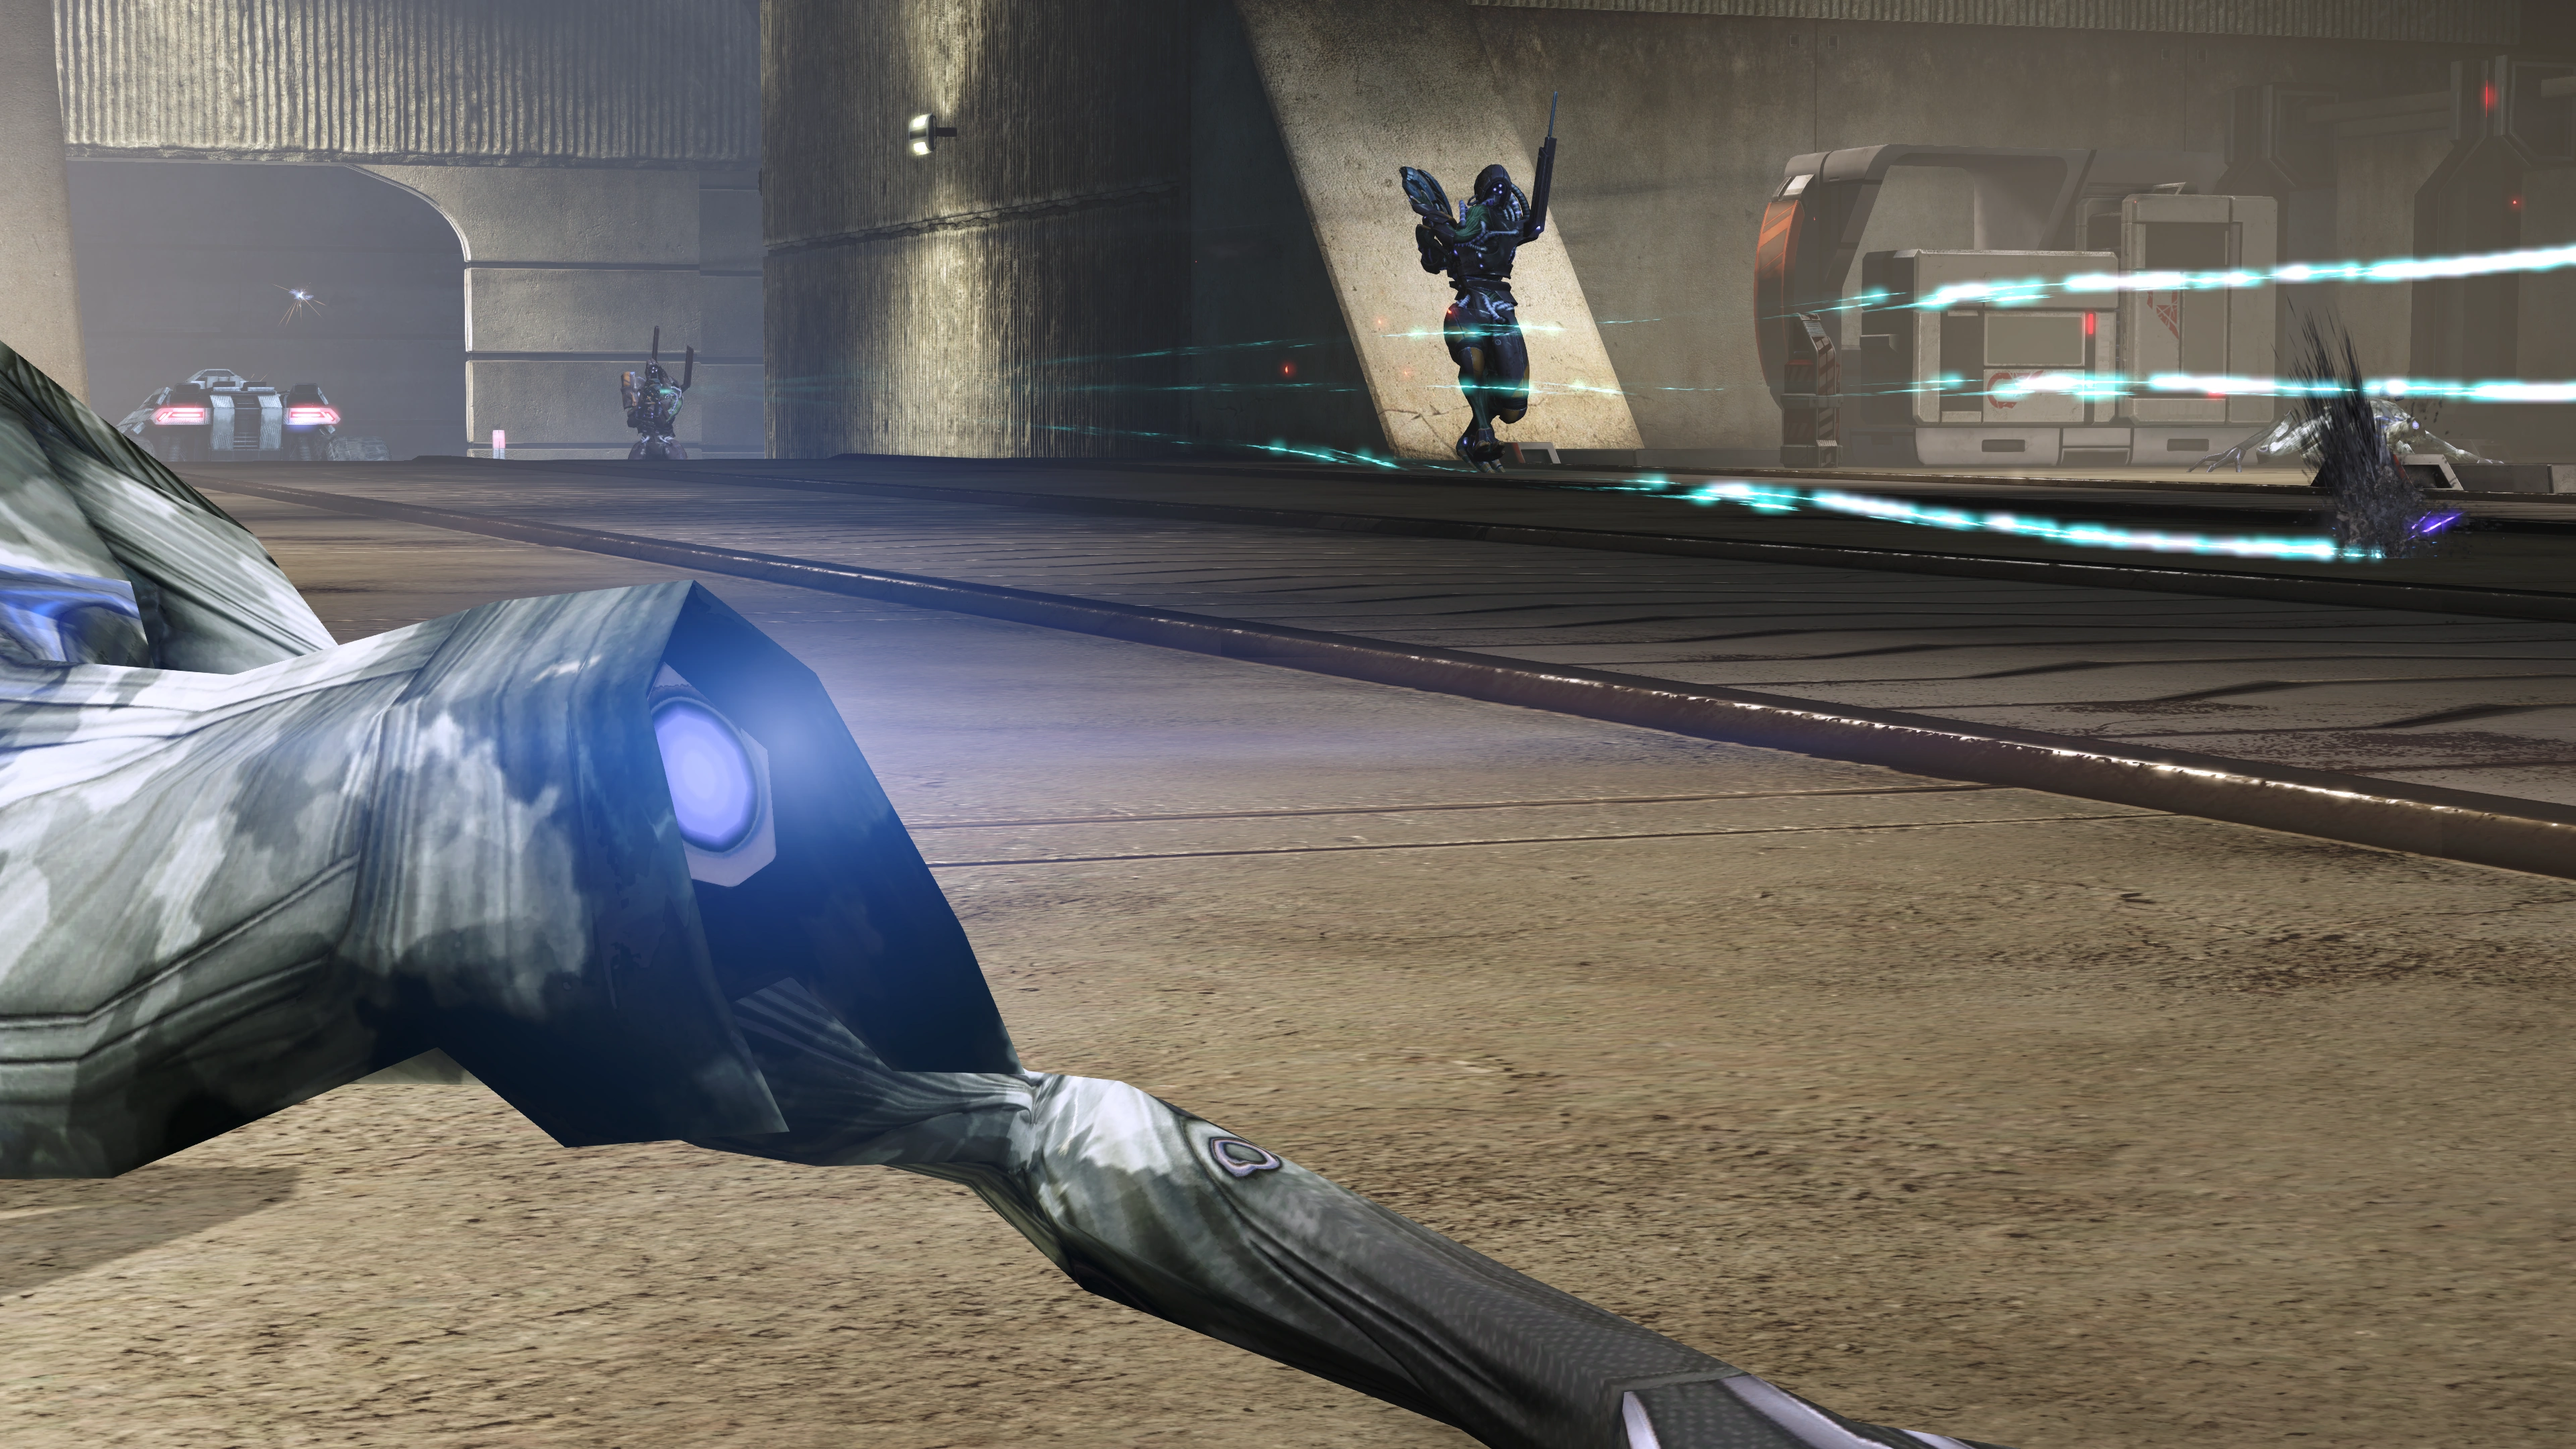
Initially the geth will not have detected you, so you can quickly position your squad behind cover and prepare for the Destroyer rush. Use the piece of cover near the door to your advantage, along the explosive crates laying around, to take down the attacking geth.
If you are playing the original version of Mass Effect and want to make this fight easier, you can unlock the M29 Grizzly's cannon and use it to your advantage. However, this will result in fewer experience points. You could defeat most of the geth first, unlock the Grizzly for experience points, then exit it and finish off the geth. You cannot access the Grizzly after the fight. Legendary Edition: The Grizzly cannot be unlocked and used in Mass Effect Legendary Edition.
Once they all fall, Maeko Matsuo enters the scene with a few guards and wants to question Shepard about the incident. Be as flippant or straightforward as you want, your squadmates may have some input of their own here. At the conclusion of the conversation, Matsuo leaves and you are free to take the Mako at the end of the garage to Peak 15. There is an upgrade kit near the M29 vehicle.
Note: This is the last convenient opportunity to switch out squadmates through the Normandy, while you're still relatively near the ship. You can technically do so further down the mission, but the distances involved will make for a tedious trip back.
Aleutsk Valley[]
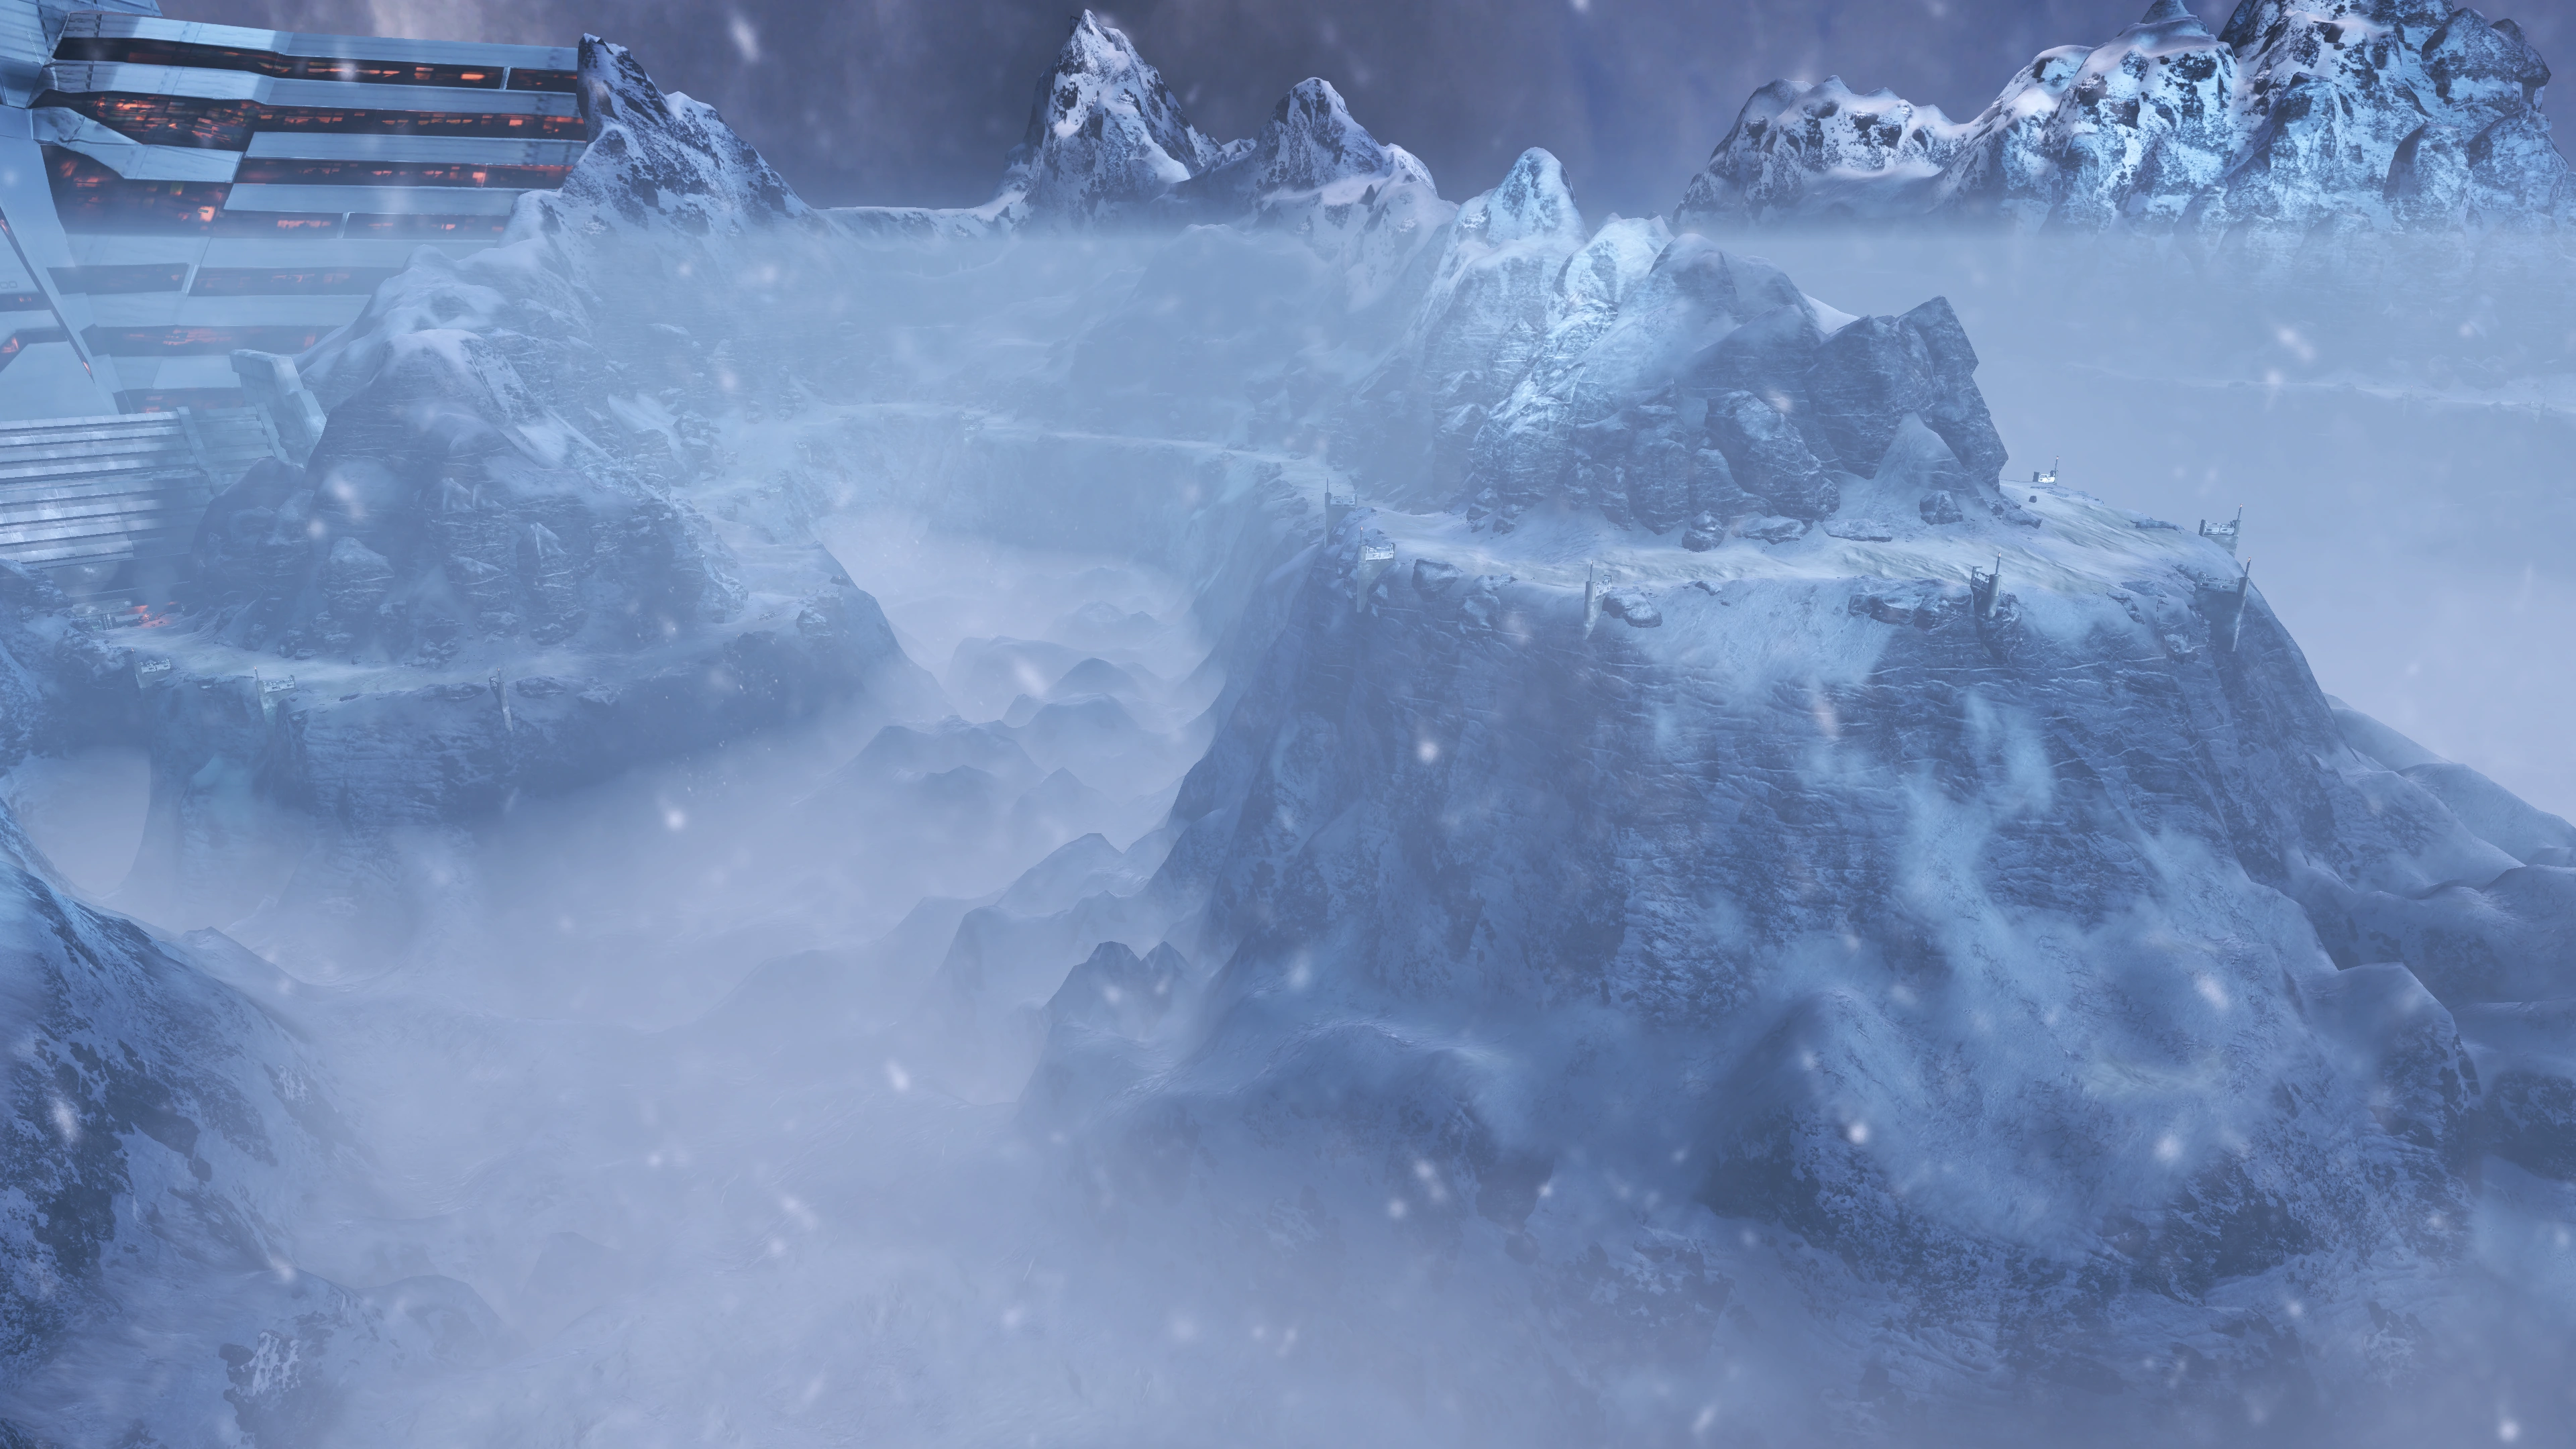
Once you leave a notification will come up that you have entered a Level 1 Cold Hazard; the landing party will need to limit their exposure outside the vehicle during the drive to Peak 15, unless you or one of your guys have Devlon Industries armor equipped. This ride will not be uneventful, but is relatively easy: the path is a series of U-turns where you have mountain walls on one side and cliffs on the other throughout the trip. Don't fall off the edge!
Head out of the garage and down the path. Eventually you'll approach an abandoned M29 Grizzly with a crate beside it. Continue along the path and you will run across another abandoned Grizzly, with a crate and a medical kit beside it.
Near this second Grizzly is the first tunnel you'll go through. The geth have placed a turret at the entrance and further barricaded the tunnel with three layers of troops and hex shields. The first layer is by the entrance, composed of four Geth Shock Troopers. The second layer is around the middle of the tunnel, composed of four Geth Rocket Troopers. There are also two upgrade kits at this location, though you may loot them later after dealing with the threats. The third layer at the end of the tunnel is just four more Rocket Troopers.
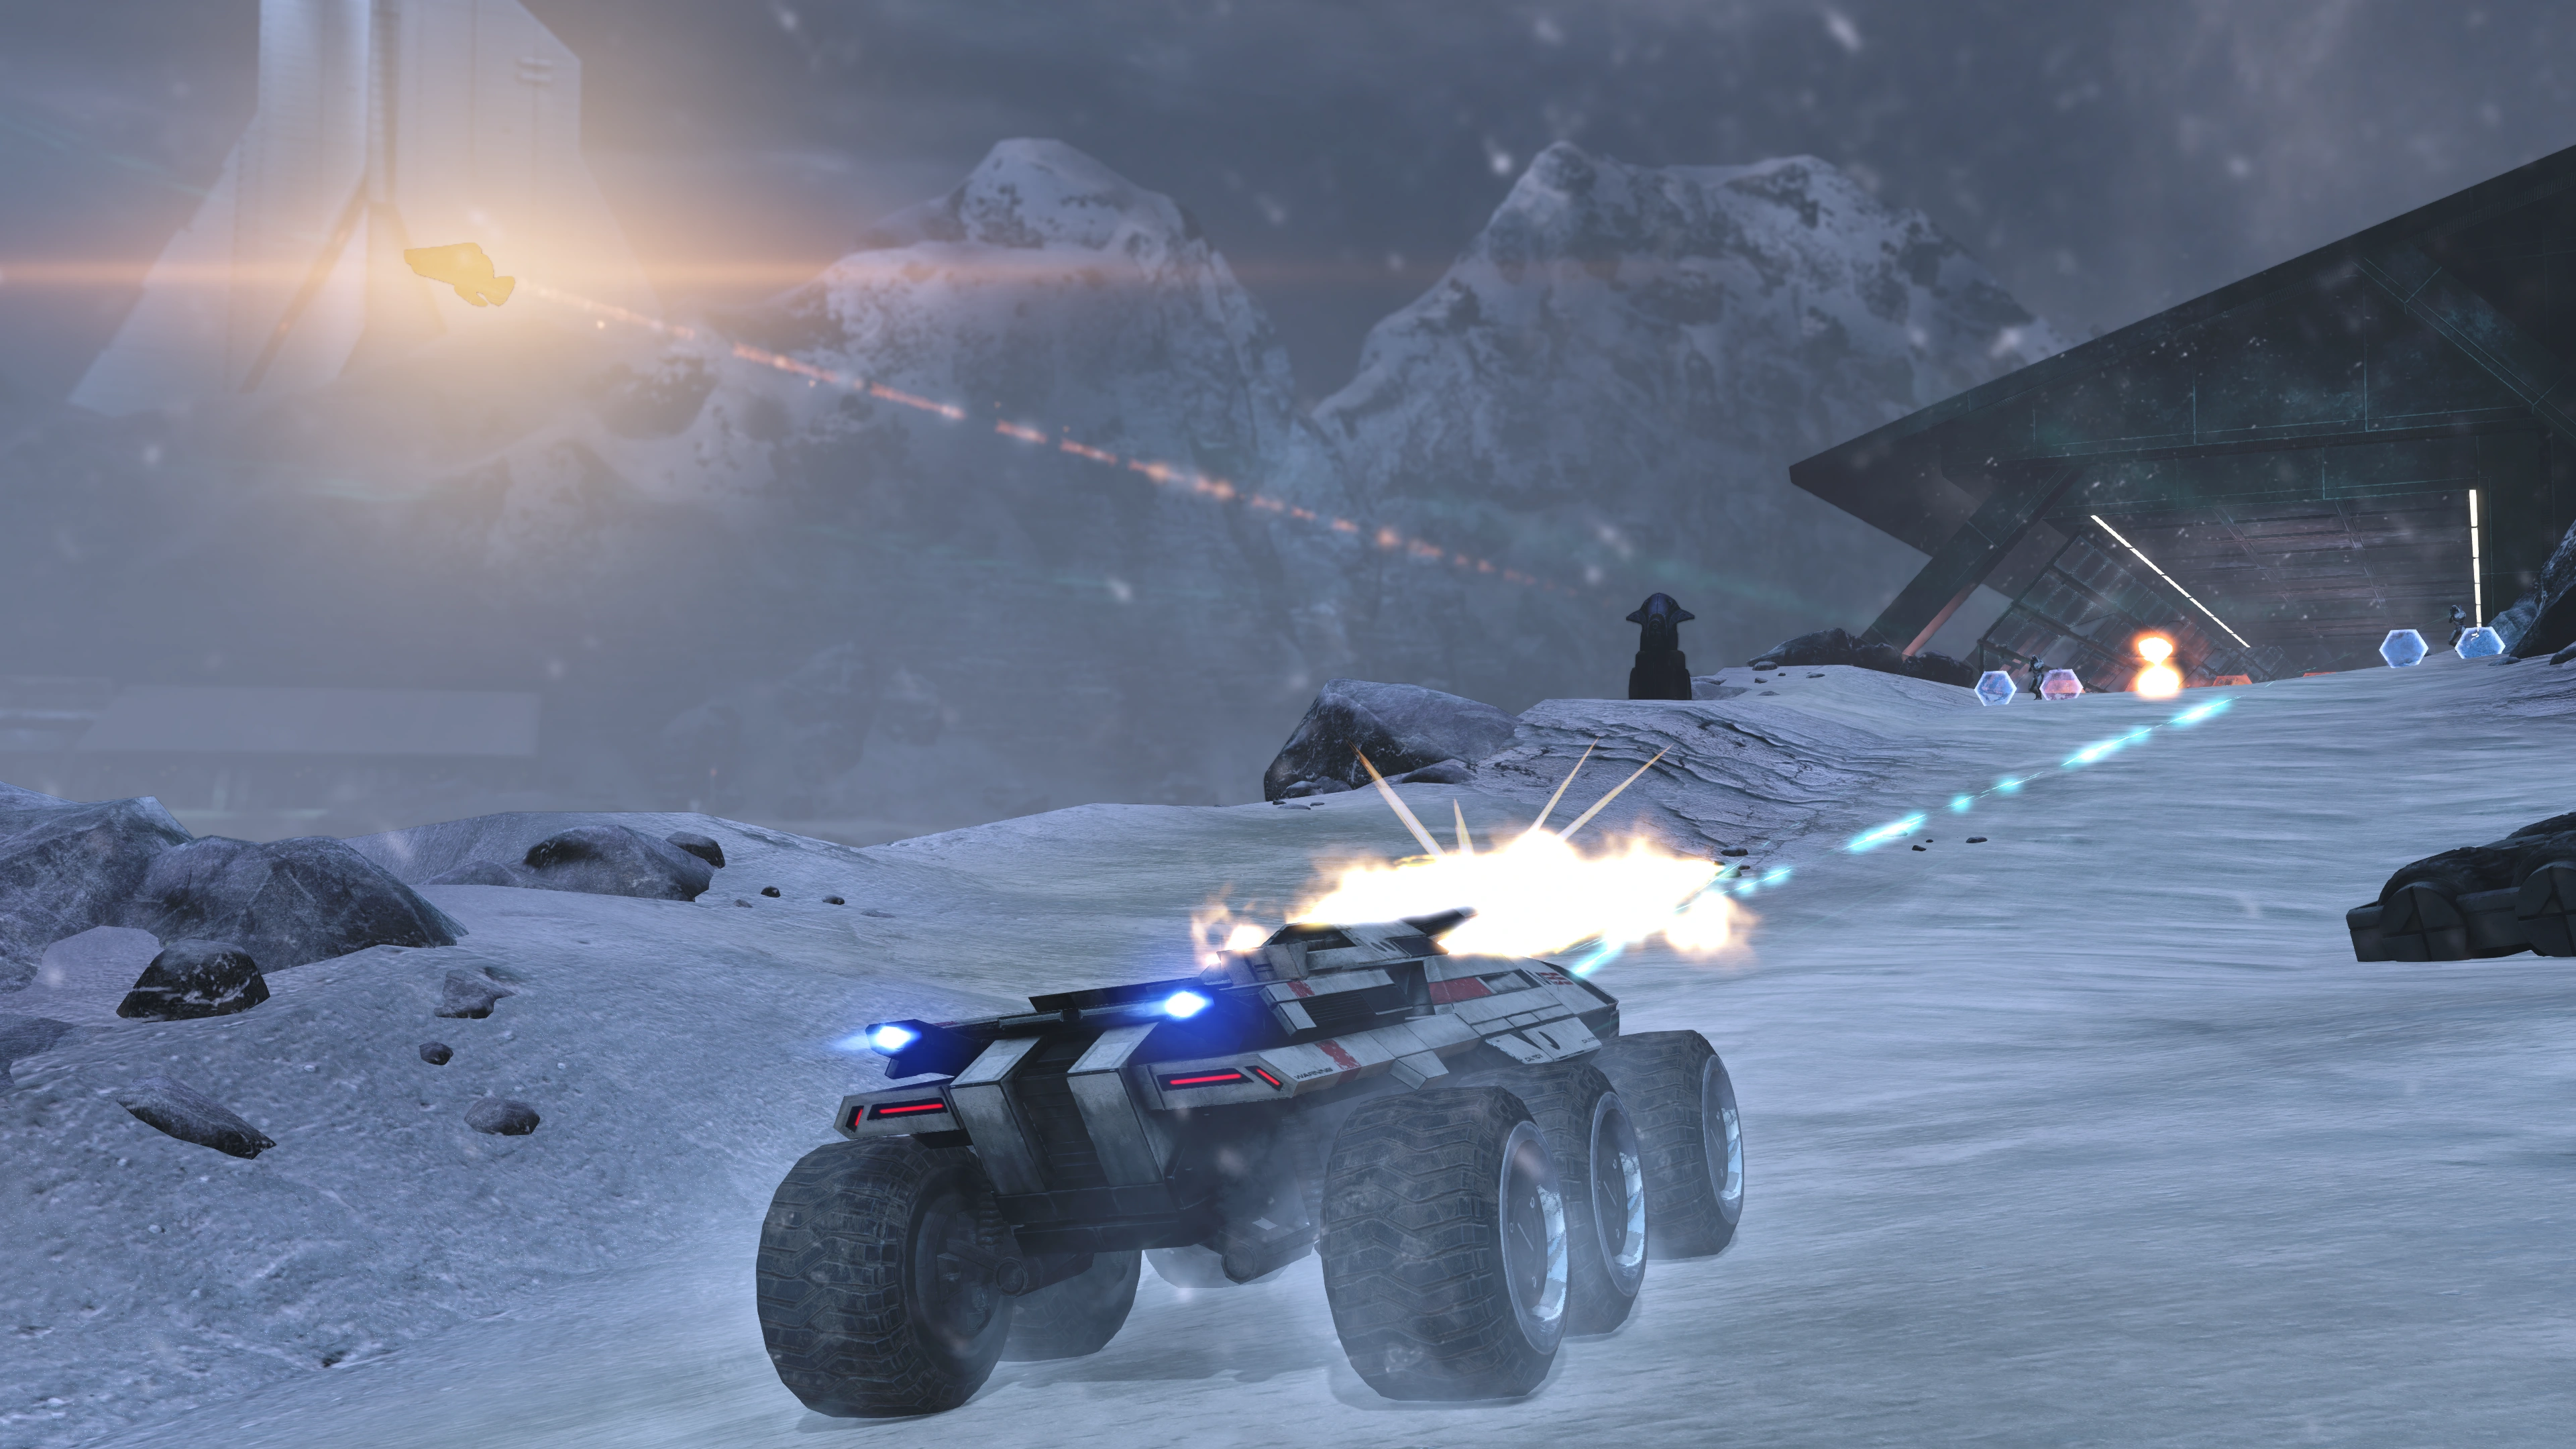
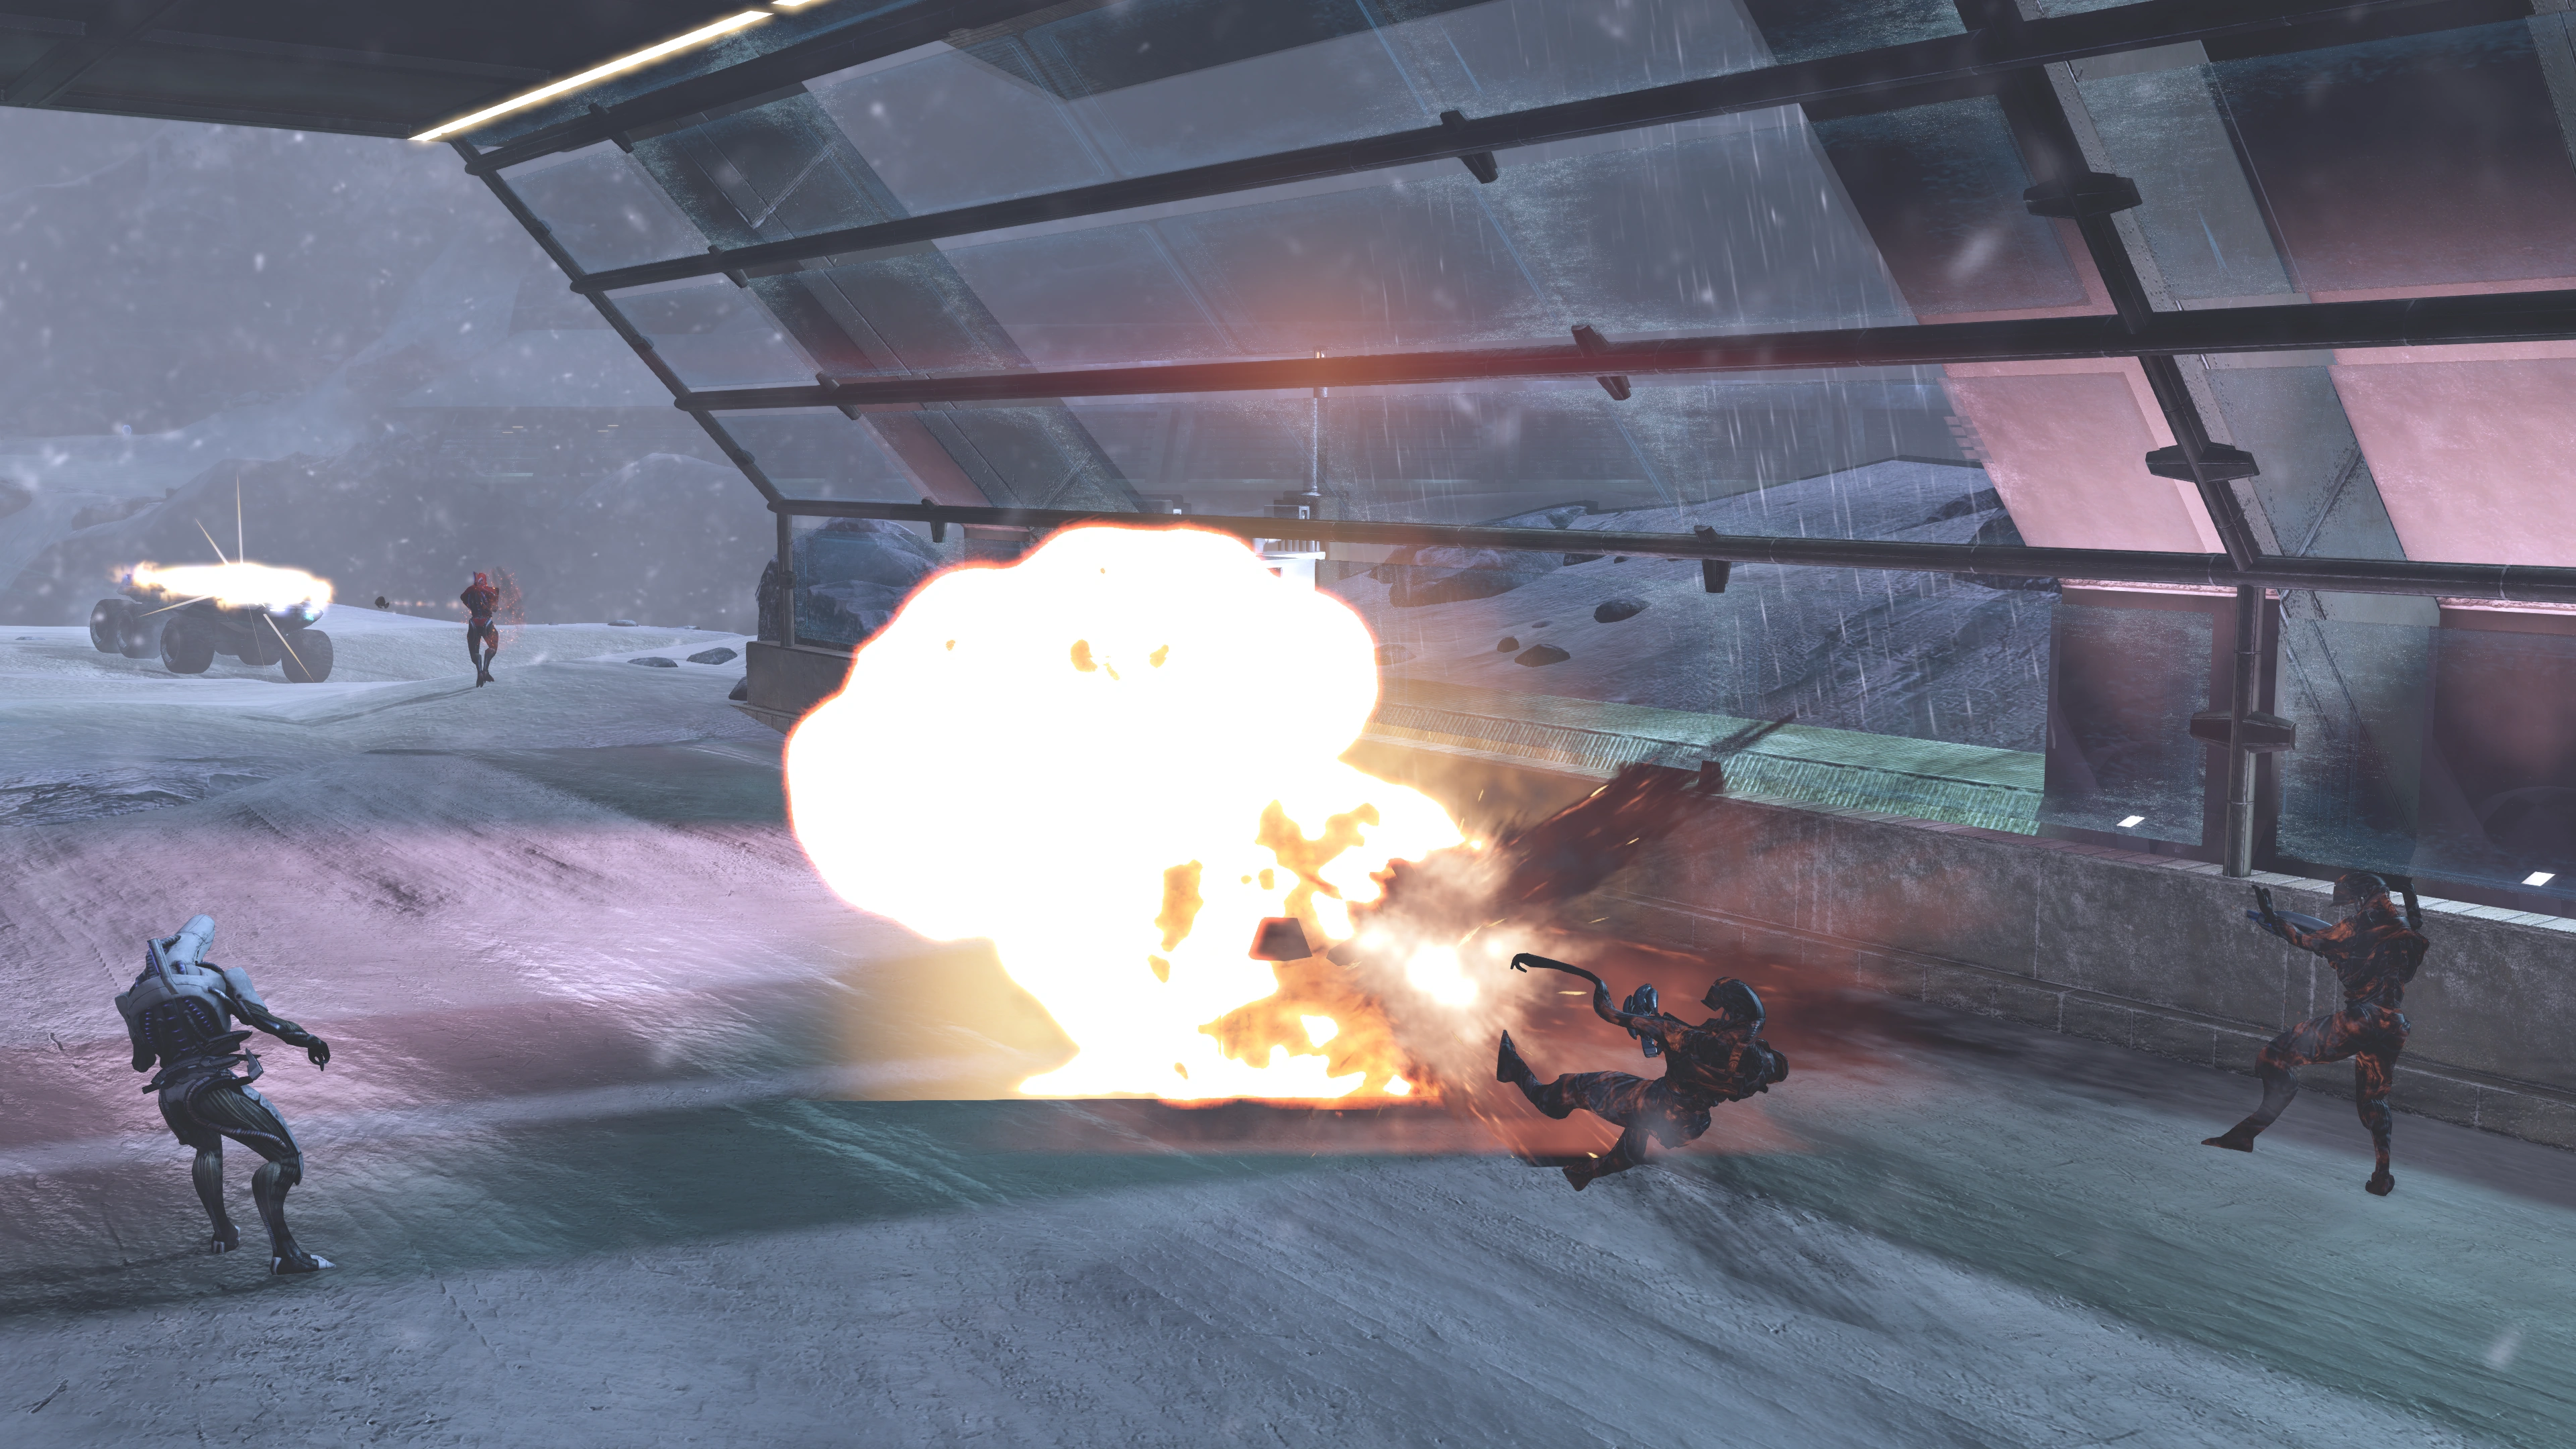
When you exit the tunnel, a cutscene plays, showing a Geth Armature on the road to your destination. It's near two stacked Grizzlies, one of which is burning, and it also has some Rocket Trooper friends. Take out the Rocket Troopers then focus on the Armature. There are two crates (Easy Decryption) beside the burning Grizzly.
Move on until you reach the next tunnel, which is defended by more geth. They're just two Shock Troopers, two Rocket Troopers and zero shields this time, clustered around the entrance. Outside the tunnel exit is a med kit, which may prove useful. Note: Due to level geography you can see into the second tunnel entrance (with some zooming) from the exit of the first tunnel. You can whittle the geth there down by sniping, or with the Mako's guns if reduced experience gains isn't an issue.
The only enemies from the second tunnel exit to the Peak 15 research facility entrance are four Geth Turrets. The first one is around the corner, at the next U-turn. The second and third are on the bottom end and second leg of the U, respectively. The last is above and to the left, on the mountain, of the Peak 15 garage door. Once you are done, save, and enter Peak 15.
Note: There is a possibility that you can't save the game since the Mako's large detection radius picks up the enemies inside the garage. Move the vehicle out of range, or exit and proceed on foot from a distance to reenable saving.
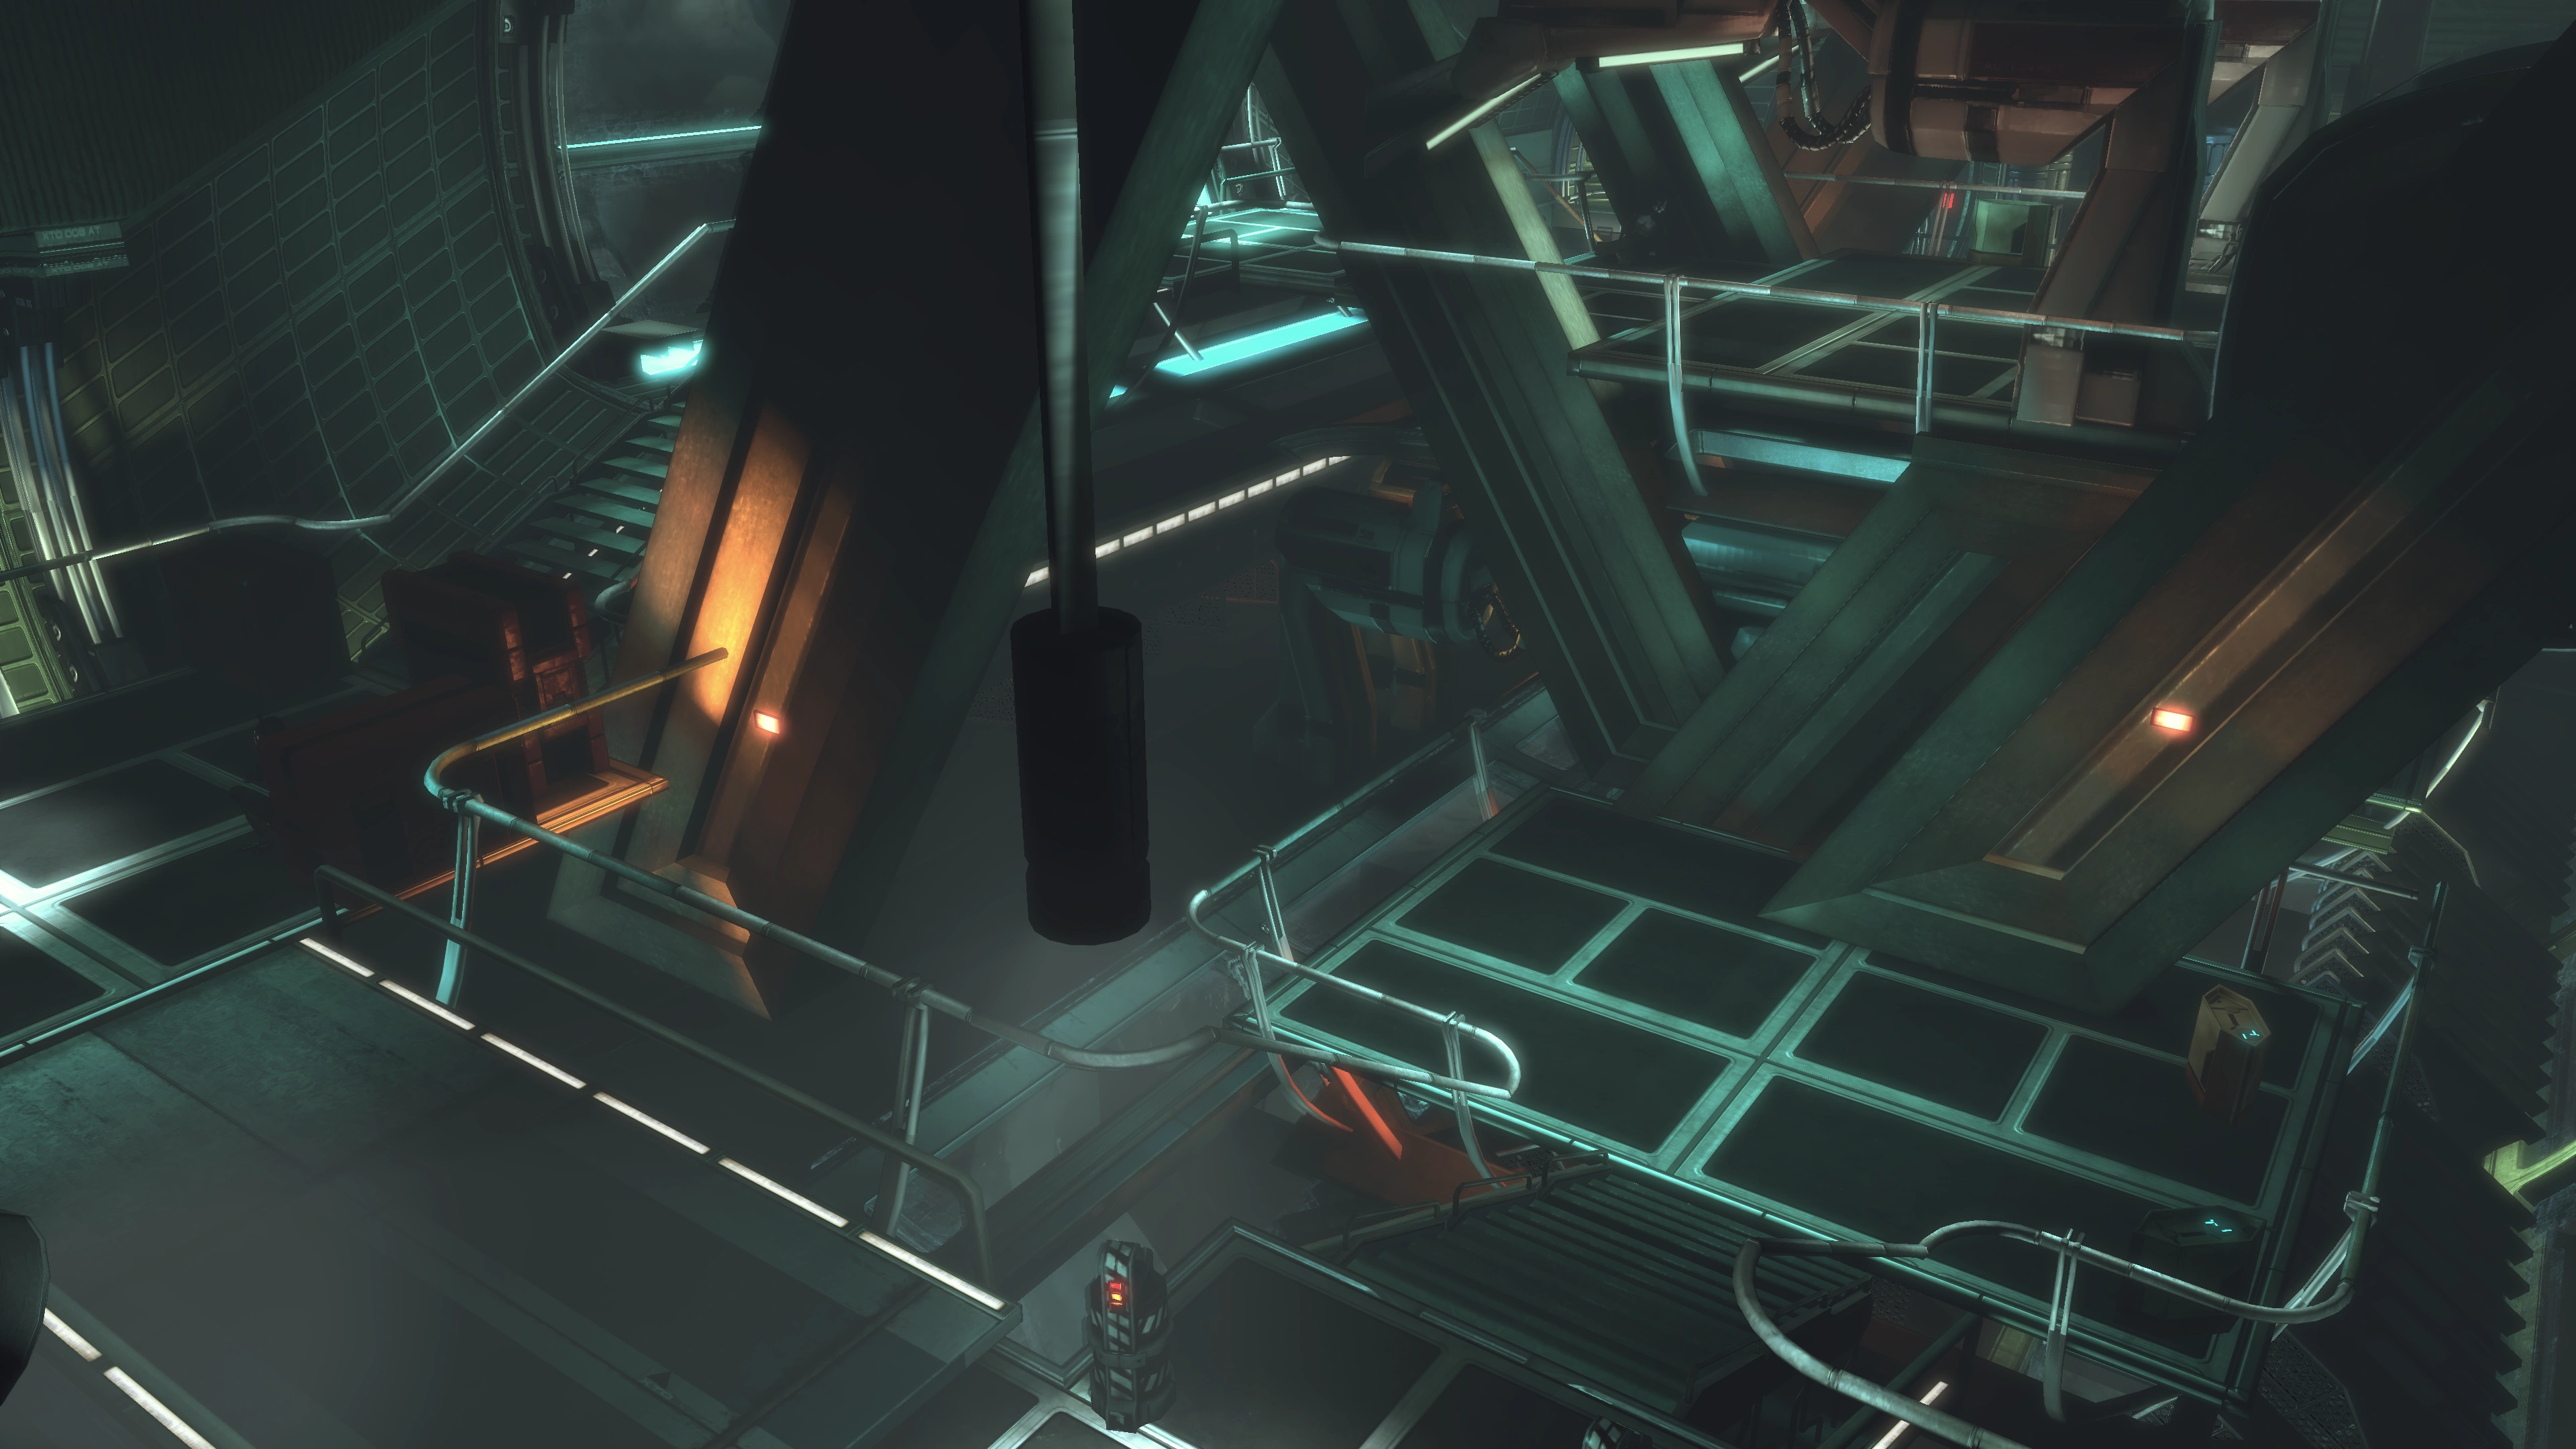
Peak 15 Garage[]
Before you enter the garage you may want to save your game as there are very few Auto-Save points here. Peak 15 evidently has the infrastructure to receive and park your Mako, though the garage door is currently blocked by a burning Grizzly so you'll have to proceed on foot and enter through the side door. The cold hazard and blizzard overlay will disappear when you enter the first room of the garage. When you move through the large door into the next room, get in cover quickly because you will come under fire.
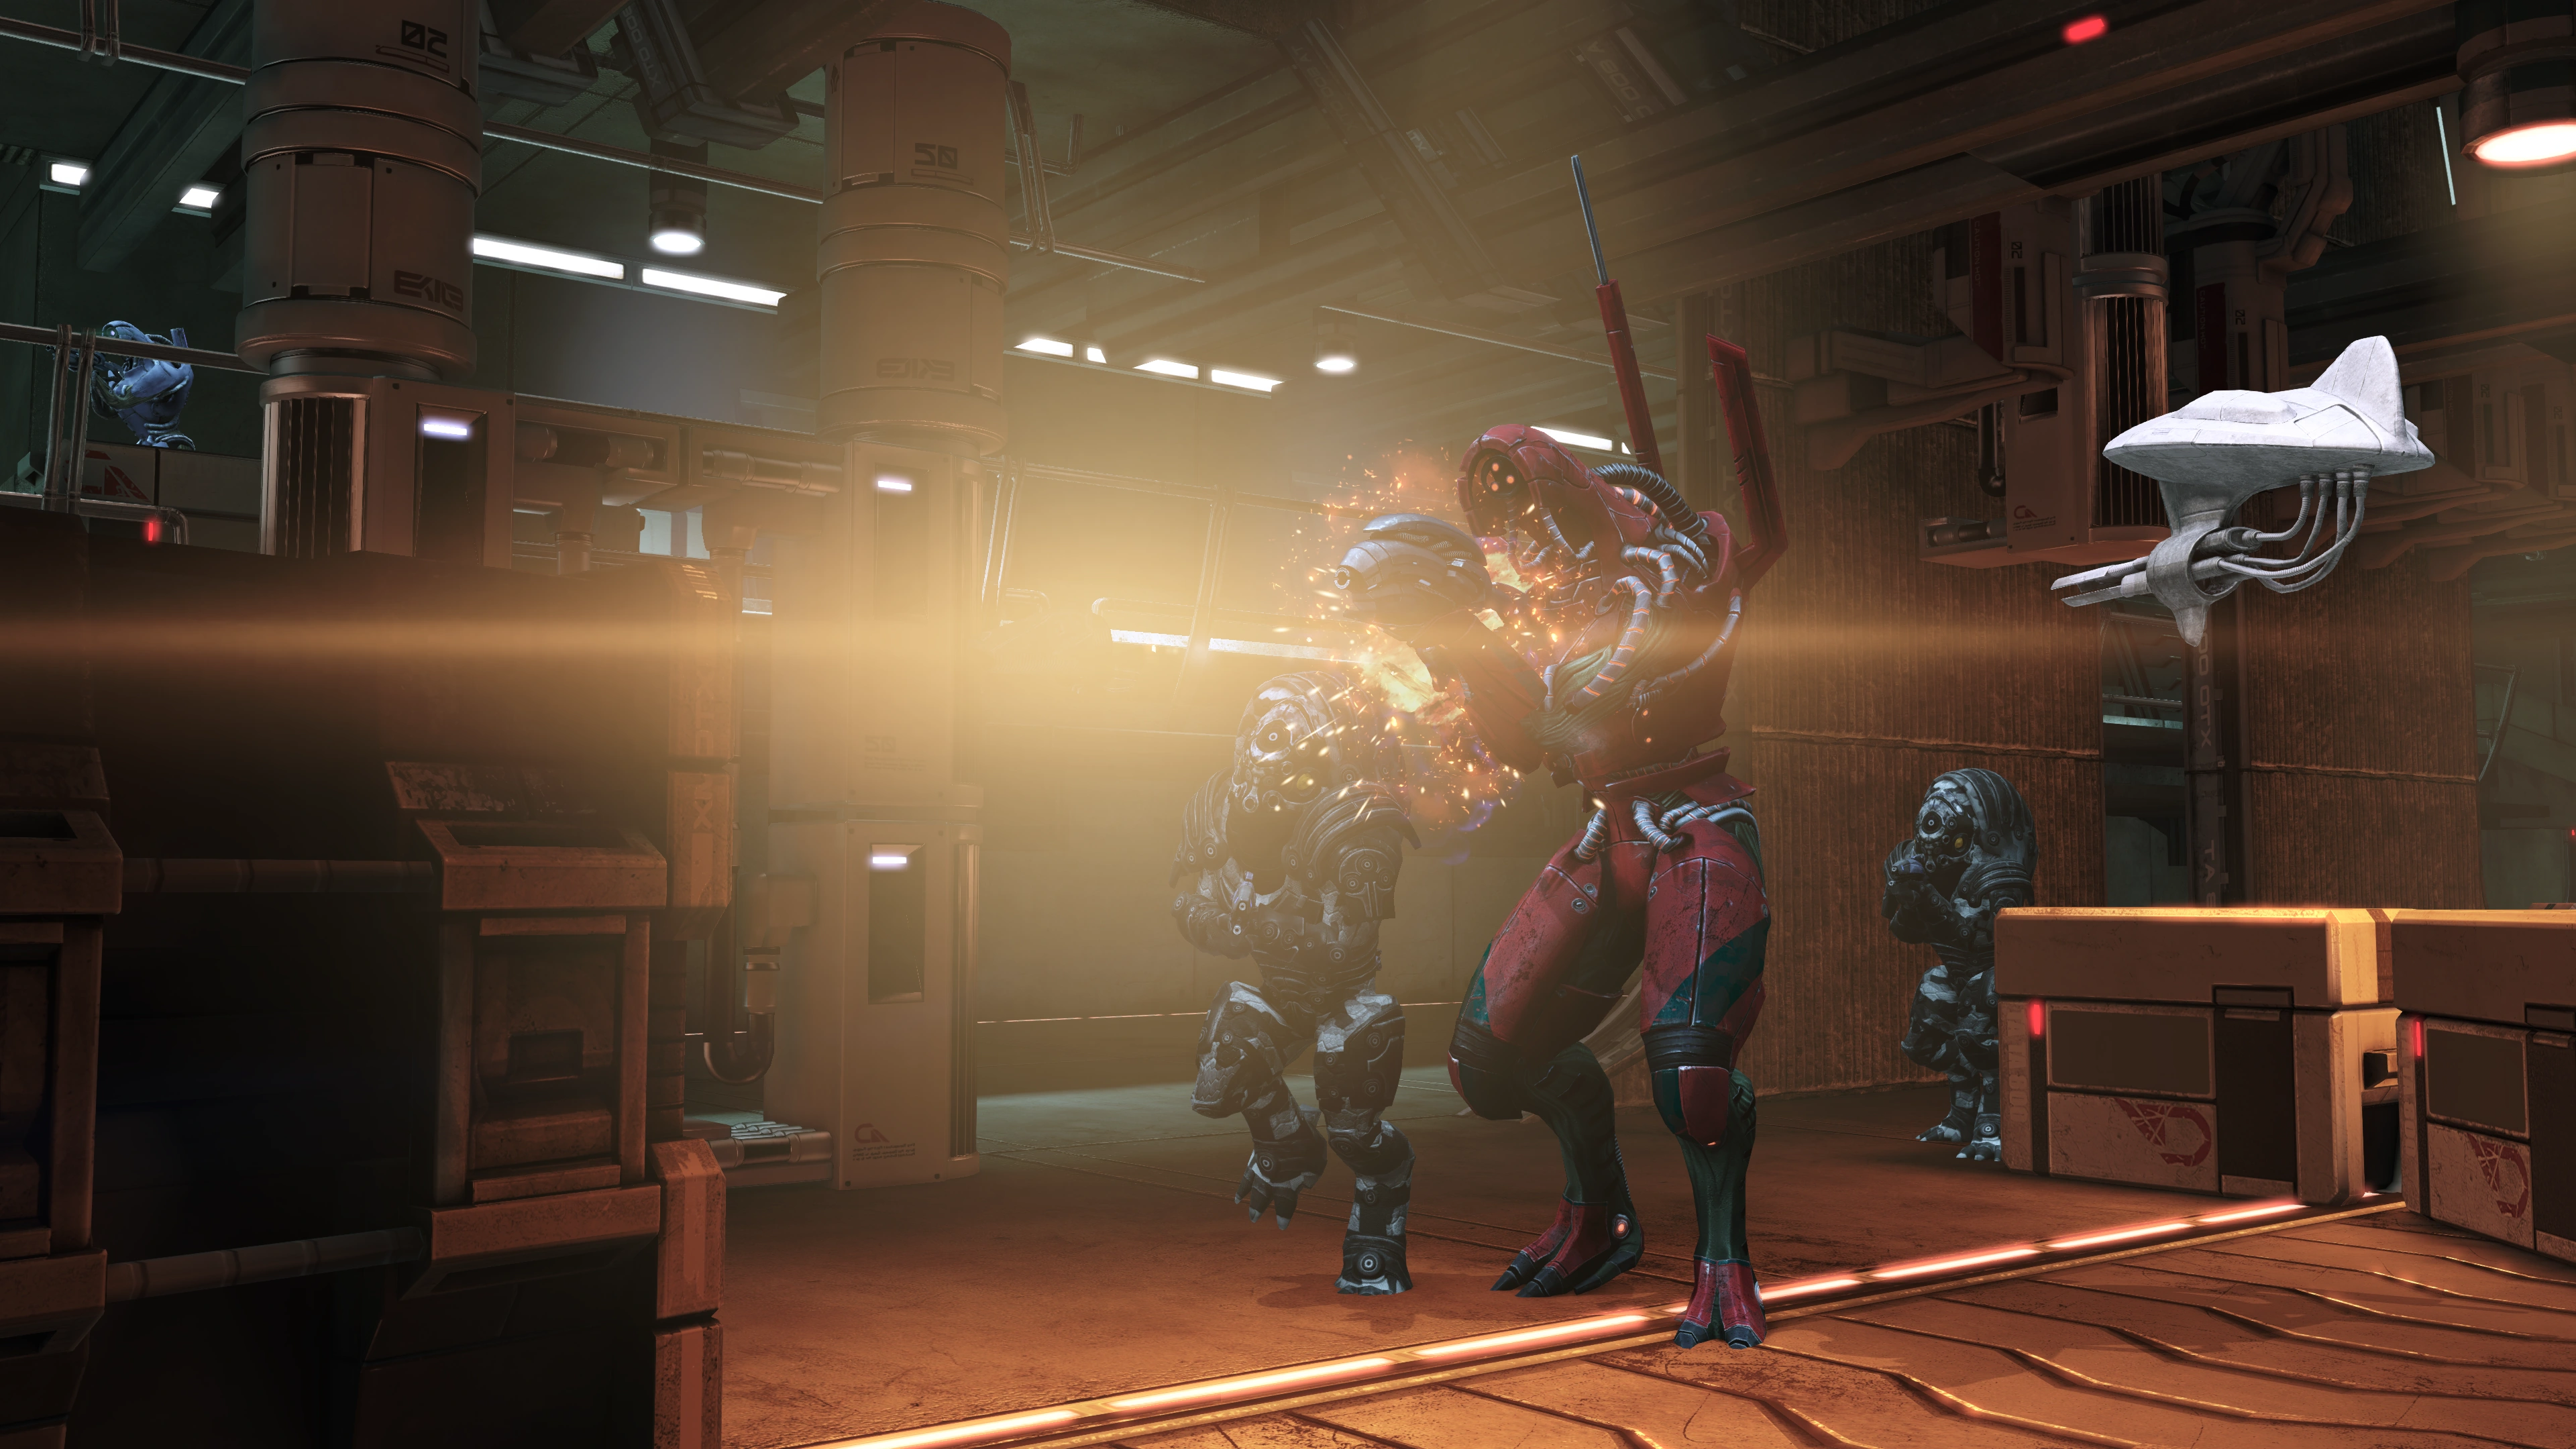
The large room beyond holds a Geth Juggernaut, a Geth Repair Drone, and three krogan: two on the floor in the back, the other on the catwalk above and to the left. Legendary Edition: The krogan in the catwalk has been replaced with a Geth Trooper. Note that you cannot backtrack out of the garage as the way you came in is locked until all enemies are down.
Take out the repair drone as soon as possible because it will repair the geth you are trying to destroy. Enemy behavior here is to hang back unless you or your buddies approach near enough (at which point they start charging towards you), returning fire when they see you or your team. The Juggernaut however will proceed towards you when it sees you. Legendary Edition: The Juggernaut also stays put in Legendary Edition and the krogan have a more pronounced tendency to seek cover instead of moving around in the back, meaning your sniper rifles and other long-distance warfare tools may find their niche use here against all enemies.
The room has numerous boxes for cover, two Cryo Containment Cells, and lots of space to maneuver: you shouldn't have much problem safely dealing with enemies whatever your playstyle.
The second the last enemy falls, the station's VI Mira comes over the intercom telling you of the amount of damage that the facility has sustained, in case that wasn't apparent. The loot items in the garage are a secure crate (Average Decryption) and an upgrade kit on the catwalk leading to the next room.
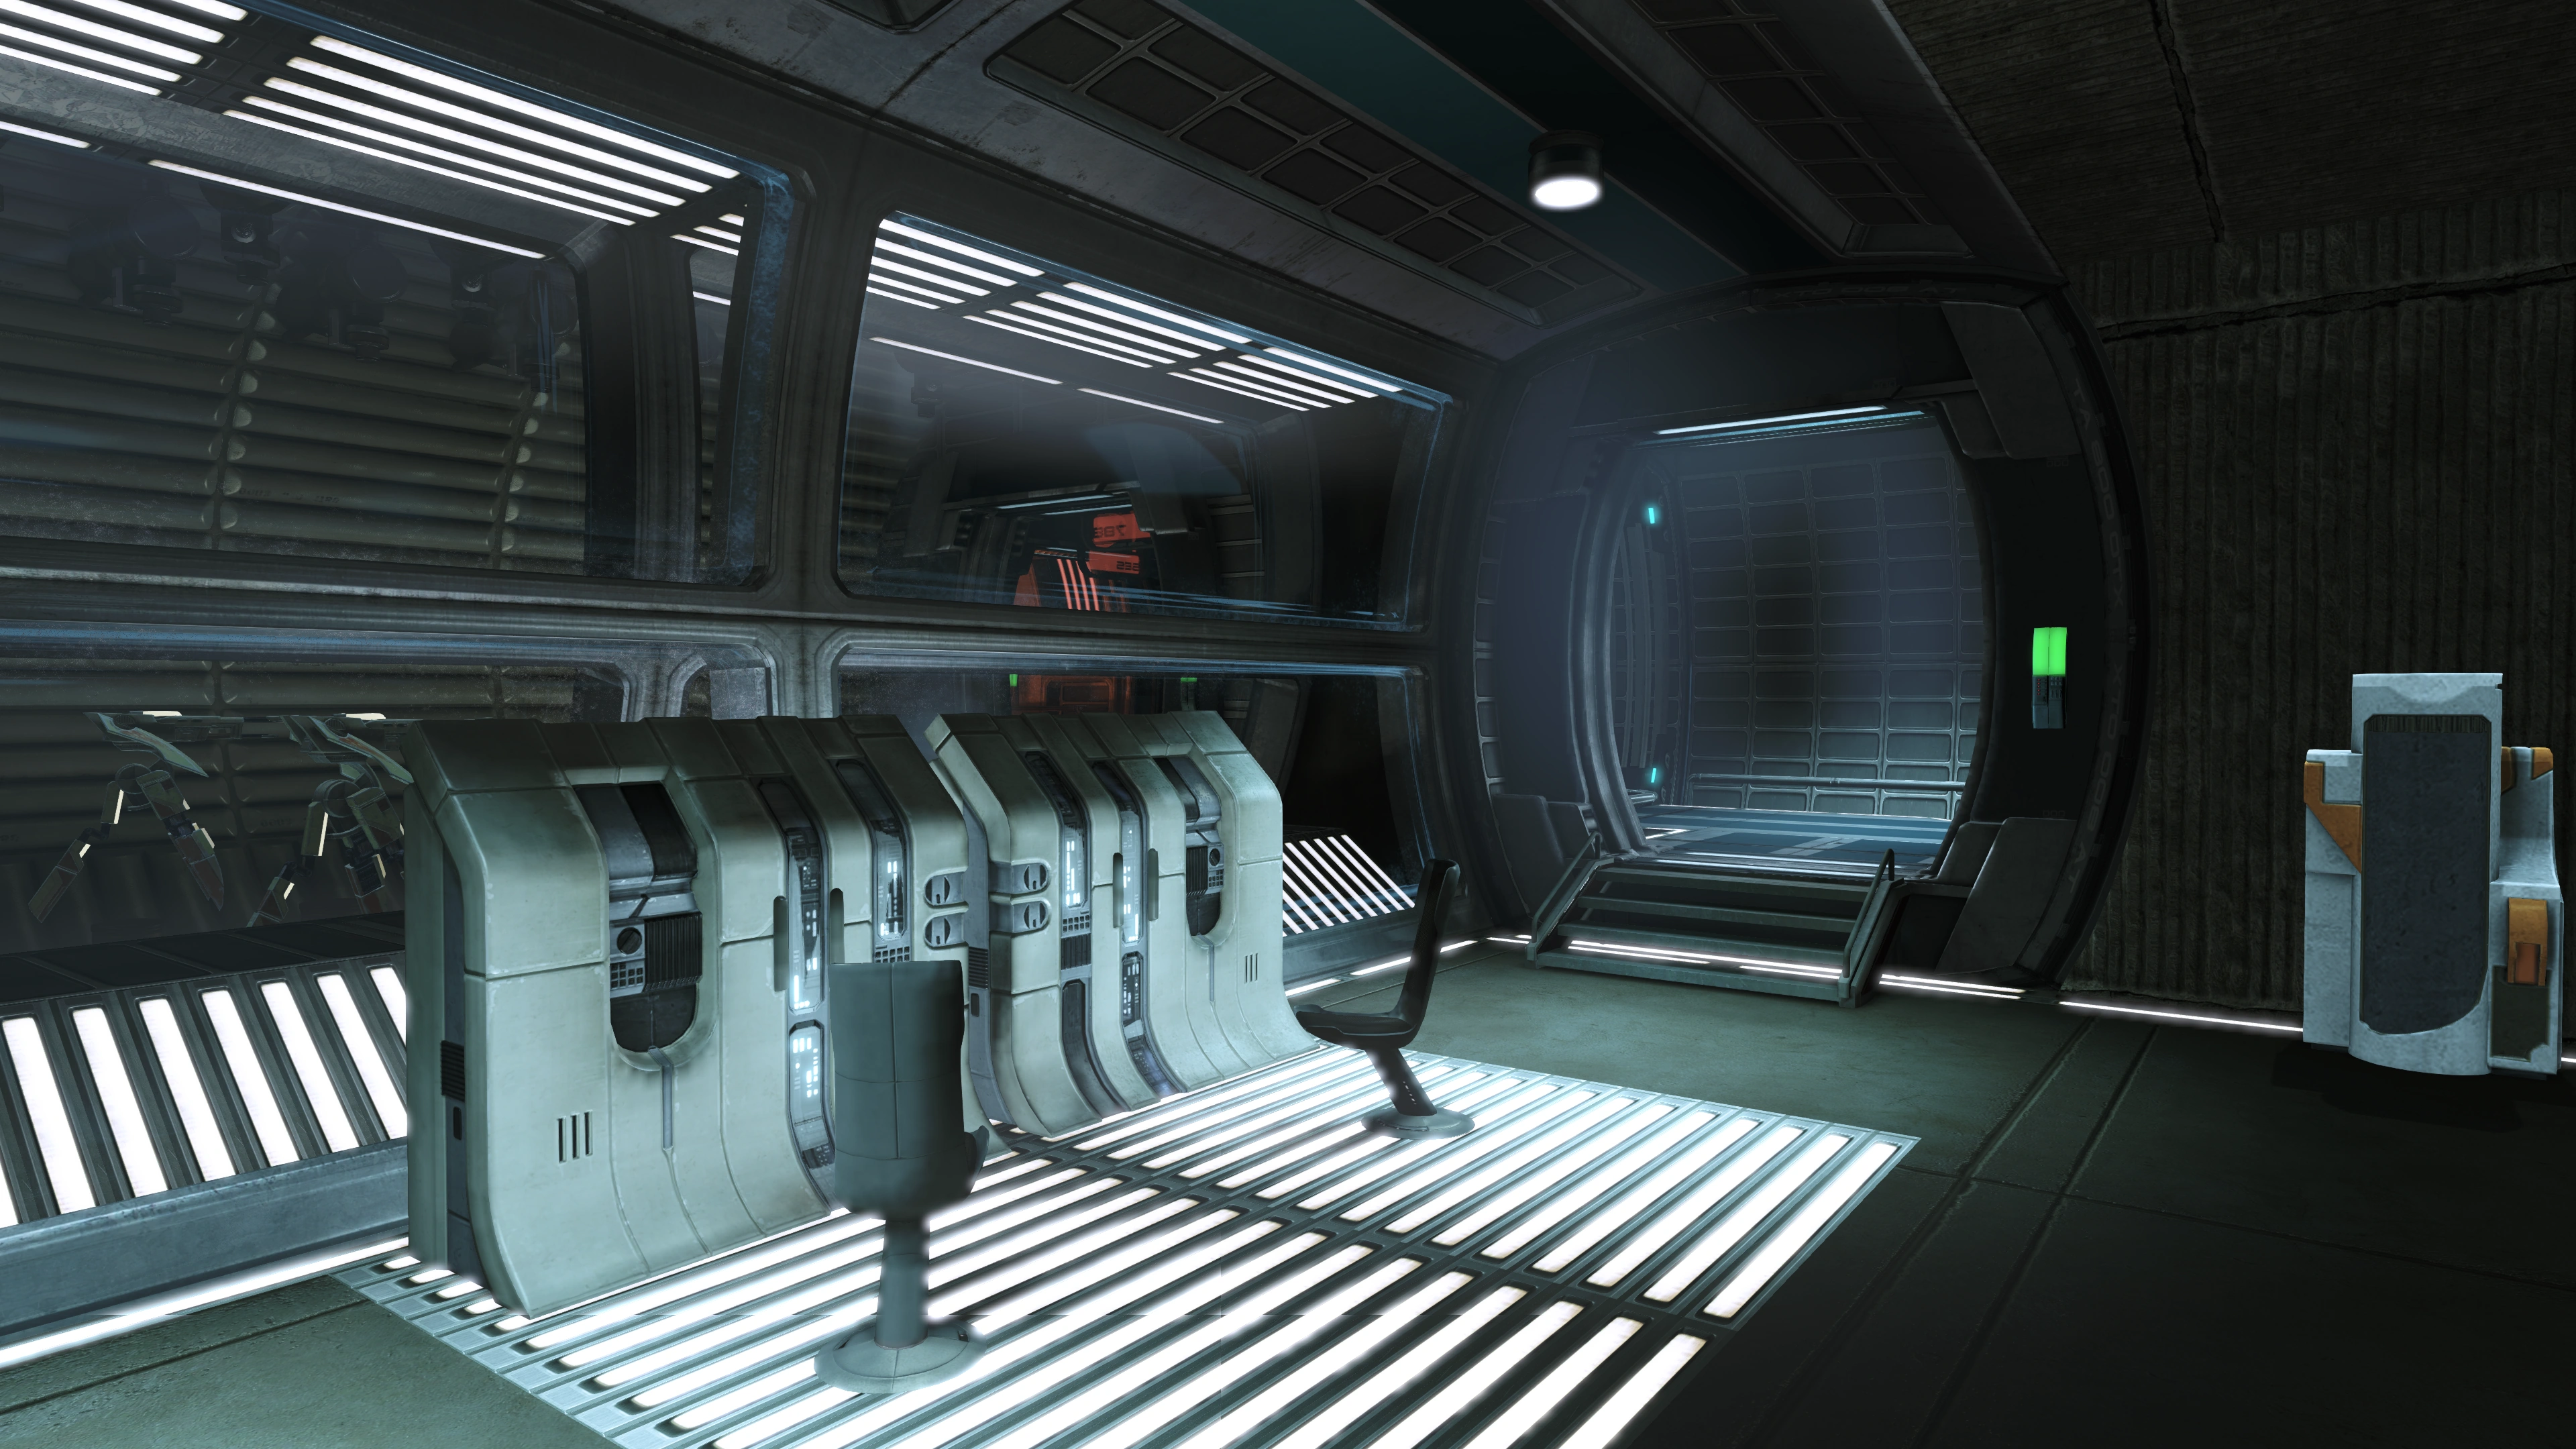
When you enter the security tunnel your squadmates will comment about the turrets facing the wrong way. There are only two places to go: the elevator to the next level, and the security office. The security office has an upgrade kit and a secure storage locker (Average Decryption).
The elevator leads to the administration level, specifically Peak 15's cafeteria. The area you arrive in is a good place to save as your radar will have detected enemy signatures in the next room. The next door auto-opens, potentially alerting your enemies, so proceed only when you're ready.

The cafeteria has some non-edible guests: some Geth Troopers and a Geth Shock Trooper. There is little cover near your starting location though there are numerous overturned tables in the mess that doubles as obstacles, so move into the room if necessary while using abilities to keep the geth from concentrating too much fire on your squad while you take them out. There's an explosive Fire Containment System canister nearby, though it might be useful later.
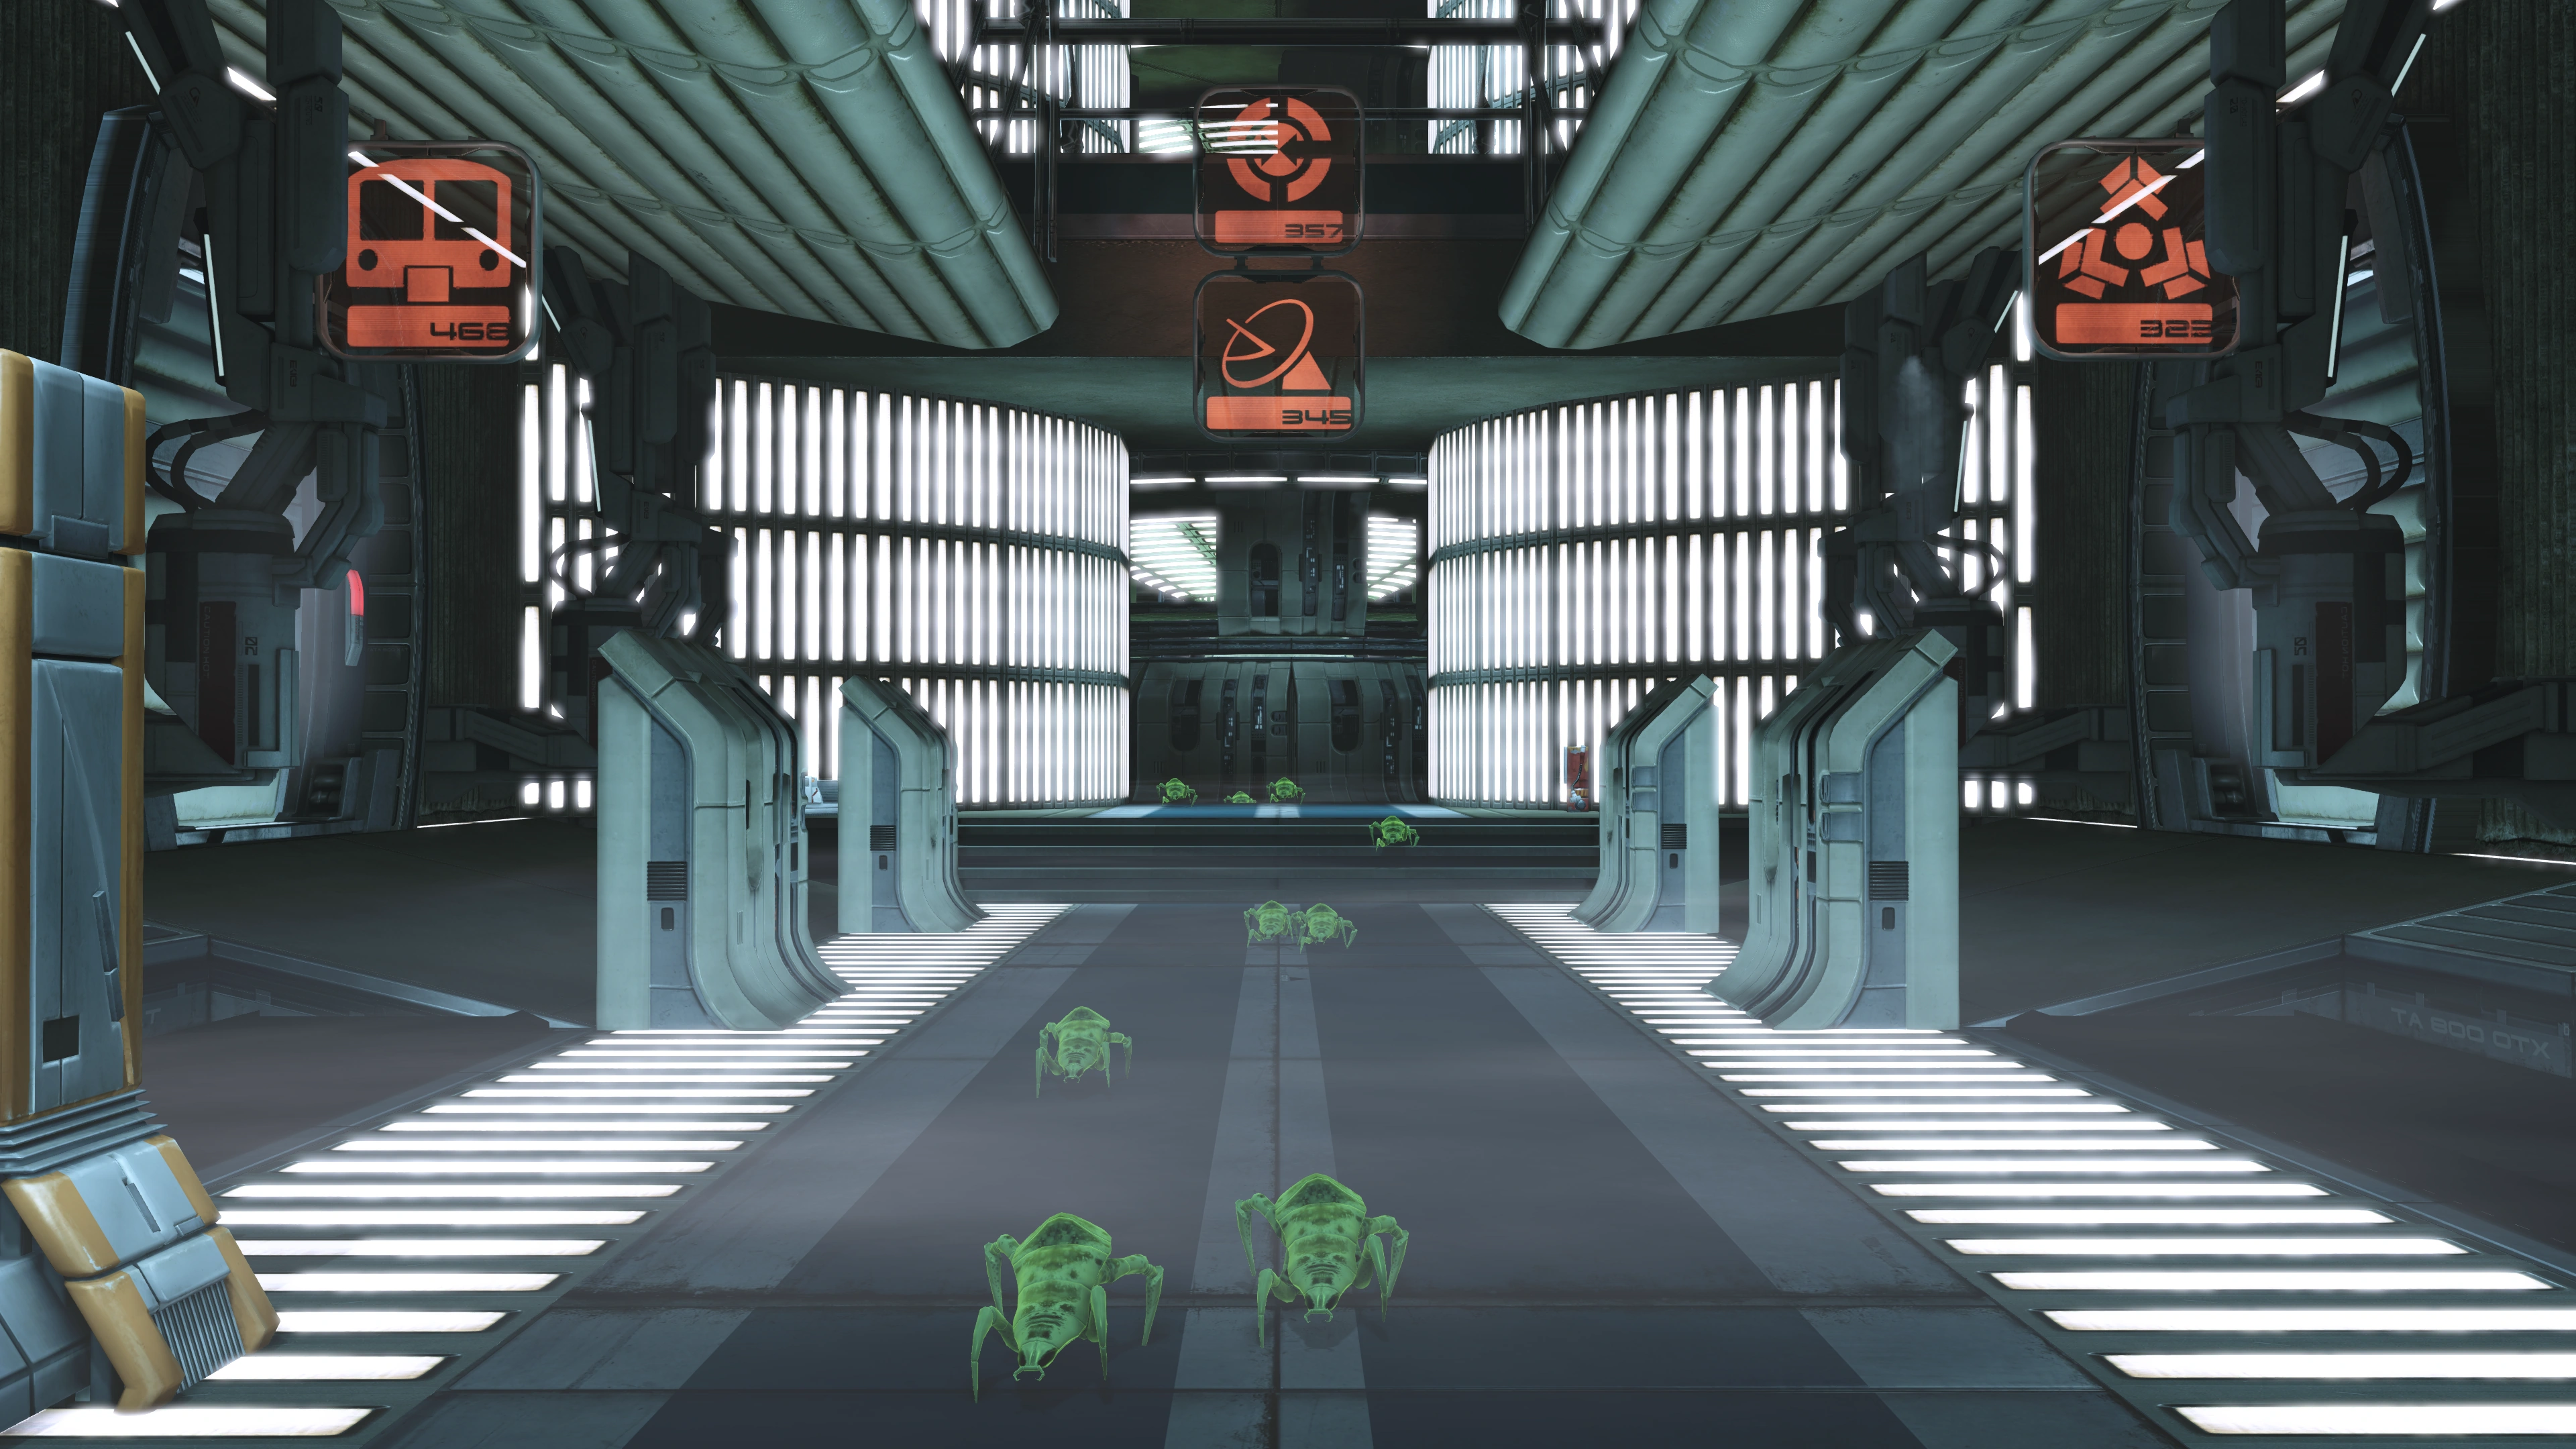
When all the geth are down an autosave is generated and a cutscene ensues. You hear some grating noises, causing your squadmates to speculate on the cause. Soon enough a new insectoid enemy is introduced; a large organic one at that. When you regain control, it's advisable to equip your toxic damage protection and anti-organic ammo immediately. Afterward, move away from the stairs because some Rachni Workers will come charging down them. Watch out for the tiny green fast-moving bugs: if they get near you, they explode and poison you at the same time.
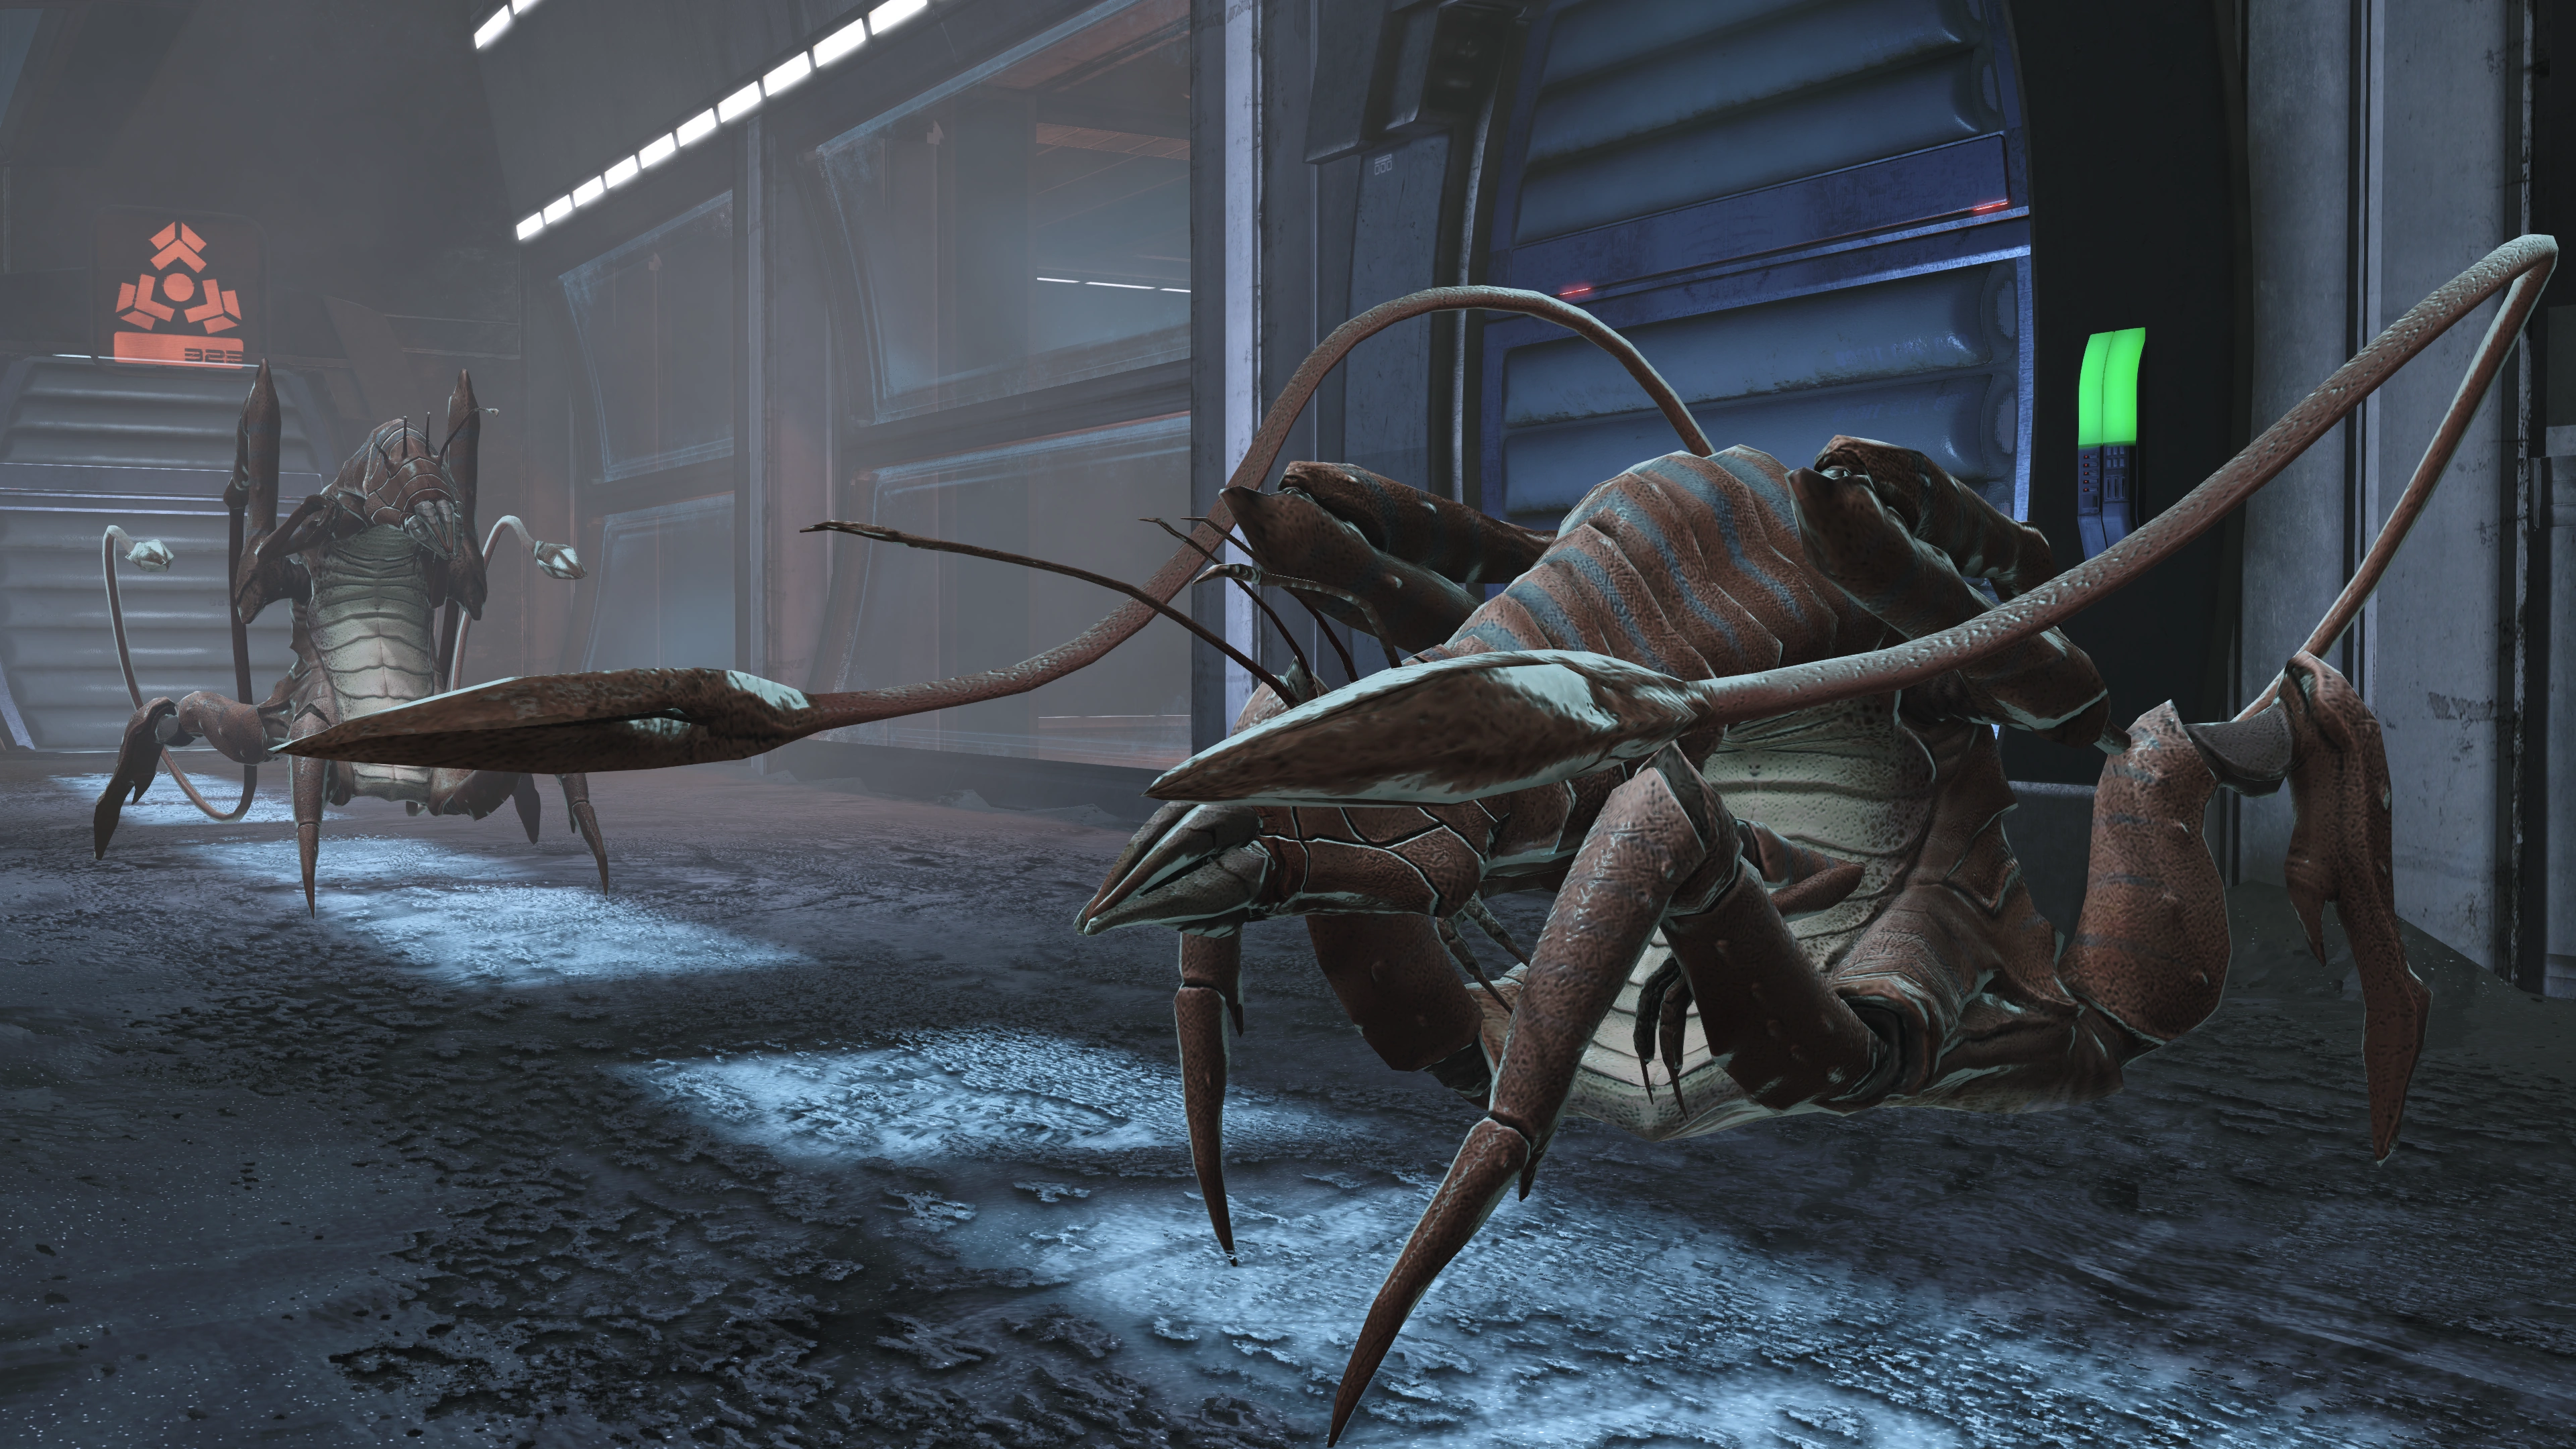
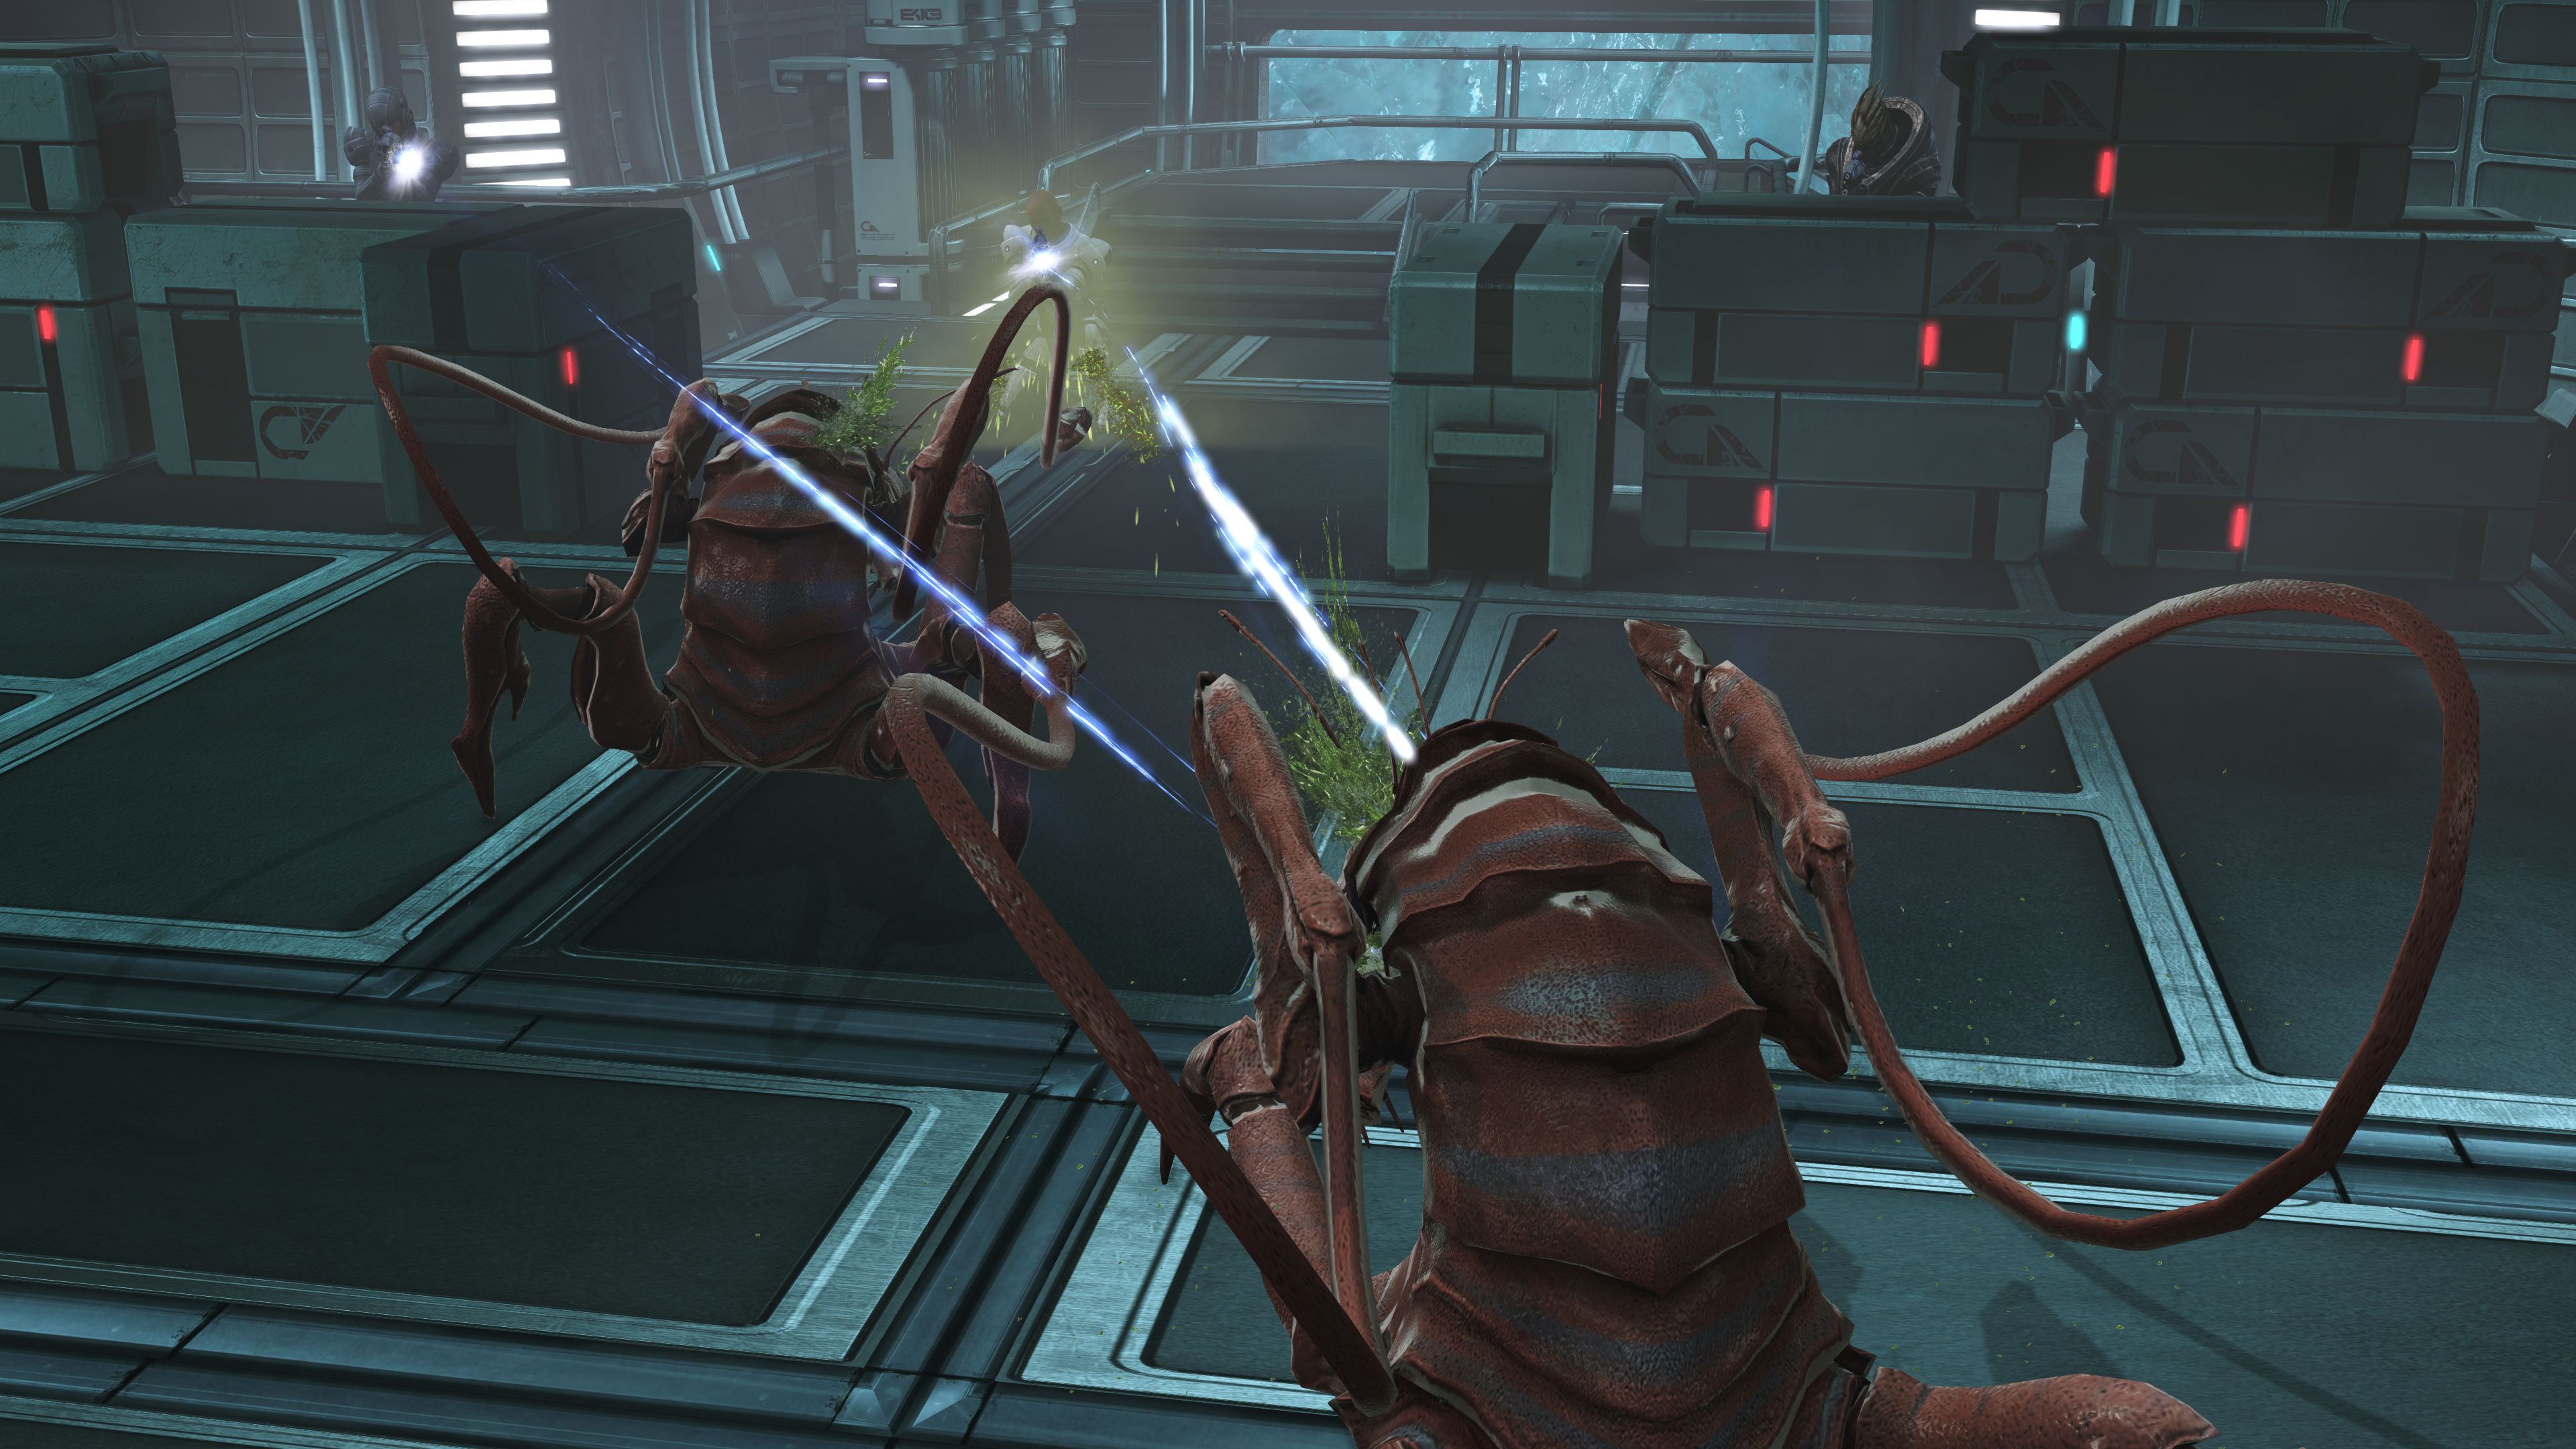
After dealing with the workers, engage the two larger Rachni Soldiers upstairs: you may want to bait them with your squadmates as their poisonous acid spittle bypasses shields. If you have biotic skills then use them because these large rachni are extremely vulnerable to physics-based attacks.
Once the initial wave is down your squadmates will react with confusion about this new enemy. If you decide to inspect the upper chambers, up to two more Rachni Soldiers emerge from grates to ruin your day. The chamber with a snowed-in entrance right above the stairs has a terminal pertaining to UNC: Asari Diplomacy (if you haven't yet talked to Nassana Dantius about it, otherwise the terminal is inaccessible) as well as a Rachni Soldier bursting from a grate. The next chamber has a gravitic weapons research terminal (Codex entry for Disruptor Torpedoes) as well as a storage locker (Easy Decryption). The next chamber, near the elevator to Mira Core, has a med kit and another Rachni Soldier ready to burst from a grate.
Proceed to the elevator once you're done looting.
Fix Peak 15[]
- Main article: Noveria: Peak 15
From the elevator, you emerge near the VI core of the station. As the door opens, another mob of Rachni Workers will approach from the other end of the room--take them out before they have a chance to explode all over you. Once they are down, one of your squadmates will comment that nearby is what appears to be a backup power system for the station's VI.
The main source of the outage at Peak 15 comes from the offline VI. When you get it back up and running, it will inform you of additional tasks to perform before you can move on: Noveria: Reconnect Landlines and Noveria: Reactor Repair. Each time you repair something, a Rachni Soldier will emerge from a grate to the left and on the far side of the room. Take it down and move on across the room.
Once you've got both the landlines and the reactor repaired, you're ready to head down the tunnel toward the tram. However, Mira lays another problem on you. You will have to deal with the Noveria: Contamination mini-mission first before proceeding.
Once that mission's done, open the door on the other end of the decon chamber and quickly backtrack if you can: there are four Rachni Workers waiting on the other side.
With no further enemies for now, you can leave Central Station via tram and into the next area: Rift Station.
Rift Station[]
- Main article: Noveria: Rift Station
When your tram arrives there will be no enemies and only one way to proceed. Head around the corner and up the elevator to the Science Station, where you'll run into Captain Ventralis with a couple guards. You can ask him about the situation and what has been happening. They're on lockdown for a good while now, and are pretty serious in not letting anyone breach their tenuous security. When you end the conversation he will give you a pass card to the Hot Labs, an area which is back down the elevator behind you.
More rachni suddenly appear during the conversation. Take them out with Ventralis' help and then move on into the station. Alternatively, you can turn tail deeper into Rift Station and let Ventralis and his men take care of the problem. He notices this and will adjust his dialogue accordingly the next time you talk to him.
At this point you can do one of two things: follow the lead from Ventralis and head back down the elevator to the hot labs, or explore the main level behind him. If you do the latter, you may obtain additional considerations in getting to Benezia. This is important, because the story will unfold a bit differently for each decision. See Noveria: The Hot Labs if you wish to take Ventralis at his word.

In the main level mess hall/makeshift holdout you'll find several people you can talk to: Alestia Iallis, Petozi, Dr. Palon, and some other scientists and guards clearly chafing under the stress. Petozi the elcor merchant has a limited list of items for sale, though more usefully you can sell him anything that's clogging your inventory. On the right a door leads to the Guard Barracks - head inside and crack the storage and weapon lockers there (both on easy decryption).
There are three other doors on the left, when entering the mess hall. The first leads to the Quarantine and Barracks, the second leads down to the Medical Bay, the third leads to a sealed-off section of the base. Dr. Zev Cohen at the Med Bay requires assistance and will give you the Noveria: Quarantine mission if you accept. Wandering near the restricted area updates your journal with the Noveria: Rift Station entry. Be warned that hacking the door here (easy decryption) will turn all the guards against you.
In any event, you will need to go to the Secure Lab marked on your map through any means necessary. See the aforementioned link for details.
The Matriarch[]

The Secure Lab is marked by the overhead sign sporting an Erlenmeyer flask. Warning: This is the final point of no return for the entire mission. Once you get inside, you'll be unable to backtrack and the mess hall will be forever locked out. Loot every crate you may have missed on the way, transact with Petozi one last time, if you must switch squadmates then take the long trip back to the Normandy, and finally, save.
Inside is Matriarch Benezia on an upper platform. You can talk to her and get a few questions answered. If you have Liara in your party, there are some words exchanged between mother and daughter. Once you are done Benezia will place the whole squad in Stasis while her Asari Commandos move into position. When you regain control you'll find yourself in the middle of what's arguably the most difficult battle in the game.
The entire battle with Benezia consists of 3 waves, with her dishing out biotic and pistol fire from her static position while her minions engage you in the catwalk-framed room. Benezia is invulnerable at this time, defeat all three waves to weaken her. Being caught in accumulated enemy biotics is never a good idea, and you'll be facing powerful ones here. Fortunately the structure of the room is such that you can easily identify places that block Benezia's attacks, giving you relatively safe positions for counterattacking the minions. Additionally, a bottomless pit rings the center of the room. Physics-based attacks biotic or otherwise pointed at the pit's general direction goes a long way in dispatching enemies although be warned that this is a two-way street and it can easily be you who may end up flopping or flying out of bounds.
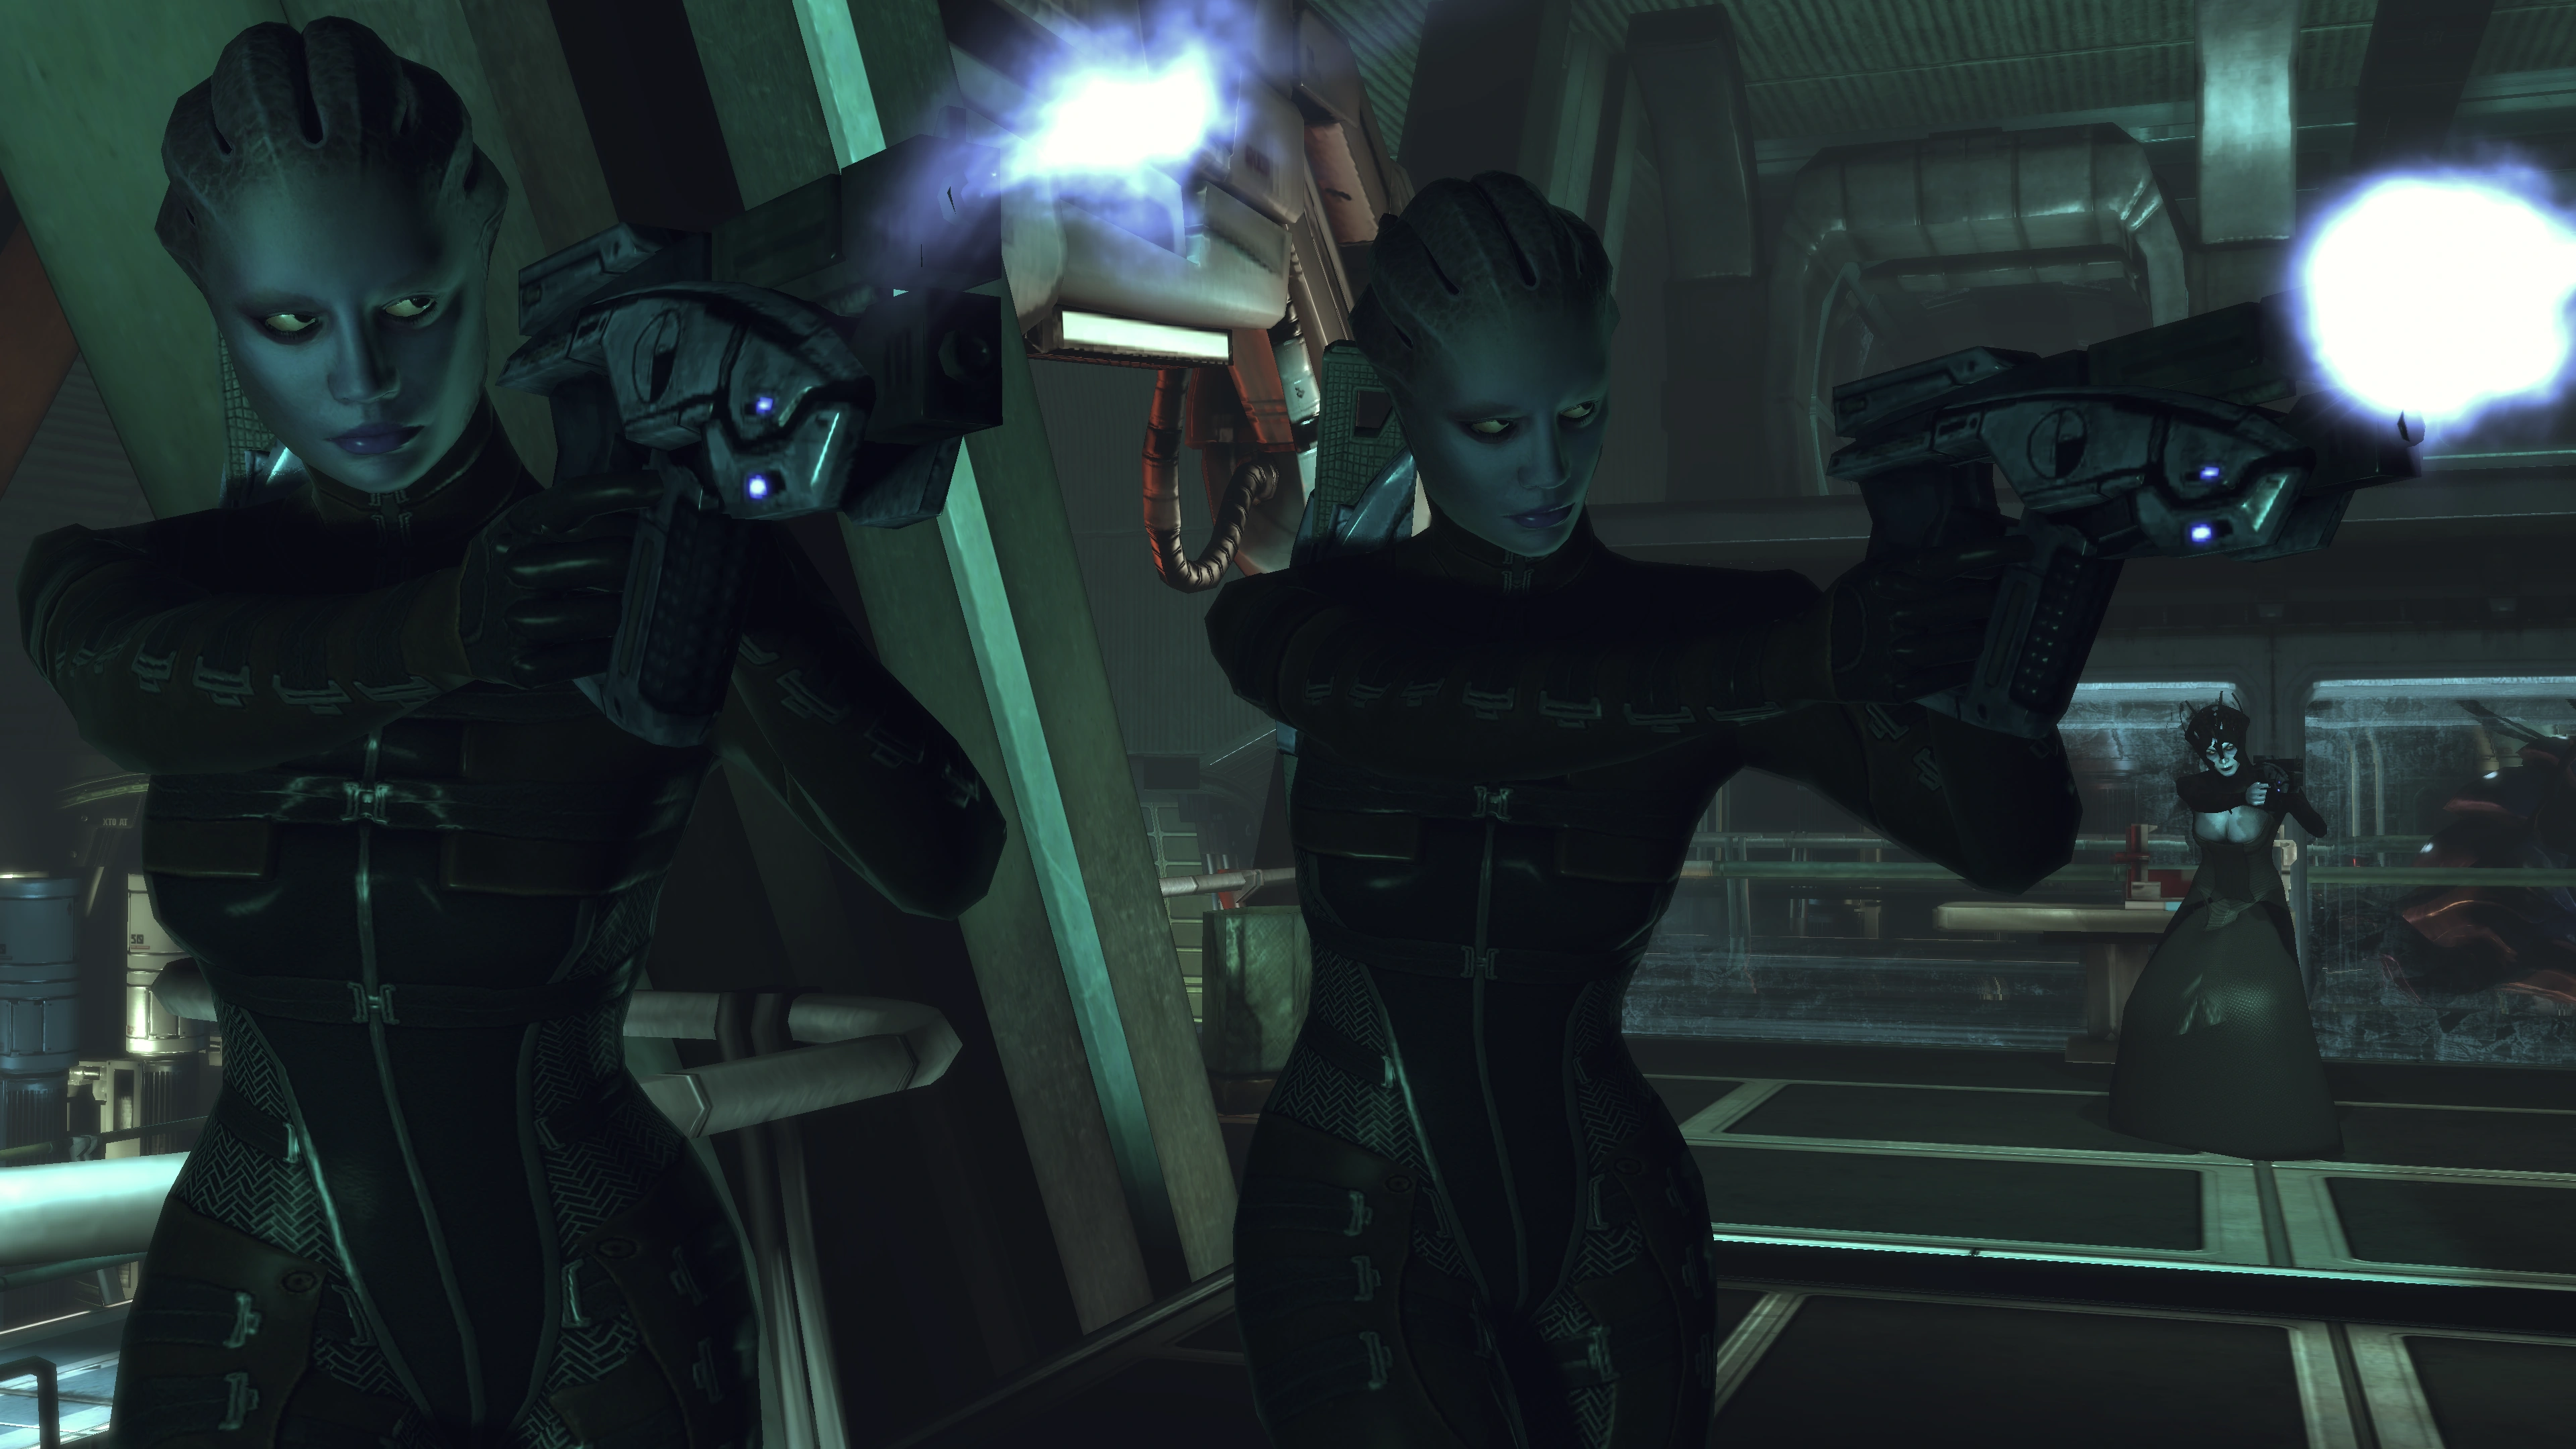
The first wave consists of two Asari Commandos. They come directly in front of you. Don't let them unleash their biotics; disable them ASAP before they have a chance to hit you with disablers of their own.
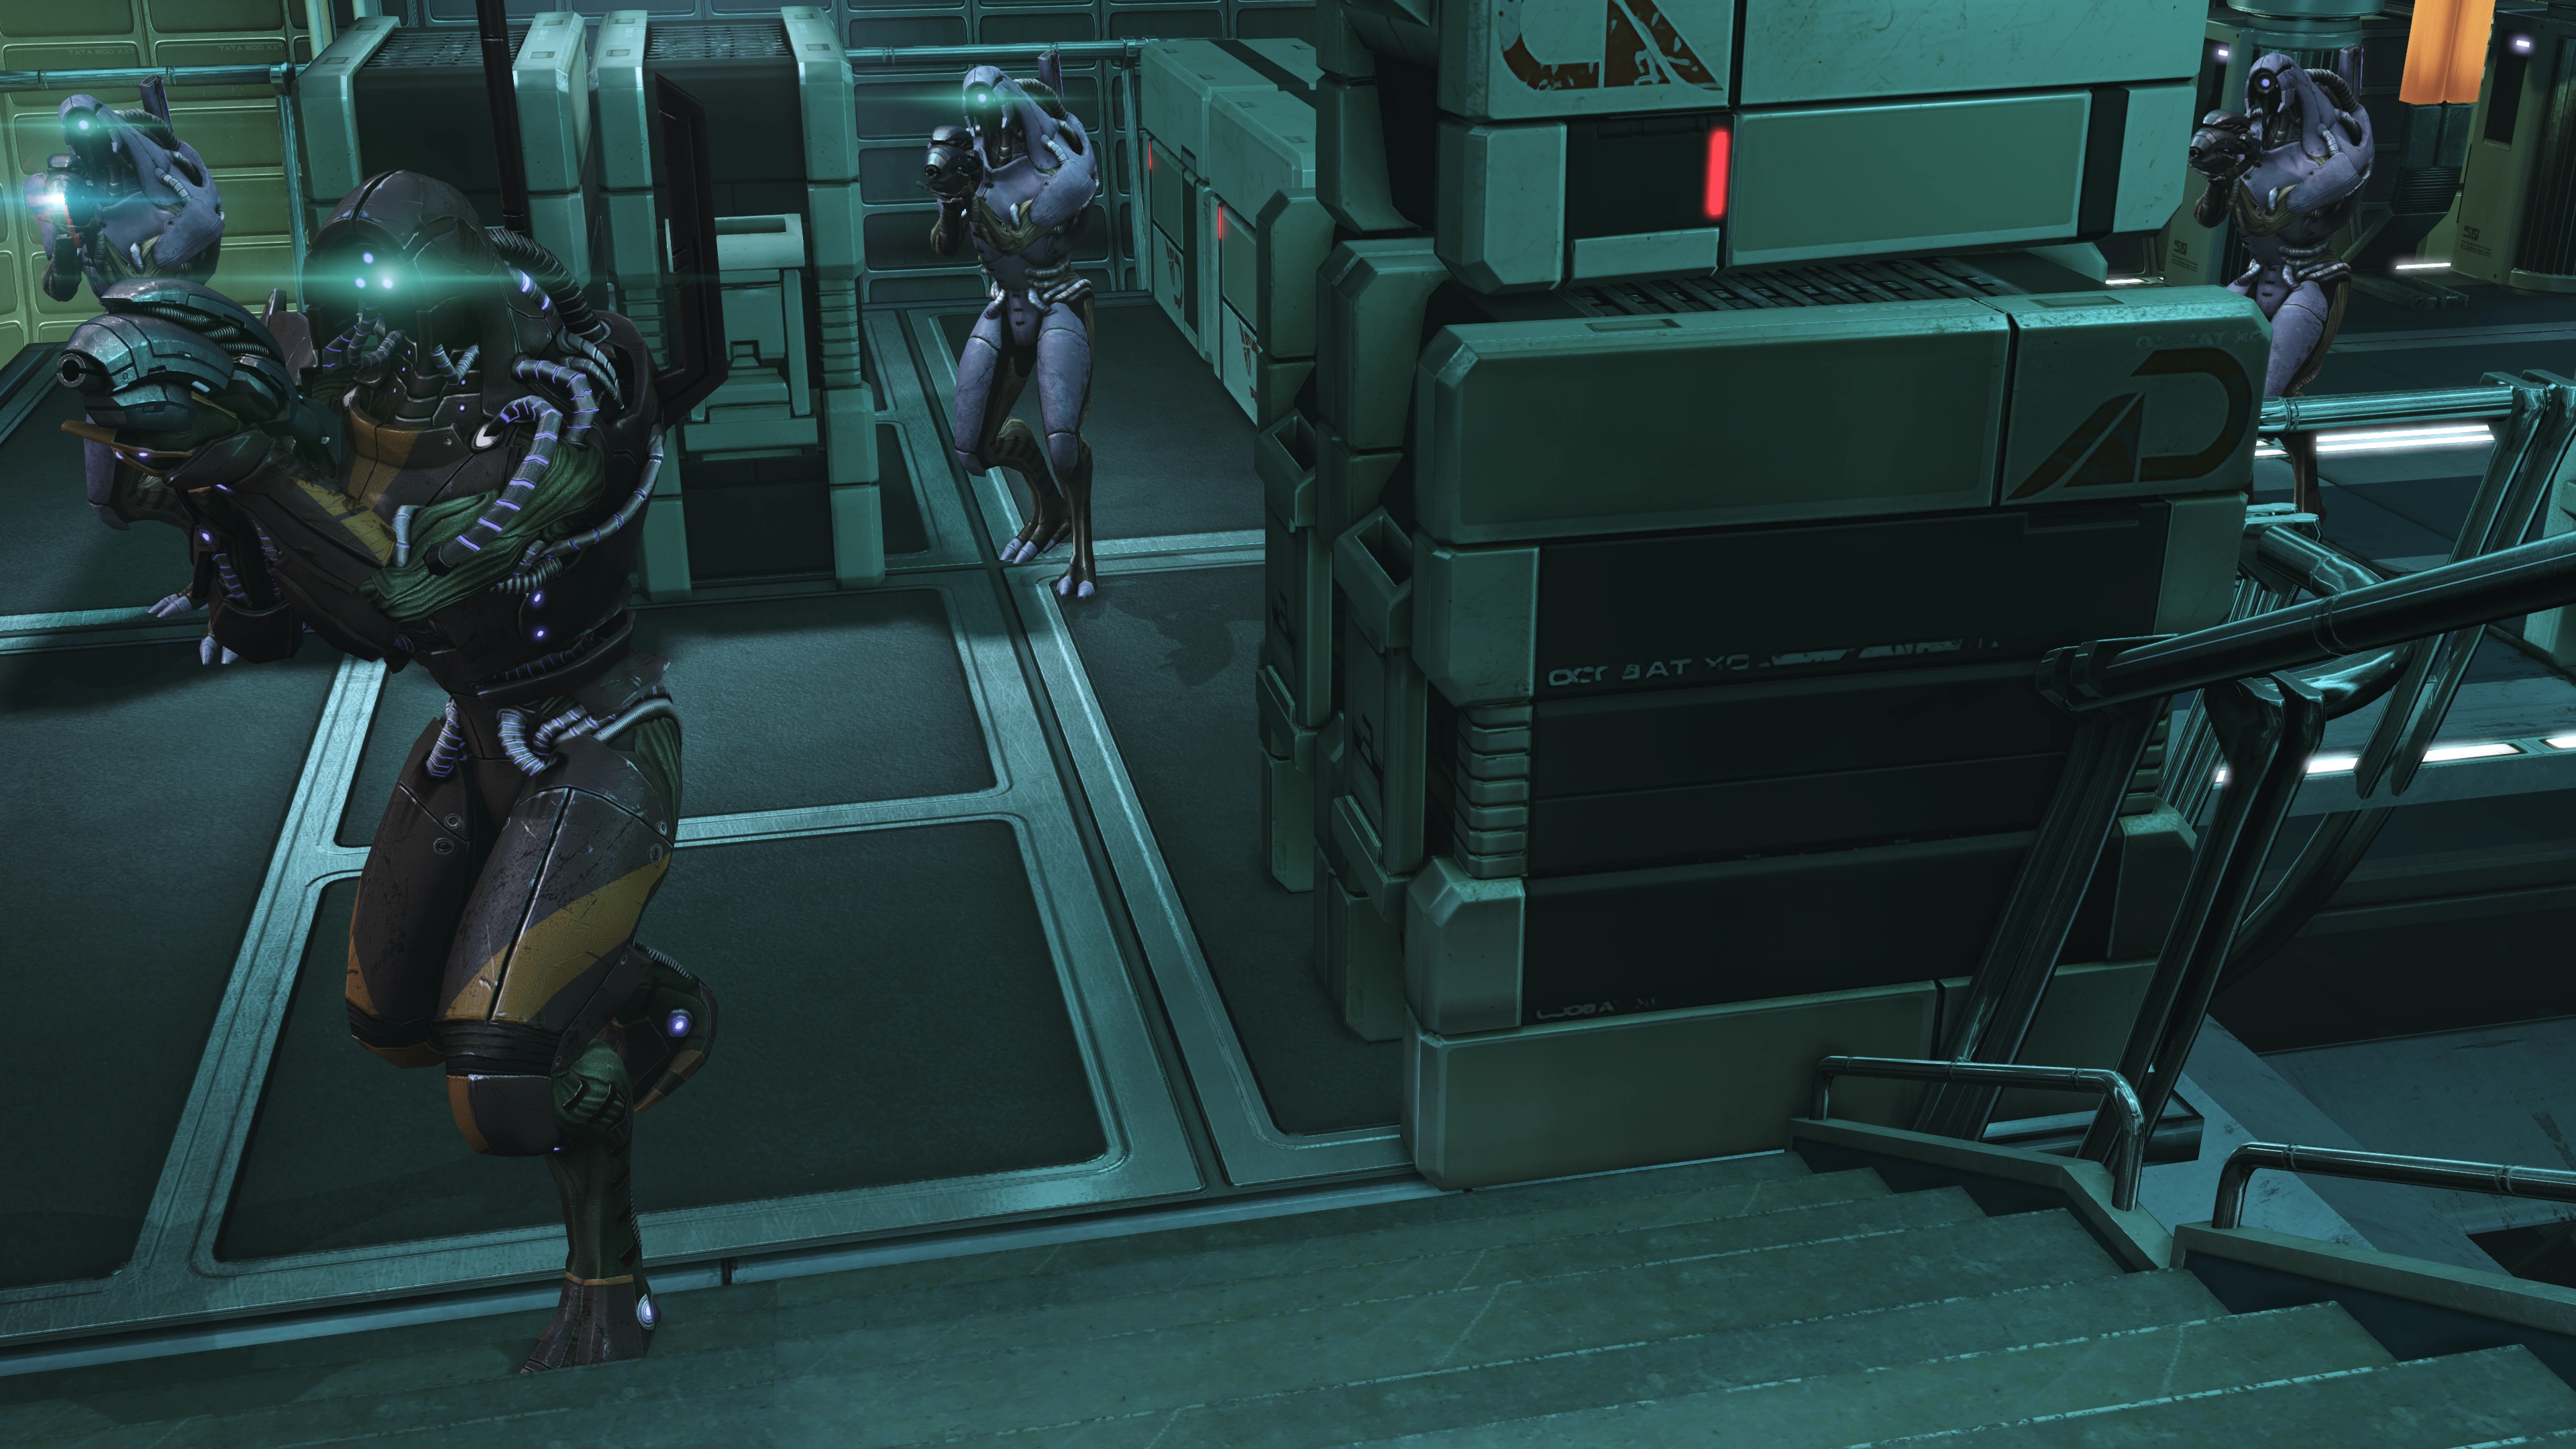
The second wave consists of an Asari Commando and a Geth Sniper: 2 pairs. At this point you'll have familiarized yourself with the terrain and can move in whichever direction most advantageous to your style, then along comes the snipers' radar jamming. Consider equipping your most powerful detection upgrade on your weapons to counter it, as it will see continued usage later.
The third wave consists of 8 Geth Snipers divided into two groups. Benezia is visibly weakening at this point. If you move quickly you can often catch a group of four all in the same Singularity, Lift, etc.
Once they are all down you will begin another conversation with Benezia. She will start out defiant but her attitude changes quickly. Benezia says that the real threat is Sovereign and that Saren is just a tool. Ask questions and Benezia says that Saren sent her here to recover the location of the Mu Relay from the Rachni Queen. You can ask more questions, but eventually the indoctrination overpowers Benezia and she and three final Asari Commandos attack. When the last enemy falls, a final dying conversation with Benezia occurs. When she passes, the mission entry is renamed into Noveria: Death of a Matriarch if you have some loose ends to tie up.
Legendary Edition: The confrontation has been redefined with different enemy headcounts and behavior compared to the original. The room has been slightly redesigned as well, with only two levels of elevation (Benezia's platform and doors) compared to three in the original (Benezia's platform, doors, and a depressed area next to Benezia's platform accessible via stairs).
- During the first three waves, Benezia will be surrounded by a large hemispheric biotic shield, which better demonstrates her immunity from attacks, and she no longer launches attacks biotic or otherwise.

- The first wave still consists of two Asari Commandos. However, they throw disabler attacks with less frequency.
- The second wave consists of two Asari Commandos, one Geth Sniper, and three Geth Troopers. They all start from the corner diametrically opposite from the location you entered the room.
- The third wave consists of a Geth Destroyer with three Geth Troopers in one corner, whereas the opposite corner contains a Geth Sniper, a Geth Shock Trooper, and two Geth Troopers. This will likely result in your being attacked from both sides at once.
- Benezia attacks alone at the end, without help from Asari Commandos. She will occasionally throw disablers at Shepard, if given the opportunity.
Loose Ends[]
- Main article: Noveria: Rift Station
There's still the issue of the Rachni Queen in the tank the Matriarch was busying herself about earlier. Approach it and decide its fate; you can't get out of the lab while this is pending.
You've been battling inside the room before you can properly survey it, so if you are playing the original Mass Effect and haven't attempted to raid the crates during the boss fight now would be the time to do so. On the center platform near Benezia's corpse is a secure crate (average decryption). On the lower platform adjacent to it are two more secure crates (both average decryption). Legendary Edition: The room no longer includes the lootable containers that originally appeared there.
If you have not purged the remaining rachni yet, exit the Secure Lab and deal with them down at Noveria: The Hot Labs. This is completely optional, and the elevator down to Rift Station's main level is locked out anyway, so this is the only other possible loose end.
When you've finished with the place, use the tram to leave.
Onboard the Normandy[]
When you board the tram you automatically return to the briefing room of the Normandy. You can earn a few morality points for your conversation options and a few more depending on your conversation with the Council. The Council is frightened if you released the Queen, and admonishes you if you kill her, with the turian member asking you "Do you take pleasure in committing genocide, Shepard?"
Enemies[]
- Asari Commando
- Assault Drone (optional)
- Captain Ventralis (optional)
- ERCS Guard (optional)
- Geth Armature
- Geth Destroyer
- Geth Repair Drone
- Geth Rocket Trooper
- Geth Shock Trooper
- Geth Sniper
- Geth Stalker
- Geth Trooper
- Geth Turret
- Krogan
- Matriarch Benezia
- Rachni Soldier
- Rachni Worker
Maximum Experience Scenario[]
To get the maximum amount of experience on Noveria, follow the following order of events.
- Retrieve Opold's package for him, but tell him "I'm keeping it", triggering a fight with Inamorda.
- Break into Synthetic Insights for Lorik Qui'in.
- Do not convince the two extra Synthetic Insights guards to stand down.
- During the drive to Peak 15, exit the Mako when dealing the killing shot on enemies. Legendary Edition: Mako XP gain has been normalized, making this step irrelevant for this version of the game.
- Don't go to the Hot Labs first
- Make the cure and give it to Dr. Cohen
- Get in by hacking the door near the two drones.
- Before heading through, return to fight Ventralis and his guards.
- Go through hacked door and fight through the guards.
- Before entering Benezia's room, backtrack through the Ventilation Room and kill the one Rachni Soldier in the cave.
- Fight Benezia
- Go to the Hot Labs
Bugs[]
- On newer AMD CPUs, a bug may cause models in the game, including that of Shepard and the squad, to be rendered as blocks of black pixels upon entering the Peak 15 garage. This is caused by AMD discontinuing their 3DNow! support, and the game for purely relying on manufacturer check to enable 3DNow rendering.
- This bug is fixed in Mass Effect Legendary Edition.
- A workaround[1] [2] is to open the in-game console and enter the following command:
viewmode unlit
- it can be disabled afterward using
viewmode lit
- There is also a mod that will fix this; it has the advantage of not having everything overly lit in Noveria.
- According to Mass Effect's patch notes for version 1.02, the elevator bug that gets players stuck is fixed. There are some reports, however, that the fix doesn't appear to be working on some playthroughs.
- If you use Singularity too early during the rachni fight following the first meeting with Captain Ventralis, one or both rachni may float downward into non-accessible areas and vanish. However, Ventralis and his men won't stand down because the rachni have not been killed. Saving and reloading can cause the rachni to burst out of the floor grates again, and will provide an opportunity to bypass this problem. Simply running out of the room and going about the mission also fixes the issue, albeit with Ventralis being displeased at Shepard's "help".
- During the fight against Benezia, getting hit by biotic powers can ragdoll Shepard out of the catwalks and get you stuck or even killed. You can get out of this situation by ordering your remaining squad around to kill the enemies or by using area of effect powers to kill hidden enemies until the final cutscene triggers.

|
The following information is drawn from cut content and is not to be considered canon in any way. |
Cut Content[]
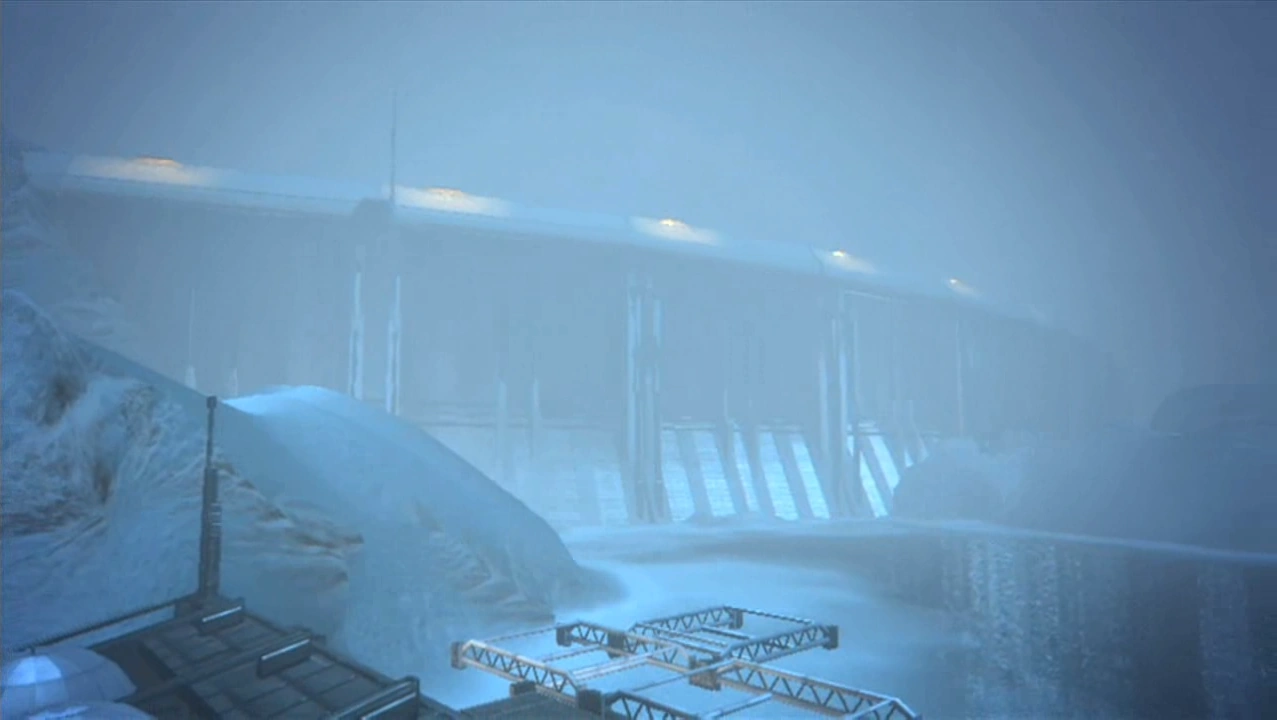
- The road through the Aleutsk Valley to Peak 15 was at one point planned to be more eventful: the squad would have encountered more enemies. The route also went near a frozen lake by a dam. A nearby shack would have contained the frozen bodies of several krogan mercenaries. In addition, similarly to Virmire, Shepard would have needed to open gates on the way; one of those would have triggered an encounter with human mercenaries hired by Saren.[3]
- Inside Peak 15, a lot of squadmate comments went unused regarding the mysterious destruction of the facility.[4]
- There is cut dialogue for additional guards at checkpoints throughout the facility.[5]
- Instead of Rift Station and the Hot Labs being located near one another, evidence points to those two locations being at different tram stations. Shepard would have had to choose which one to investigate first; Benezia would have been found in the other one. A tram accident at one point would ensure the player could not turn back. Shepard encountering the rachni queen before Benezia would have resulted in special dialogue; the queen would have been unable to give Shepard the location of the Mu relay because the matriarch had wiped her mind biotically.[6]
- Triggering the neutron purge in the Hot Labs would have required an arming key in addition to the code. Mira would have pointed Shepard in the direction of staff scientist Ruon Ai Chion, who went insane and locked himself in a room with the key. Shepard could either blow up the door, which results in a rather heated ethical debate between squadmates, or convince him to come out using Charm or Intimidate. In the latter case, he would have followed the squad for a bit before suddenly committing suicide. In both cases, Shepard would have retrieved the arming key from his corpse.[7]
- Instead of Shepard recovering the code to trigger the neutron purge from his dead body, an unused dialogue tree has Tartakovsky survive his attack by the rachni long enough to vocally give Shepard the code.[8]
- After returning to Port Hanshan, an unused pop-up message would have revealed the Noveria Executive Board ordered a nuclear strike on Peak 15.[9]
References[]
- ↑ https://answers.ea.com/t5/Mass-Effect-1/Black-Box-textures/td-p/868976
- ↑ https://steamcommunity.com/app/17460/discussions/0/522729359284940264/
- ↑ Mass Effect Cut Content/Noveria Voicelines#ice25_trig01_tunnel_egress and following, Bonus Content Disc/Environments: Noveria#Image 4
- ↑ Mass Effect Cut Content/Noveria Voicelines#ice50_trig02_elevator_warn and following
- ↑ Mass Effect Cut Content/Noveria Voicelines#ice60_trig02_noneshallpass, Mass Effect Cut Content/Noveria Voicelines#ice60_checkpoint_guard
- ↑ Mass Effect Cut Content/Noveria Voicelines#ice60_rachniqueen; Plot Database: LE1.CH2_Noveria.Noveria_Critical_Path.Find_Matriarch.At_Rift_Station; LE1.CH2_Noveria.Noveria_Critical_Path.Find_Matriarch.At_Hot_Labs
- ↑ Mass Effect Cut Content/Noveria Voicelines#ice70_chion; Plot Database: LE1.CH2_Noveria.Hot_Labs.Neutron_Purged_Primed.CUT_Chion_Has_Key
- ↑ Mass Effect Cut Content/Noveria Voicelines#ice70_tartakovsky
- ↑ Mass Effect Cut Content/Noveria Voicelines#ice20_trig15_nuked
| ← Previous Mission | Mission Index | |
|---|---|---|
| Noveria: Geth Interest | Missions |