Intel points toward a Blood Pack base on the planet Zada Ban (Xe Cha system, The Shrike Abyssal). The base could be a weapons manufacturing facility.
Acquisition[]
A scan of the first planet on Xe Cha reveals a Blood Pack Mercenary base, which could be some kind of weapons manufacturing facility.
Scanning the planet yields the following transmission:
“Get them back to work! The boss'll murder us if those weapons aren't ready.”
The planet can be easily identified when this is in the information panel:
“Scans show a crude base established on the planet's surface. Communications match known Blood Pack mercenary protocols. Numerous life signs matching vorcha genealogy detected. The base's material resources match our data on weapons manufacturing components.”
Alternatively, if the communications relay on Tarith was shut down first, this assignment is automatically acquired. The Shrike Abyssal becomes accessible regardless of whether the corresponding star chart from the Baria Frontiers store on Illium has been bought, and landing on Zada Ban to finish this doesn't require prior scanning.
Preparation[]
Since you will be facing the vorcha and krogan of the Blood Pack, you will want to bring powers that can stop regeneration. Incinerate proves especially useful in this regard, as it also insta-detonates the dangerous Blood Pack Pyros once their shields are down, but Warp and Incendiary Ammo will also stop regeneration and are equally useful against the armor you'll encounter frequently at higher difficulty levels.
Walkthrough[]
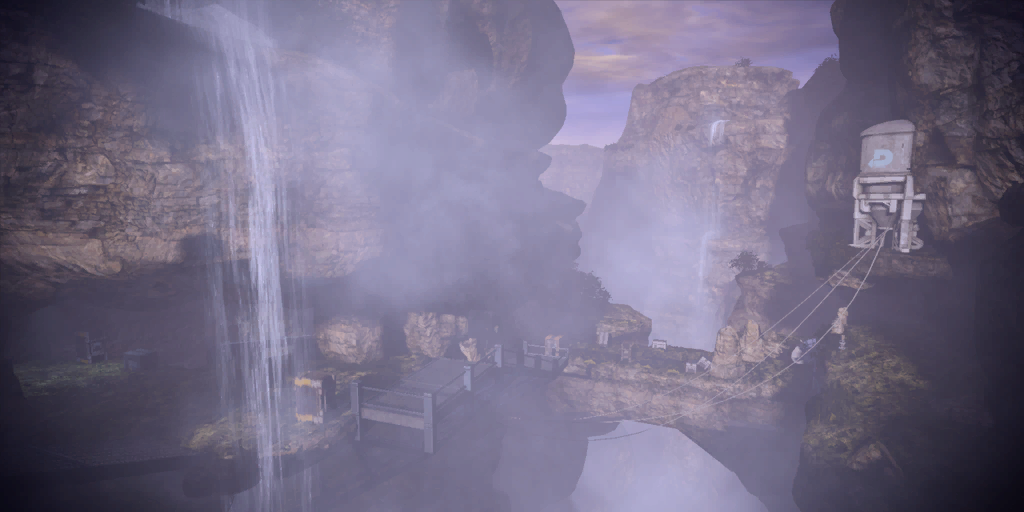
Upon landing, EDI notifies Shepard that she has detected a high power source inside the facility, which might be used to destroy it.
There is a datapad to your left as you start; read or ignore it at your leisure. Head out from your landing site and you will encounter a palladium crate to your left (+600 palladium) as well as another datapad. Head down the ramp, take cover, and prepare for a fight.
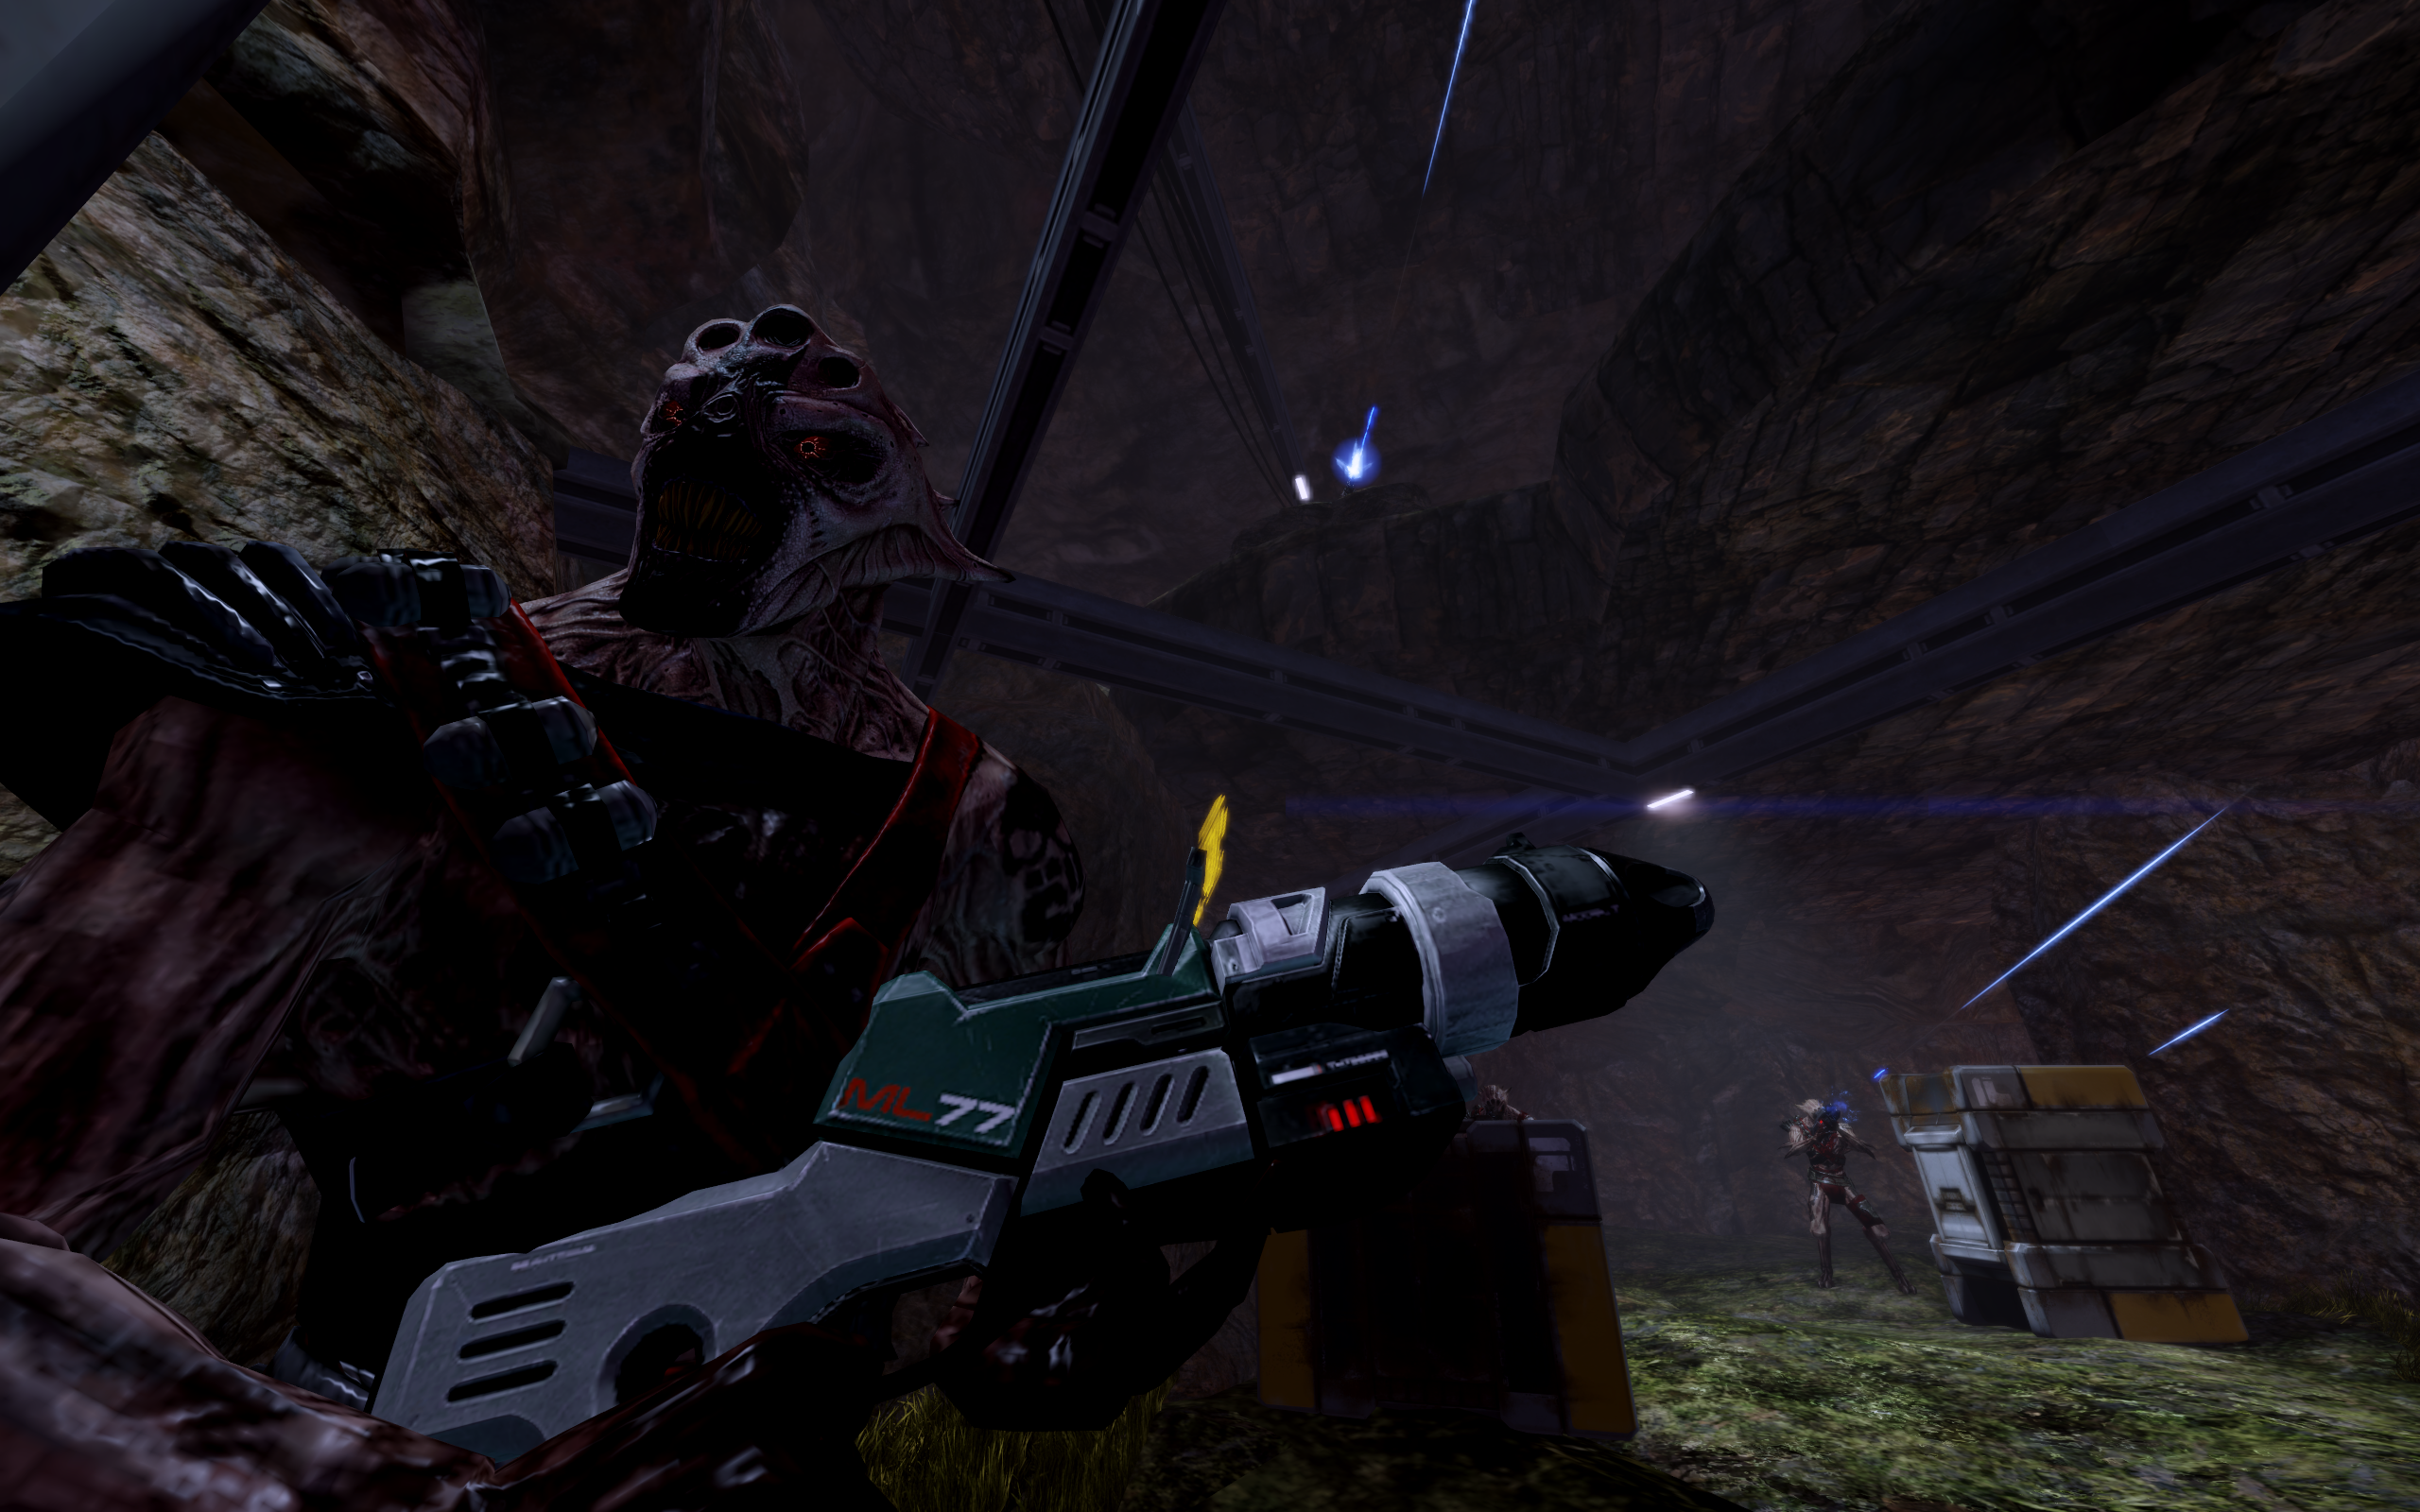
Across from you on the same level are some Blood Pack Troopers and Blood Pack Boom-Squads. In the pit below are quite a few more, and they are more accurate. Deal with the ones on top first, then shift to picking off the rest from above. While the enemies down below may be harder to hit from here, they are also much less likely to hit you in return. You may need to go in and out of cover to kill them all, but staying on top is much safer than heading down to fight them below, mainly because there is little cover.
When they are all down, head down the ramp and into the next area. Grab the clips, examine the datapad, and grab the palladium (+600 palladium). Note: When you move on to the next area over the bridge, there is a med-kit hidden off to the left in the grass on the bridge you are about to cross over.
When you head out of this area, be warned that it is a little glitchy with your squadmates and taking cover. There will be attacks by Troopers, Boom-Squads, and Pyros, so keep on your toes. The Pyros are the most dangerous, so concentrate on taking them out before they can get close. Some will appear on the path in front of you, others to your left, on the outcropping, and there will be a Trooper and Boom-Squad on the platform above and to your right. Take them out, and then move on. Sometimes your squadmates won’t leave their cover or respond to commands, but a simple save/load will fix this. Head over to the door, and save your game before entering.

When you enter, get in what limited cover there is ahead of you, and focus on the krogan Kalusk first. He will start walking towards the squad, so take him out before he gets in range to use his shotgun. Once Kalusk is down, focus on the Troopers and Boom-Squad. Once they are all down, the assignment is almost over. Before doing anything grab the palladium in the room (+800 palladium).
In the middle of the room are four containment cells, two per large object, and all four must be destroyed to complete the assignment. Just a quick tip: destroy the ones on the far side first, then the ones closer to the door. When they are all destroyed, one of your squadmates says you need to get out of there, so make a break for the door and evacuate. A pair of big explosions are soon triggered, and you don't want to be standing too near the large objects when they go off. Other than avoiding the explosions, just head back down the hallway and the assignment will end automatically.
Note: Like several other objects in the game, the containment cells cannot be damaged by the Geth Plasma Shotgun, so if that's your weapon of choice, just switch to something else at the end.
Datapads[]
Enemies[]
Mission Summary[]
Demolished Blood Pack weapons production facility.
Decimated Blood Pack vorcha soldiers.
- Experience: 125 (156)
- Credits: 7,500
- Cerberus Funding: 3,750
- Credits Found 3,750
- Resources
- Palladium: 2,000
- Upgrades
- Heavy Weapon Ammo (Microfusion Array) (awarded for completing mission, not found)
| ← Previous Assignment | Assignment Index | |
|---|---|---|
| N7: Blood Pack Communications Relay | Assignments |