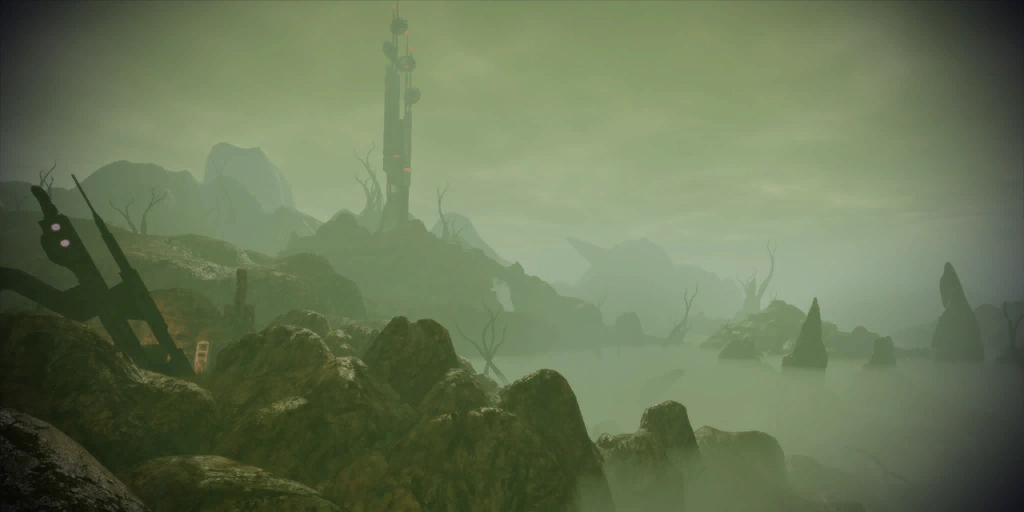
The planet Tarith appears to be home to a Blood Pack mining operation that also hosts a communications relay. Disabling this relay could go a long way toward disrupting the Blood Pack.
Acquisition[]
Following the completion of the N7: Blood Pack Base assignment, Shepard is told of a Blood Pack mining operation and communications relay on Tarith, 4th planet of the Lusarn system in the Crescent Nebula. Alternatively, a scan of the planet will reveal the base and point the way to the N7: Blood Pack Base assignment. Scanning the planet yields the following transmission:
“The vorcha are hungry for battle, we're just waiting on the weapons at this point. They'll never know what hit them.”
After the communications relay has been successfully located, the following report is displayed:
“Preliminary scans indicate a high-powered communications relay on the planet. Communications match known Blood Pack mercenary protocols. A concentration of krogan and vorcha signals are massed inside what appears to be a mining operation. Life signs detected. Unknown species. Advise caution.”
Preparation[]
In an interesting combination of foes, you'll be facing both klixen and Blood Pack. Bring anti-armor powers such as Incinerate and Warp—these will also help you stop regeneration of krogan and vorcha enemies. Freezing abilities and biotics also find good use here to prevent klixen from getting too close and to amplify your squad's damage to them. Klixen have plentiful health (red bar) which is also quite resistant to fire powers and Incendiary Ammo, so consider having a different ammo power at your disposal on this mission instead.
Tip: Squadmates are prone to being glitchy in this mission, ignoring or forgetting your commands and wandering off into the fog where it's difficult to keep track of them then unexpectedly teleporting back to your location. Fortunately this tends not to be as much of an issue during the final battle, but it's a good idea to keep them on a "short leash" nonetheless.
Walkthrough[]
Your goal is to shut down the Blood Pack communications relay, located on a nearby hill. This task is made more difficult by the presence of a thick chlorine fog in the valleys and the presence of the hostile klixen. You will also encounter resistance from some Blood Pack mercenaries while nearing the communications relay.
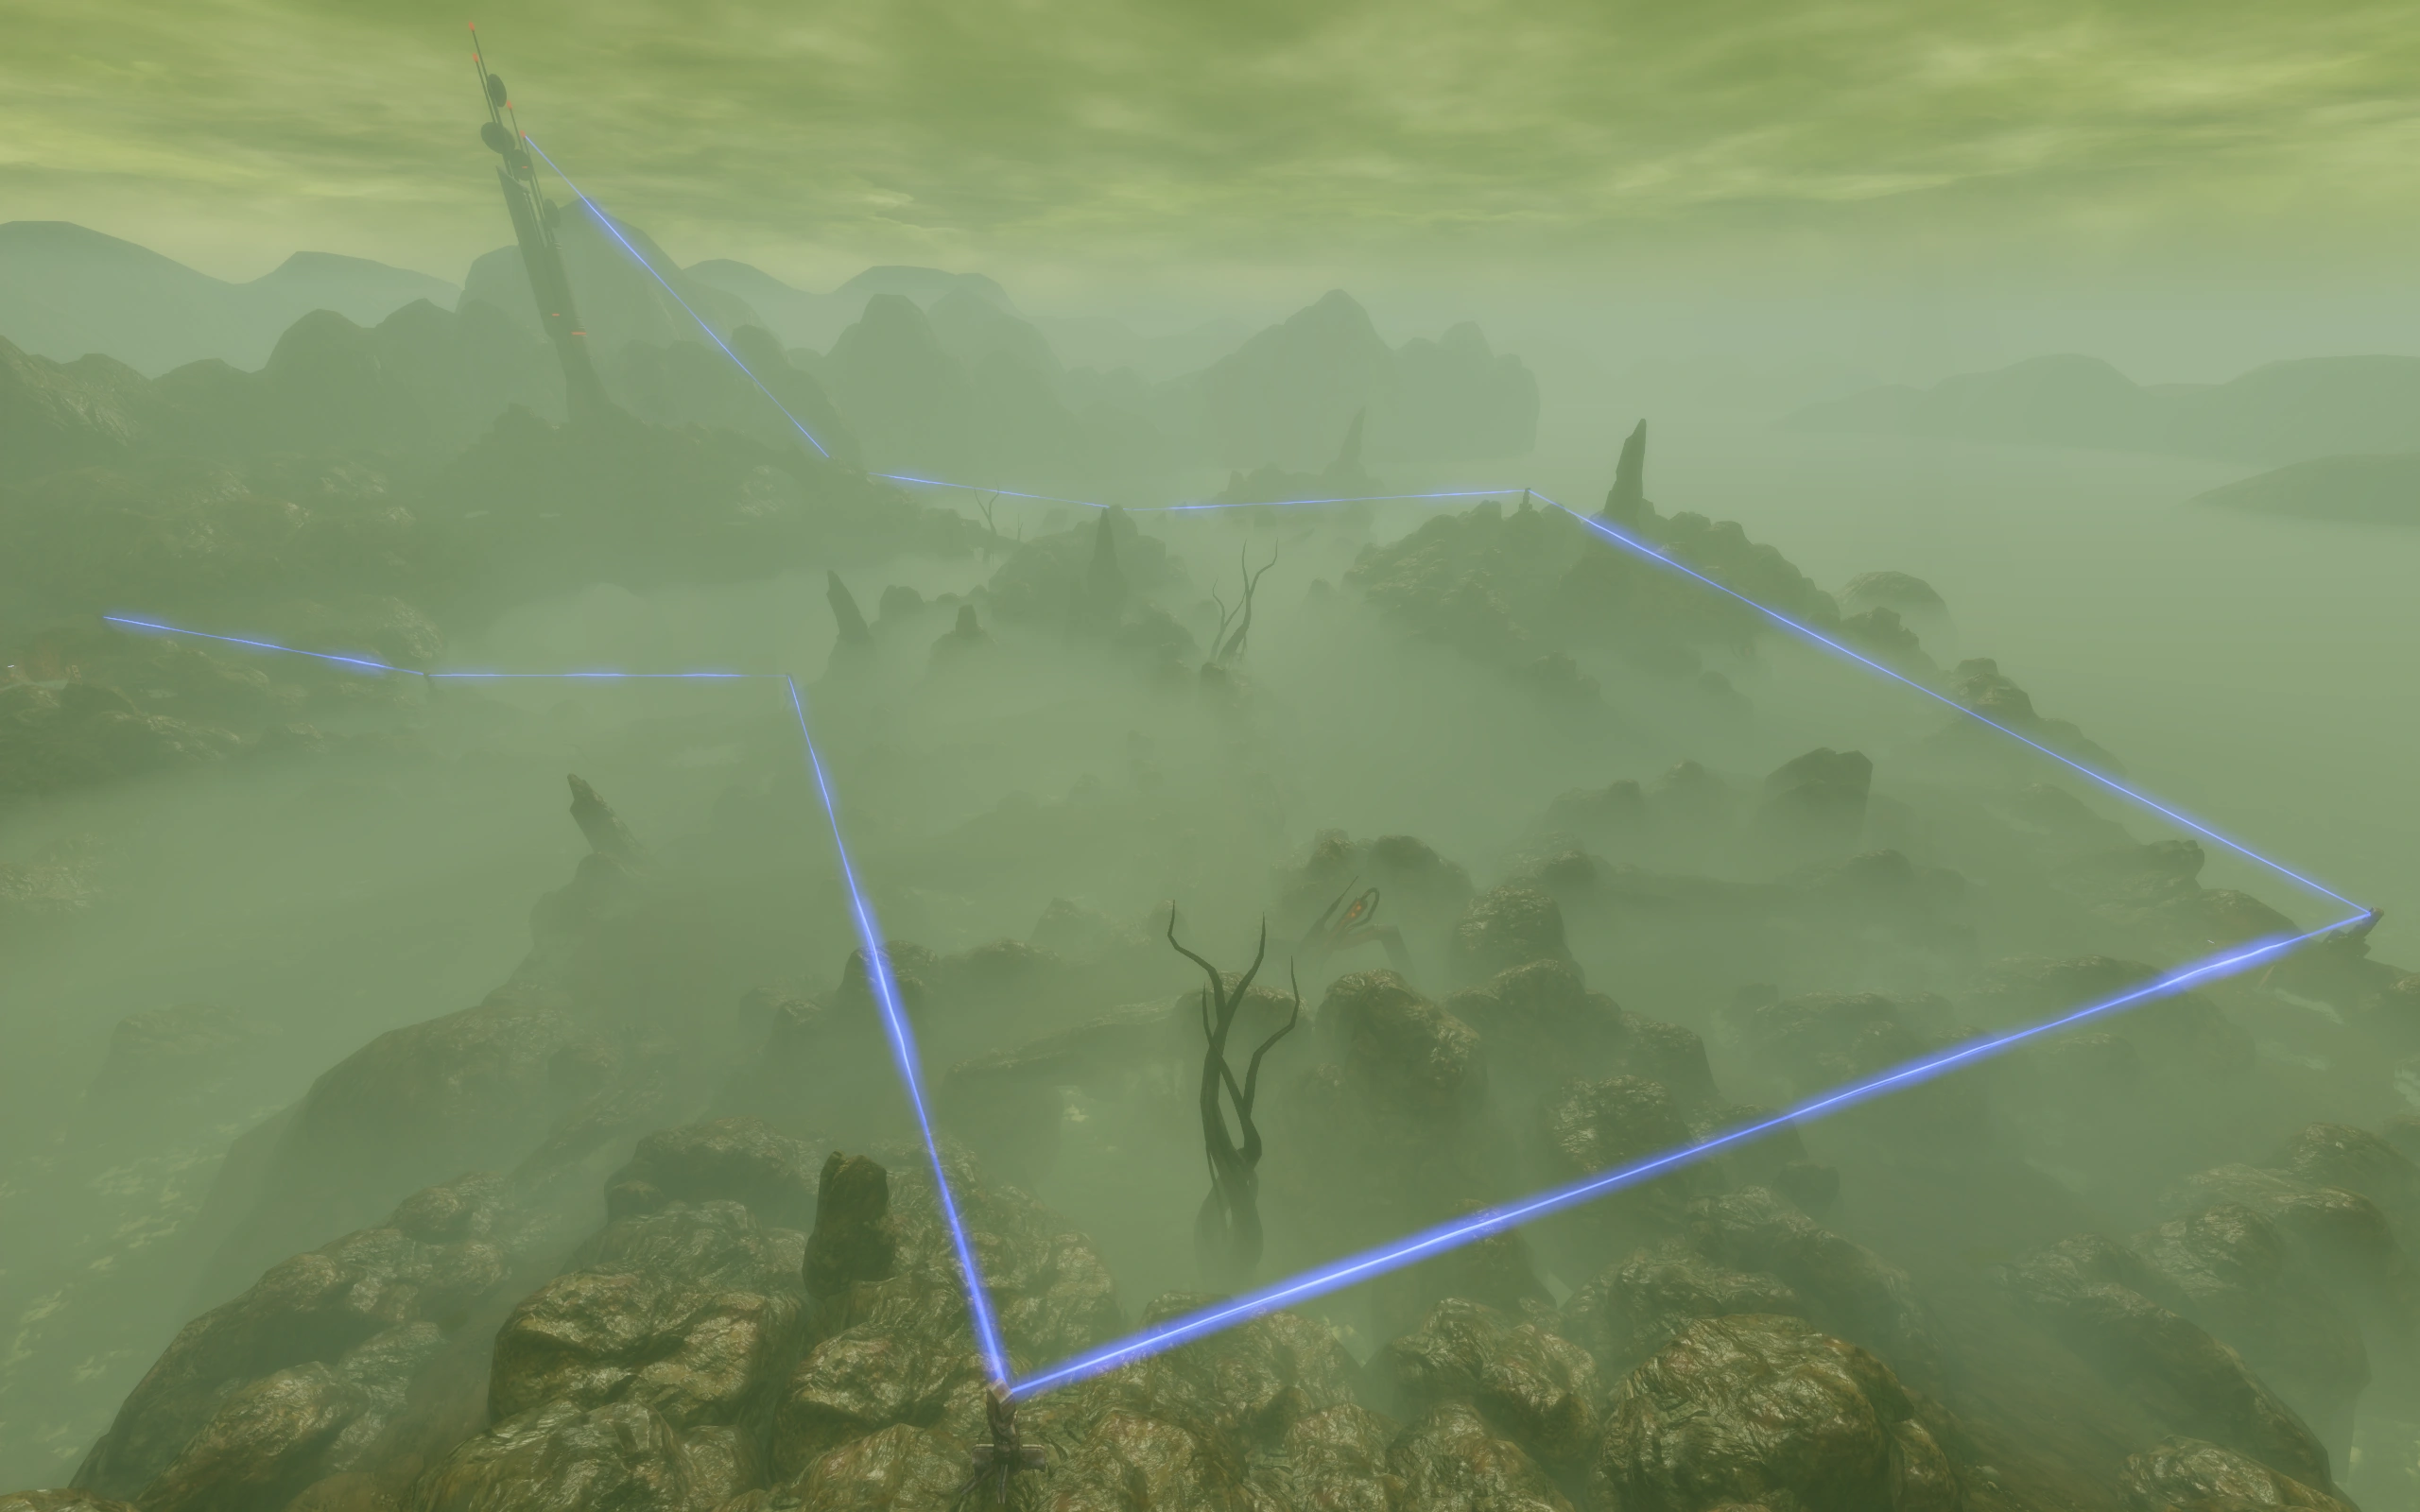
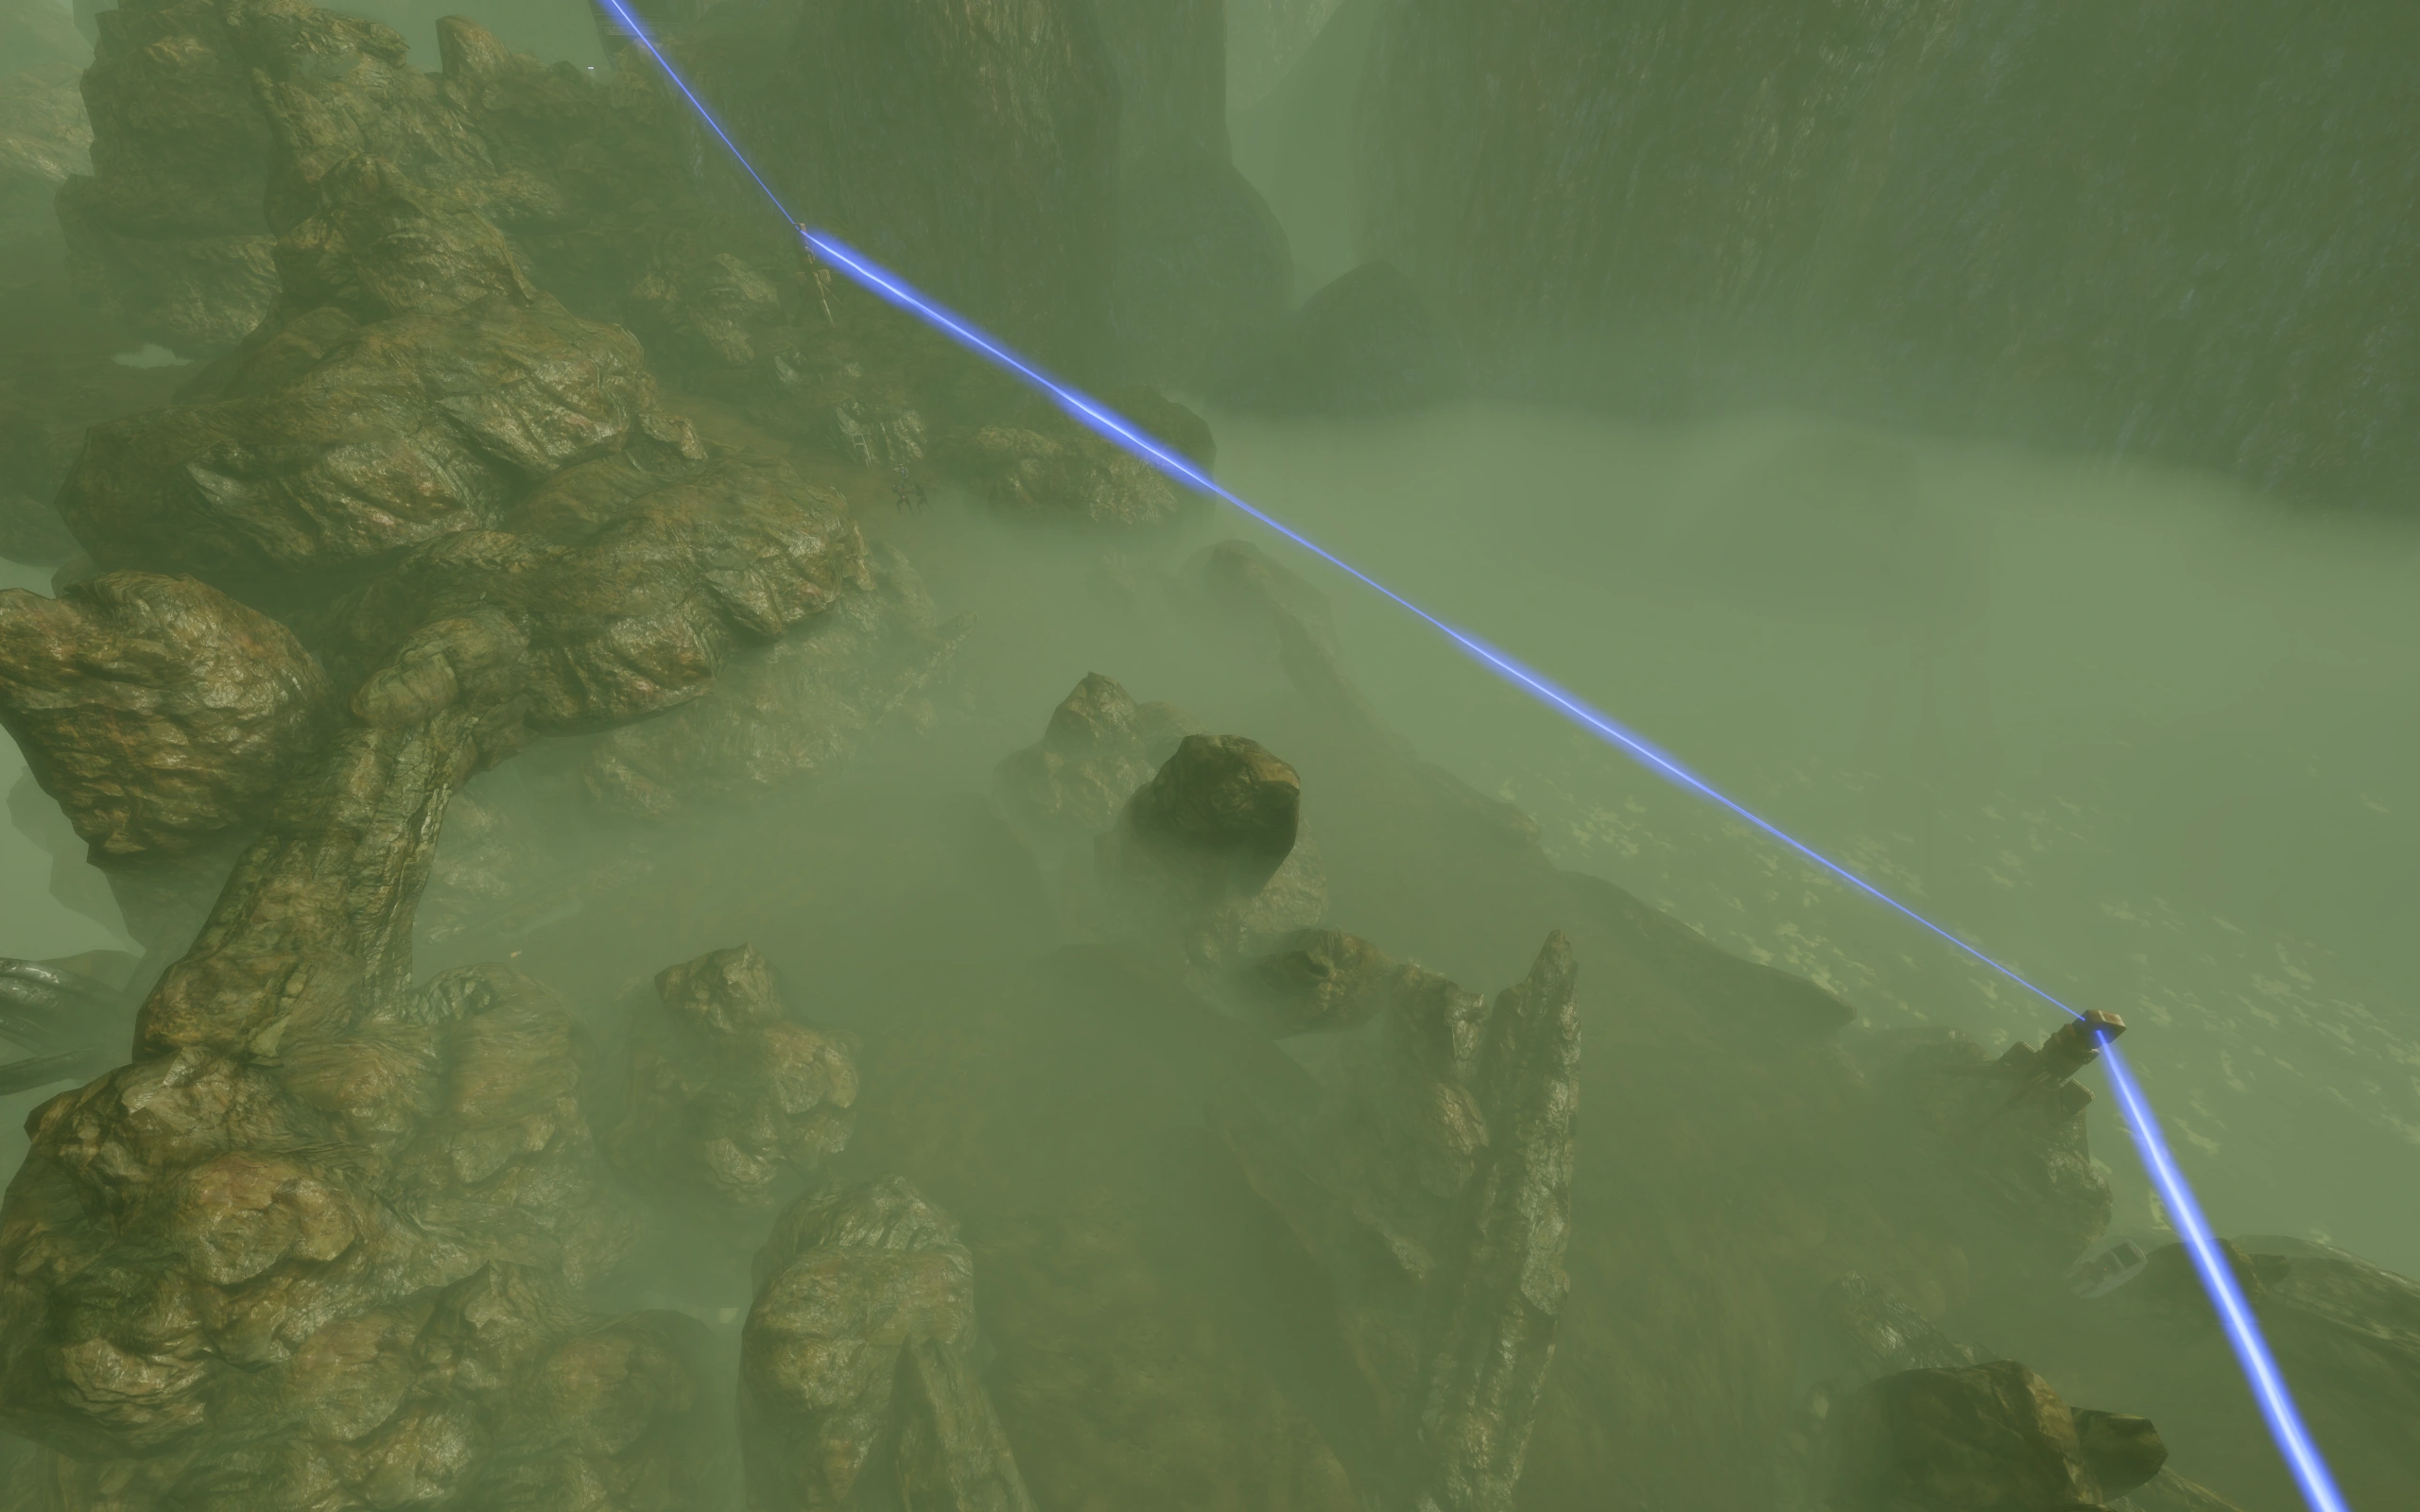
There are beacons present along the path, and activating them will indicate the way toward the next relay. It is worth noting that there are resources and crates located slightly off the intended path.
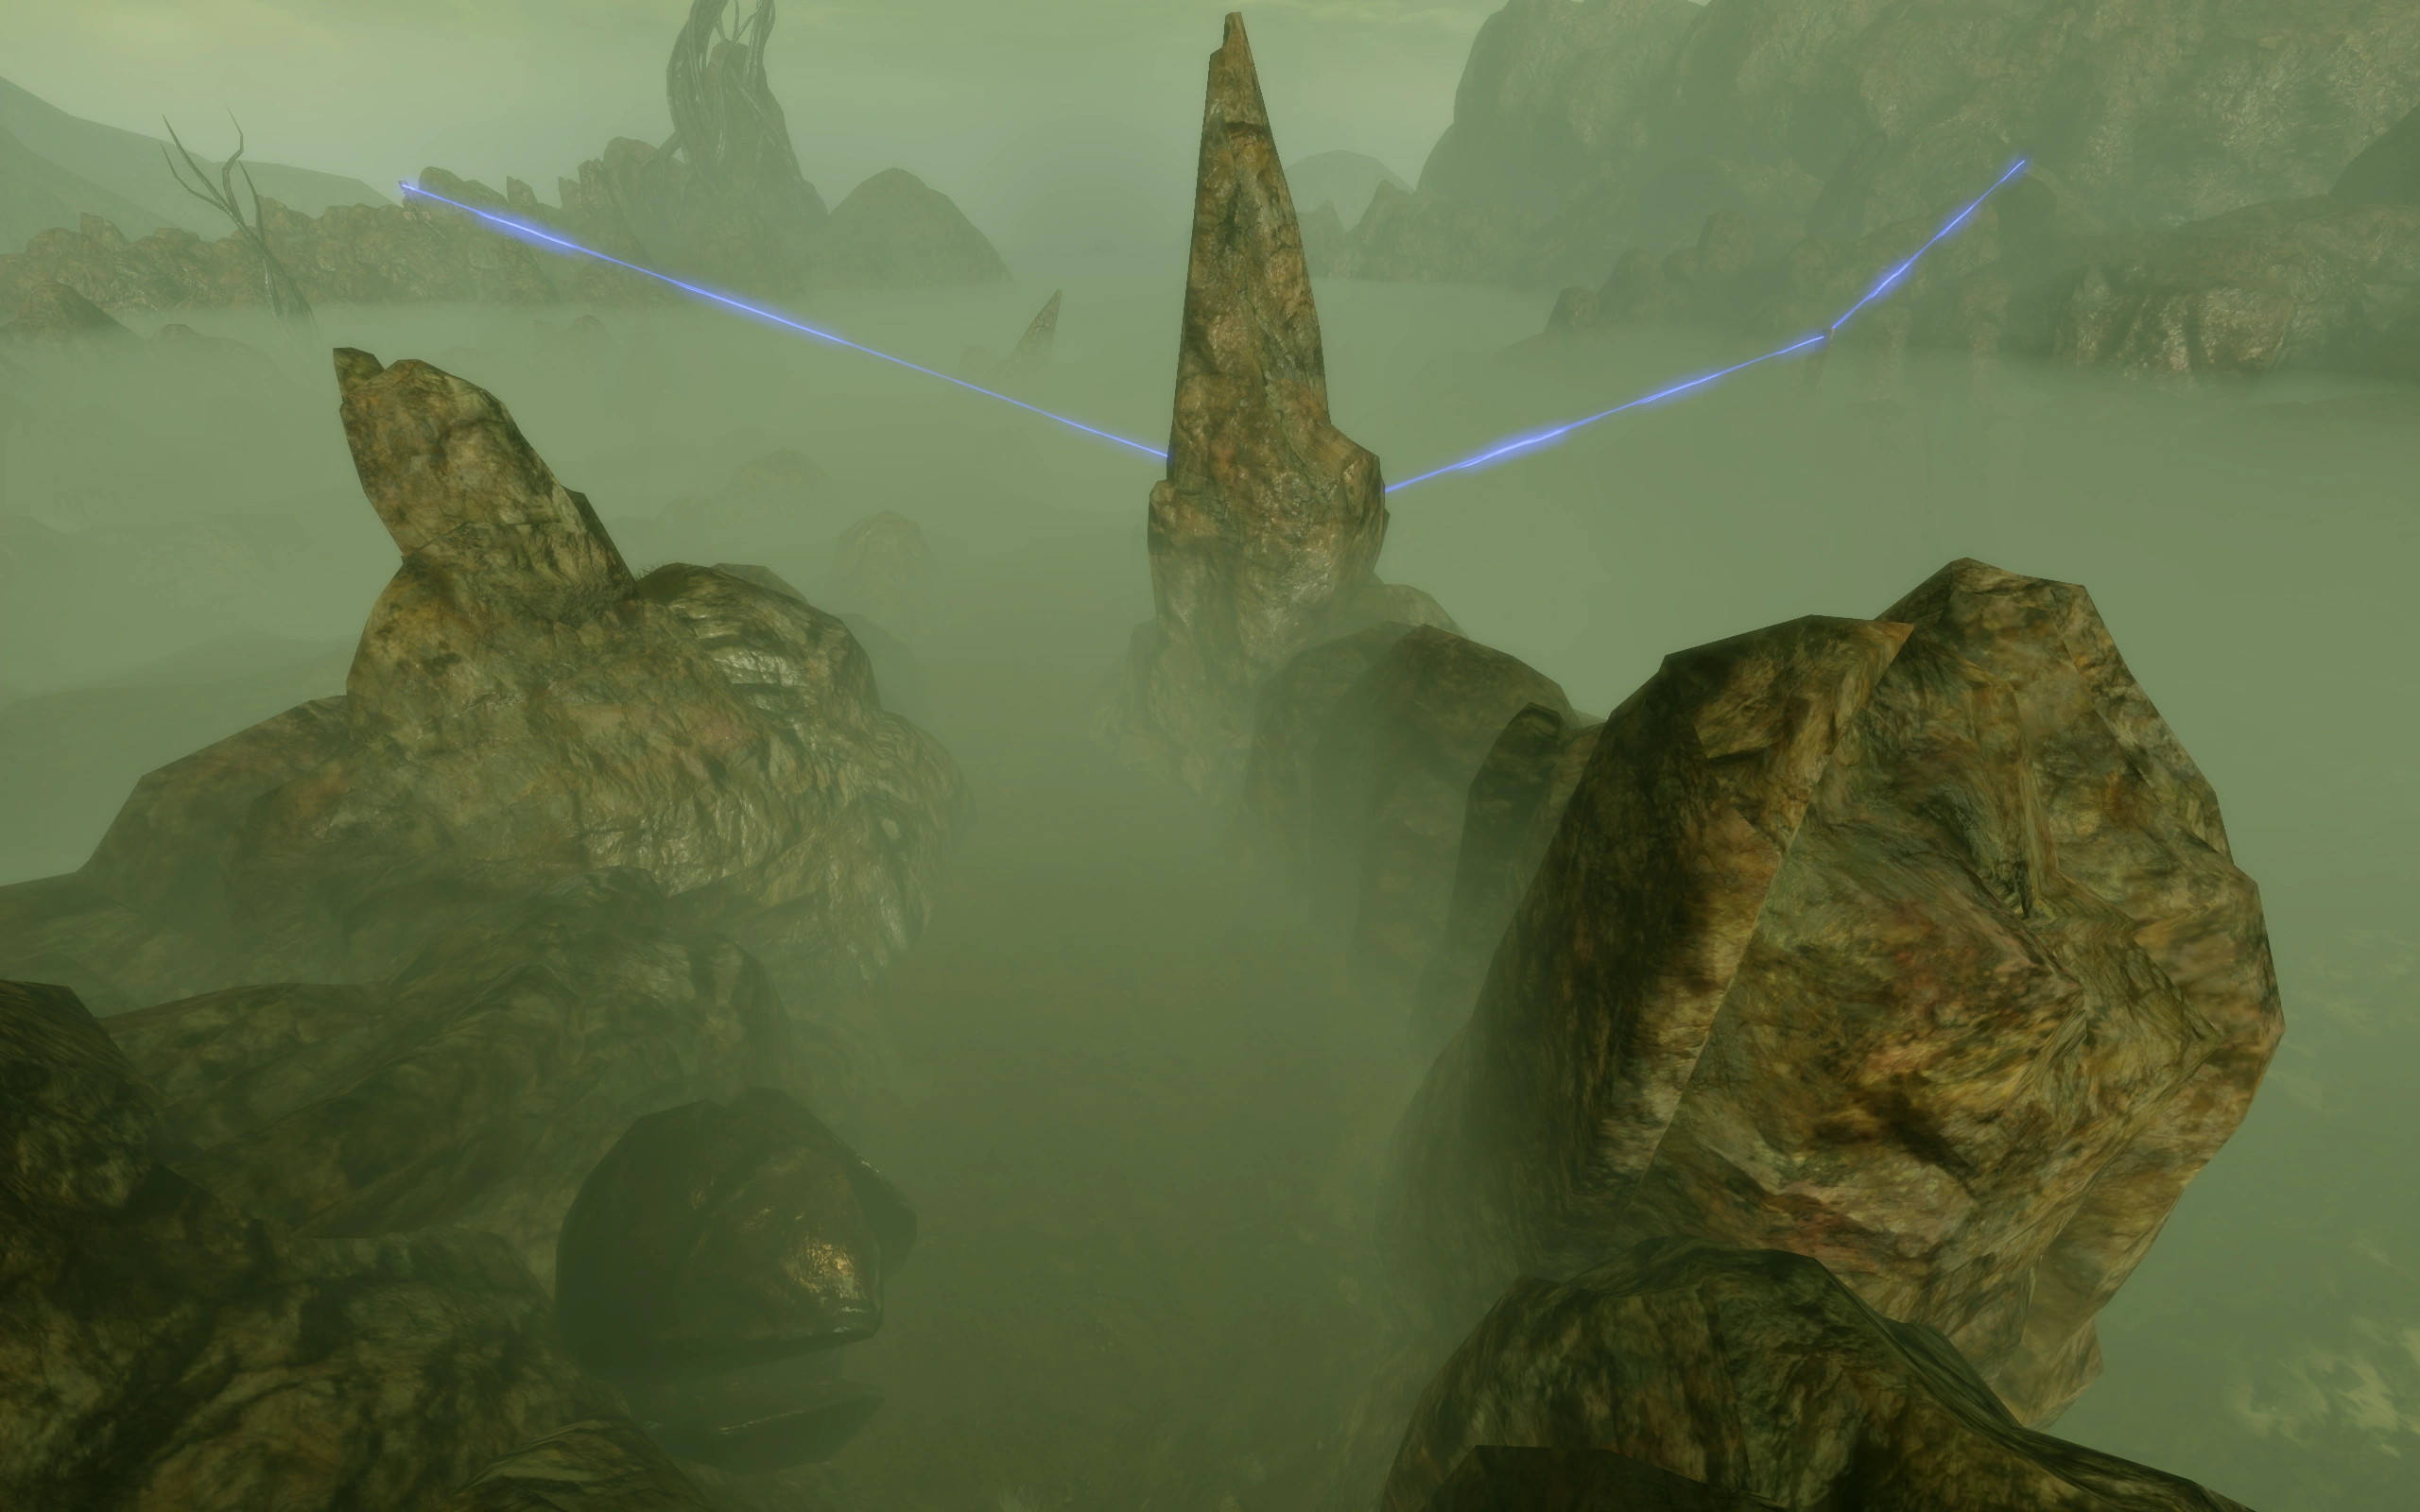
From the landing site, follow the path ahead of you. After a turn, you'll arrive at an open space between the rocks. There you can read the first datapad, pick up a thermal clip and activate a beacon. Follow the path marked by the beacon's blue light and almost immediately you'll arrive at the second beacon. After you activate the beacon, follow the blue beam again and be prepared for an encounter with some klixen. Take them out, continue to the next beacon and activate it. This beacon signals you to turn right. Before you do, pick up 400 platinum from the raw material in the rocky cove to your left.
Continue to follow the blue light beam. Soon the path will fork, and you'll hear the ominous cry of a harvester. It drops a klixen on the right path, which can be taken out quite easily from the left path. After killing the klixen, continue on the left path, picking up 400 platinum from another site of raw material along the way up to the 4th beacon. When you get there, there will be another datapad, read it, grab the nearby thermal clips, and move on.

Continue ahead, guided by the blue light, to the next fork in the path. You'll see a harvester make its nasty delivery a little ahead of you, so you'll be prepared for your next encounter. But first, go left and pick up the 400 platinum in the dead end, on the rocks. Back at the fork, head right this time and deal with the three klixen that come to meet you. Activate the beacon, read the third datapad across from the beacon, pick up the thermal clip if you need it, then follow the blue light again. Before you start climbing the path to the left, pick up another 400 platinum and thermal clip in the cove to your right.
Continue up the narrow path to the next beacon and activate it. From here, the path descends again and gets wider. It won't be long before you meet the next wave of klixen, only two this time. Kill them, then activate the next beacon to the right. If you turn right again, up the slope, you will encounter two vorcha and 400 platinum in a box. Return to the beacon, follow the light again and, before you start climbing the steep path ahead of you, turn left to read the fourth datapad.
Now climb up to the next beacon and activate it. You'll pass under a natural arch formed by the rocks -- this is a good save point -- and continue along a linear path, to the next open space, where Salamul and three of his vorcha will be waiting for you. Salamul has Health, Armor and a Barrier, and he'll charge at you immediately, so it's a good idea to focus on him first and dispatch the Blood Pack Boom-Squad and the two Blood Pack Troopers after he falls. Tip: Running forward to get into cover probably isn't a great idea here, since Salamul will already be practically on top of you. Instead it's best to back up slowly the way you came, interposing the hillside itself between you and Salamul while you batter him with weapons and powers. Once Salamul goes down you can deal with his vorcha in a more traditional fashion if desired.
After killing your opposition, bypass the Communications Relay to end the mission.
Datapads[]
There are a few datapads scattered along the way, which provide insight into what happened to the mercenaries on the planet.
E-Mails[]
If the associated N7: Blood Pack Base assignment has yet to be completed, you will receive the following e-mail from Cerberus Command after completing this assignment:
Enemies[]
Mission Summary[]
Encountered unclassified hostile alien species
Eliminated Blood Pack forces
- Experience: 125 (156)
- Credits: 7,500
- Cerberus Funding: 3,750
- Credits Found: 3,750
- Minerals:
- Platinum: 2,000
Bugs[]
- Occasionally a Heavy Weapon Ammo Upgrade will appear in the mission summary if the mission is completed after collecting 5 Heavy Weapon Ammo Upgrades. The Heavy Weapon Ammo Upgrade will not be researchable and does not increase the Heavy Weapon Ammo percentage. It is a reporting bug in the mission summary.
| Assignment Index | Next Assignment → | |
|---|---|---|
| Assignments | N7: Blood Pack Base |