The freighter's crew were killed by a powerful biotic, the girlfriend of the brain-dead man in the med bay. Unable to deal with his situation, she eliminated the entire crew in a misguided attempt to keep anyone from shutting off his life support. Now she's dead, too, and you've solved the mystery.
Acquisition[]
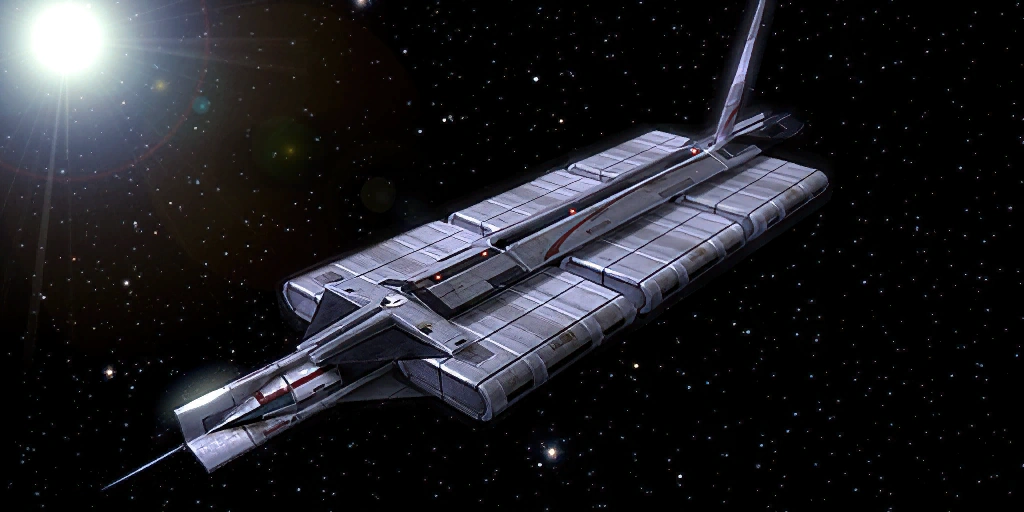
Oddly enough, the journal entry for this assignment is already marked complete upon receipt and can only be obtained after killing the MSV Worthington's only moving occupant. The freighter is adrift in the Ming system of the Gemini Sigma cluster.
Preparation[]
Neural Shock, Lift—and similar abilities that will quickly disable a powerful human enemy—will come in handy during the fighting section of this mission.
Walkthrough[]
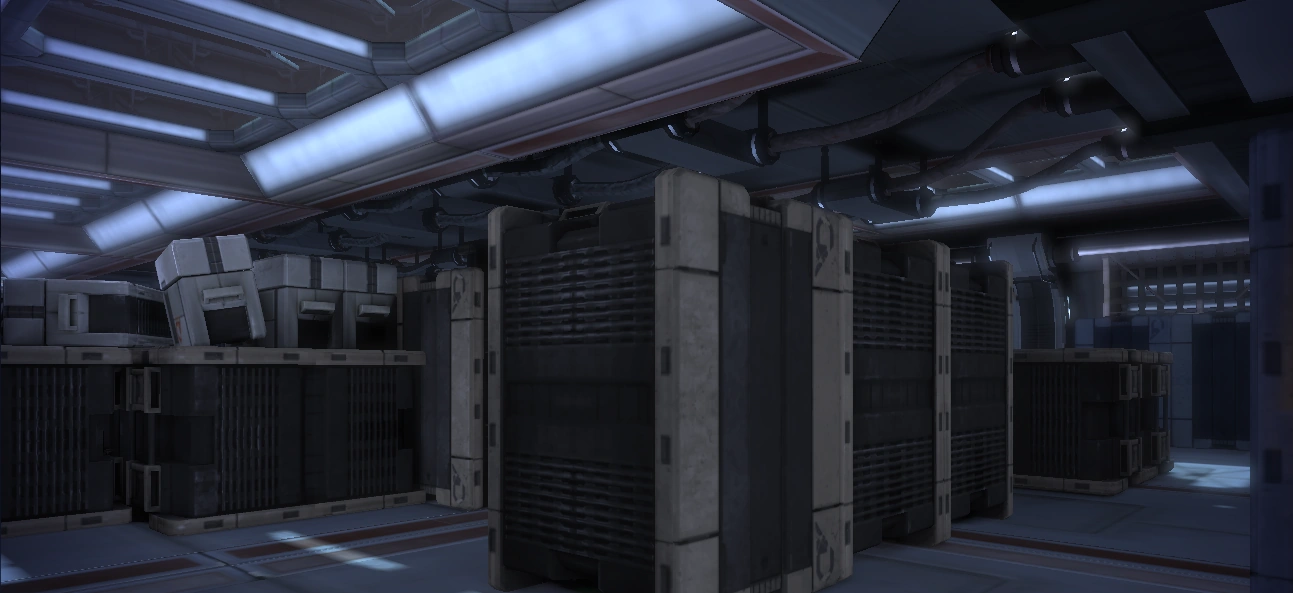
The Normandy finds the MSV Worthington adrift in the Ming system. Life support is on but the ship appears to be deserted. When you board, head out of the airlock and one of your squadmates will comment on the emptiness of the ship and how the systems are shut down. Heading to the left or behind the crate stacks in the opening room will yield unlocked crates with loot. There will be one per side.
When you get to the cargo hold, one of your team will hear footsteps and say that there is someone else on the ship. The cargo hold has Fusion Containment Cells, which will explode if you get too close. A single shot will set them off safely at a distance, as usual. Upon shooting the first one, or getting close enough for it to explode, one of your squadmates will say that it was set there as a trap and warn you to be on the lookout for more. In the middle of the cargo hold is a lootable Malfunctioning Object, so be sure to grab it either now or on your way out. Move through the hold carefully to avoid getting too close to the containment cells, and get to the forward part of the ship.

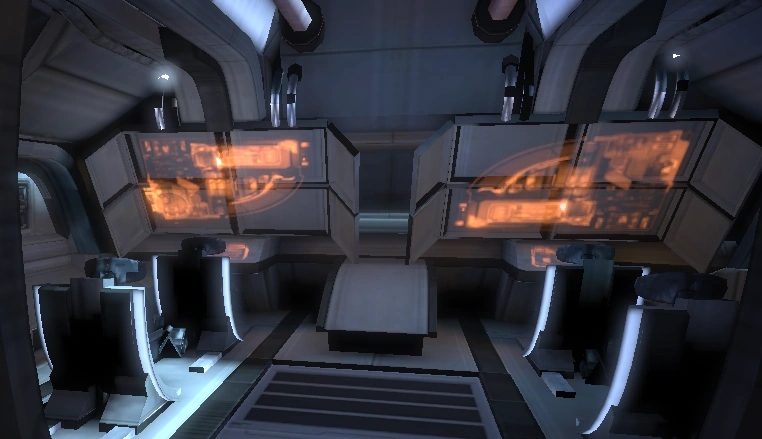
When you reach the forward part of the ship, there are three ways you can go. On the right are the crew quarters, containing a storage locker (easy Decryption) and a log about what happened aboard the ship. Straight ahead is the cockpit, with another log. In the left room is the ship's medical bay. Inside is Jacob, being kept alive via life support; a Secure Storage Locker (average Decryption); and the Medical Computer, which yields the final log.
Note: The fight can be triggered in two ways: either immediately by shutting down the life support machine or after collecting all three logs. Since collecting the logs involves unskippable cutscenes and provides only story context, those who simply want to cut to the chase can turn left into the medical bay, shut the life support down, have the fight, and then grab the three loot items in the ship.

Upon examining the Life Support Computer, your squadmates will comment that he is brain dead and the machines are keeping him alive. If you don't have all three logs, then you can choose to leave him alone for now until you have the whole story.
Whether or not you have all three logs, shutting down the life support machine will cause Julia, Jacob's girlfriend, to attack you. If you want the full story about how Julia went crazy and killed the crew to prevent them from disconnecting the life support, then examine the logs and the Medical Computer. If you have the other two logs, then examining the Medical Computer will summon Julia to attack. Obtaining all three logs will also summon Julia, whether or not you have touched the life support system yet.
Once Julia is on the attack, focus on her. Because it is three vs. one, she isn't that hard, but she is a powerful biotic. Don't let her get too close, and you should be fine. Just watch out for her biotic attacks. Once Julia is down, if you haven't, either leave Jacob's life support on, or turn it off, it's your choice and has no effects in-game. Once you are done, navigate back through the cargo hold to the Normandy. Just watch out for any containers that you might have missed.
Logs[]
Crew Quarters:
“They say Jacob's gone. They say his brain isn't functioning anymore, and they want to shut off his machines. But Jacob's the only thing in the world that matters to me. I don't know how to help him and it's tearing me up inside! I just feel so helpless. So damn angry! Dr. Smith gave me some meds to calm down, but I didn't take them. I can't. Not until I figure out a way to help Jacob. I won't give up on him. I won't!”
Cockpit:
“Jacob is showing no signs of brain activity. There's nothing more we can do for him. He wouldn't want to be kept alive by machines, so we're going to disconnect the life support. Dr. Smith is worried about Julia's reaction, though. She can't seem to let Jacob go. The stress is making her implants flare up, causing intense migraines. It'll probably be easier for everyone if we don't tell her until after we shut the life support down. Give her a chance to--Julia! What are you doing here? Why are you-- argh!”
Medical Computer:
“Jacob's not going to make it. His brain was deprived of oxygen for too long. There's nothing any of us can do for him now, except let him die with dignity. It's what he would want. I'm more worried about Julia now. She's showing signs of severe depression. I gave her some meds that should help, but I'd better warn the captain.”
Bugs[]
- A bug causes Julia to attack during the life support dialog. Squadmates can be knocked out if the conversation is not exited in time to defeat Julia.