


Saren and his troops have disappeared into a sealed bunker beneath the surface of Ilos, sealing the doors behind them.
Acquisition[]
This mission is acquired as part of the Race Against Time mission, once the objectives on Therum, Feros, Noveria and Virmire have been completed and after Shepard frees the SSV Normandy from lockdown on the Citadel.
Preparation[]
Warning: Once you head to Ilos the rest of the game proceeds in locked progression and you will no longer be able to complete assignments, access the Galaxy Map, shop, or walk around the Normandy. So before heading to Ilos finish up any outstanding assignments. Make sure you've done any final shopping you want to do from Opold, Ledra, the Alliance Requisition Officer, or the three merchant vessels from your apartment on Intai'sei if you have the DLC. Liquidate as many credits and as much unnecessary equipment as you can, because you'll still receive items or loot from slain enemies later with no way other than omni-gel to dispose of equipment and no way to deal with money overflow after 9,999,999 credits.
Select your squad carefully as this is the squad you will have for the remainder of the game. You will be fighting mostly geth of all sizes with a side-helping of krogan. Once you find the Conduit you will be operating in a zero-g environment where physics-based attacks such as biotics will be even more powerful than usual. You should be fairly familiar with your squad members' abilities at this point, but if you need extra guidance, see the Squad Members Guide.
Abilities that can knock charging krogan and large geth units off their feet are at a premium if you're trying to survive the rest of the game, so Liara and Kaidan (if he survived Virmire), make outstanding companions for their biotic talents, and Kaidan for Neural Shock. As your group's expert Prothean researcher Liara also adds additional color commentary to your story. Durable squadmates such as Ashley and Wrex, provided they're still alive at this point, also make good choices as they almost always do simply for being able to run point and absorb damage. Tali's AI Hacking ability allows her to turn almost any geth into a temporary ally especially if maxed out, making her quite useful as well, as you'll be encountering some of the nastiest geth enemies in the game on foot without the Mako to help you.
Equip yourself and your team chosen with the absolute best gear and combinations you have available—this is the endgame, so there is no reason to hold back!
Walkthrough[]
You officially begin this mission by traveling to the Refuge system and landing on Ilos. However, the subsequent cutscenes place you in the moments before entering the Mu Relay.
Normandy[]
Kaidan, Ashley, or Liara will visit Shepard in the Captain's Quarters if a relationship with them was pursued. If not, you immediately cut to the scene of the Normandy approaching the Mu Relay.
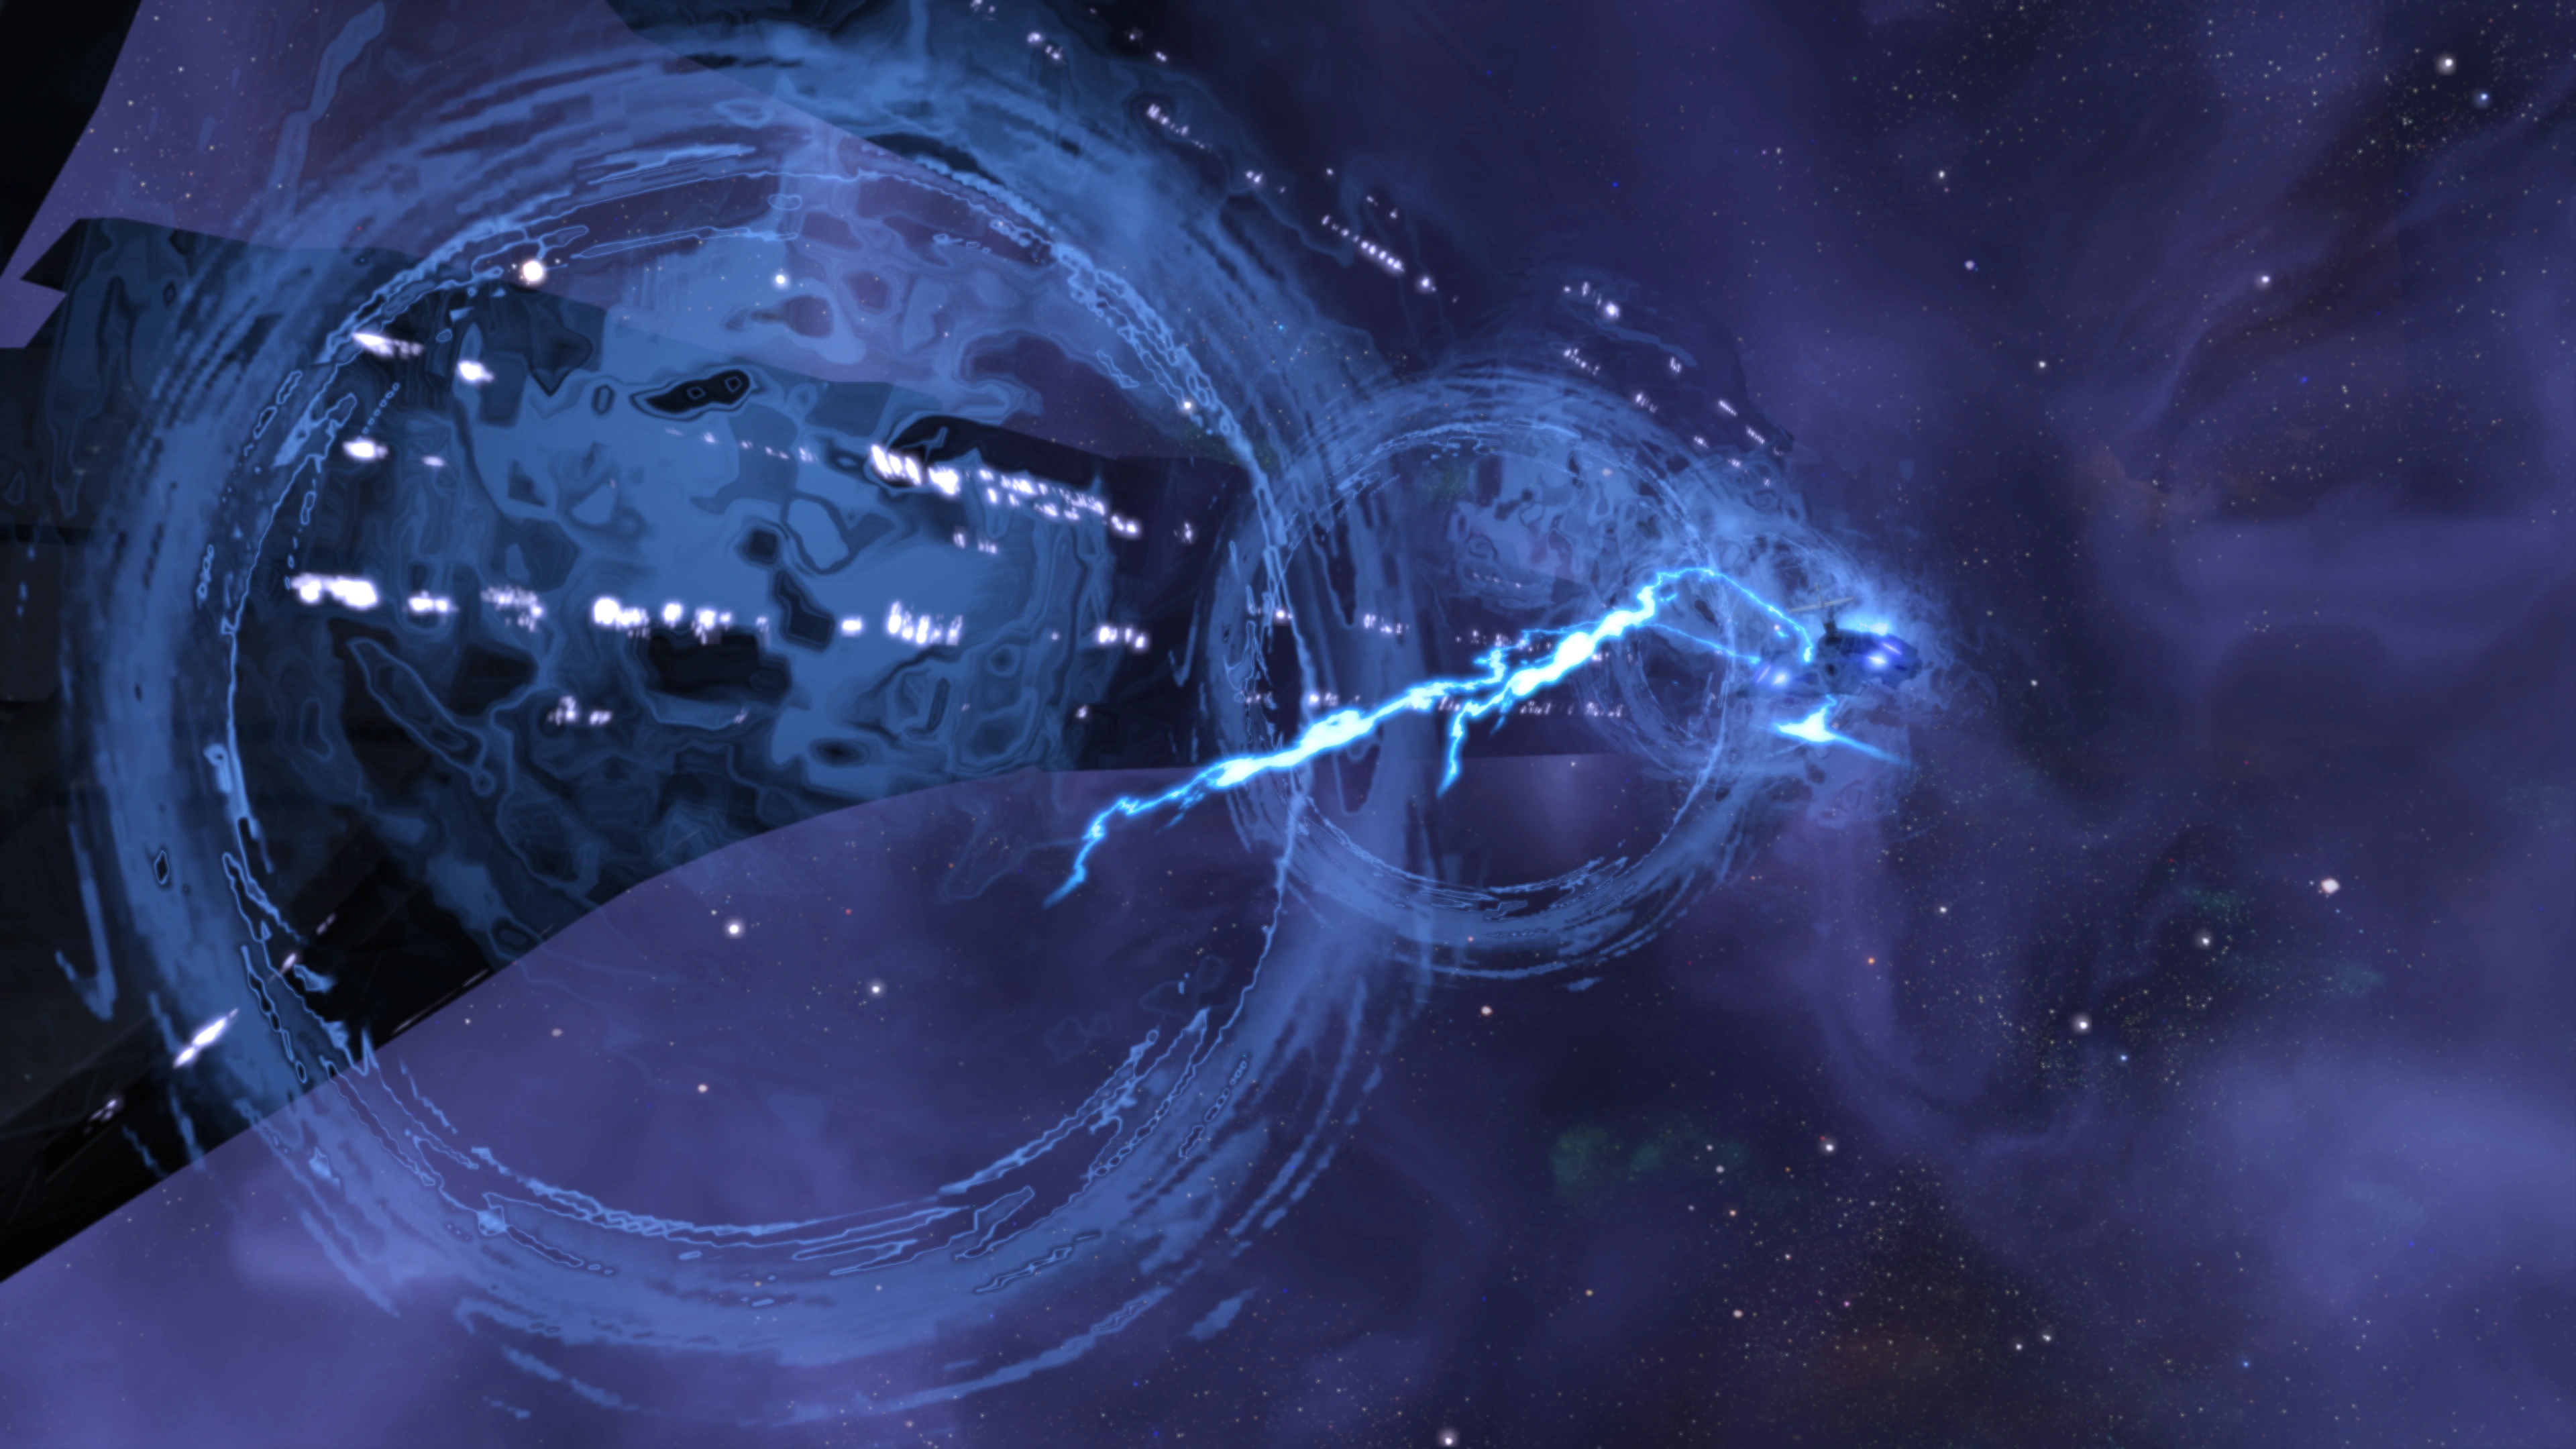
Following the conclusion of your romance, Joker calls Shepard up to the bridge. The Normandy passes through the relay and Ilos comes into view. There are quite a few geth ships in orbit. The scene shifts to the bridge as Joker points out the problem. Whichever squadmate wasn't killed on Virmire stresses that they will be spotted. However, with the stealth systems engaged they can't be seen unless someone looks out a window.
Navigator Pressly is picking up some strange reading from the surface and Shepard orders Joker to drop the squad on top of Saren. According to Pressly, the nearest landing zone is two clicks away -- too far to get to Saren in time. Shepard orders a Mako drop, but Pressly again points out a problem: there are only twenty meters near Saren, and the Mako needs 100 meters for a drop like that.
After an order to find another landing zone, Pressly says that there isn't one. Joker interrupts and asserts he can perform the drop, silencing the protests. Shepard orders the squad into the Mako in preparation for a hard landing. Now all you have to do is select your squad.
Note: Except for the autosave just after the combat drop, there are no checkpoints throughout the entire Ilos segment of the game. Make sure you save your progress often. Legendary Edition: Autosaves have now been added in certain locations, though manually saving often is still good advice here and everywhere else in the trilogy.
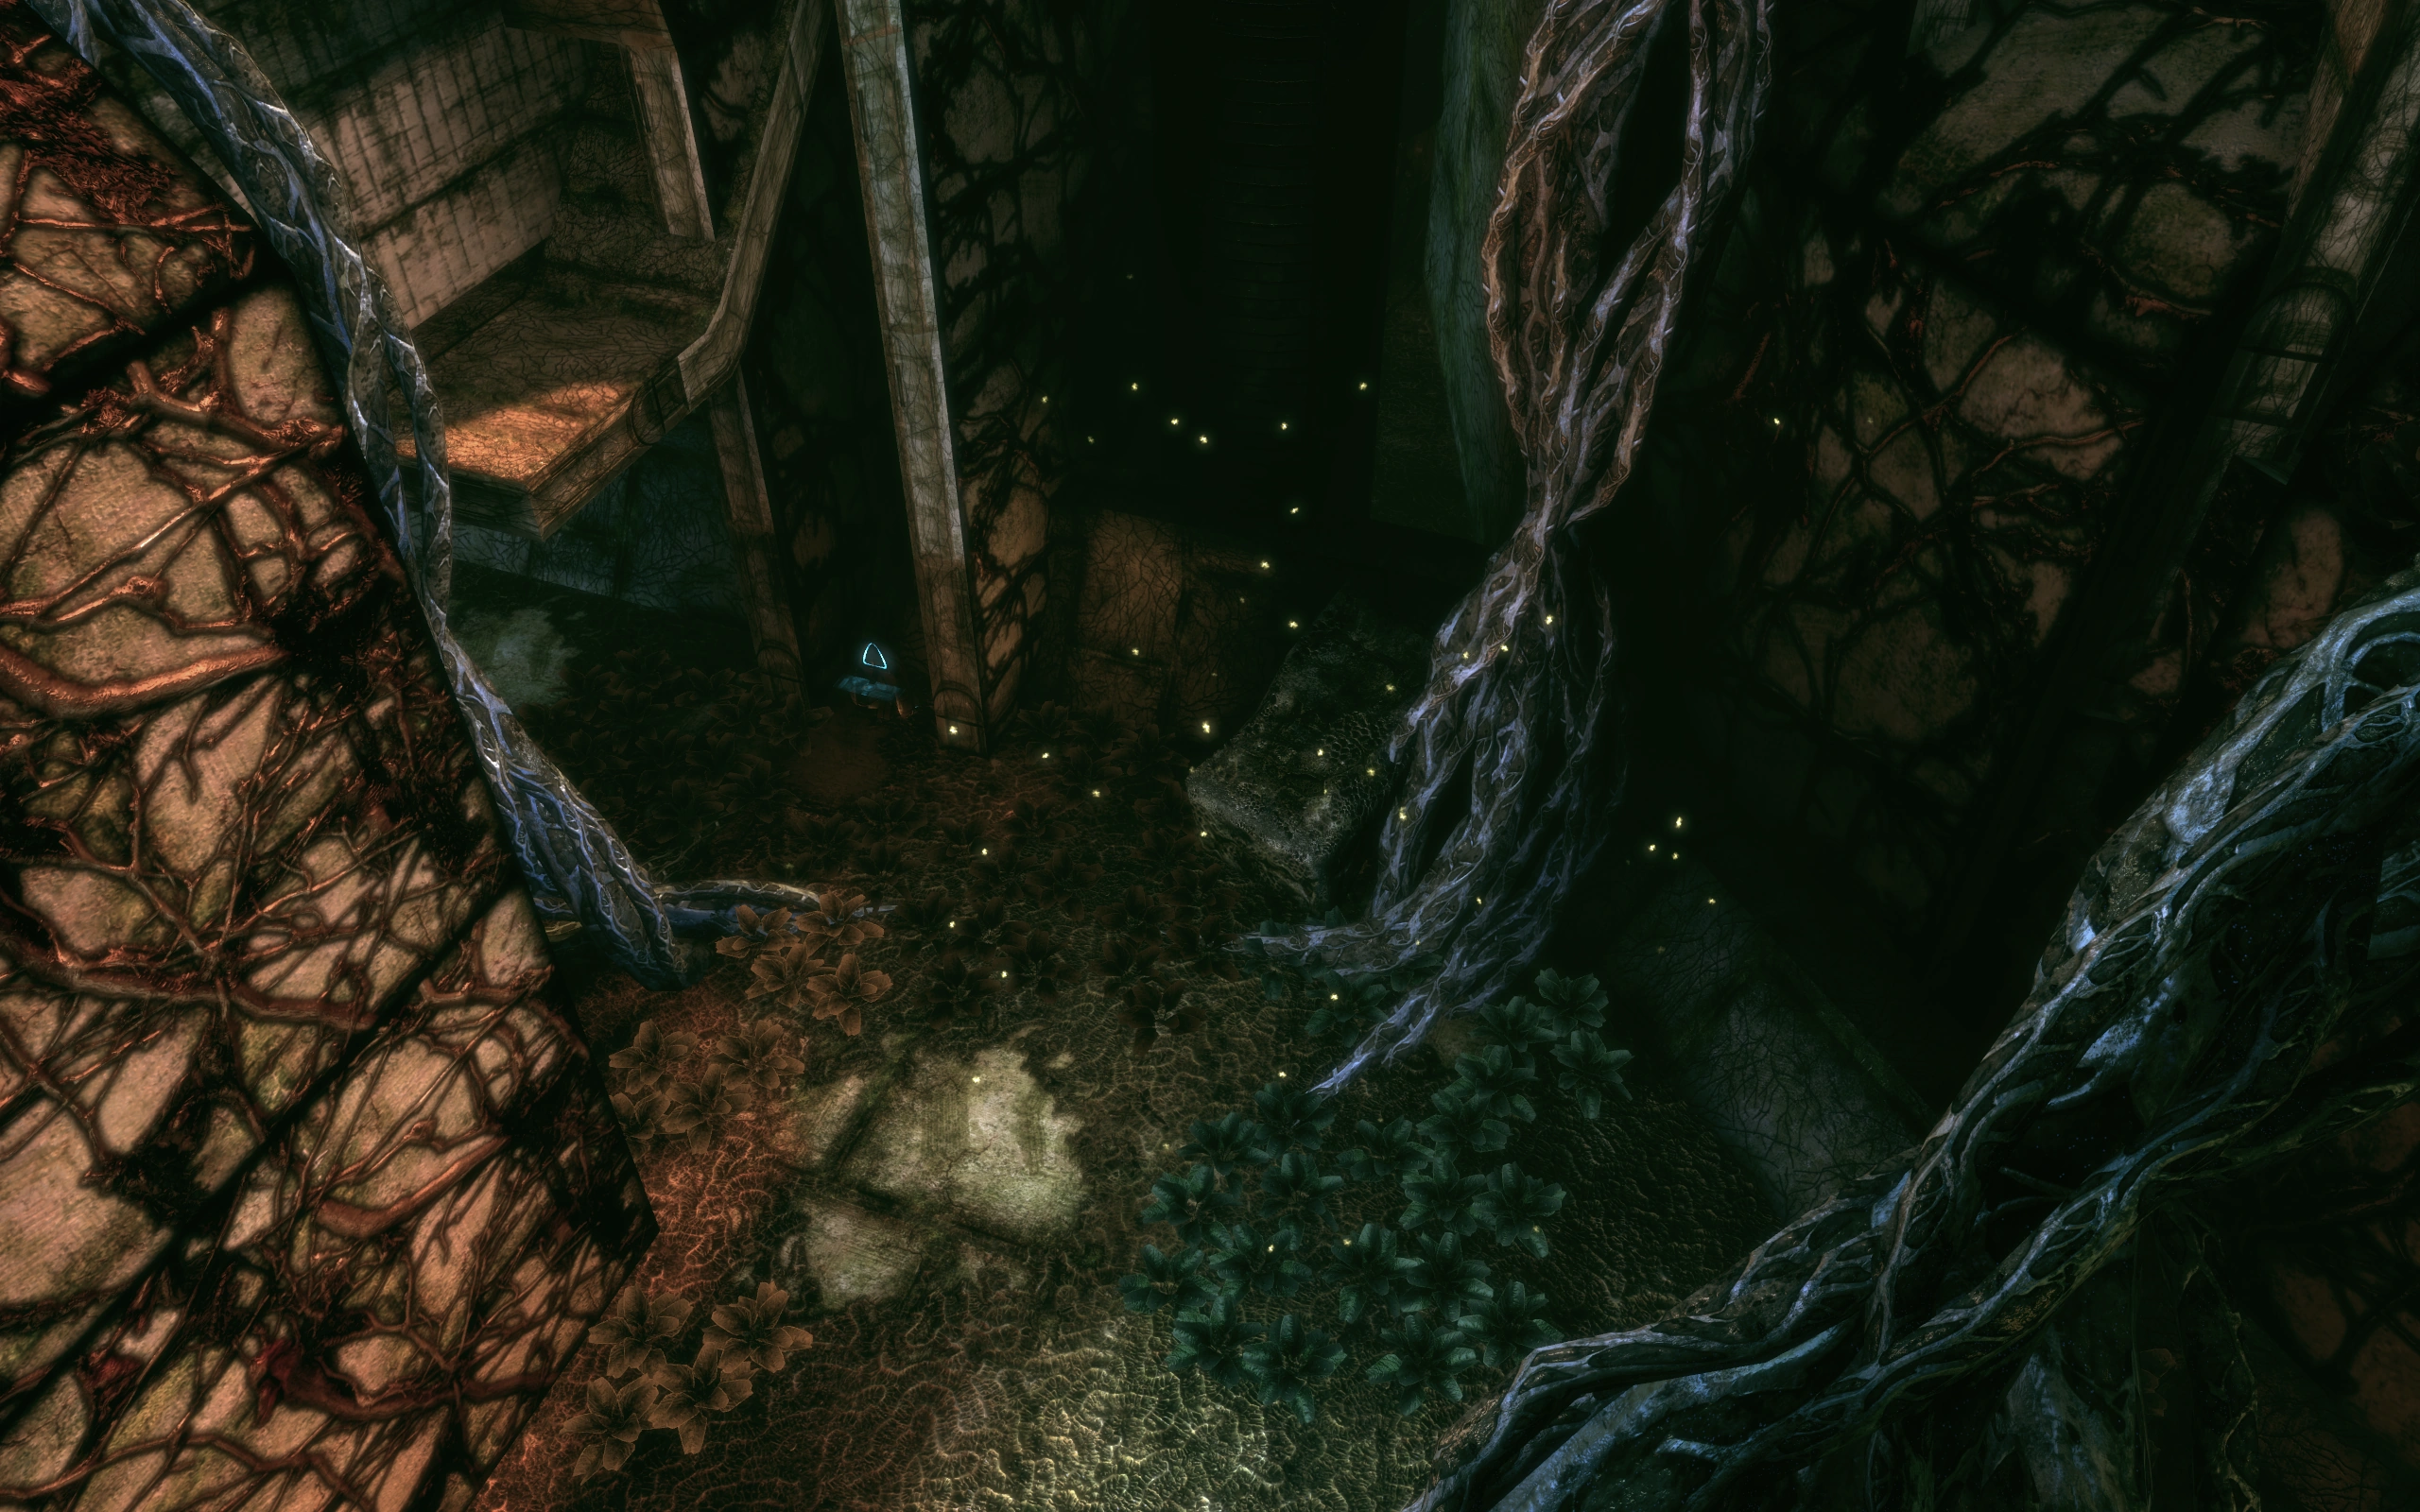
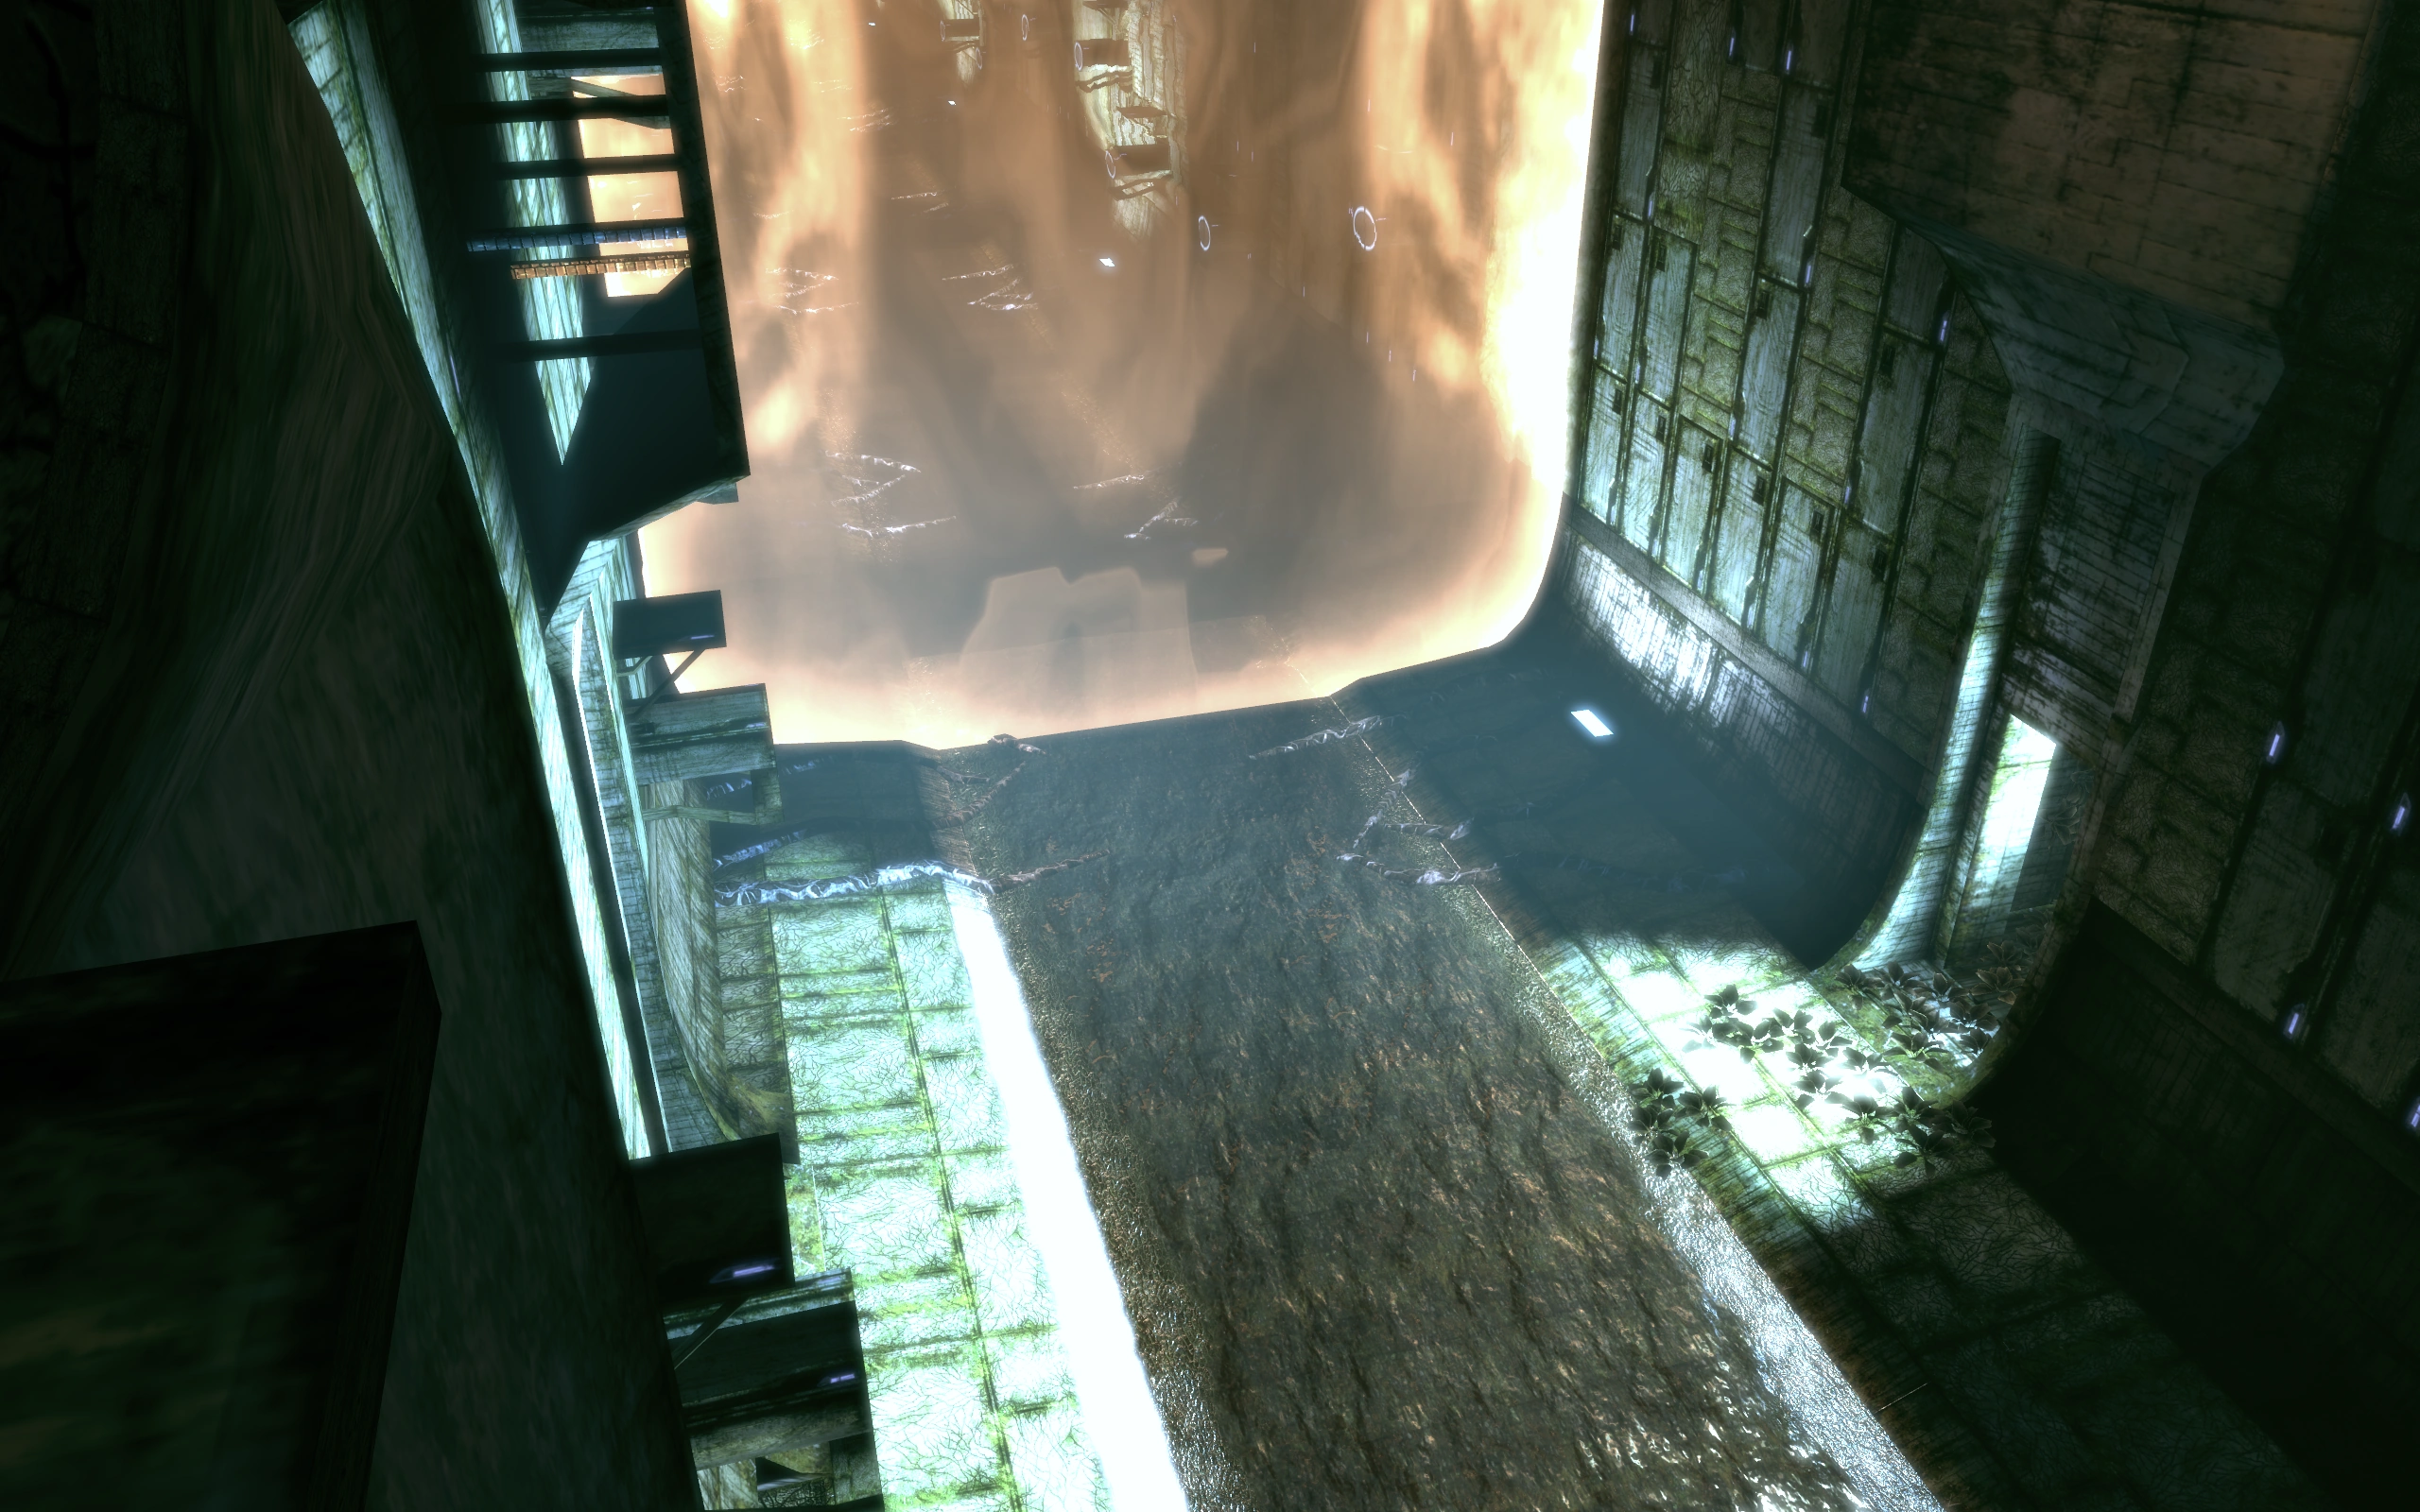
The Plaza[]
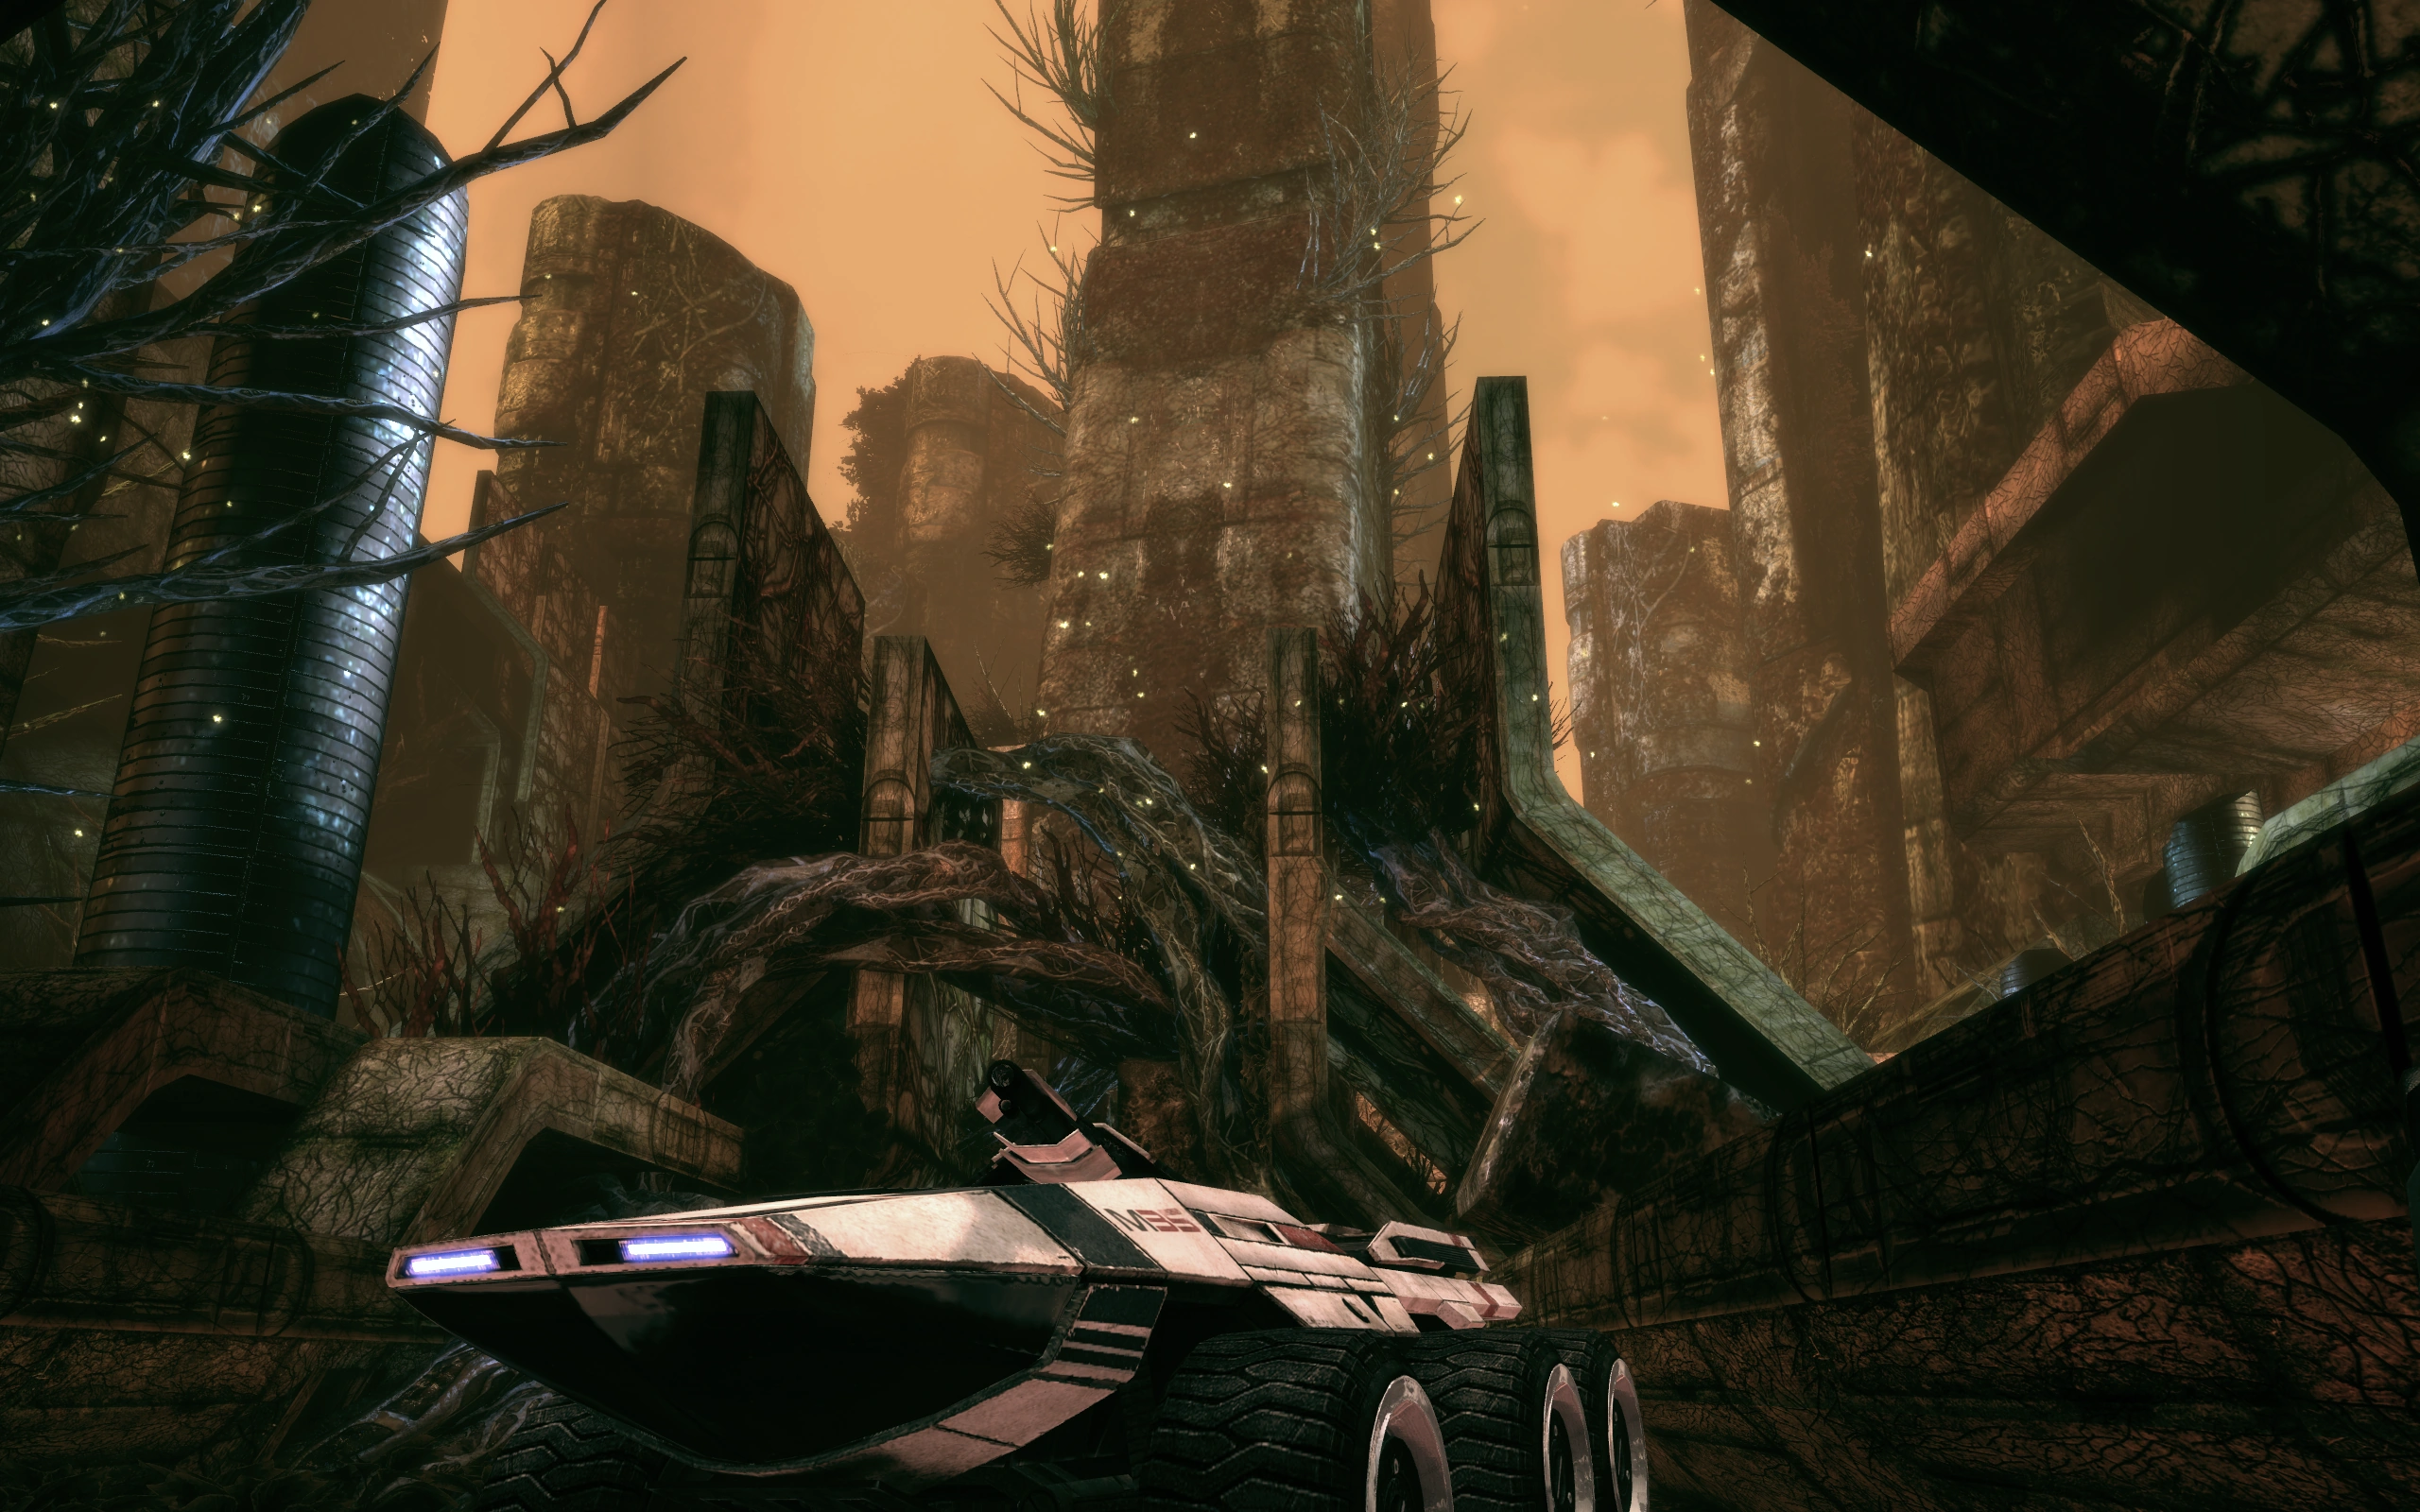
The scene shifts to Ilos’ surface and Saren walking into a large structure surrounded by geth. However a noise attracts his attention and he sees the Normandy screaming down from the upper atmosphere. Joker is hunched over the controls, and Saren recognizing the danger, yells at the geth to get inside so he can seal the doors. At the last second Joker pulls the Normandy out of the dive as the Mako roars out of the cargo bay, lands, and rolls to stop just outside the doors as they close.
Shepard and the squad exit the Mako and make comments that they aren’t getting through the doors even with the heaviest weapons they have. So find the way that Saren opened them and use it to get to him.
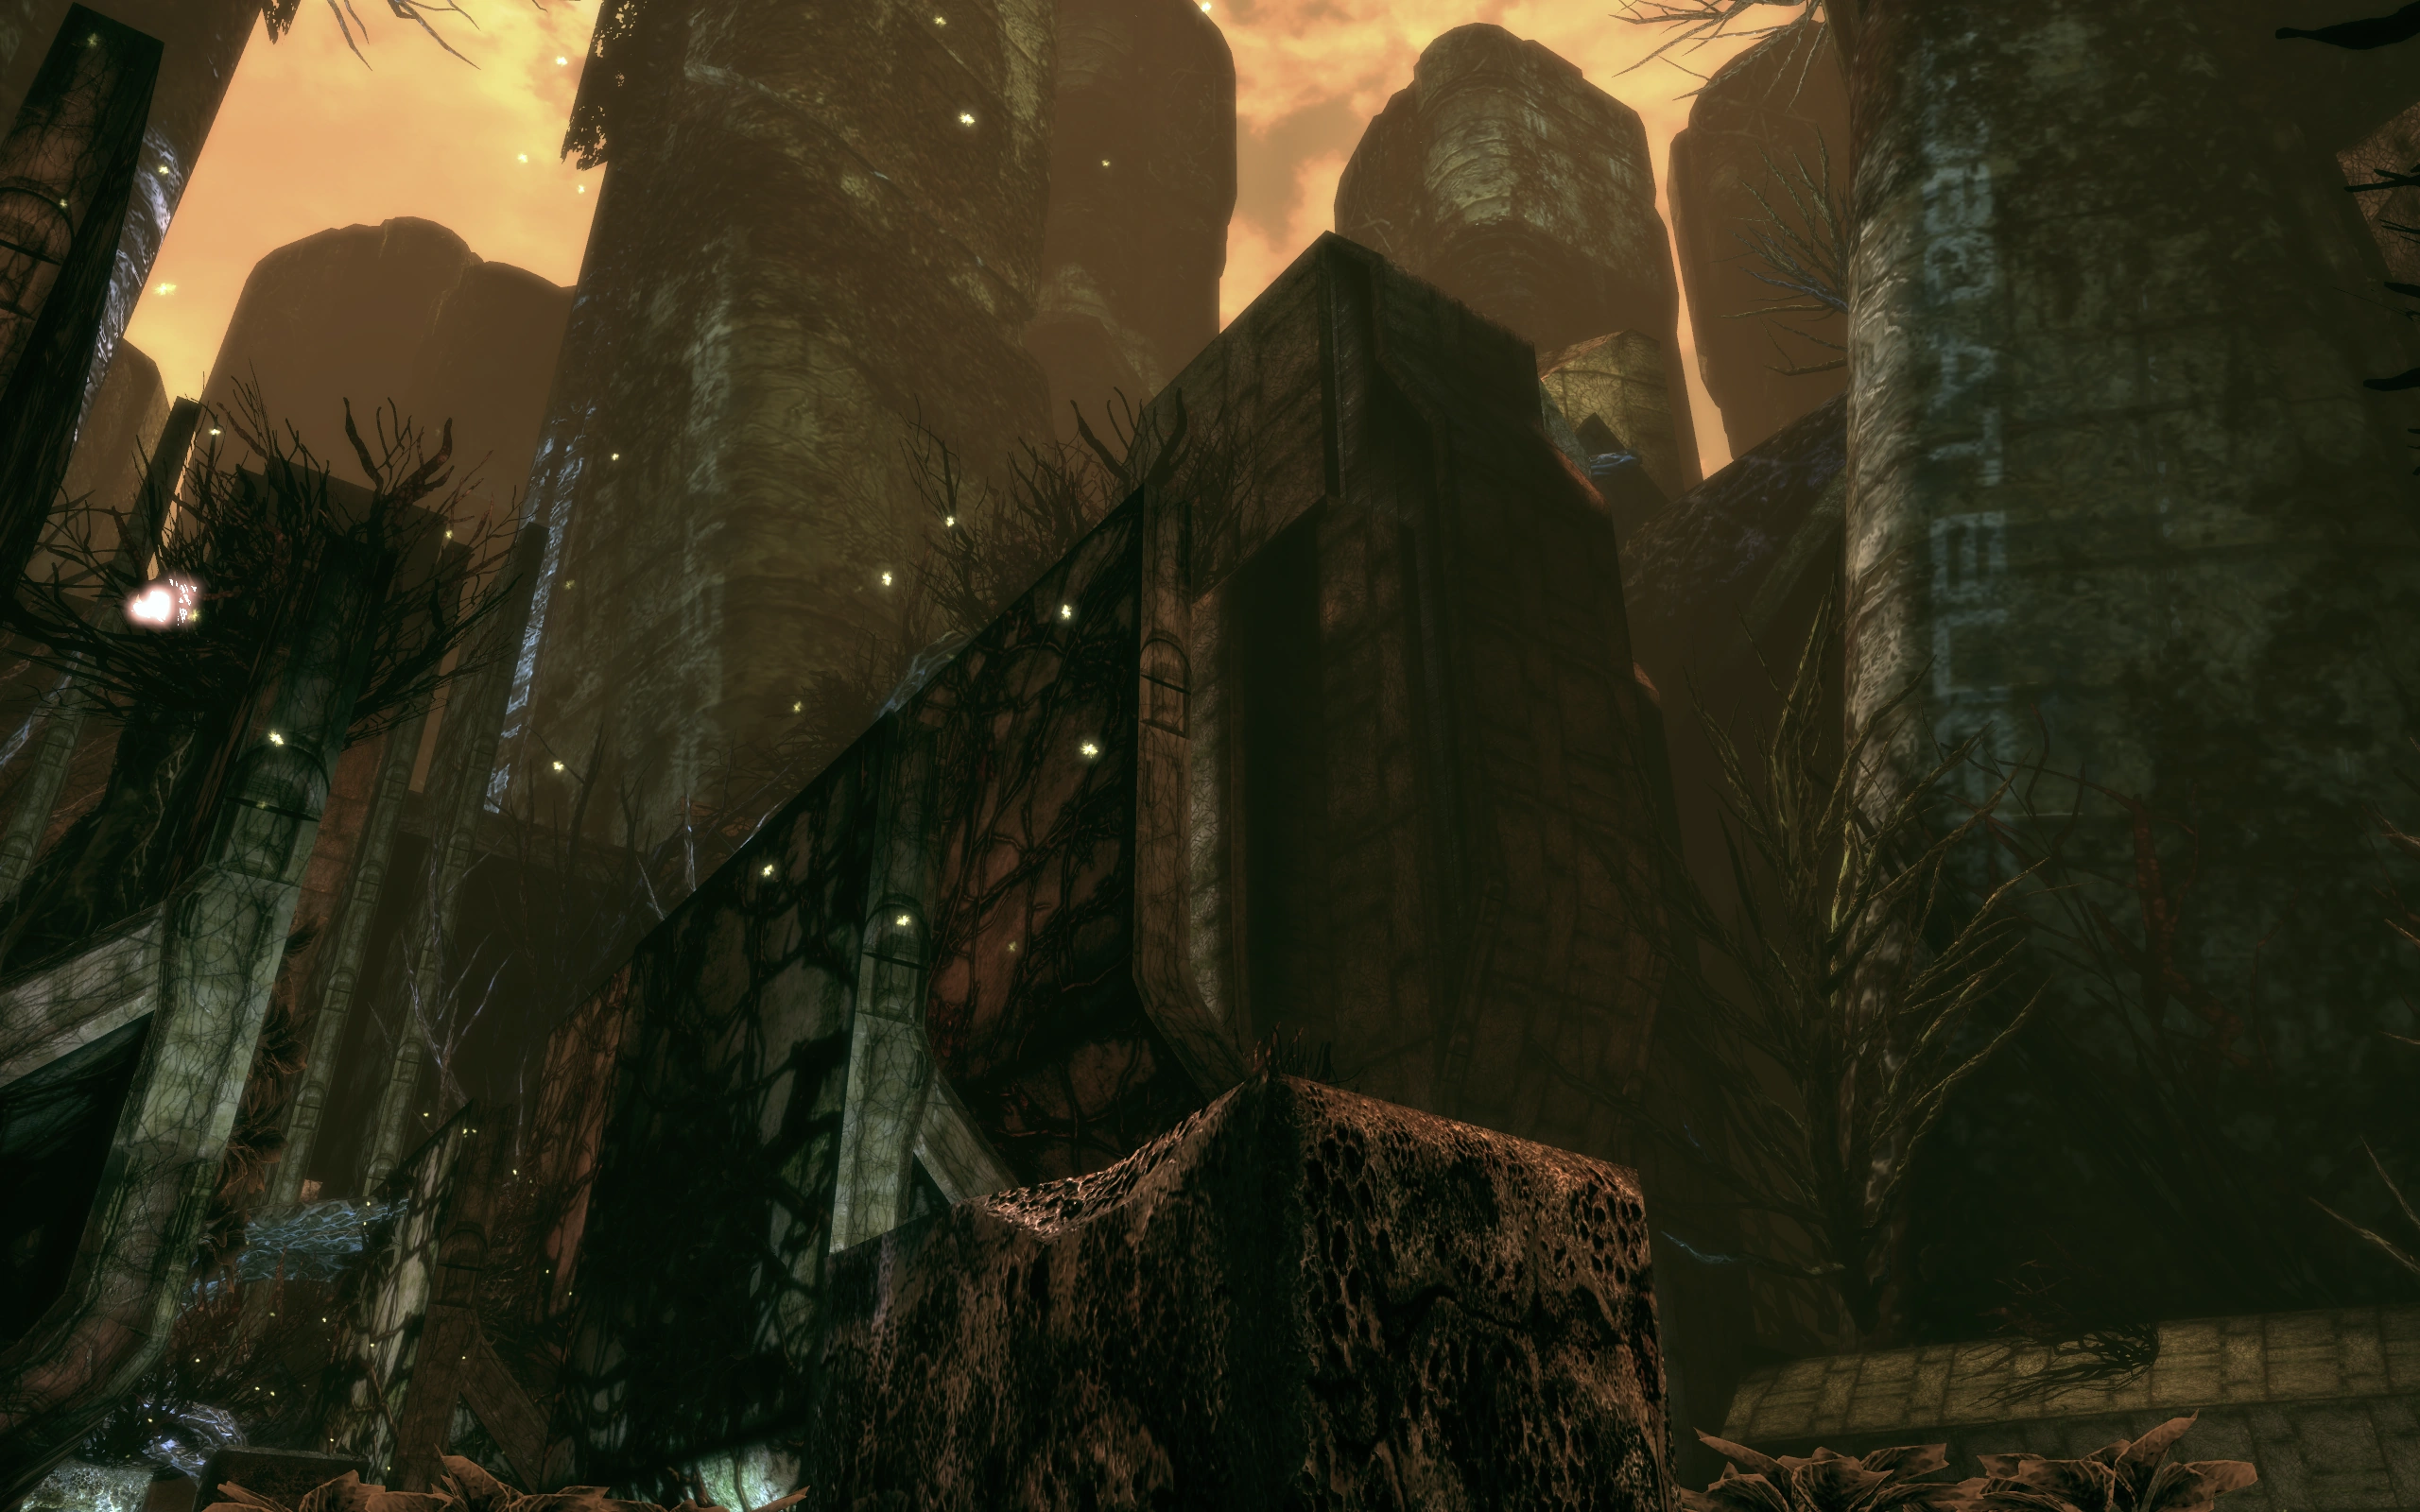
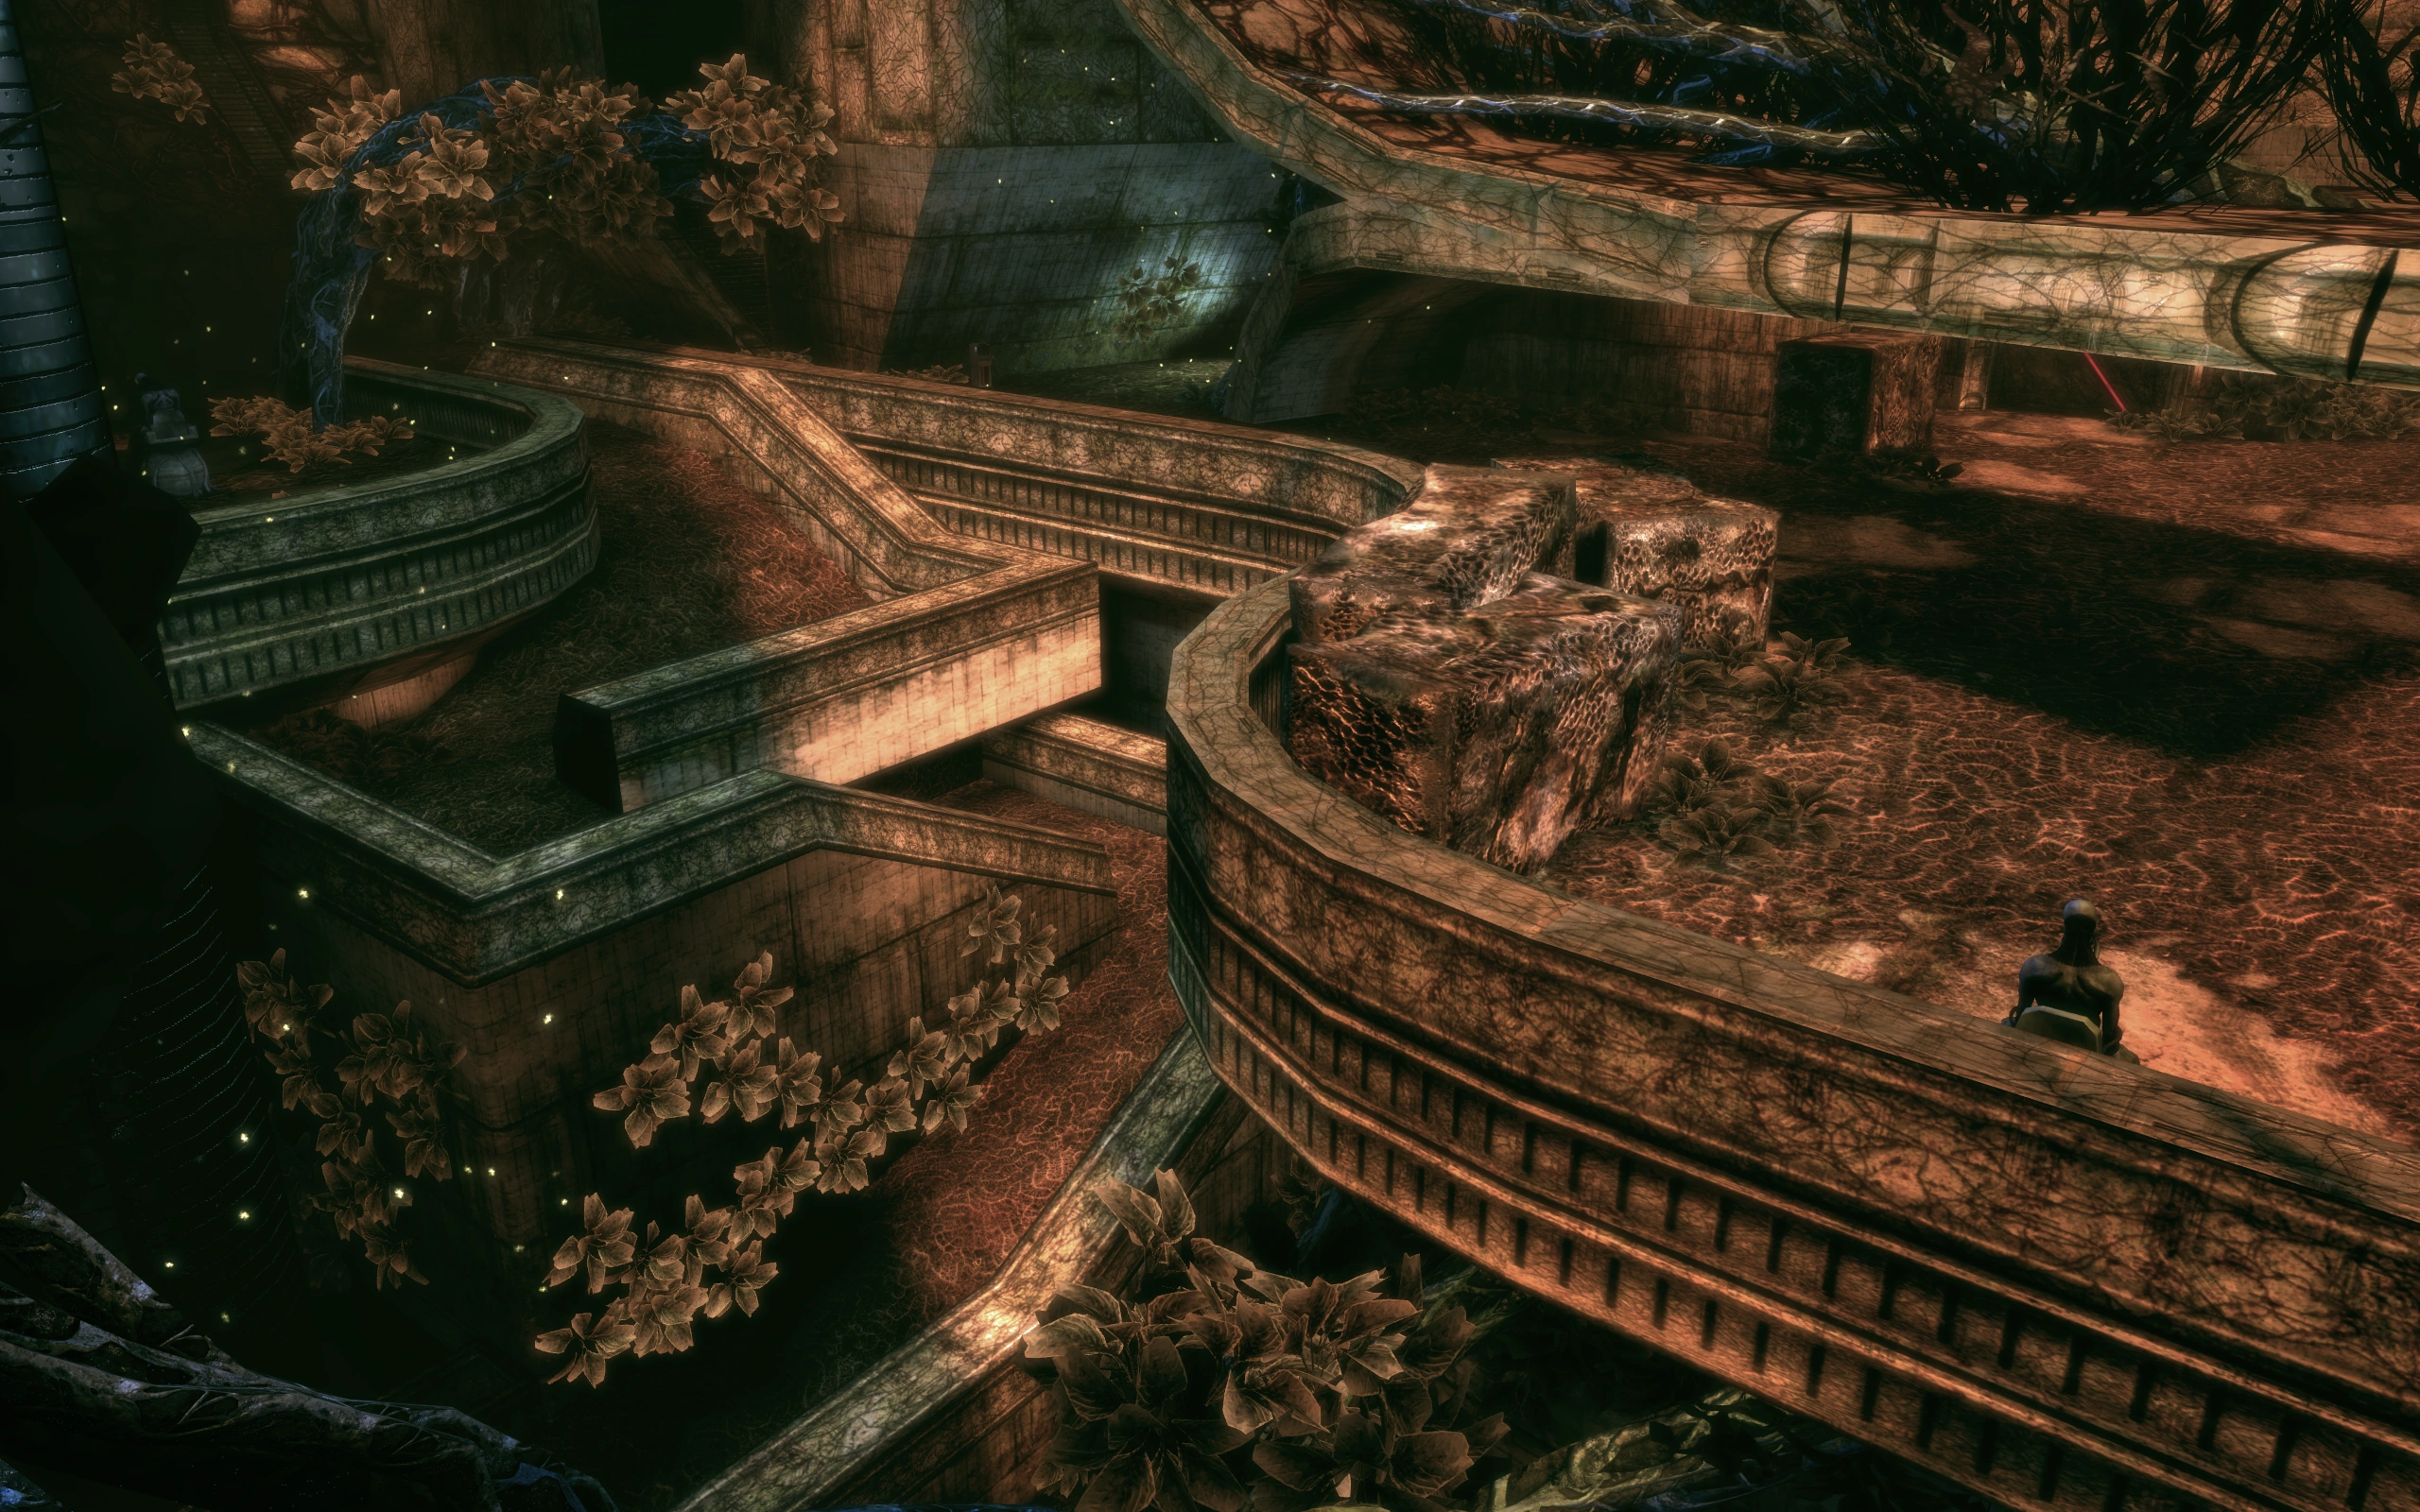
When you regain control turn around and head back into the ruins. When you start walking for just a few feet you encounter some Geth Troopers so make sure they don’t get to give the warm welcome that they intended. Moving up, you reach an open plaza with little cover. Watch your left and right because there are plenty of geth here. You can actually board the Mako and use its weapons to finish off incoming geth, though it has no room to maneuver and isn't going anywhere else until you get the bunker door open.
Coming up from the stairs to the right are Troopers, Geth Shock Troopers, and Geth Rocket Troopers. To your left are two Geth Armatures. To your front next to the presently locked elevator is a Hardened Crate (hard decryption). Use the limited cover to take out the foot soldiers first before focusing on the walking tanks. The Armatures won't activate until you come within a certain range, so if you stay well back you can finish the other geth before they wake up.
Note: Before engaging the Armatures, be aware that there is an Armature Control console (hard decryption) on the lower level that can disable the Armatures (at the cost of the experience that killing them would provide, but on higher difficulty levels you may be more interested in survival than experience by this point). If you wish to pursue this method of progress, head directly to the right and down the stairs. The plaza forms a loop with the ruins below, so if you follow this route you'll eventually emerge behind the Armatures.
If you choose to fight the Armatures, there is more cover available when dealing with them so use it and only step out to shoot or use powers. Keep your squadmates in cover as well. By now, at least if you're not playing on Insanity level, you may well survive a direct hit, but don't tempt fate. Use Overload, Warp, Throw, and any other powers to keep them off balance and from shooting back.
If you head down to the lower ruins using the right route (or west if consulting your map) you may encounter a geth or two that didn't come up to the previous battle so take them out. When you reach the bottom, there is a large room off to your left that has some pesky Geth Sappers and Geth Stalkers in it. You can use Lift or Throw if you have them to get the Hoppers to calm down a bit so you can better aim at them. There is a Locked Crate (easy decryption) in the corner once you've dealt with the irritations.
Proceed then to the trench labeled in your map. In it is the aforementioned Armature Control station for disabling the Armatures upstairs. You can still hack the console for some experience points even if you already killed the Armatures.
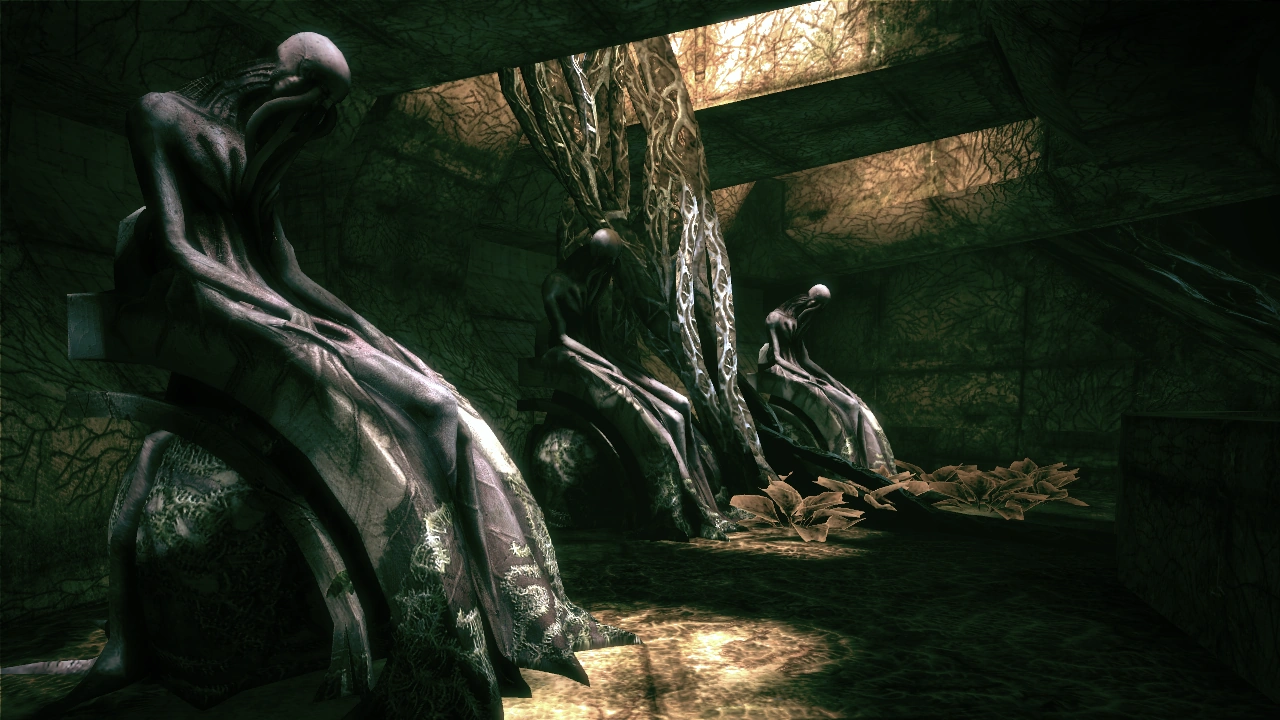
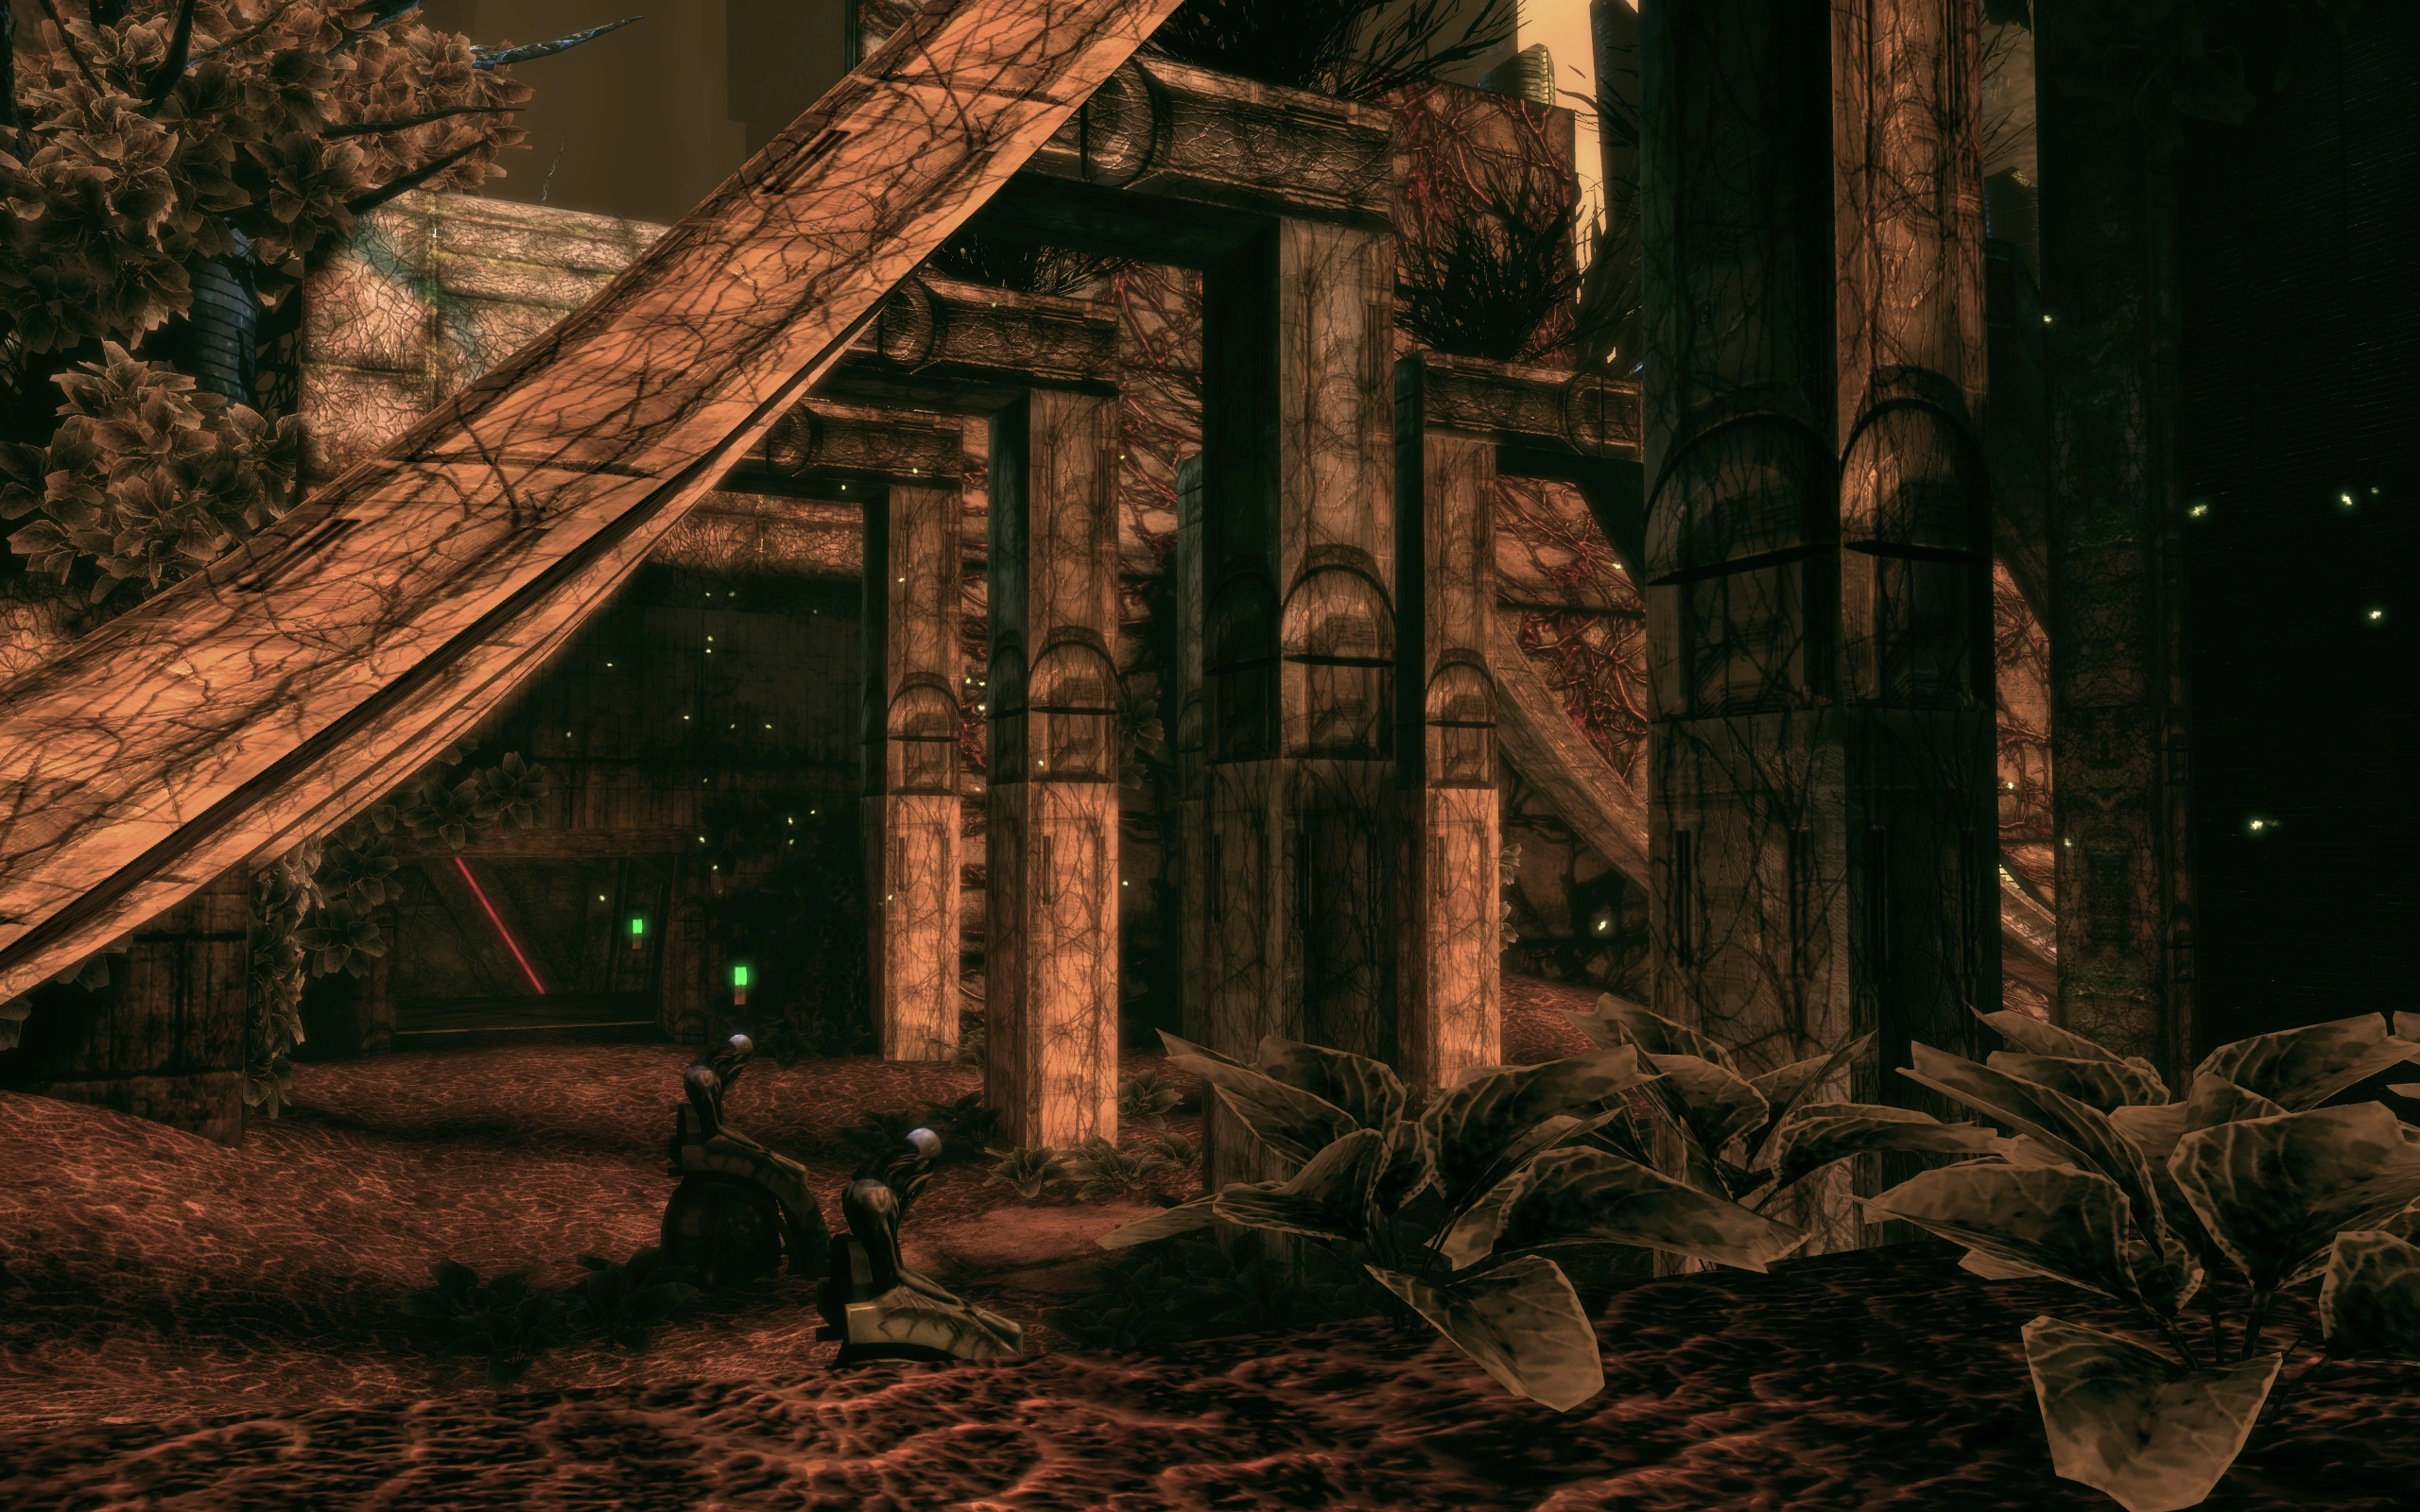
Once you cleared both lower and upper ruins (or not and you're in a hurry), proceed south of the plaza and follow the route that leads into the courtyard. You can't miss this route, there's a lootable crate here that doesn't need decrypting as well as rows of the tentaclebearded sculptures on both sides. Eventually you'll trigger an autosave then come across a corner where you can proceed forward or follow the path to the left. This gives you a good sniping point on the enemies below in the courtyard, however if you go too far then you will drop into the courtyard where there is little cover.
The Courtyard[]

No matter your choices it is better to snipe first because it can take down the Geth Destroyer and its escorting Shock Troopers before they can overwhelm you. Well at least then you can fight them from cover as they come up and around from the path. If you have the AI Hacking skill to at least Advanced (the middle) skill level, then use it on the Destroyer because it makes short work of the Shock Troopers. Also even if they escape and attack, then you have cover in order to deal with them. When you're ready to take out the Destroyer you can Lift it to make it easy to shoot and keeping it from attacking you at the same time. When they have been dealt with head down the path, DO NOT drop down into the courtyard.
As you round the corner at the end of the path there are two more Shock Troopers on an elevated platform. There is little cover here, but these aren't tough enemies at this point in your career. When they are down head into the courtyard and head left into an elevator that takes you up to where the Shock Troopers were. Note: You cannot drop down from the upper platform, you have to take the elevator down again. As the place is indefensible wherein you're essentially on a coverless shooting gallery, DO NOT explore this area until you've eliminated all threats or you're confident you can take on the challenge.
In the mess of pillars that lies to the south of the courtyard is an active elevator, one that your map indicates goes a long way. It is defended by five Geth Sappers. Use the cover to shoot them full of holes however there are places where they can shoot you that you can’t shoot back. If your squad is reasonably tough send it forward and they will be able to shorten things for you. The key here is to stay in cover and have patience when taking out these attackers; again the Lift ability can calm them down and make them easy to aim at.
The only lootables in the vicinity are two Secure Crates (average decryption), one along the wall where the Destroyer and Shock Troopers were, and one on the elevatored platform where the Shock Troopers were. Proceed to the long elevator when you're done with the area. Note: While this is a point of no return in that the elevator will be disabled once you go down, there's no need to backtrack now for anything missed since you'll be emerging at the plaza later anyway.
Security Station[]

While the elevator chugs along, one of your squadmates comments that the place must have its own power because the elevator is still working. When you reach the bottom, approach with caution because this can be a difficult battle especially on higher levels. An autosave is generated after you step out of the elevator.
When you reach the area labeled Armature Bay on your map, note that there are four "Armature Control" panels (hard decryption), and if you have sufficient ability you can use them to activate Armatures which are of great value in distracting and destroying their fellow geth. You will get full experience for any geth the Armatures kill.
Inside the large room are a Geth Prime, Geth Juggernauts or Destroyers (difficulty dependent), Troopers, Rocket Troopers, and Shock Troopers. Trying to go past this force in order to activate the four Geth Armatures right away can prove problematic, but even on Insanity level it is fairly simple to quickly hack the one at near on the left/right and then retreat rapidly down the hallway you entered from - be sure to disable the Geth Prime (Sabotage works well) as well as activate defensive abilities if available, such as Barrier or Immunity. Once you get a single Armature active, it often proves quite distracting to the geth, allowing you breathing space to get a second Armature online, and so forth. Done right, you'll barely have to shoot.
There are ramps on either side of the security room which you can dart up to get to an upper platform that gives you a lot of cover and a great firing position. Retreating back down the entry hall towards the elevator is also viable, as it tends to result in the smaller geth moving out ahead of the larger ones making them easier to thin out.
When the geth are down, head up the T-shaped ramp at the back of the room, and you will reach the security console. Activating it will disable the lock on the archive door, as well as display a badly distorted holographic recording. While concerned about it, your squadmates don't understand the message. On the other hand the words that remain on the recording are clear to Shepard, and the squadmates discern that the Cipher must have transferred knowledge of the Prothean language. The communication is basically a warning about the Reapers and Shepard explains to the squad that it must have came too late. The communication then changes to a more serious tone, however it becomes completely scrambled and untranslatable.
There is only one lootable in the area: a Hardened Crate (hard decryption), in the alcove east of the security room going by the map.
Head back down the stairs and up the other elevator. Note: This is a point of no return, as the access points are sealed shut at both ends. You end up back at the plaza: loot the crate there if you haven't already, sweep the area if you missed anything, head back to the Mako, and drive. As you approach the Mako one of your squadmates wants a vote on taking the vehicle into the creepy underground bunker. The other thinks it's a good idea, as the firepower will come in handy. Another autosave is generated as you enter the tunnel.
Note: Technically you can walk the entire length of the very long path, but it is time-consuming and inevitably you'll require the Mako anyway to end the mission.
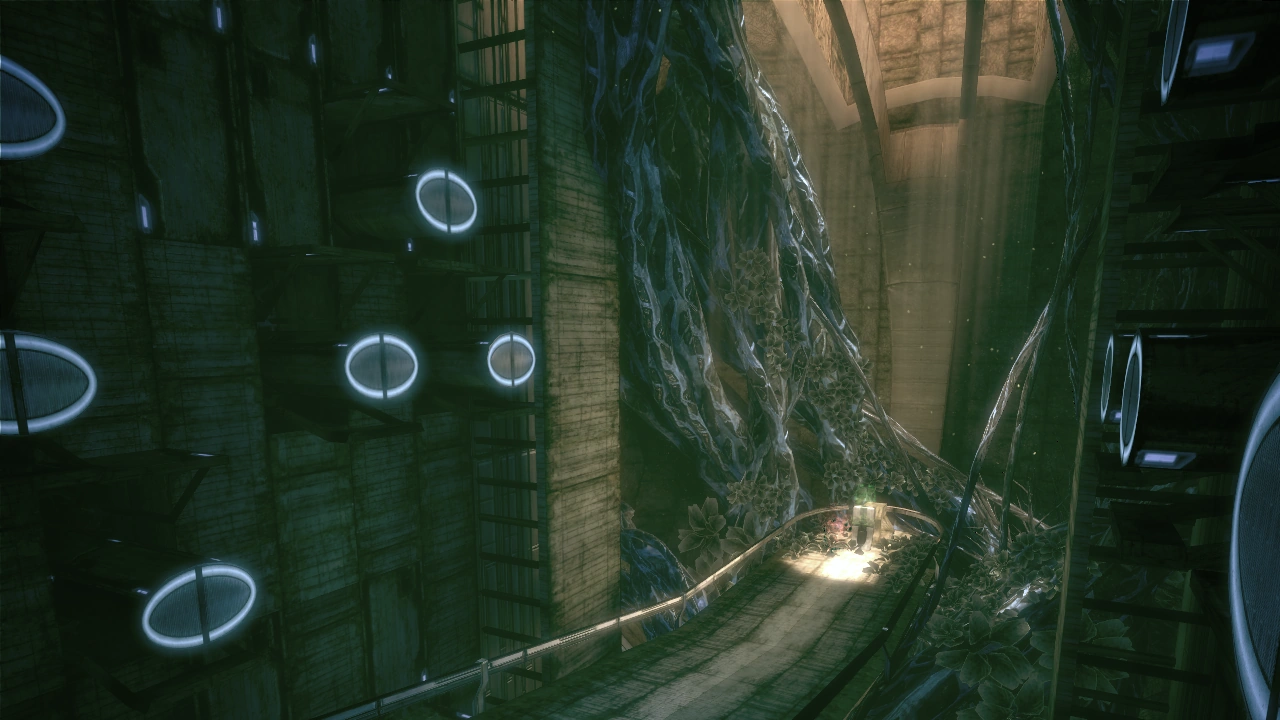
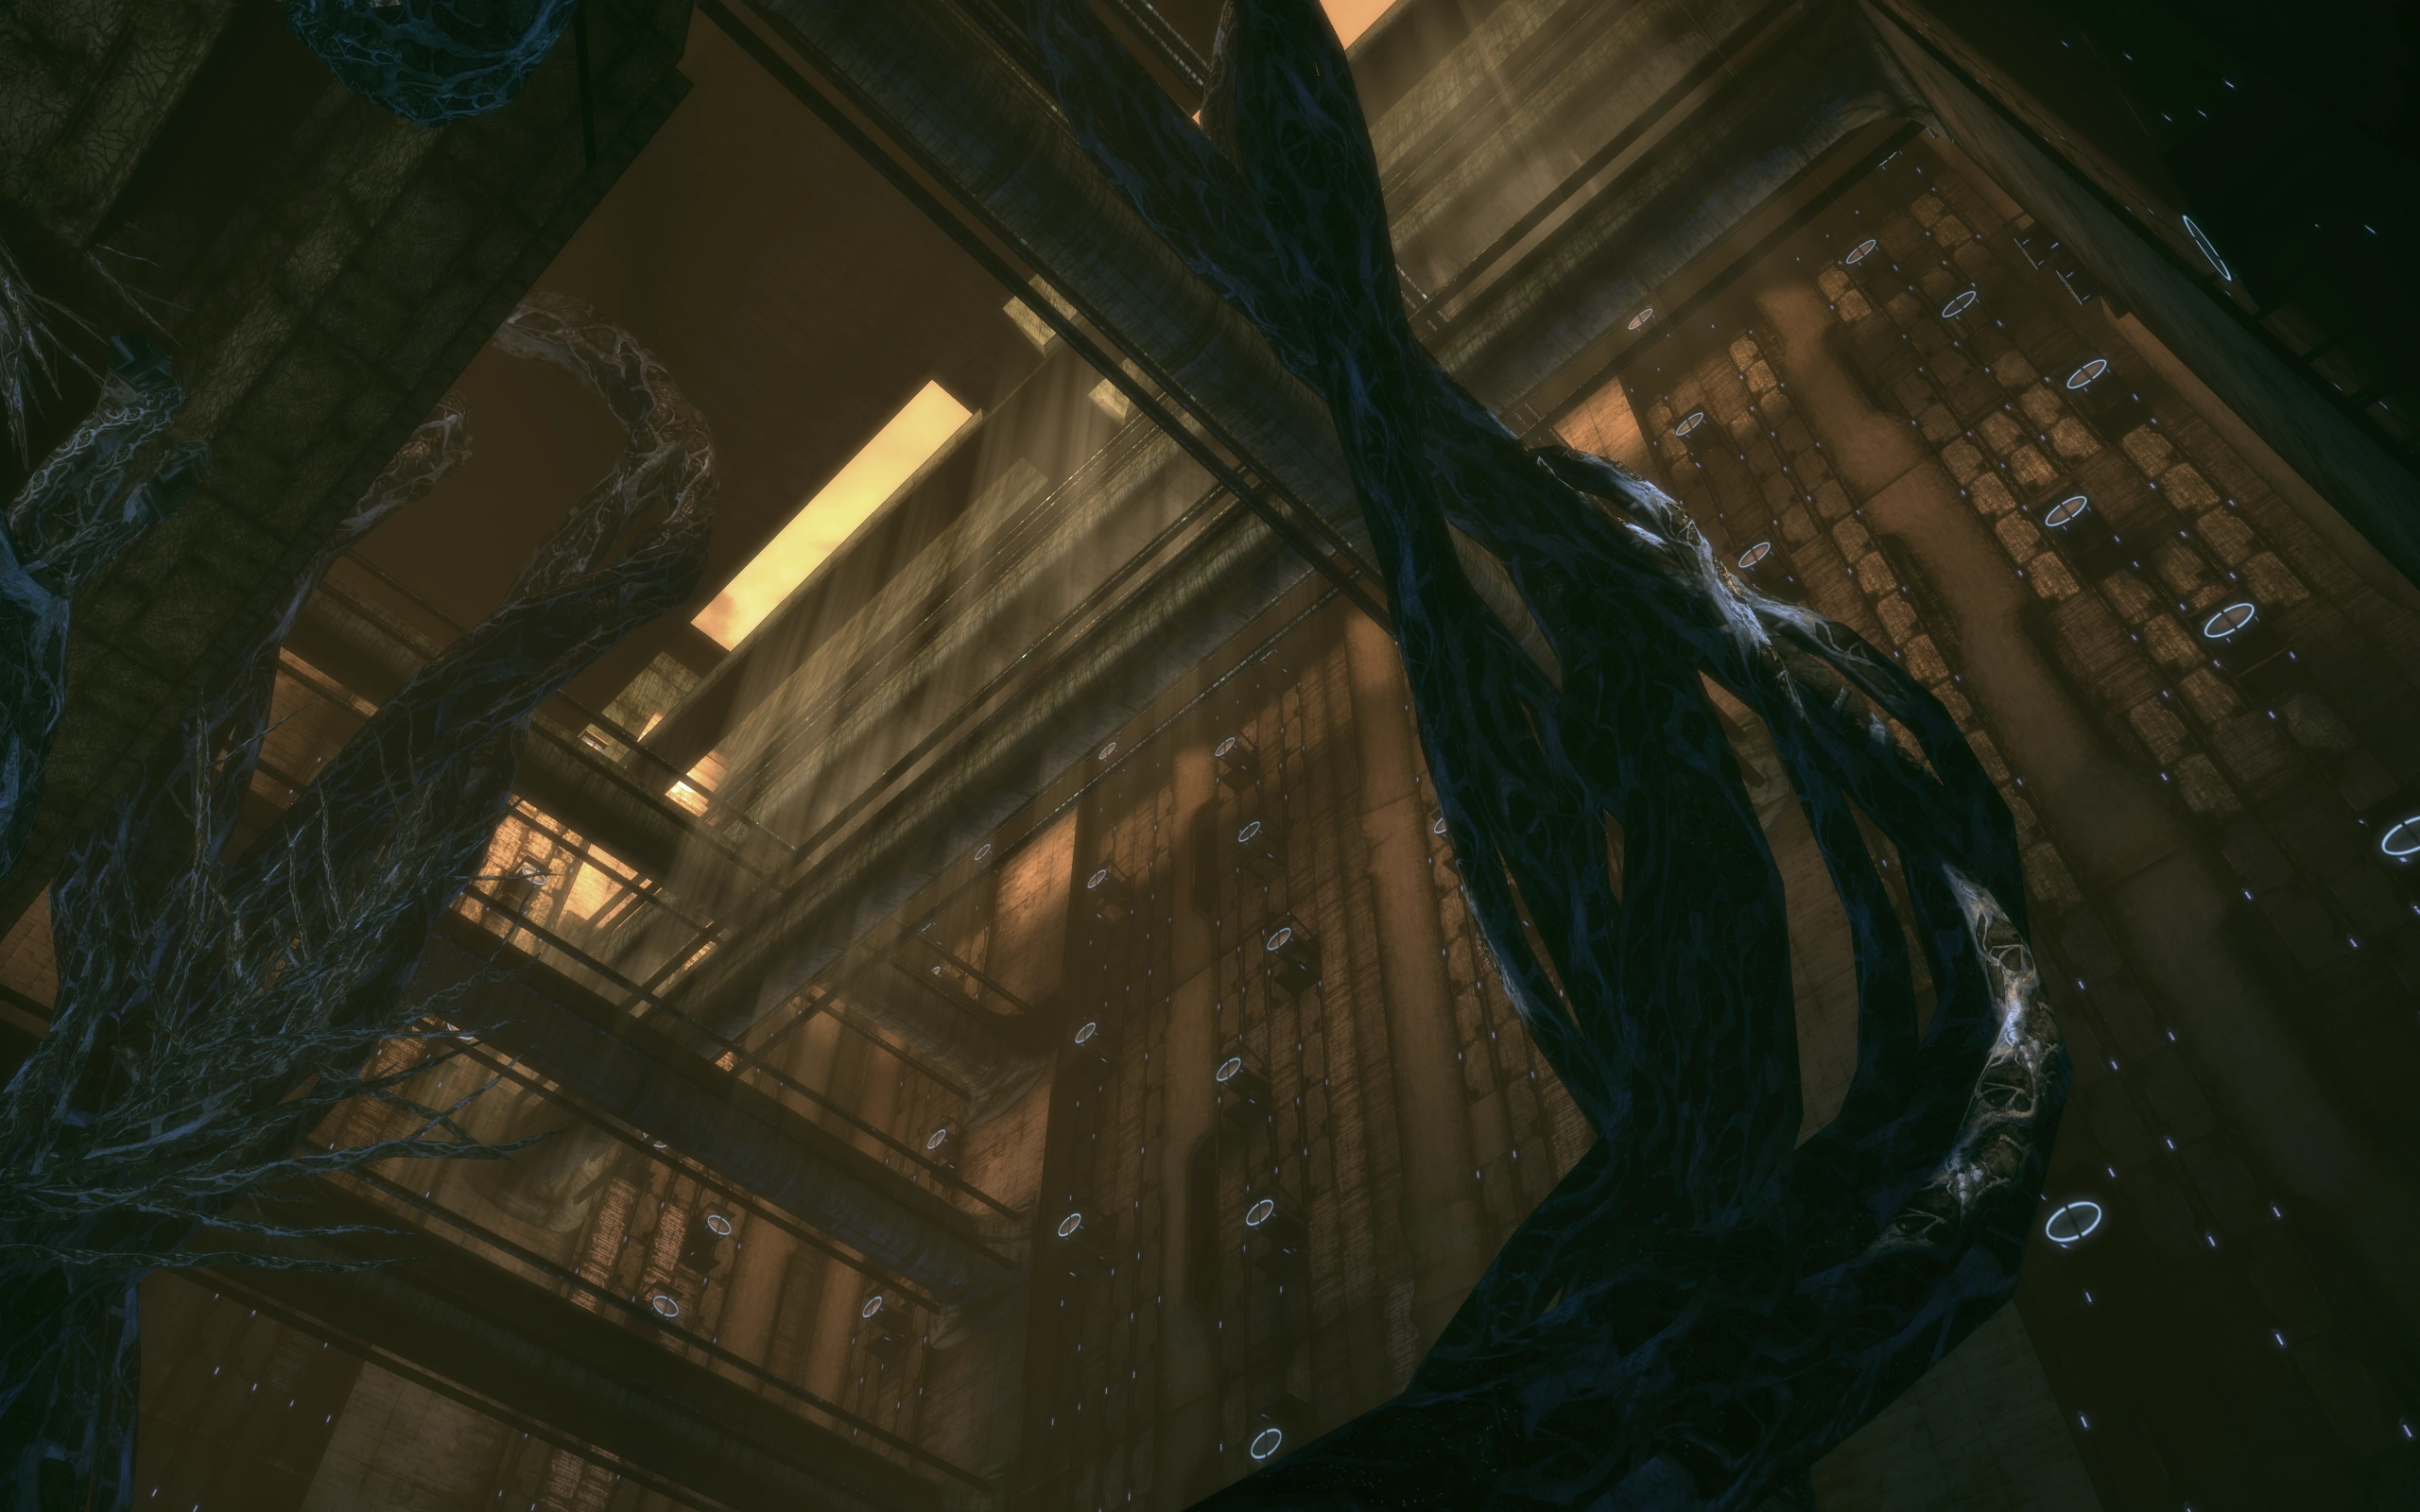
The Archives[]
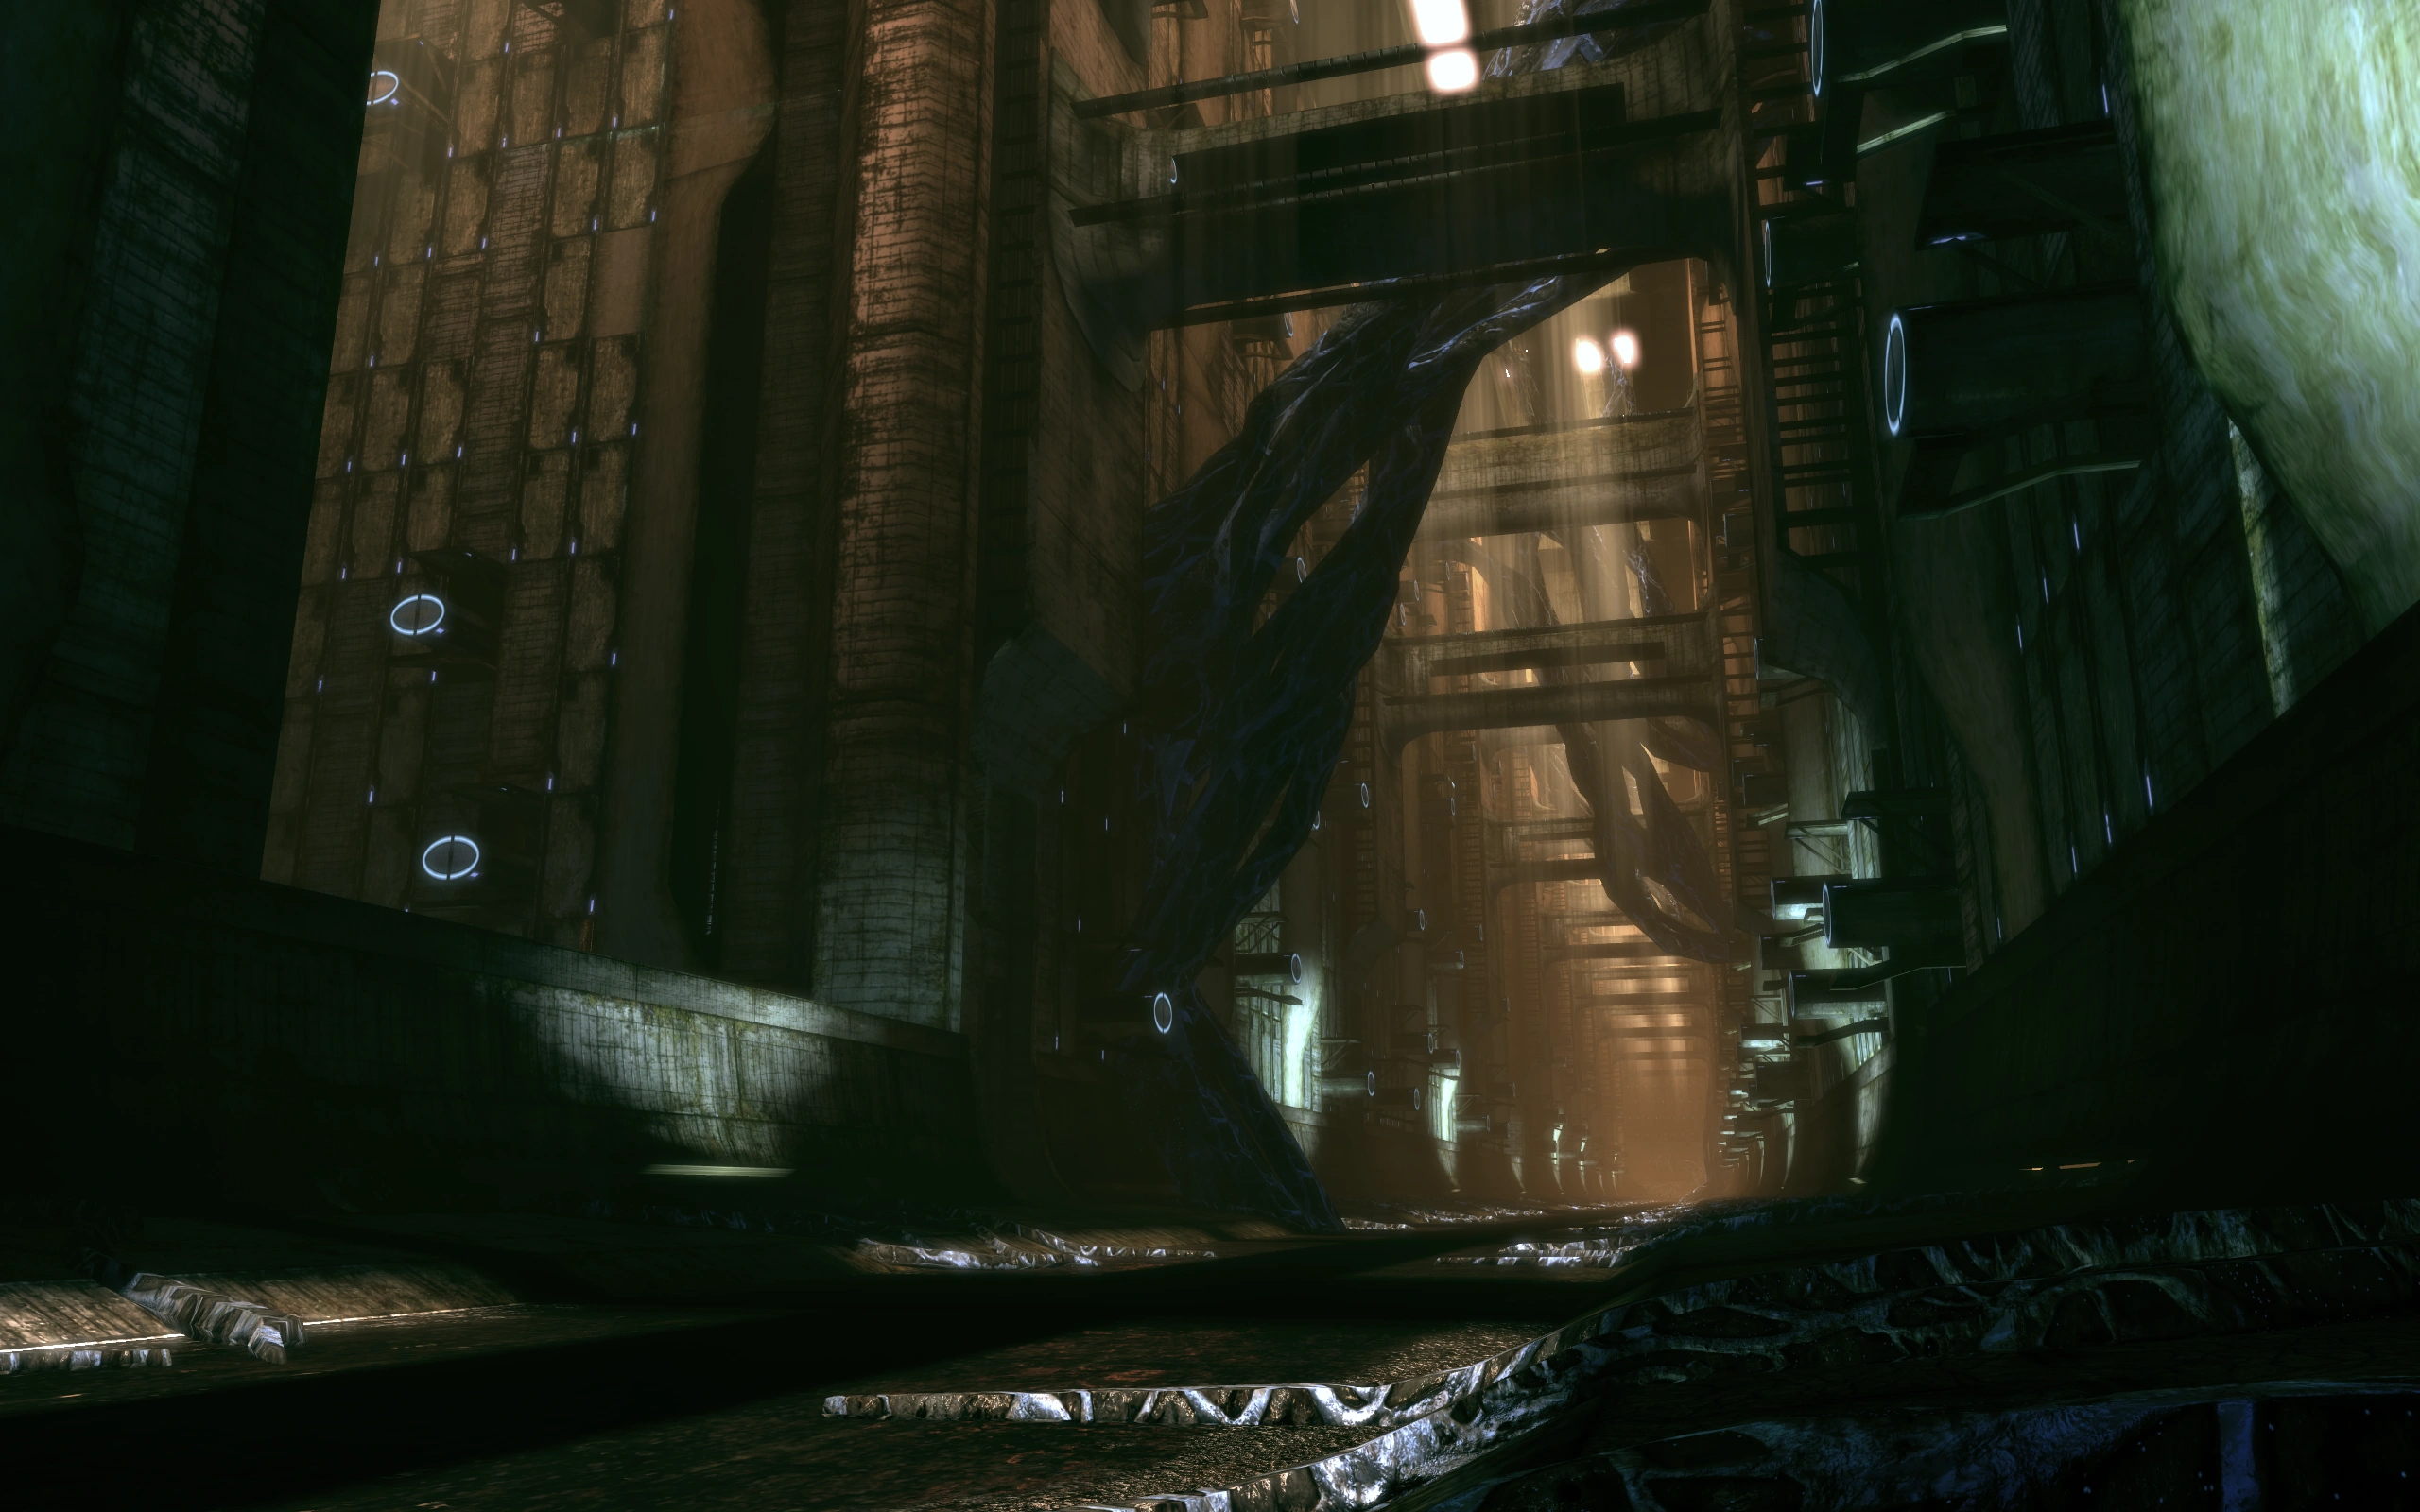
When you reach the archives travel down and keep going because there are no enemies that are in your immediate vicinity. There are no item pickups either. While you drive along the linear path, your squadmates chat: one will comment that they expected Saren to lay a trap, as it is the perfect place for an ambush; and another will comment about the things on the walls, to which the other responds that they are probably stasis pods intended for Protheans' survival.
About halfway through the corridor you will reach the next ramp down. Slightly afterwards will you encounter the first sign of enemy presence in the bunker, some of Saren’s rear guard, namely 3-4 Geth Rocket Troopers. They pose no real threat, so when you get close just jump out and shoot them on foot for an increased experience reward. When the geth are destroyed, keep heading down the ramps. When you reach the next landing, you'll see a shimmering at the far end, and a twist from the generic Mako run.
That shimmering is a forcefield. When you get close, an autosave is generated. The Mako becomes trapped by another forcefield that comes up behind the vehicle. Don’t try to shoot your way out because you can’t. One of your squadmates will comment about it being a trap, however the other will counter that it probably isn't Saren or the geth. Exit the Mako and head into the elevator that is along the right wall.
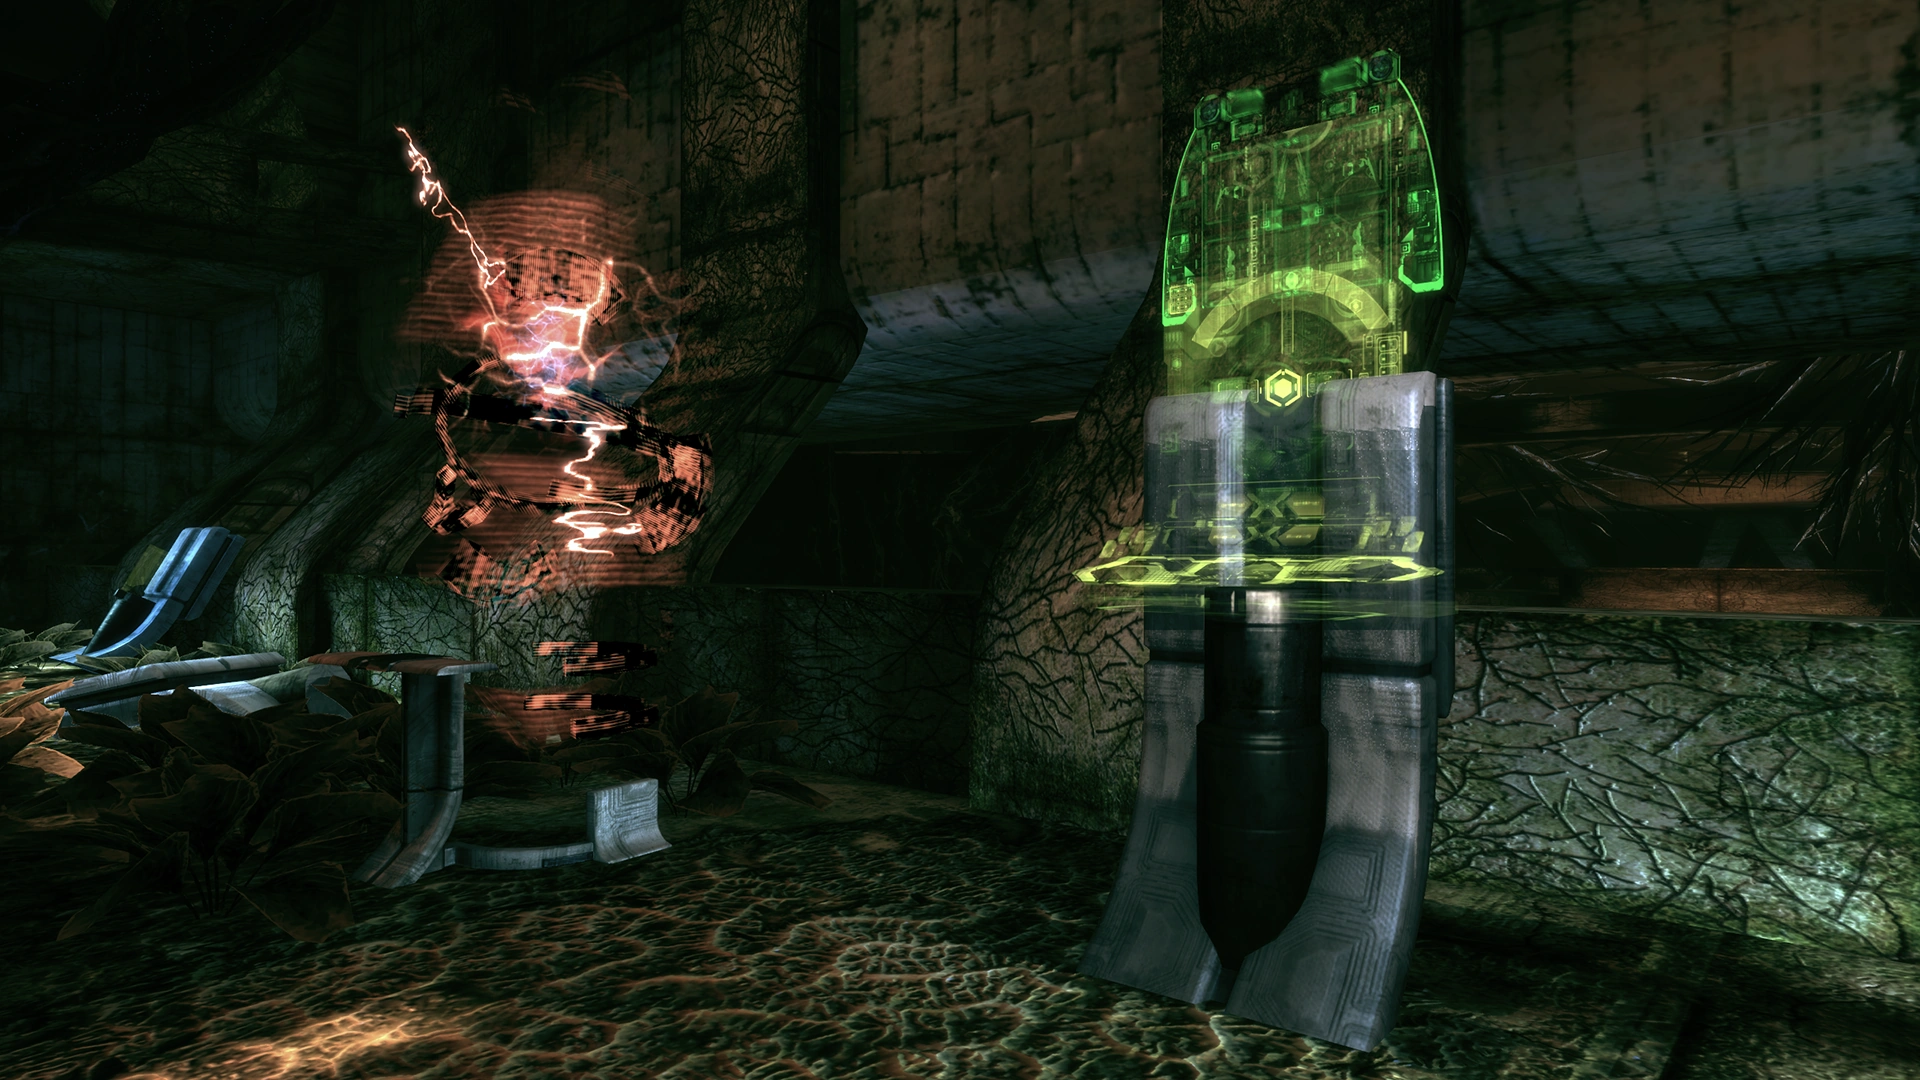
The Watcher[]
After you enter the elevator and as you descend, your squadmates comment about the situation and how that someone is working here, but probably not with the geth. When the elevator stops, walk across the platform and select the hologram.
It comments that while you aren’t Prothean or machine, you were "expected". It talks about the warnings from the beacons. One of your squadmates will comment that it is a badly damaged VI. The program counters that it doesn’t sense the taint of indoctrination upon any of the squad, unlike the other, Saren, who also passed recently, so there is still hope. The other squadmate will ask why they can understand it even though it is Prothean. The hologram says that it was monitoring communications and translated its output so it could communicate. It introduces itself as Vigil and comments that while you are currently safe, nowhere will be for long.
You can ask questions and get a lot of valuable information from Vigil so it’s worth staying. Asking the first question about who it is it will provide a background to its creation and having inputs from Ksad Ishan the chief researcher at the Ilos facility. When you ask why it stopped the Mako, Vigil will say that the cycle must be broken, as it has gone on for millions of years. Vigil however needs the squad to understand so they can avoid making the same mistakes. It tells how the Citadel is really an enormous Mass Relay and a huge trap. When the relay is activated the Reapers come through from Dark Space and destroy all organic civilization in the galaxy before disappearing again. If you investigate then you will get some guesses on why the Reapers operate the way they do however no one knows why.
After responding, Vigil will confirm the fears about the Citadel Fleet and the Council and that is what happened with the Protheans. Their leaders were dead before anyone knew what was happening. Because the Reapers had access to all the maps and census data on the Protheans, they went systematically and wiped out their civilization. Colonies were isolated and picked off one by one and indoctrinated “refugees” were taken in by other Protheans only to have them turn on their own people when the Reapers showed up.
Respond to Vigil and it will explain about how the Conduit is a prototype mass relay and that it links to the Citadel, bypassing defenses. The Protheans were on the verge of unlocking the technology when the Reapers invaded. When you ask, Vigil will give the story behind how Ilos survived because all records of the project were destroyed in the initial attack so the Reapers had no knowledge of the planet. They went into cryostasis and eventually the facility went dark. However as the power failed, Vigil eventually had to deactivate the pods and even when the Reapers finally retreated, only the top researchers were still alive, all twelve of them. You can comment about that, but Vigil defends its actions.
Further investigation reveals the scientists knew their race was doomed however they labored for years to stop the cycle. They found a way to alter the signals from the Citadel to the keepers to prevent them from activating the relay. They used the Conduit to travel to the Citadel and thus preventing Sovereign from signaling the keepers. Vigil, if asked describes that their fate, trapped on the station, probably wasn’t pleasant.
Before you leave, Vigil gives you a file that temporarily will give full access to the Citadel and its resources. However you must find the Master Control Terminal to get that access. Vigil says to follow Saren as he knows where to go. As you leave, if Liara is in your party she will ask to stay because they will probably never have another chance like this. You can either stay and ask Vigil more questions or you can go; she will understand either way. When you do leave, Vigil gives you one last beacon of hope: Saren hasn’t reached the conduit yet and therefore Shepard still has time. This is a good time to save if you haven't recently: the last auto save will bring you back to the beginning, though in Legendary Edition an autosave is automatically generated here.
When this mission is marked complete, the Race Against Time: Sovereign entry updates to Race Against Time: Conduit.
Enemies[]
- Geth Armature
- Geth Assault Drone
- Geth Destroyer
- Geth Juggernaut
- Geth Prime
- Geth Rocket Trooper
- Geth Sapper
- Geth Shock Trooper
- Geth Stalker
- Geth Trooper

|
The following information is drawn from cut content and is not to be considered canon in any way. |
Cut Content[]
Several unused squadmate lines exist which point at different challenges in the first section of Ilos, notably like reactivating an ancient power plant to restore power to the doors.[1]
References[]
| Mission Index | Next Mission → | |
|---|---|---|
| Missions | Race Against Time: Conduit |