Scans detect Eclipse mercenary activity inside a mining facility on planet Helyme (Zelene system, Crescent Nebula).
Acquisition[]
A scan of the planet Helyme (second planet of the system) reveals some strange Eclipse mercenary activity in a local mining facility. The transmission can be heard as follows:
“Unidentified ship detected in orbit. All units report to ready stations for possible anti-invasion protocols.”
These mission notes are displayed after scanning the planet:
“Mercenary activity detected inside a mining facility on planet's surface. Facility confirmed registered to Eldfell-Ashland Energy Corporation. Eclipse presence confirmed. Distress beacon powered down at site. Sensors detect multiple spacefaring vessel launches from facility.”
Preparation[]
Seven waves of Eclipse mercenaries await you in this mining facility. You'll need to be prepared for both shields and barriers.
Walkthrough[]
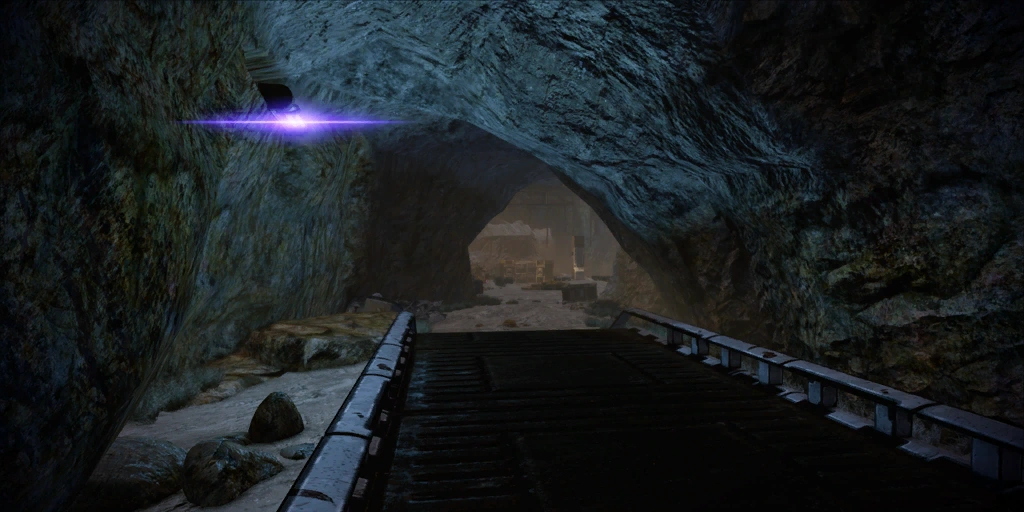
Upon landing, you will find the entrance open to the mining facility. Head down the path, and you will arrive at a rock cave with crates scattered about. The only thing in the area is a cargo computer near the far rock face. Access it and move on.
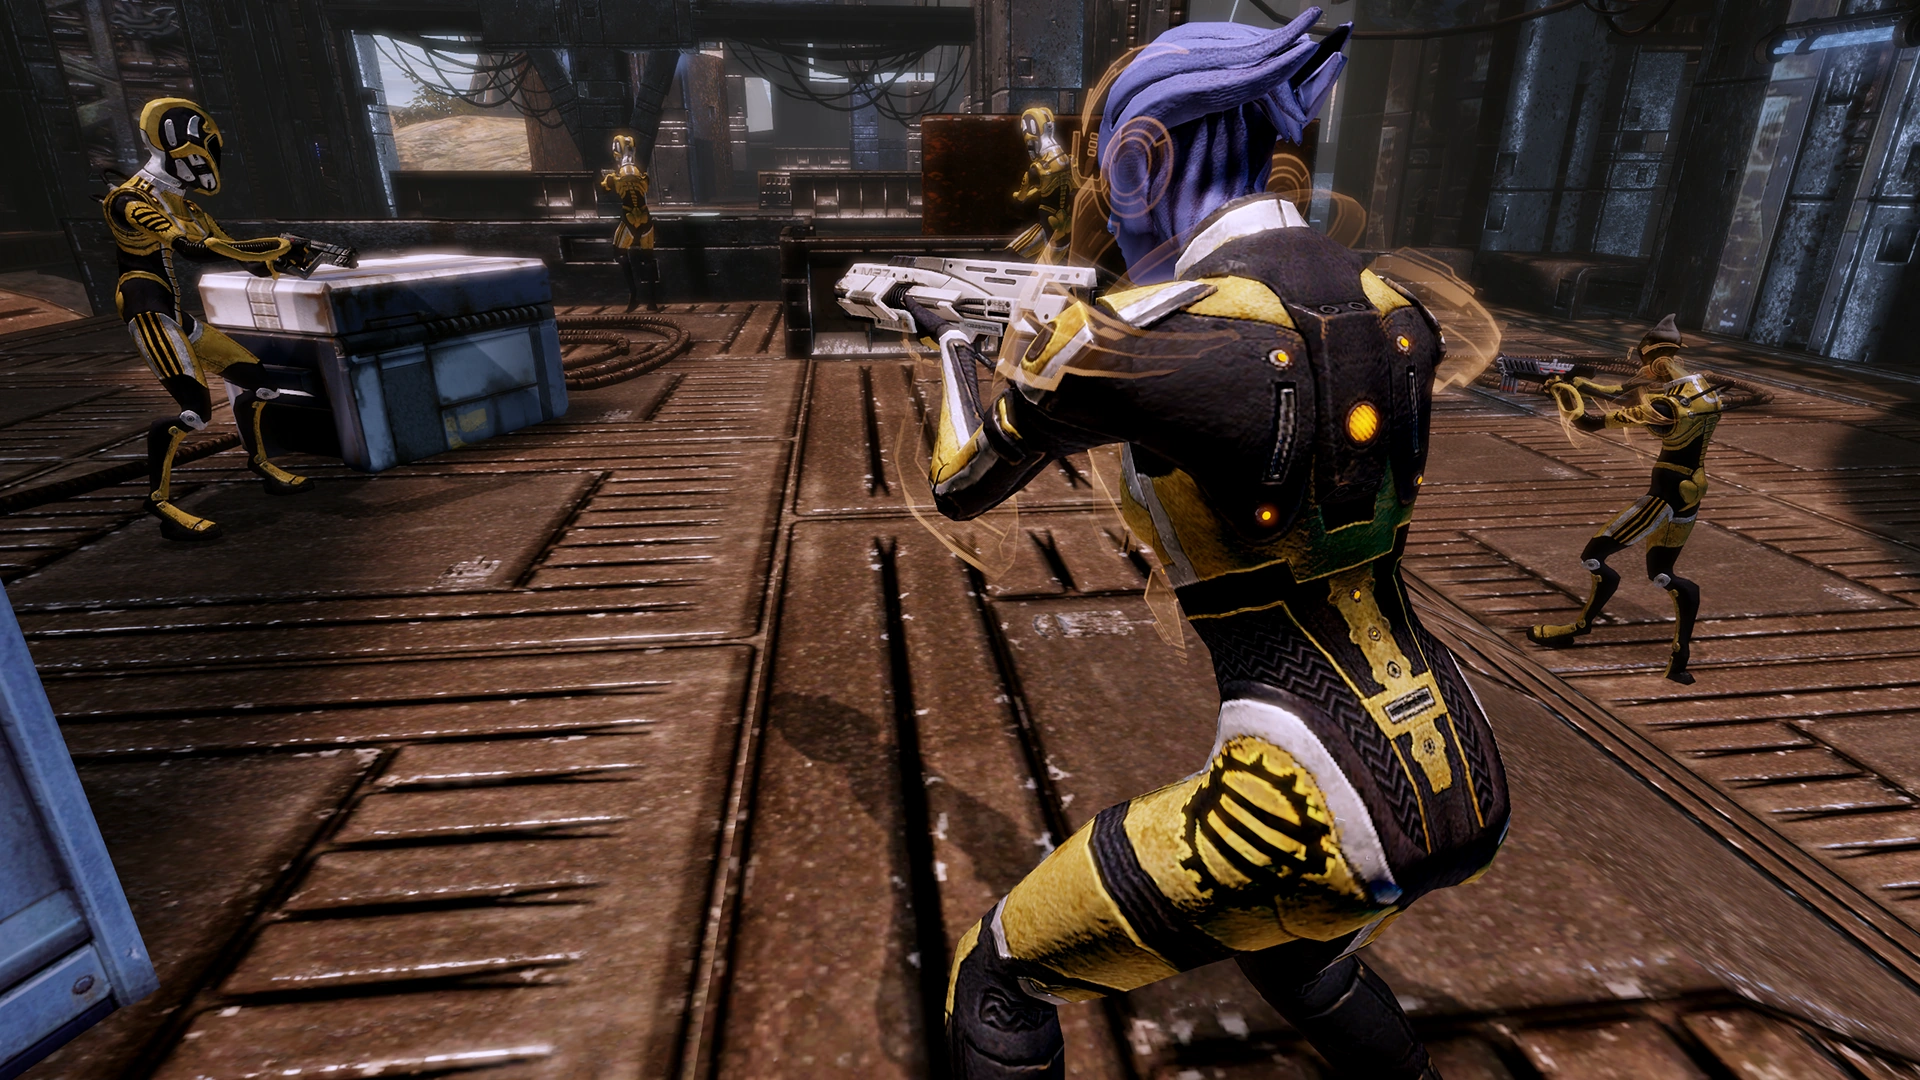
Going through the metal doorway to your right will trigger the first enemies to attack. Two Eclipse Vanguards and three Eclipse Troopers will attack, so get in cover, covering both sides, and fight them off. Don't move forward too quickly, as the geometry of the area is complex and allows the mercs to circle around you easily if you move up. Once they are down, move up, and before bypassing the door on your right, head left and grab a crate of refined palladium (+2,000 palladium). Then return and bypass the door. In the next room, you will find a PDA with details on what happened at the facility. After examining it, head up the ramps to the door.

The next area is filled with Eclipse. Get in cover near the door and get your squadmates in cover as well. There is an Eclipse Heavy at the other end of the catwalk you are on, so watch out for rockets. To your left is some cover, but nothing you need to worry about at this point. Until you reach a T-junction, keep moving up from cover to cover. Once you get to the end, send your squadmates around the corner to deal with the enemies that are there. There are four Eclipse Troopers around the corner, so keep in cover, as you are at pretty close range; a further wave will also ambush you at some point, so be ready.
Once the mercs are down, check out the area for a med kit which is behind where the Heavy was firing from earlier. It might be a good idea to leave a squadmate here covering the walkway you just fought up from, especially if they are a sniper. If you notice another crate of refined palladium, leave it and don't extend the bridge to get to it, this will only cause headaches in a few seconds. In an alcove along the path you entered, on the right, is a heavy weapon ammo container, so if you need it grab it.
When you are ready, head for the facility's main computer, near the center of the room. After hacking your way in, you can find more clues as to the reason for the attack. One of the messages contains encrypted data on the Ter Alan's current location. When you launch an attempt to decrypt the data, three more waves of mercenaries, led by Captain Vorleon, appear in an attempt to stop you. Most of these mercs will charge from where you just came from, and if the bridge is extended, cross over and attack from both sides. Provide fire support where you can, and take down the attacking mercs. Keep your eye on the tactical scanner, because merc waves will spawn from different locations and may approach you from the side or rear. Tip: Enemies will spawn where you have the least presence.

Once you have disposed of the mercenaries and the decryption process is complete, accessing the main computer will allow you to upload the data to Cerberus for further analysis, as the decryption could apparently be only partial, and salvage some credits (+7,500 credits). From this point, the mission can be ended at any time of your choice. Don't forget about that other crate of refined palladium (+2,000 palladium) before you leave.
Note: There is a glitch where, if at the end of the mission you extend the computer-controlled bridge and end the mission while standing on the bridge, you may be killed instantly, resulting in a critical mission failure as the shuttle is taking off back to the Normandy.
Logs[]
Shipping Log
PDA
Encrypted Data
Decrypted Data
Enemies[]
Mission Summary[]
Recovered data referring to the Ter Alan's location. More decryption needed.
- Experience reward: 125 (156)
- Credits: 15,000
- Cerberus Funding: 7,500
- Credits Found: 7,500
- Minerals:
- Palladium: 4,000