Cerberus has discovered a Prothean artifact on Eden Prime. Land on the planet to recover the artifact.
Acquisition[]
This mission is acquired by downloading the Mass Effect 3: From Ashes DLC (Legendary Edition: available by default) and accessing your personal terminal. It is immediately available upon gaining free rein of destinations in the Normandy SR-2 after departing the Citadel.
Note: This mission can be completed at any time between when it first becomes available and before Priority: Cerberus Headquarters.
Preparation[]
You will be facing fairly heavy Cerberus opposition, meaning lots of shields and some armor.
Liara is a mandatory squadmate in this mission. Since Liara has excellent biotic crowd control but relatively weak armament and no tech powers, you have yourself and the other squadmate to make up for those weaknesses if you choose. Enemies tend to cluster together, so area-effect evolutions of powers, grenades, and explosive weaponry are all useful. Weapons modded to see through walls and smoke can also be quite handy. If you have Sabotage in your arsenal, it can be put to good use during this mission. Most engagements will take place at medium to long ranges.
Note: The conversations in this mission change slightly depending on your story progression so far. Doing it after you've recruited additional squadmates can give you the opportunity to hear unique dialogue involving them, versus the tradeoff of doing it early to unlock an additional squadmate sooner.
Walkthrough[]
Head to the Exodus Cluster and land on Eden Prime to begin the mission.
The Stasis Pod[]
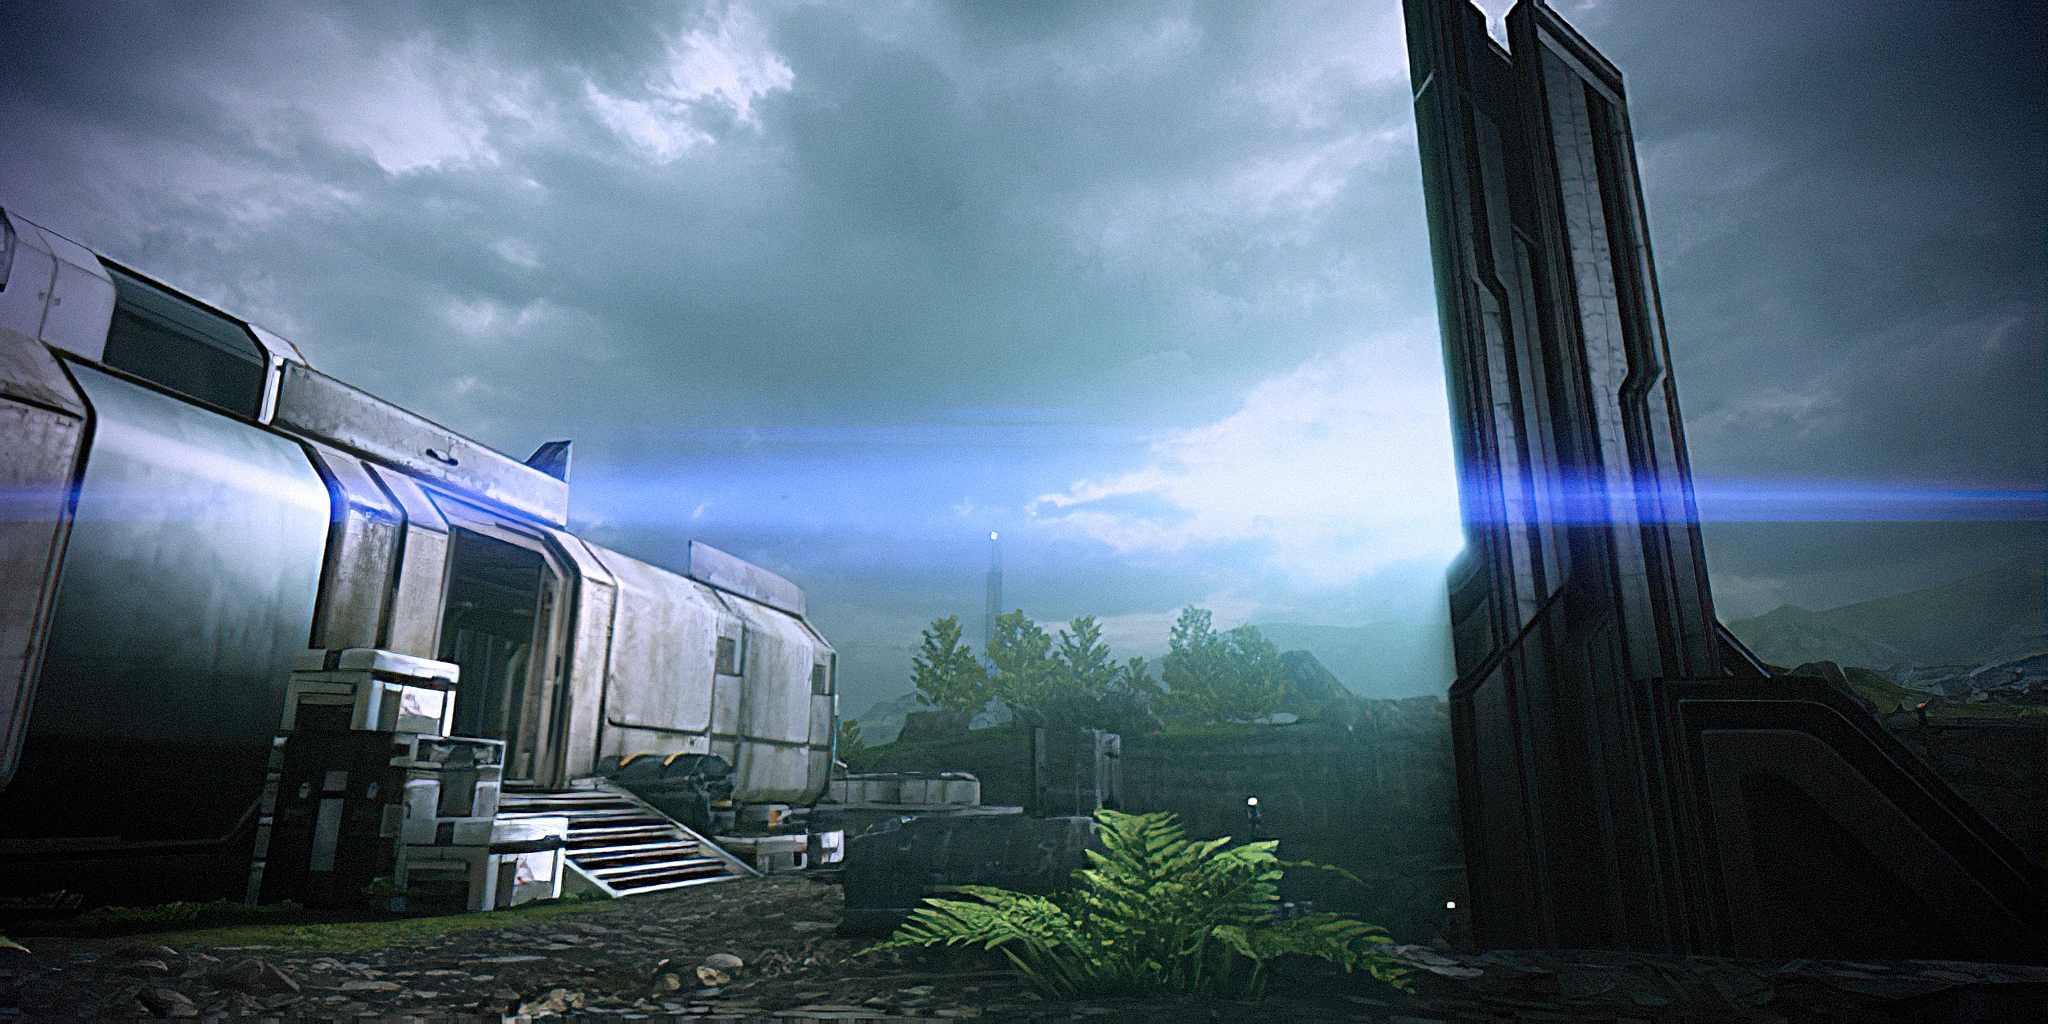
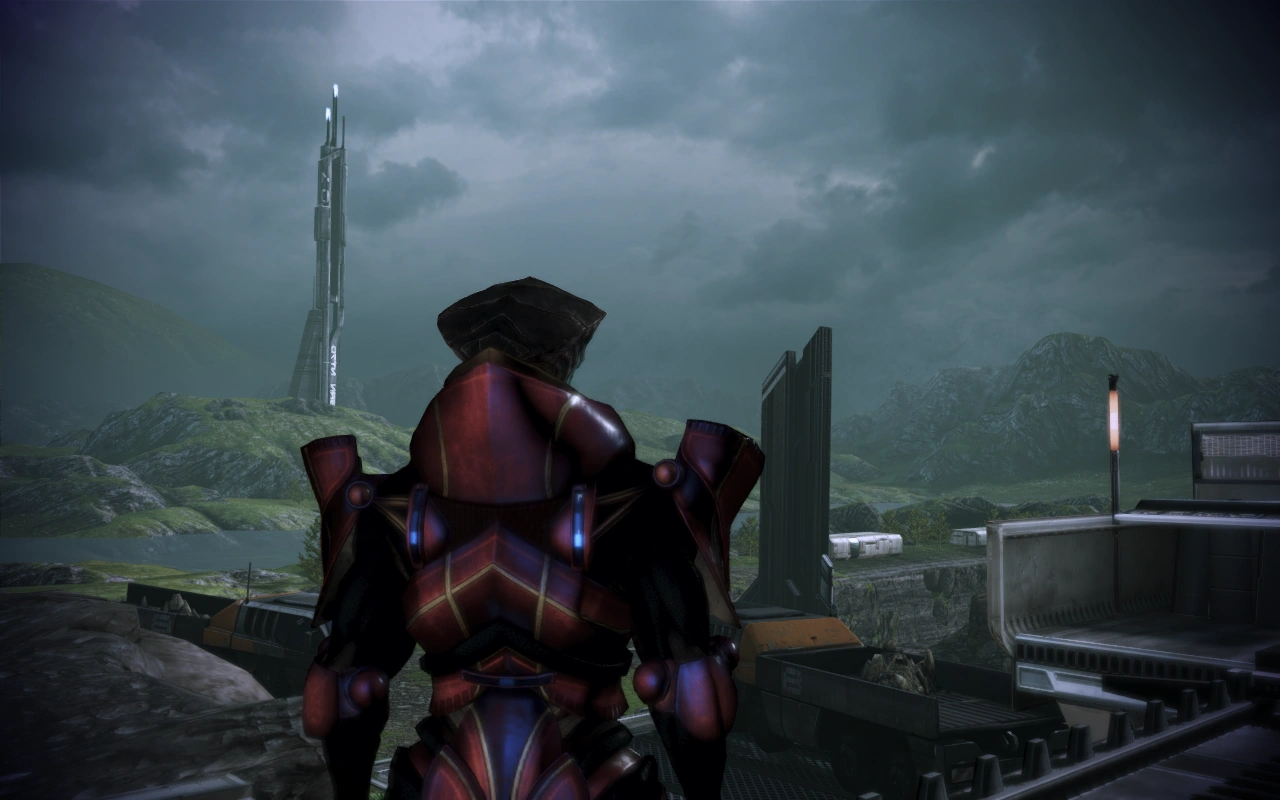
After you have been dropped off, follow the path until you reach the first set of buildings. A viewpoint ahead will trigger dialogue between your squadmates. Enter building 6 on your right. Salvage the computer (+3000 Credits) and open a Med Kit (+300 XP). Examining the terminal will trigger the mission Eden Prime: Resistance Movement and give you the first piece of Cerberus intel.
Make your way to the Nav-Point outside and use the elevator console. A cutscene will follow in which Liara discovers that Cerberus has uncovered a living Prothean in stasis. They damaged the Prothean's lifepod during excavation, and the life signs are unstable. To open the pod without killing the Prothean, a command signal has to be found to end the stasis mode, and a way figured out to physically open the pod without doing more damage. There are two labs nearby where Cerberus are researching what they found at the dig site.
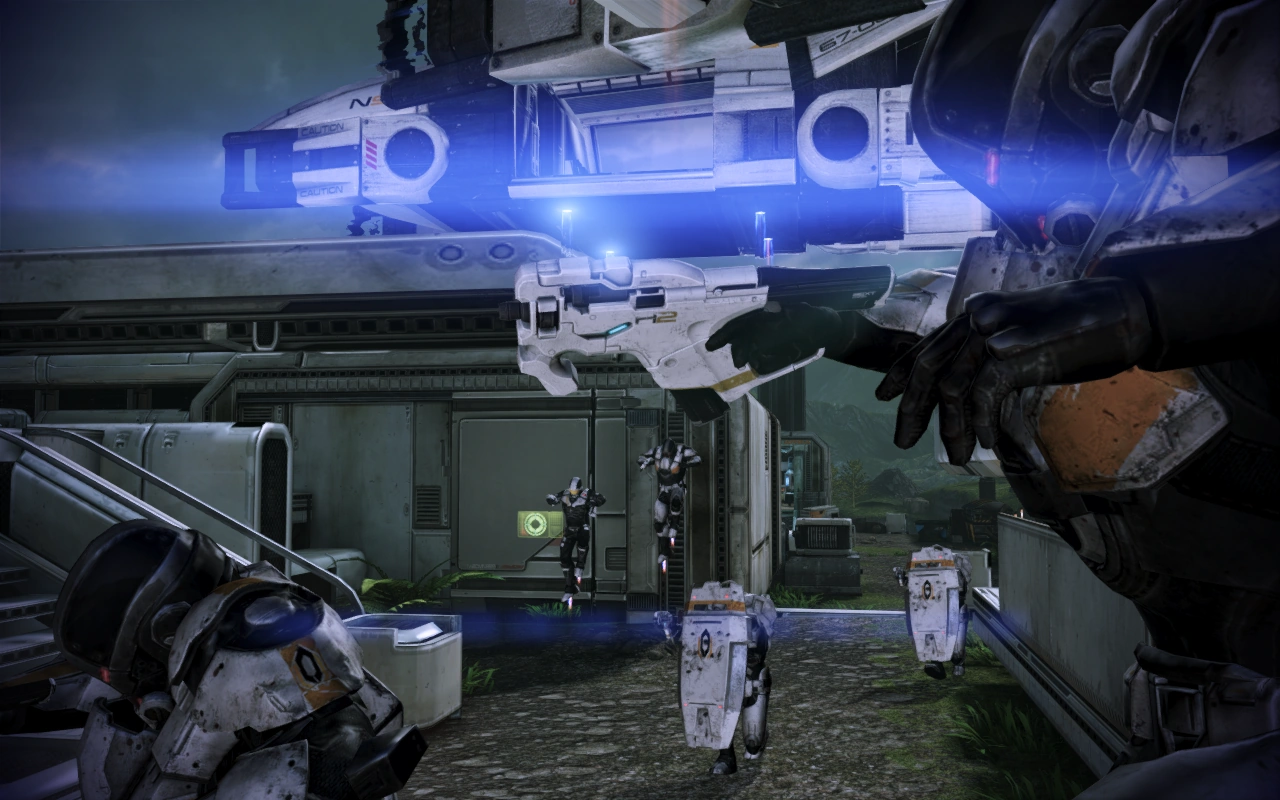
A Cerberus shuttle will then fly overhead and drop off two Nemeses and a Centurion at a distance: eliminate them.
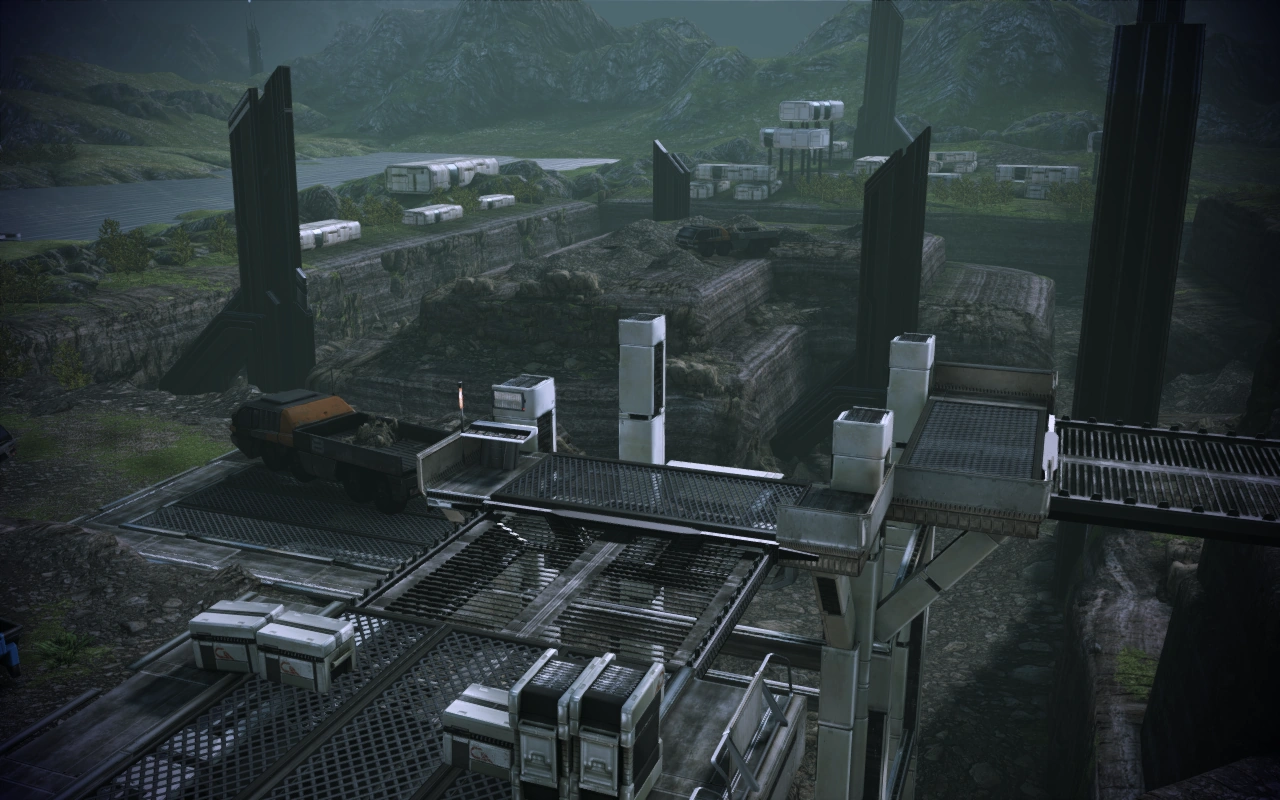
From where you're standing, the lab researching how to physically open the pod is located on the left all the way to the back, and the lab researching the command signal can be found on the far right. These may be reached in whichever order you see fit, though the upcoming sections assume that you first head left.
Tactical Notes: The choice of which lab to head for first does present some interesting tactical variations for the advanced player. Though you will face the same number of fights either way, heading left tends to result in clear lines of sight between your position and the enemy Turrets; this is favorable if you prefer taking out Turrets first, and/or if you have Sabotage to subvert them to your side. Heading to the right first will have you encountering Turrets that are initially blocked from being able to fire on you; you can use this to your advantage if your preferred tactics emphasize taking out the human enemies before engaging the tougher Turrets. Finally, if you manage through guile to reach the lab computer consoles without killing all the enemies, they will vanish during the cutscenes, bypassing the rest of the fight.
Obtain Pod Opening Instructions[]
Proceed forward and enter building 5 on the left. The second piece of Cerberus intel will be on a terminal inside, along with equipment to salvage (+3000 Credits). Then move to the building slightly down the hill, still on the left side. In the courtyard beyond it you will encounter several Combat Engineers, Assault Troopers, and Centurions. Their Turret is already set up, so approach with caution.
Go up the ladder to the top of the building for a good fighting position. Eliminate the enemies, go back down, and be sure to salvage the equipment (+6000 Credits), as well as pick up the third piece of Cerberus intel from the terminal and open a Med Kit (+300 XP) in the same building through the door on the countertop (very hard to see). Liara will mark a Nav-Point on your heads-up display, telling you that Cerberus was studying footage of the Protheans to figure out how to open the pod. Bypass the door, move through the building and open a Med Kit (+300 XP) outside on the balcony under the table. Enter the lab and use the computer console.
Shepard's eyes glow green as a cutscene of a Reaper attack unfolds. Prothean soldiers are fighting off a wave of Collectors outside a heavily-damaged bunker. As the soldiers retreat, a VI, Victory, is ordered by one of the soldiers to seal the bulkhead doors. Inside the facility, the VI reports that the Reapers have destroyed approximately 300,000 lifepods. The soldier taps the GUI of a nearby pod and observes a moment of silence for its dead occupant. The fighting doesn't let up as Victory alerts the soldier to the failure of the bunker's northern bulkheads. The soldier orders all forces to the north, and the scene devolves. In the present, Shepard learns how to duplicate the method used to open the Prothean lifepod (+500 XP).
Obtain Command Signal[]
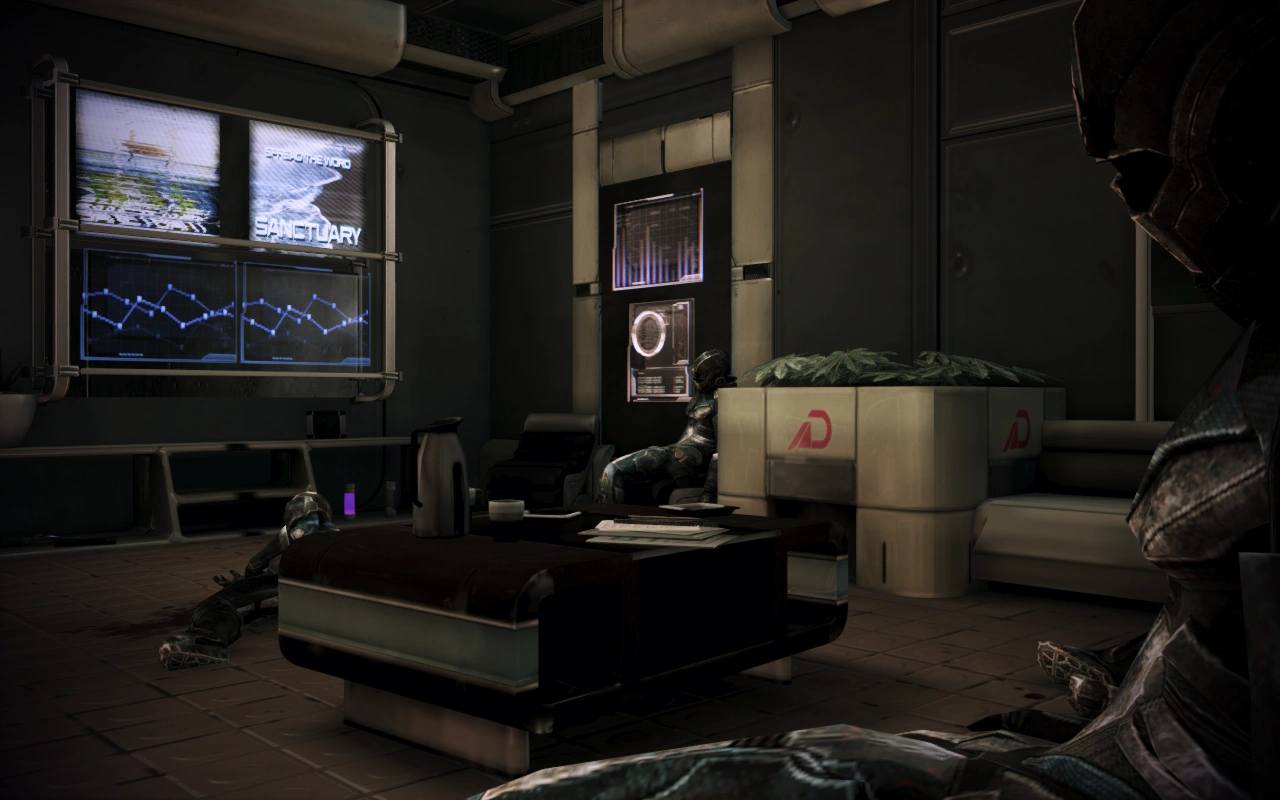
Move outside, go left and up the stairs, across the courtyard, and up the second set of stairs to building 22. Inside, you'll find corpses, including four in a living room area. Examining the coffee table causes Commander Shepard to remark that they were killed while "watching the game." Be careful as you open the far door as the Cerberus troops beyond it already have a Turret set up.
Eliminate the hostiles, and from the room with the table, go across the courtyard and up the stairs, following the Pod Data Nav-Point to building 6 marked as a lab. Salvage the equipment on the left desk (+3000 Credits). Open the door and use the computer console for another flashback to 50,000 years past.
Two Protheans - a civilian and a soldier - are walking in a massive bunker complex. The civilian laments that he never thought the Empire would fall. The Prothean soldier assures the civilian of the Empire's rebirth and tells him to go to his stasis pod. Victory is then ordered to broadcast the stasis readiness signal to all pods, despite the existence of refugees who have yet to reach the bunker. The Prothean states that their sacrifice will be honored in the coming Empire. An explosion rocks the far end of the bunker, and the Prothean readies his rifle as more Collectors approach, before the scene once again fragments into jumbled memories. In the present, Shepard obtains the command signal to end the pod's stasis mode (+500 XP).
Return to the Pod[]
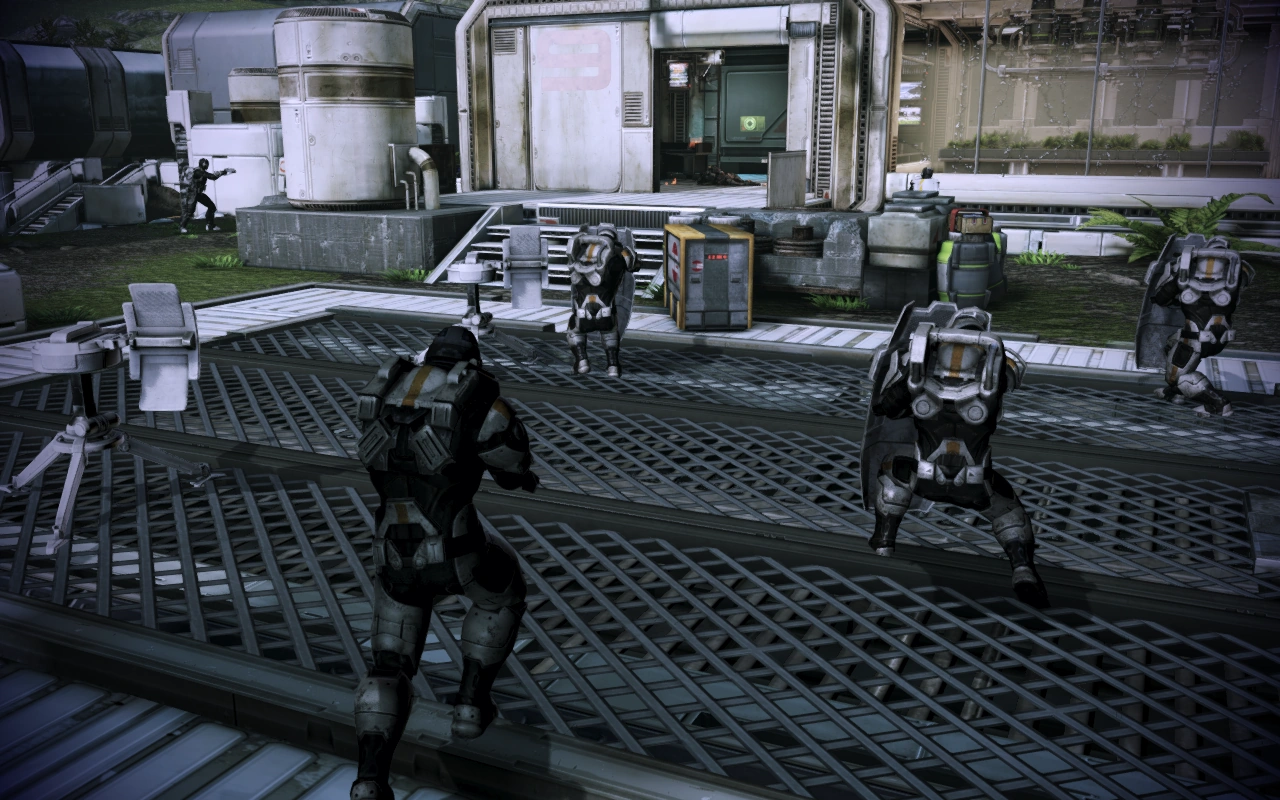
When you proceed outside you will see two Cerberus shuttles race overhead. Four Assault Troopers and two Combat Engineers will drop out before you can make your way outside the building.
Eliminate the hostiles and move towards the building with the door on the left. Note: On higher difficulty levels, an additional pair of Guardians will appear as you advance. If you retrieved the command signal before the instructions to physically open the pod, then instead of Guardians, you will find a Combat Engineer, an Assault Trooper, and another Turret.
Go through the door and three Turrets, three Guardians, one Combat Engineer and an Assault Trooper will be waiting. Going through the open ground route to the door's right to try to flank them is tactically disadvantageous as it has very poor lines of sight to the hostiles and the Turrets are likely to strip your shields or even kill you before you can attempt to lure the organic enemies close. It's simply more prudent to take cover inside the structure and whittle the enemy down one by one. Tip: If you have Sabotage available, using it on the Turrets will cause them to helpfully mow down nearby friends.
Warning: On higher difficulties, be sure to approach the area where the Turrets are VERY carefully (especially if you aren't sure where it is precisely), as it is very easy to come up a staircase or out a door and be instantly gunned down by them. If you retrieved the command signal first, you'll want to take cover on the staircase railing and slide carefully up it.
Alternatively, instead of going Rambo through the door you can simply lure the entrenched hostiles out by taking potshots at any nearby enemy while taking care to remain beyond the Turrets' firing range. Open the door, fall back as far as possible while eyeballing the hostiles, equip your most accurate long-range weapons, and take shots.
The organic enemies may be suckered in, and once that happens and they're in your preferred killing spot (or are far enough from the Turrets) feel free to let loose with the full fury of your abilities. If not, one enemy killed from afar is one less to worry about. Once all hostiles are terminated, proceed to their former location and destroy any Turrets that may have been missed, which should be a lot easier now.
Liara will tell you that they have retracted the bridge and to find another way across. Warning: Once you have made your way across you cannot go back, so make sure to first scour the area for any salvage or intel you might have missed and to reload your ammo. To cross, jump down and move to the left. You will see two ladders: scale them. Once on top of the building where you found the first intel terminal, move forward and vault over the two ventilation ducts, then make a right. Climb down the ladder and make your way to the Prothean pod. Using it will cause Shepard to transmit the command signal to the pod. Liara will state that it will take a few moments for the pod to process it.
Defend the Pod[]

Several hostiles will launch an assault on your position from the direction you came from at the start of the mission, and two additional shuttles of Cerberus troops will appear. Defend your position or take cover in the nearby building, and eliminate all hostiles. Once all enemies have been dealt with, proceed inside the building to stock up on ammunition, if you need it, and then prepare for another wave. An Atlas will land between the building and the pod, and additional shuttles filled with Cerberus troops will arrive: the first appears near the Atlas, and the second attempts to flank the building by dropping near where you began the mission. The building will provide excellent cover from the Atlas. Bring it down with whatever means you have at your disposal, along with any footsoldiers in the way.
An alternative approach makes this fight a cakewalk. After activating the pod, quickly climb onto the roof of the building you were on top of earlier. The Cerberus troops will (mostly) not follow you and the Atlas can easily be worn down from your elevated position. It will move towards the building, and as it gets closer it cannot target you anymore. Repeated Tech or Biotic Explosions centered on the Atlas (even though the powers might show "red" on the Power Wheel) will annihilate most of the Cerberus squad as well as the Atlas with little danger to Shepard.
Note: The Atlas is hijackable if you want to attain the Hijacker Achievement. Proceed to shoot only the vehicle's cockpit until it cracks open, then shoot the pilot. You can then mount it and mop up any remaining Cerberus troops. Be aware that Cerberus troops may try to mount the vacant Atlas mech themselves, so be prepared to rush to it.
Once all troops have been eliminated, open the pod and speak to the Prothean within. You will converse with him both on the planet and back on the Normandy, after which he will introduce himself as Javik.
Aftermath[]
- The Particle Rifle becomes available.
- Javik will be available as a squad member and can be found between missions in the port cargo hold on the engineering deck. If Priority: Palaven has yet to be completed he will be unavailable for that mission and also for N7: Cerberus Lab if done before Priority: Palaven. If talked to before Priority: Palaven Javik will state he is still recovering from his long stasis; immediately after Priority: Palaven he will say he is now ready to fight with Shepard.
Enemies[]
Bugs[]
- During the mission, the game crashes right after Shepard watches a video data detailing the Reapers' invasion of the Prothean empire. If you try to reload to the last check point, Shepard's team will appear in the Kodiak shuttle along with clipping issues.
- To overcome this crash, load your last save game prior to watching the video. After watching the video and the conversation with Liara, immediately hold the Shift key (Command HUD) for a few seconds, bypassing the issue.
- Also, since there are two "Prothean flashbacks" Shepard must watch, one tied to the way to open the Prothean pod and another tied to the signal that must be disrupted first, sometimes the crashing issue will not happen if the player makes sure to watch the "opening pod" video first.
- This issue is fixed in an update patch.