
You are in charge of the ground team dropped onto Eden Prime, an Alliance colony under attack. Your primary goal is to find and secure the Prothean beacon.
Acquisition[]
This mission is acquired after the opening sequence and reporting to the comm room aboard the SSV Normandy.
Walkthrough[]
Normandy Pre-Mission[]
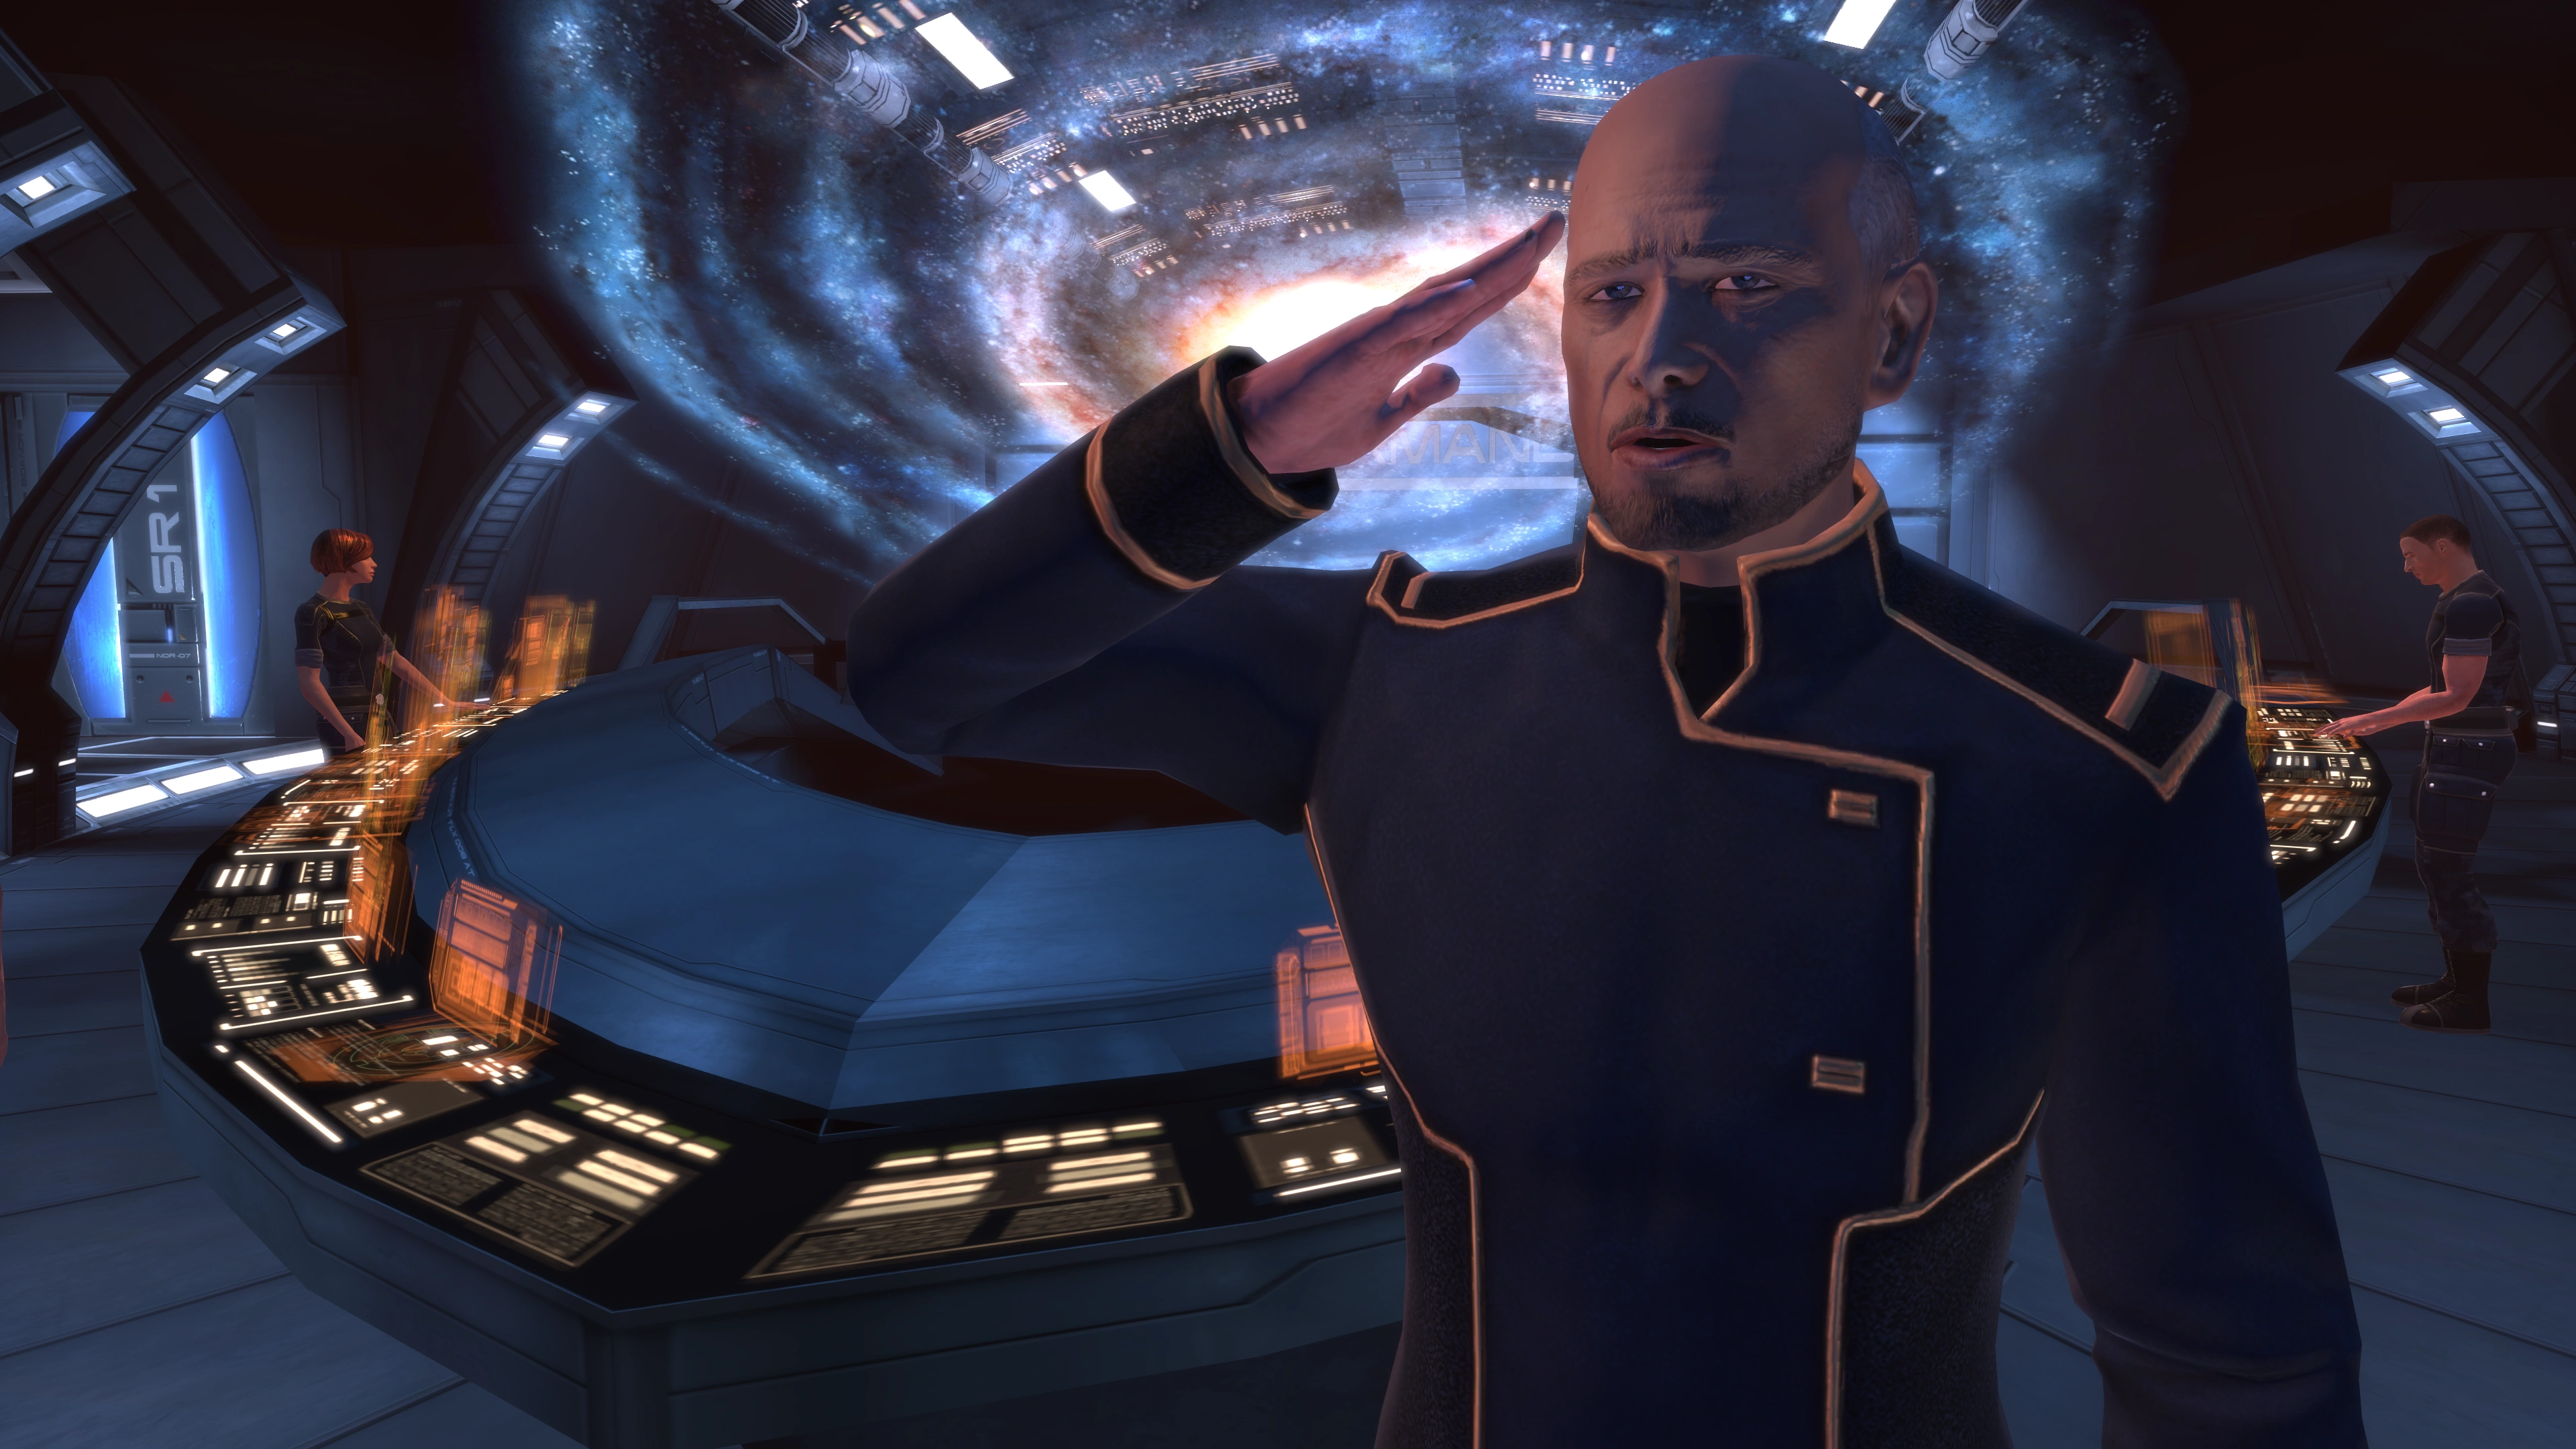
The scene opens with the SSV Normandy flying through the Sol system as Joker calls out to the rest of the ship to prepare for an FTL jump through the Arcturus Prime relay. Commander Shepard proceeds through the CIC, occasionally maneuvering around crew members on the way to the bridge.
As Shepard reaches the bridge and looks out the window, the Normandy hits the relay and jumps. Joker proceeds to run a system check and the turian overlooking them throws an approving comment before leaving. Joker comments that he hates the turian; Kaidan Alenko asks why, seeing as the resident turian Spectre Nihlus just gave him a compliment, but Joker argues that Spectres are always trouble and that he dislikes having one on board. You can choose to either reply positively or tell them to stop arguing. When Captain Anderson comes over the comm asking for an update, Joker replies that they've cleared the relay and that Nihlus is coming his way. Anderson replies that he has already arrived and asks Joker to pass along to Shepard to meet him in the comm room. After replying, you get control of Shepard and may explore the bridge and CIC. On your way to the comm room, you can talk to Navigator Pressly at his station, as well as Corporal Richard Jenkins and Doctor Chakwas outside the comm room. Pick the investigate options at the left of the dialogue wheel to obtain some Codex entries.
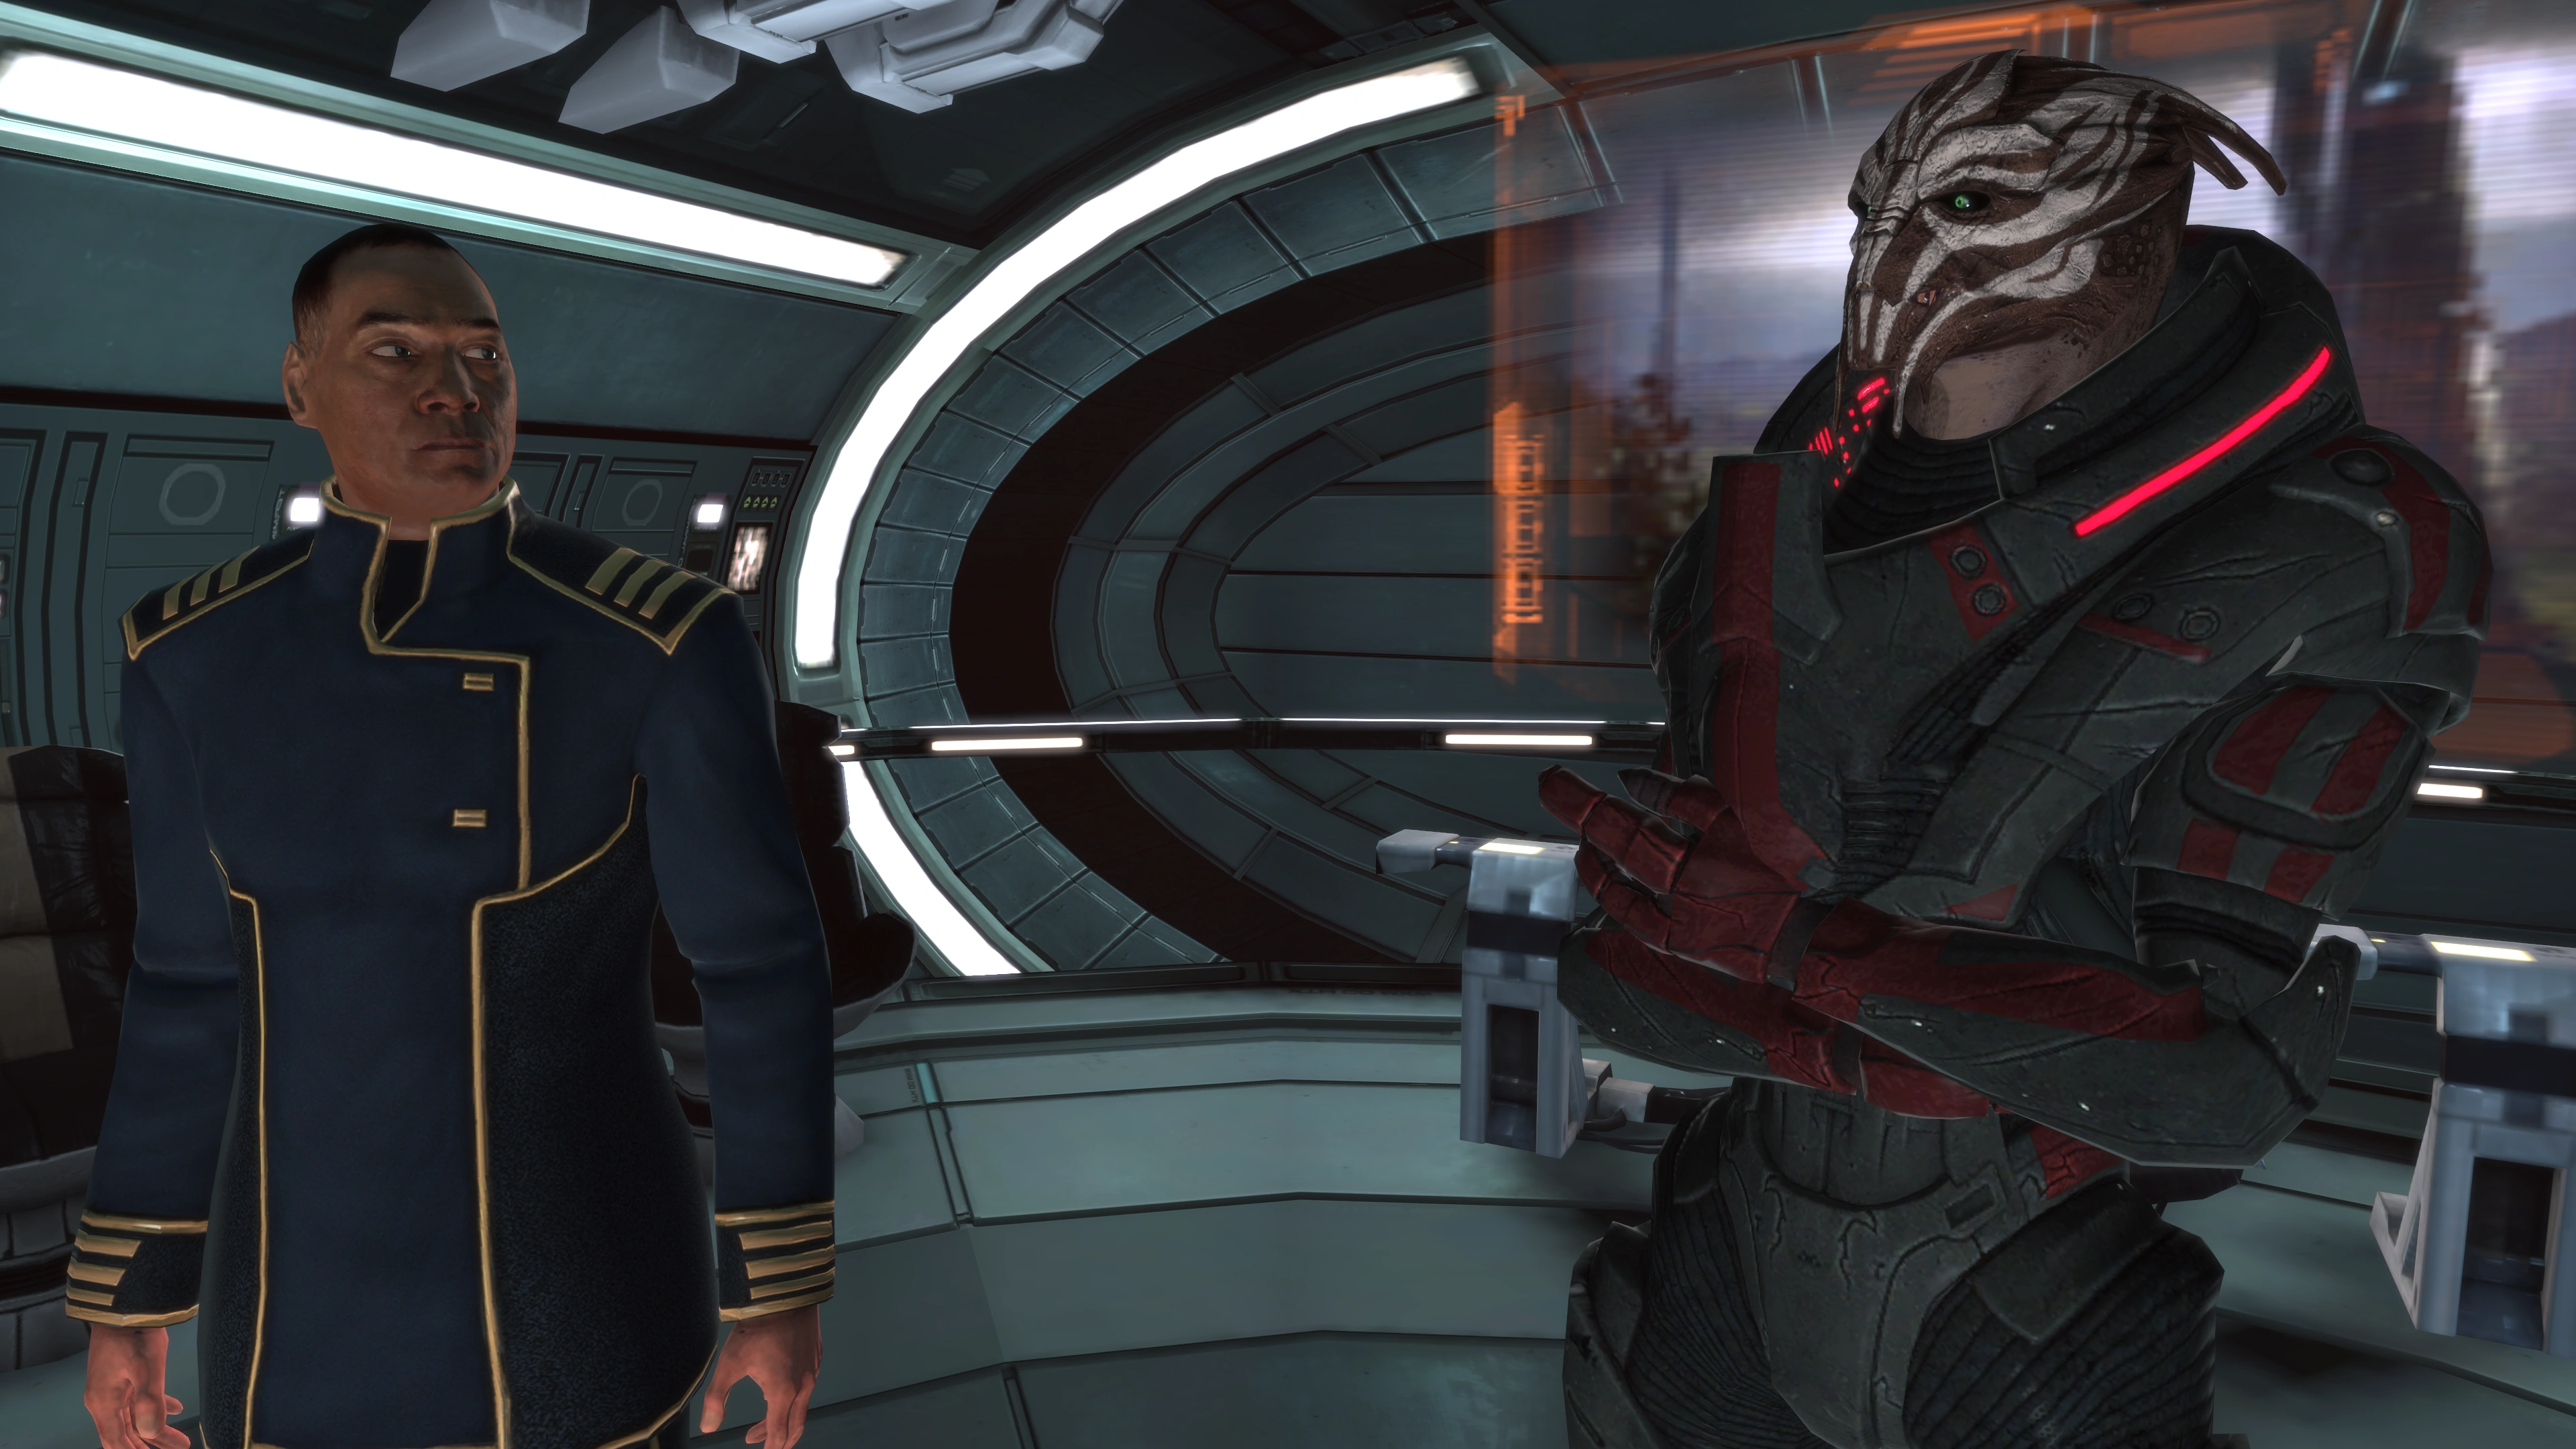
When you enter the comm room, Nihlus says that he was hoping Shepard would arrive first, as it would give them a chance to talk. Respond to that, and Nihlus will comment about Eden Prime, vaguely asking how safe it really is. Soon Anderson walks in and says to Nihlus they should tell the Commander what is really going on. Nihlus agrees and fills in that the mission is "far more than a simple shakedown run."
Anderson explains that a science team on Eden Prime discovered a Prothean beacon; since the beacon might contain technologically significant information, it needs to be secured and brought to the Citadel for study. For the Protheans Codex entry, be sure to ask about them. It is revealed that Nihlus is also there to evaluate Shepard's performance in terms of the Commander's Spectre potential.
The conversation with Nihlus and Captain Anderson is interrupted when Joker reports a problem over the comm. A view screen opens up and shows a transmission from some marines on Eden Prime. Some heavy fighting as well as disconcerting footage of an immense alien-looking ship is shown before the transmission is cut – Anderson concludes that "this mission just got a lot more complicated", and orders Shepard to get ready.
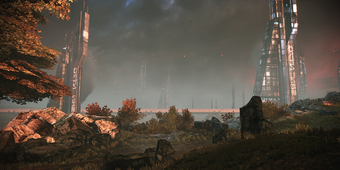
When you arrive at Eden Prime, Joker flies the Normandy over the landscape, while Anderson gives a final briefing. Shepard and squad's objective is to head straight for the dig site and secure it. Nihlus gets out first to scout out ahead, and you are dropped off at another drop point.
Eden Prime Surface[]
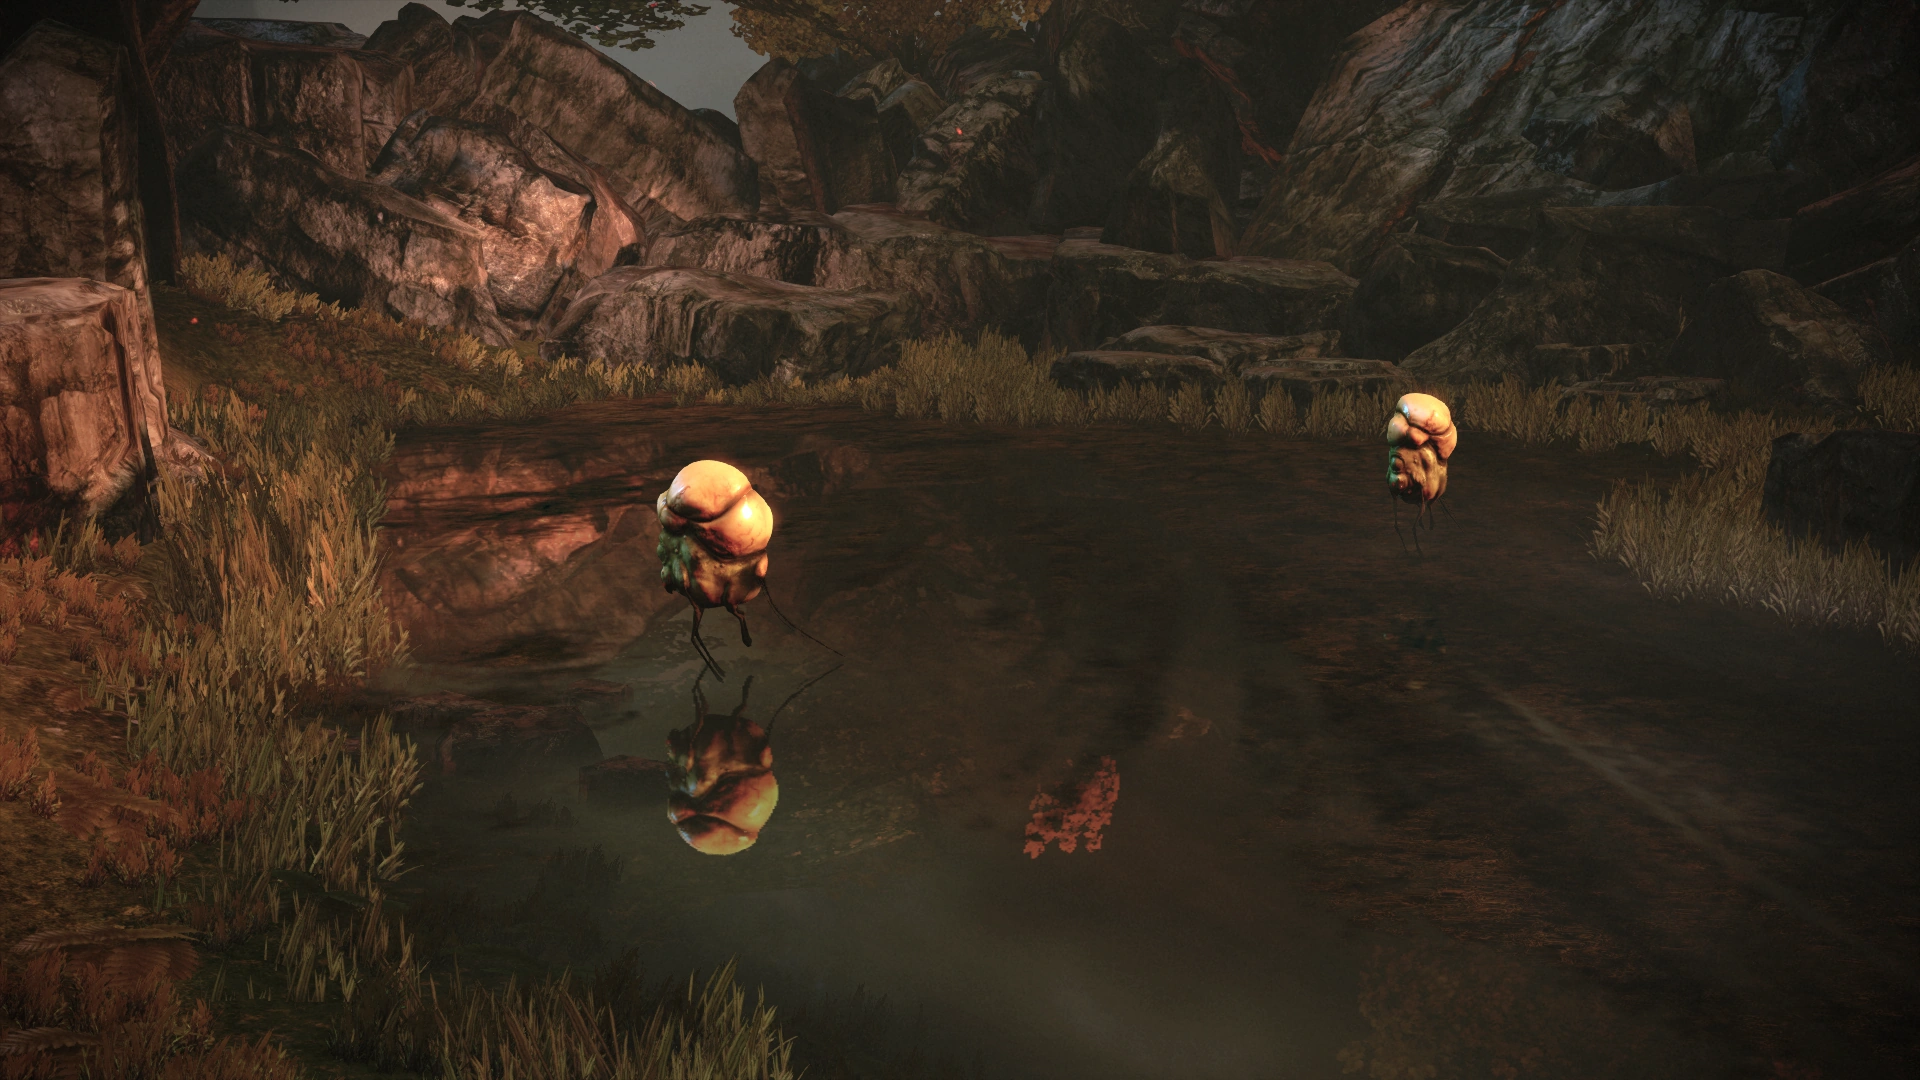
"Ship perimeter secure, Commander!", Kaidan opens as you turn around and head towards the dig site. Nihlus comes over the comm to tell you to keep your guard up as the colony got hit hard. Head right by the stretch of grass with the gas bags as there is an easy-to-miss crate in the corner which contains an upgrade and gives you the Upgrades Codex entry. If you haven't done so already, take a moment to open up the menu and look over your team's abilities and equipment. Before assigning any points in abilities, you may want to save your game as those allocations are permanent once made (for more information see the Talents page). Also note that whatever you equip Jenkins with will be lost in the next few moments.
Once you have it, head back to the left and you will eventually trigger a cutscene where Shepard and the squad are approaching a field. Shepard raises a fist to tell them to halt, then signals Jenkins to move up. However, as Jenkins advances, several Geth Recon Drones fly up and kill him. Once you regain control, take cover and eliminate the hostiles; you can destroy them easily with your pistol.
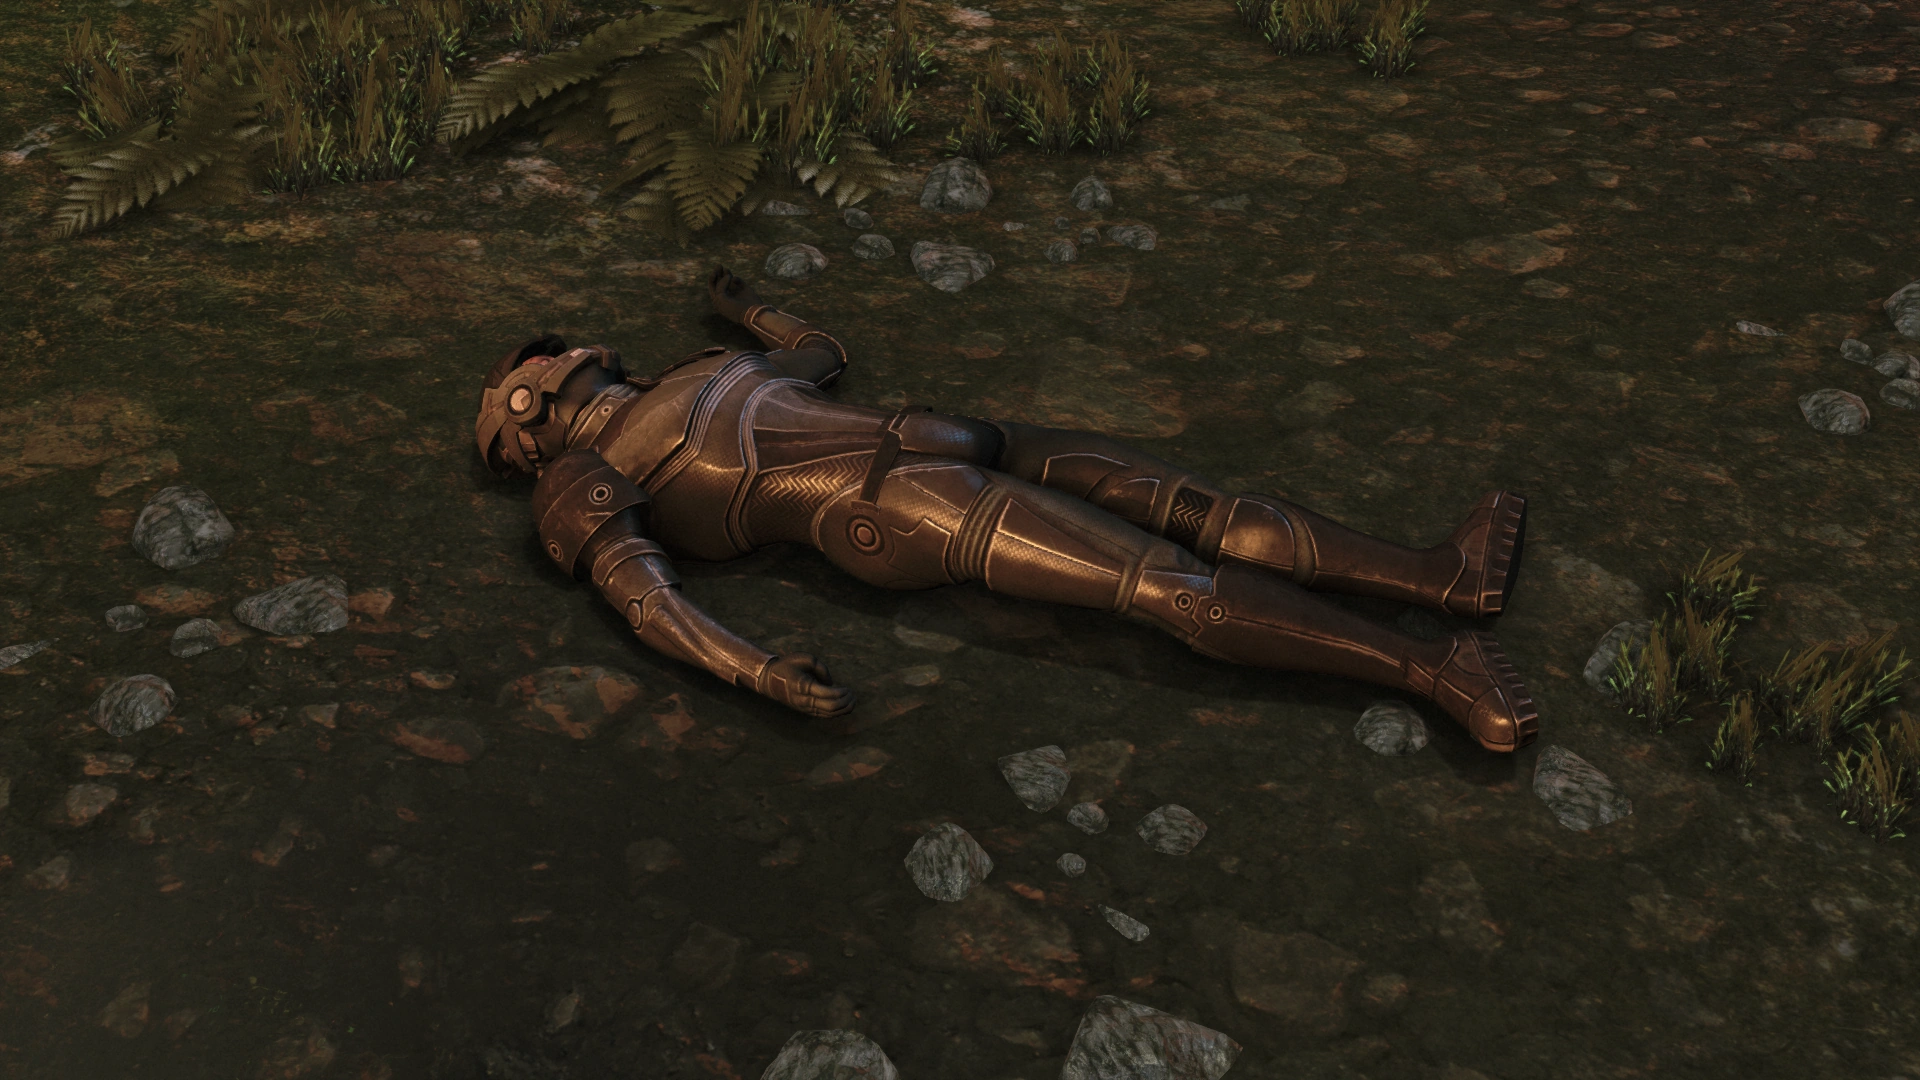
Once they are down, you can investigate Jenkins' body and you can earn a few morality points based on your response.
Head up the field and after a few seconds, more Recon Drones will come flying out. Take cover again and destroy them. Once they are down, move up. Note: after dealing with this first wave of drones, Kaidan will lose a large portion of his health. This appears to be a scripted event and is not due to actual damage inflicted by enemies.
Nihlus comes over the comm with some not-so-inviting news, as if you needed to hear more. Apparently, he has come across a lot of dead bodies. When you reach the top of the hill, head to the left first to grab a crate and then use the large flat trees upcoming because there will be three more Geth Recon Drones to take down. Use cover, gunfire, and powers to take out the drones. Once they are down, head up and when you reach a clearing, you will enter another cutscene.
Prothean Dig Site[]
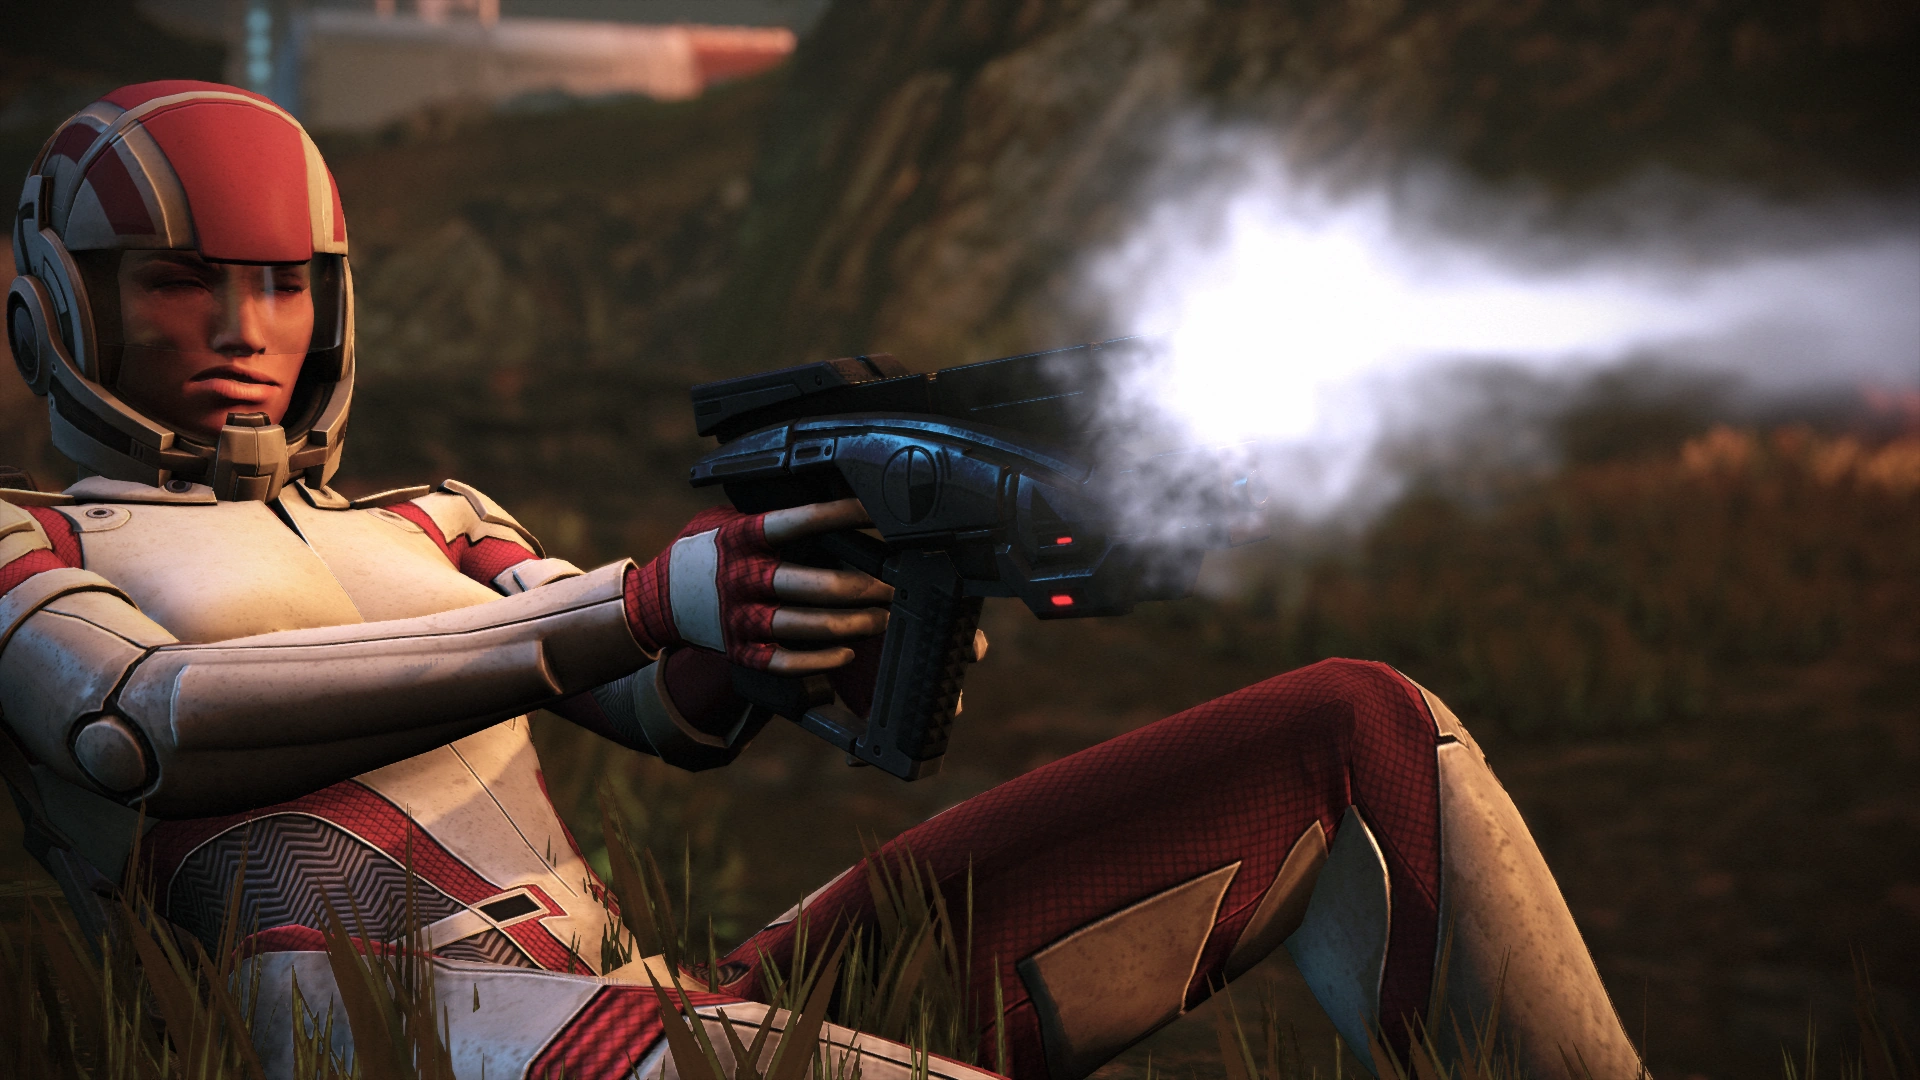
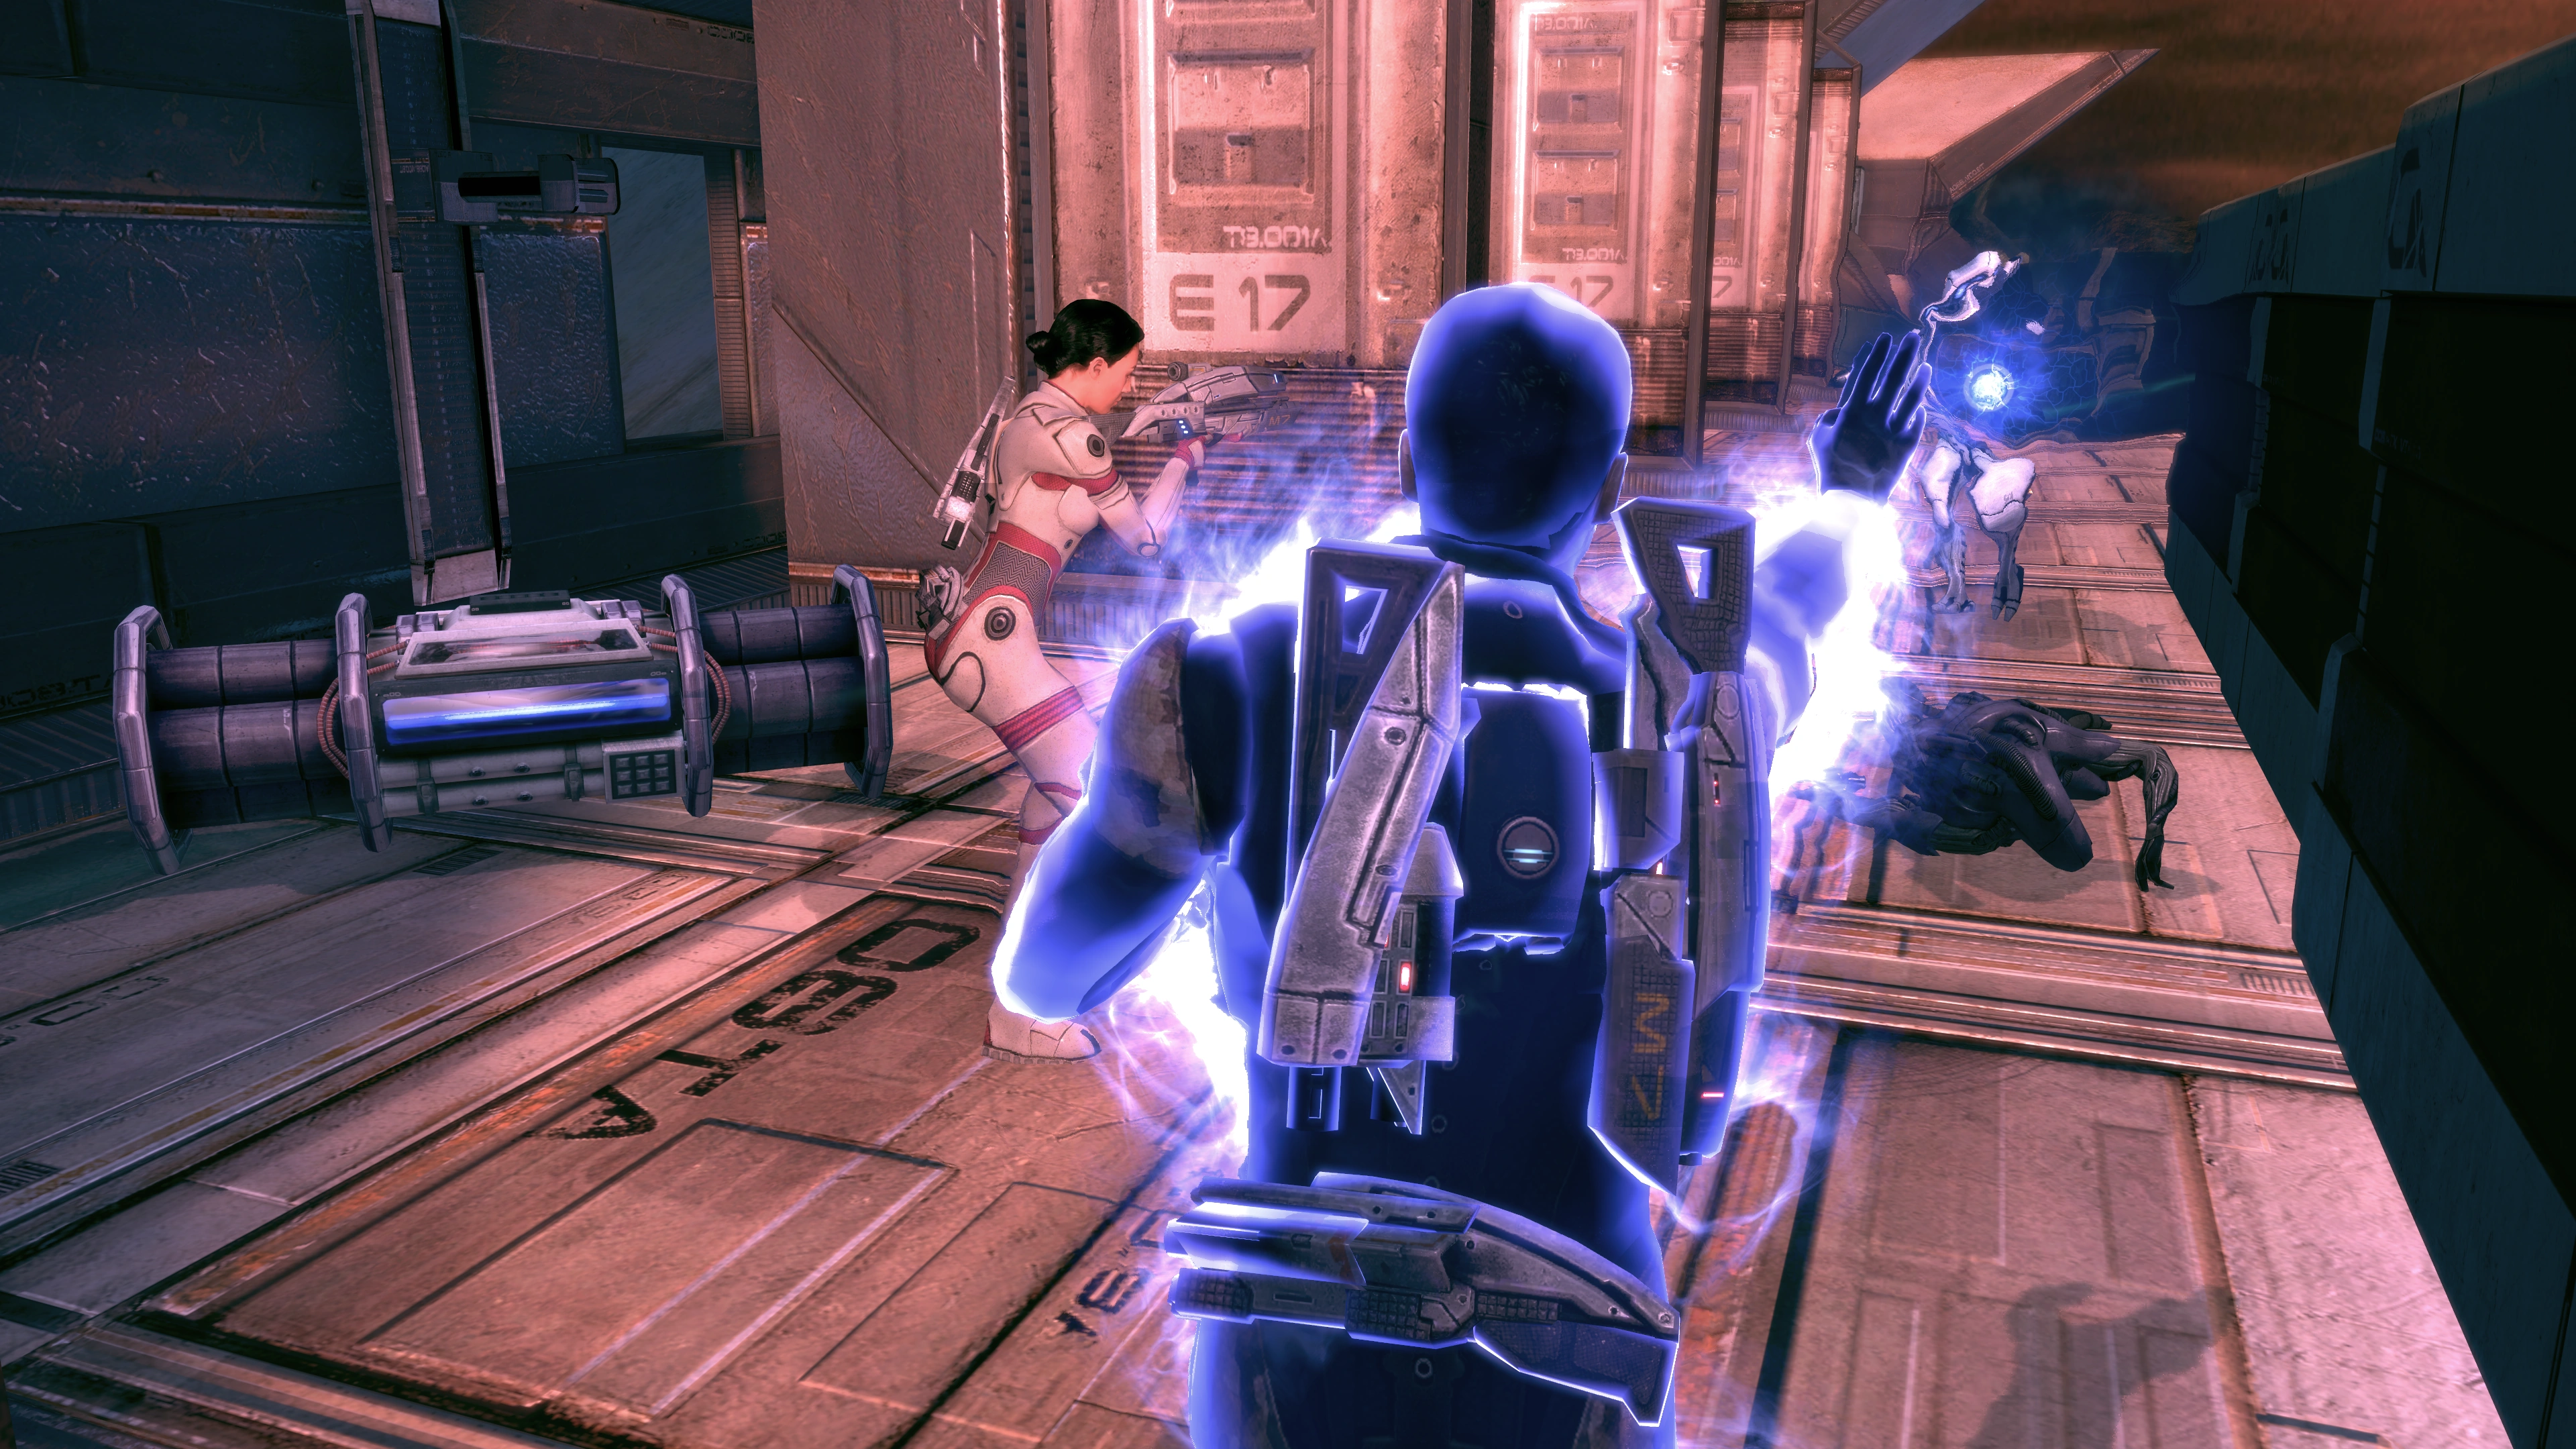
The cutscene shows a soldier, one of those seen earlier in the transmission, running and being pursued by two drones. She takes a hit but her shields hold; then she falls, pulls out her pistol and destroys her two pursuers. Then she takes notice of two Geth Troopers, and a colonist who is impaled upon a spike. The geth spot her and she runs for cover and pulls out her assault rifle.
You regain control at this stage—once the geth attackers are down, approach the soldier and talk to her. Note: If you held off from investigating Jenkins' corpse earlier, the last opportunity to do it will be before talking to the rescued soldier. Afterward, Jenkins' body can no longer be interacted with.
She introduces herself as Gunnery Chief Ashley Williams of the 212. The conversation can go any way you want, but take it easy if Shepard is male and you want to pursue a relationship with Ashley later. She tells you that the dig site is a little further up the road, and the three of you move out together.
Squad: Up to this point, you may have noticed that Kaidan was "unkillable" by enemies. After Ashley joins your team this is no longer the case, and either member of your squad can be downed by enemy fire. You'll need to take care of them in combat by ordering them to use cover or retreat, or by using First Aid to heal them up if their health becomes severely damaged. Downed squadmates can be revived during combat by a few abilities but if you're playing a new, low-level character you may not have access to them yet. They will revive automatically at a low level of health once all enemies in the area have been eliminated and sometimes if you retreat a very long distance away. For more information see the Combat page.
Before you leave, grab the two crates to the right and the med kit across the clearing. One of the crates contains the Scorpion light armor, which has better stats than the default Onyx armor and is thus probably worth equipping on someone. The other crate contains some random loot. Once you have everything, head out and be prepared.
Once you get to a series of rocks, take cover because there will be more geth that attack from the dig site itself. Use the cover and your squadmates to eliminate them. One geth will be on the exterior patrolling, so watch out as it will come from an angle that is not easy to see or hit.
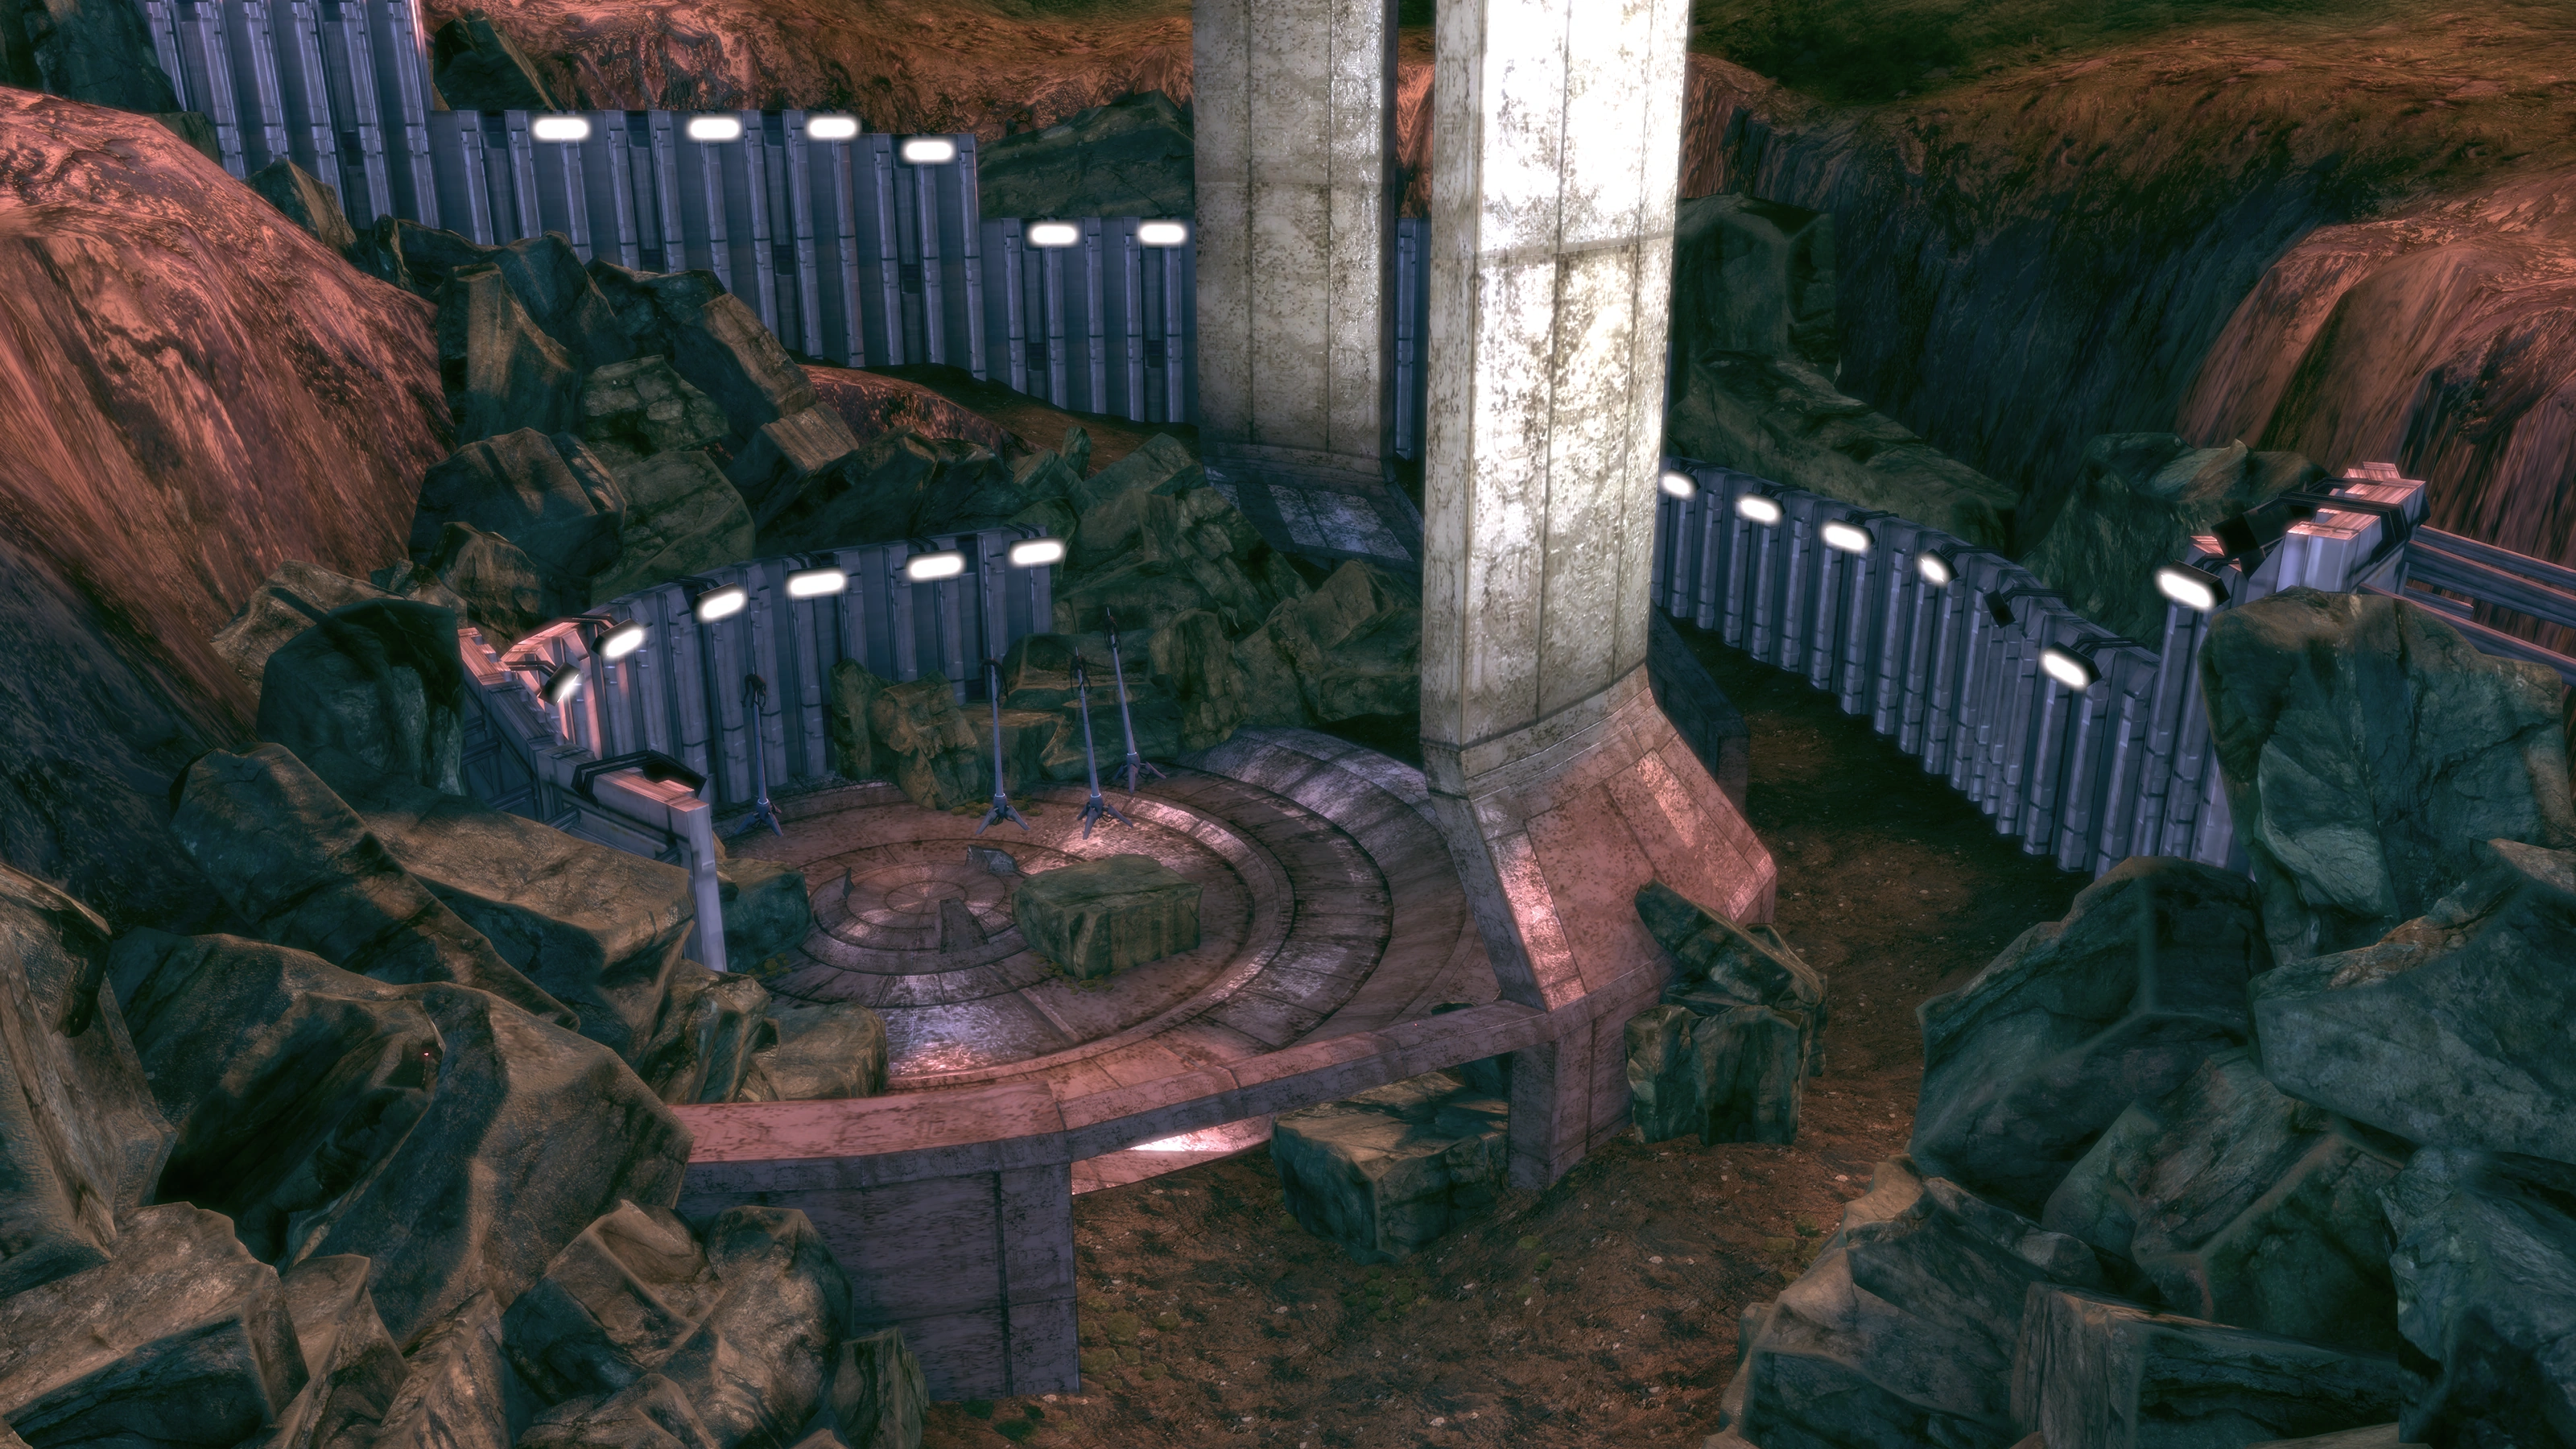
Once they are all down, investigate the dig site. If you try to move past the dig site without investigating it, the next scene below plays anyway.
A dialogue scene will show and Ashley is astonished that the beacon is no longer in the site; it has apparently been moved. Before you leave, grab the crate next to one of the exterior pillars of the site for a few weapons as well as the Body Armor Codex entry. Also at this point, Nihlus comes over the comm saying that there is a change of plans: he will be investigating a small spaceport and will wait for you there.
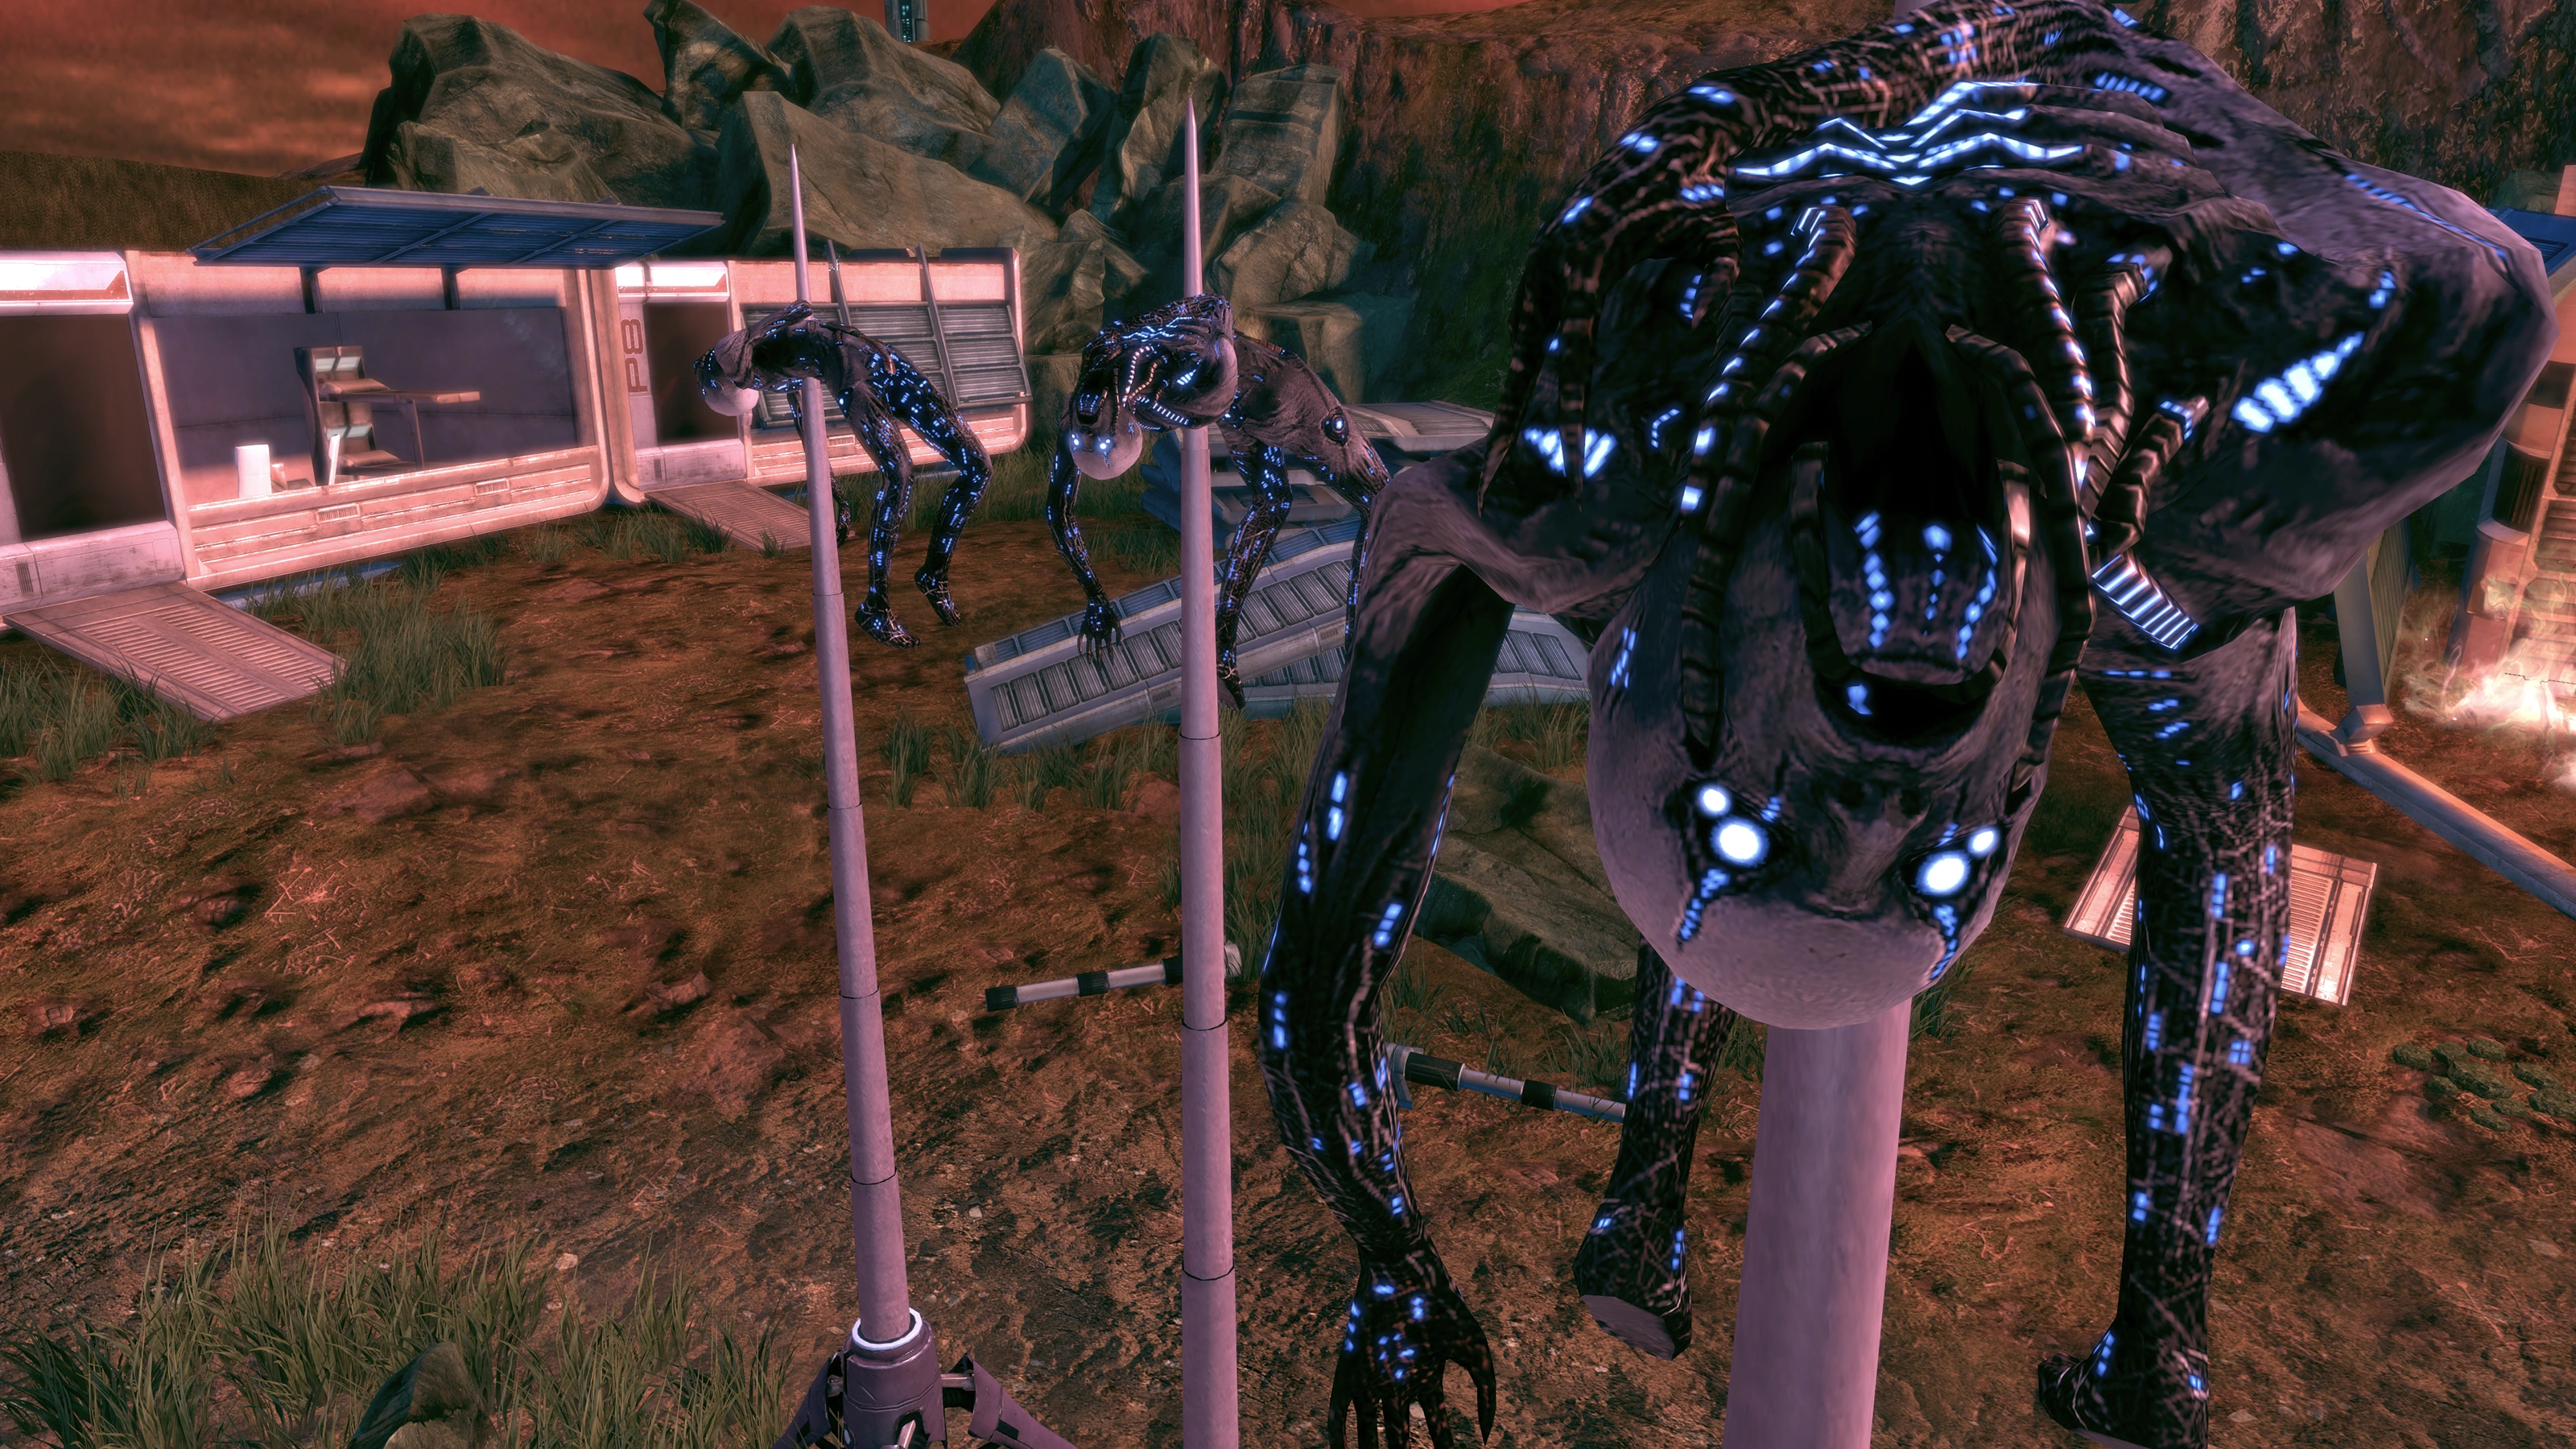
Head up the ramps to the science camp. When you get close, Kaidan points out that it's a good place for an ambush and instructs you to keep your guard up. A cutscene will then show the spikes from earlier and some cybernetic creatures on them. Suddenly, one spike lowers and Ashley wonders what the geth did to them. Kill the Husk and its two friends: be careful not to let them get too close because they have a devastating electrical attack and will proceed to melee you and the squad to death if given a chance. Tip: backing up while firing is a good basic tactic, as is using abilities like Kaidan's Throw to knock them down.
Once the Husks are down, don't leave before grabbing the upgrade kit behind the spikes, which are called dragon's teeth. There are also some crates in one of the shacks, the one with the window open. Grab the two crates inside the shack and head for the other.
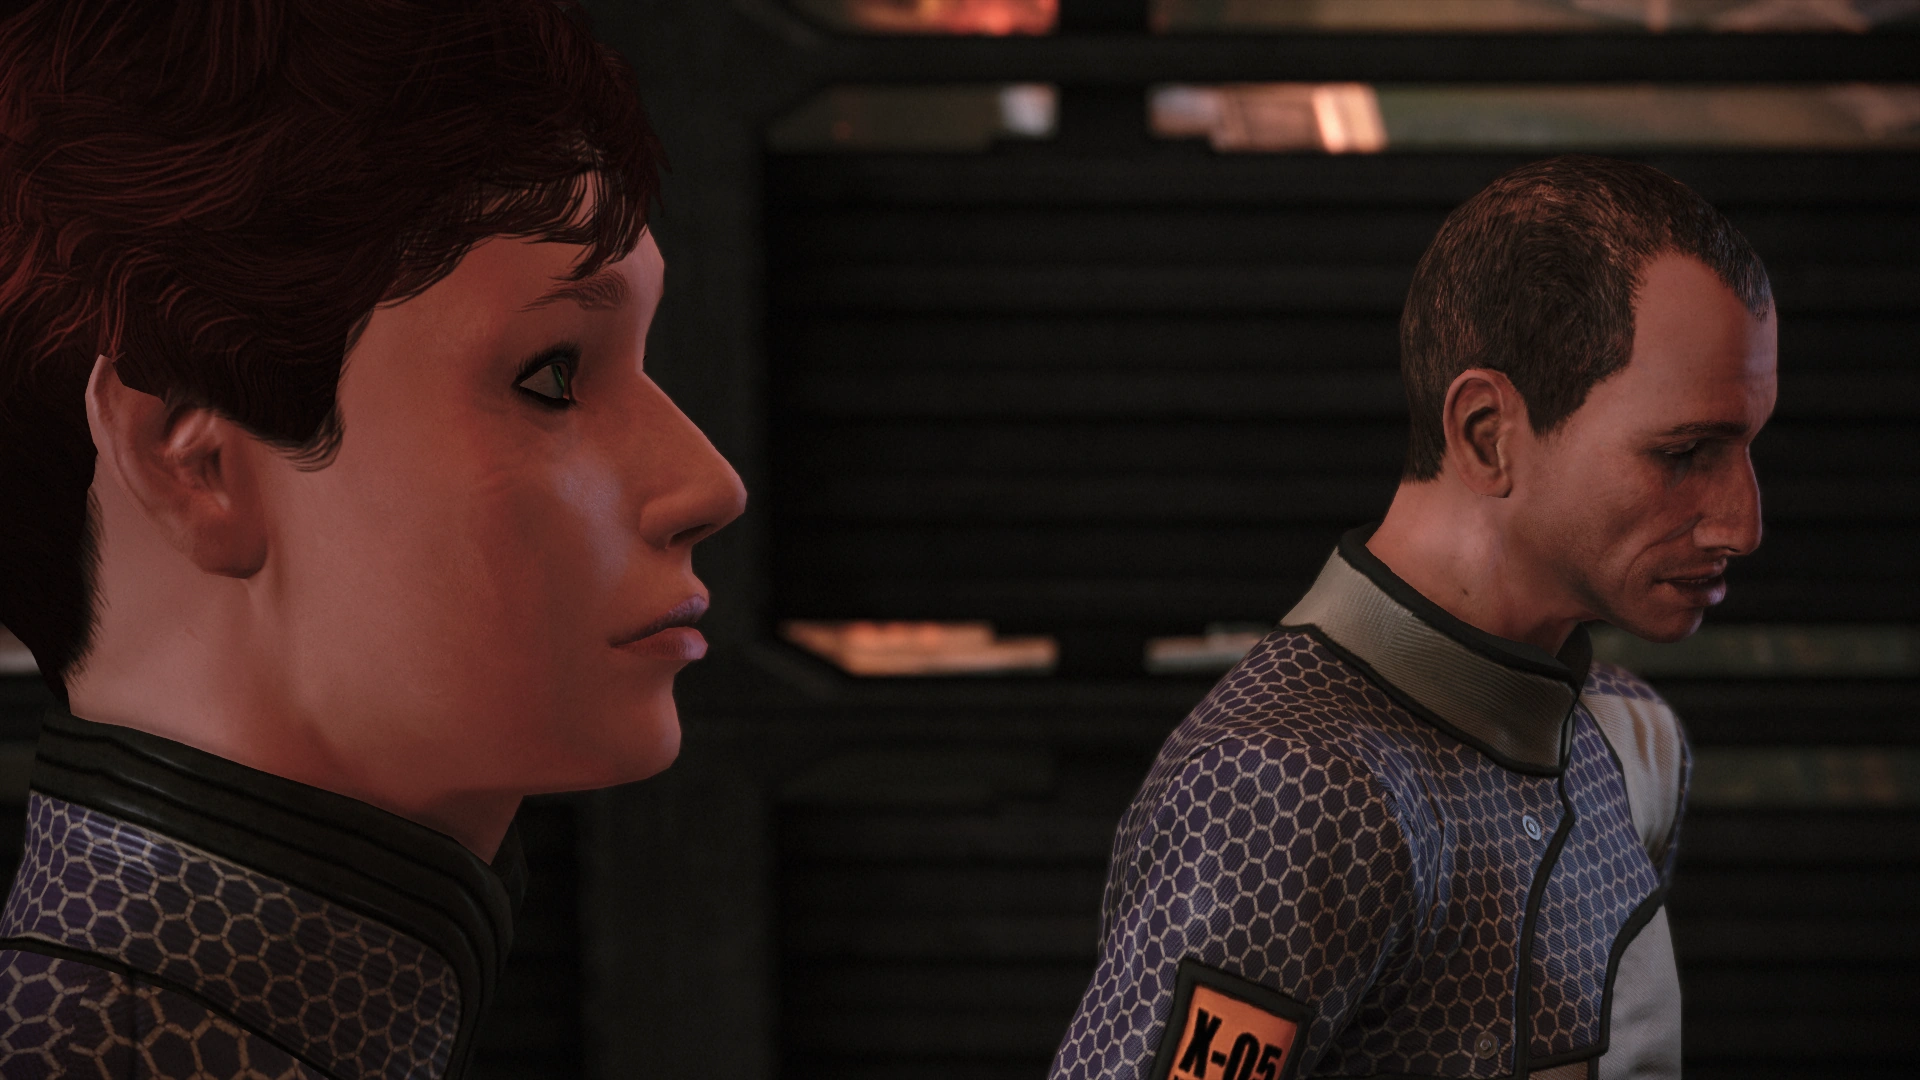
There is a lock on this shack which you must bypass. If you fail, you must break down equipment into omni-gel to get enough of it to bypass the lock. You will get the same amount of experience either way. Once inside, there are two scientists: Dr. Warren, who is the one in charge, and her assistant Manuel, who seems to be a little off his rocker. You can ask them both questions about the attack and where the beacon went; it was apparently moved to the starport that morning. You can continue asking questions – if you are annoyed with Manuel or you want nine Renegade points, you can knock him out. Once you are finished, head over to the path and you are treated with a cutscene.
Eden Prime Starport[]
The cutscene shows Nihlus approaching the spaceport. He takes cover and then leans out and sees another turian, Saren Arterius. Nihlus questions Saren, then turns his back. Nihlus was not expecting the geth, but Saren claims to have it under control. However, the pistol that Saren pulls on Nihlus hints at some other motives. When the cutscene ends, you hear a gunshot that reverberates in the air. Round the corner and head down the path. Off in the distance you see a massive ship taking off.
The exterior of the spaceport has a few Husks, and some Geth Troopers are defending this position. The Husks will rush you while the Troopers will stay at a distance. At the top of the stairs is another containment cell; if you hit it at the right time you can eliminate the Troopers before they are a threat. Once they are down, destroy the Husks that are preparing to swarm you. Use Kaidan's Throw power to help with the overwhelming part, and otherwise keep backing up while firing at the Husks. Once they're down, head to the left and access a malfunctioning object for some loot. There is also a crate outside another shack. Bypass the lock to meet some farmers.
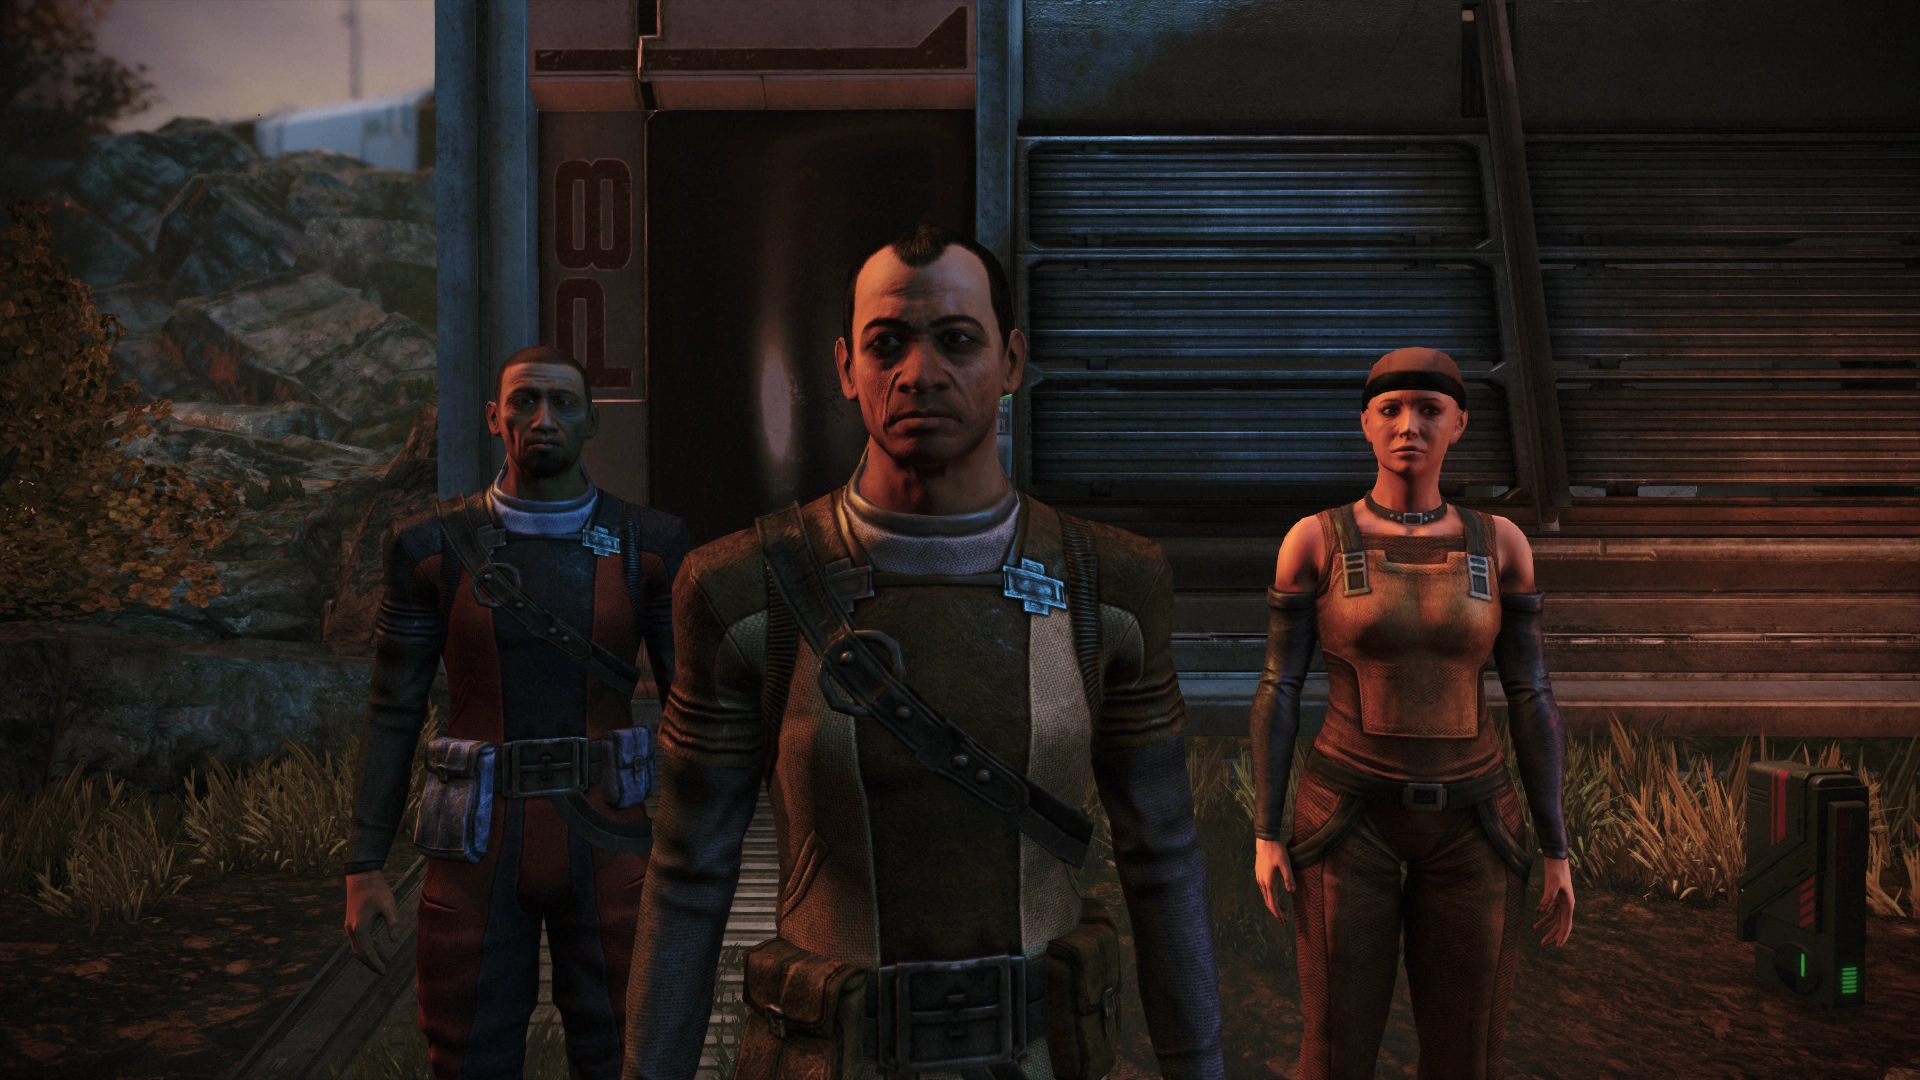
A farmer named Cole and two of his friends exit saying they are not armed. You can ask Cole some questions about the attack and the ship you just saw. Before you leave, one of the other farmers asks Cole to give you some loot. Apparently there was a smuggling ring and the farmers were making some money by hiding the goods in their sheds. Respond to that any way you wish. Ask him about it and, with one point of Charm or Intimidate, you can use a persuasion option to get it. There is another persuasion option to get some more tech. Then Ashley asks for the name of the contact, Cole refuses, a third persuasion option opens where you can get the name, Powell. Once you are done, head into the shack for a storage locker. This locker requires Electronics to unlock: even a single point in Kaidan's or Shepard's Electronics skill is enough to bypass the locker. If you don't have the score now, you will probably level up once more before moving on to the next area, so you can come back for the locker later.
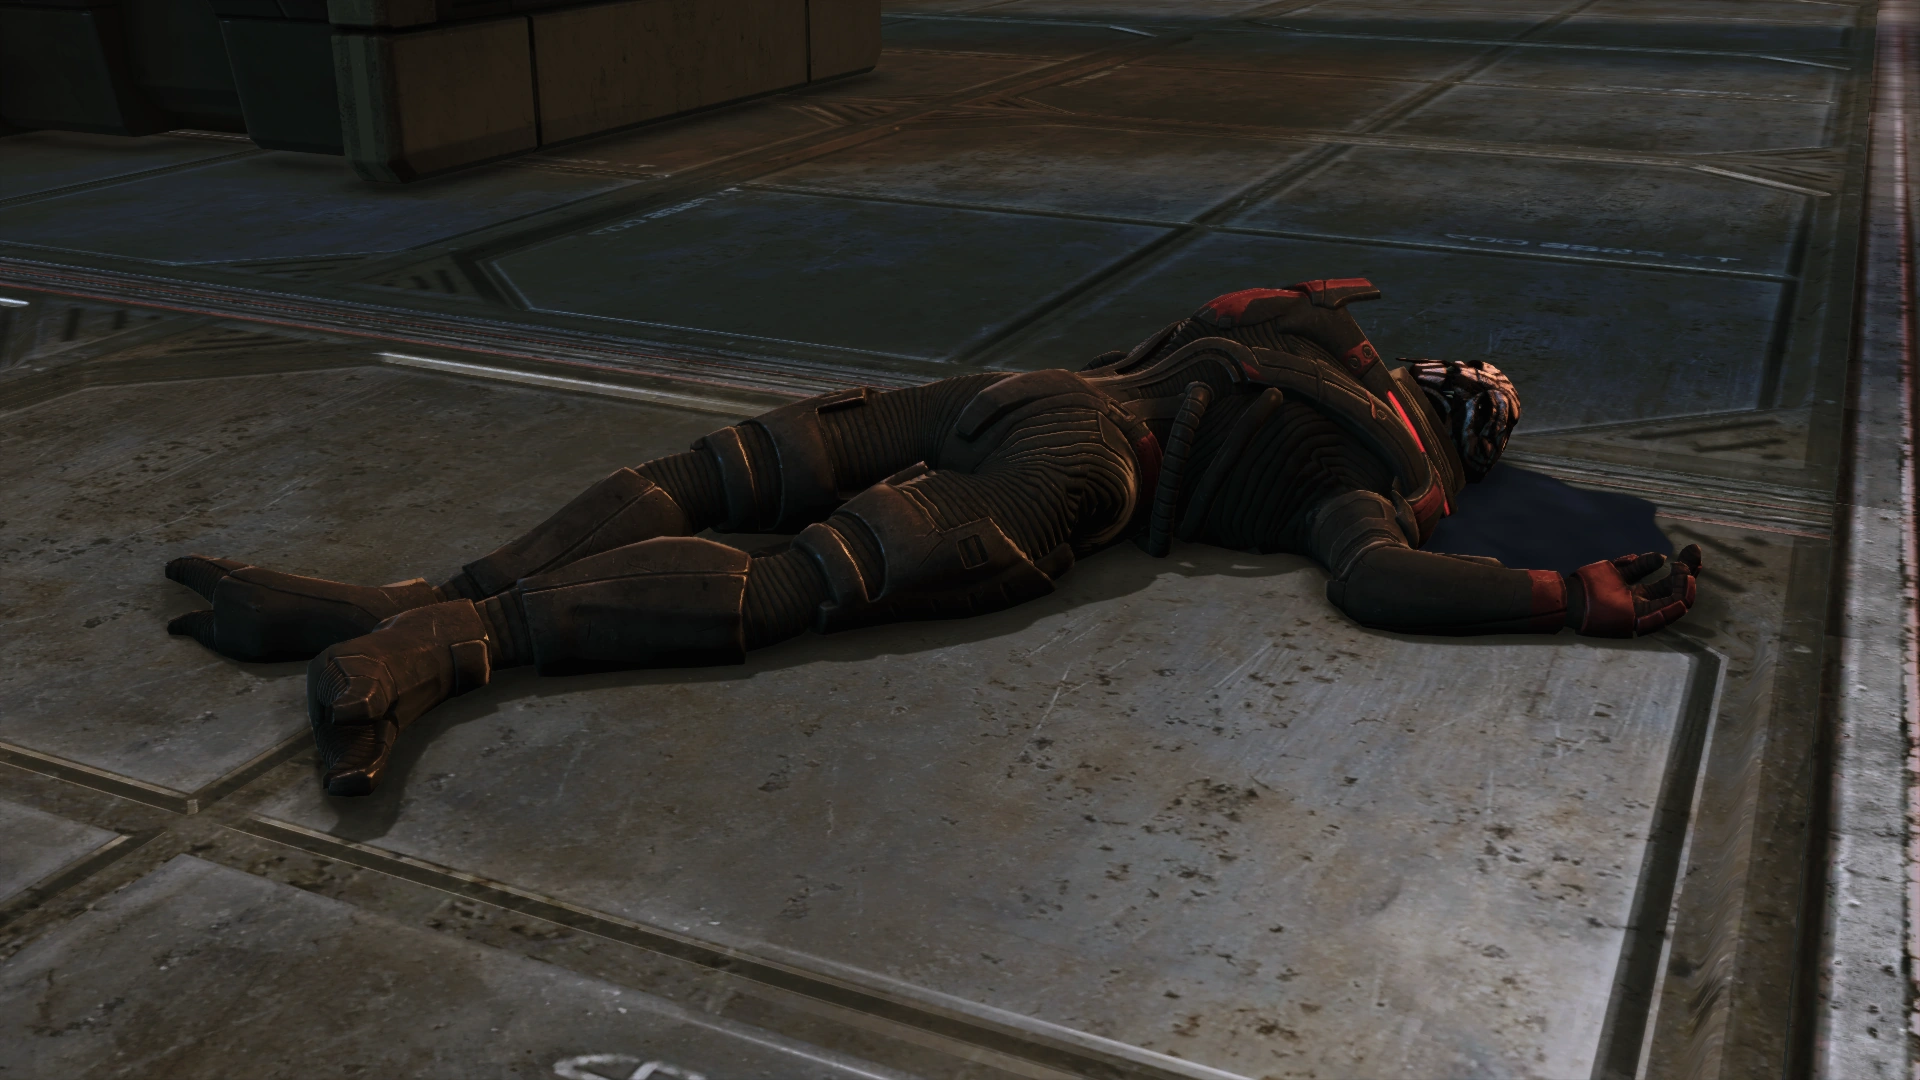
Head up to the platform where you can see a body; unfortunately, it is Nihlus. Before you investigate his body, head to a fire in the corner because it isolates an upgrade in it. Warning: going into the fire can kill you very quickly, but it's possible to grab the upgrade without doing so. Once you have it, there is a med kit on the ground near the steps, so grab it if you need it. Then investigate Nihlus' body.
Ashley immediately notices someone moving behind the crates. Everyone pulls their pistols, but it is just a dockworker. He introduces himself as Powell, which sounds familiar. You can ask him the same questions as you did the farmers, though he will give slightly different answers. If you managed to persuade Cole to mention Powell's name, you will have the option to ask Powell about the smuggling ring, at which point he will say that it doesn't matter anymore. Press him and he will say that no one misses a few pieces from the military orders. Ashley presses him for the grenades and he hands them over. You can use Paragon or Renegade dialogue options to get a High Explosive grenade upgrade out of him (requires 3 Charm or Intimidate, respectively).
The next area is relatively simple, mainly because it is very linear. Head past where you talked to Powell and send your squadmates first because there are two Geth Troopers around the corner. Once they fall head down the catwalk and look onto the train below. There are some geth there and an explosive crate; shoot the crate to take them out without having to go down the ramps. Even with a shotgun, it is easy to do so. Once they are treated to their daily helping of explosives, head down the ramps and onto the train.
Take cover here because further down are some Geth Troopers, Geth Shock Troopers, and a Geth Destroyer. The Destroyer will, once you or the squad open fire, start walking towards you. Eventually, it will charge at you and the squad and either melee or use its shotgun to kill you. Hitting it with an ability like Throw can help keep it at a safe distance for longer. Take the Destroyer out first, then move from cover to cover to take out the geth further along. A character trained with sniper rifles can take them out easily without having to move from one position to another. When the geth finally fall, move up, and grab some medi-gel from a med kit about half of the way down the train. Note: if you couldn't unlock the storage locker before, now is the last time you can go back for it. Otherwise, activate the train controls.
Spaceport Platform Two[]
Once you activate the train controls, you are treated to a cutscene where the train moves along the tracks. Then the scene jumps to the other platform where Saren is with some geth, giving orders to erase their tracks by destroying the entire colony. Then it shows Saren standing in front of the beacon and being lifted into the air. The scene cuts to a Geth Shock Trooper standing up after setting a charge to see Shepard's train arriving.
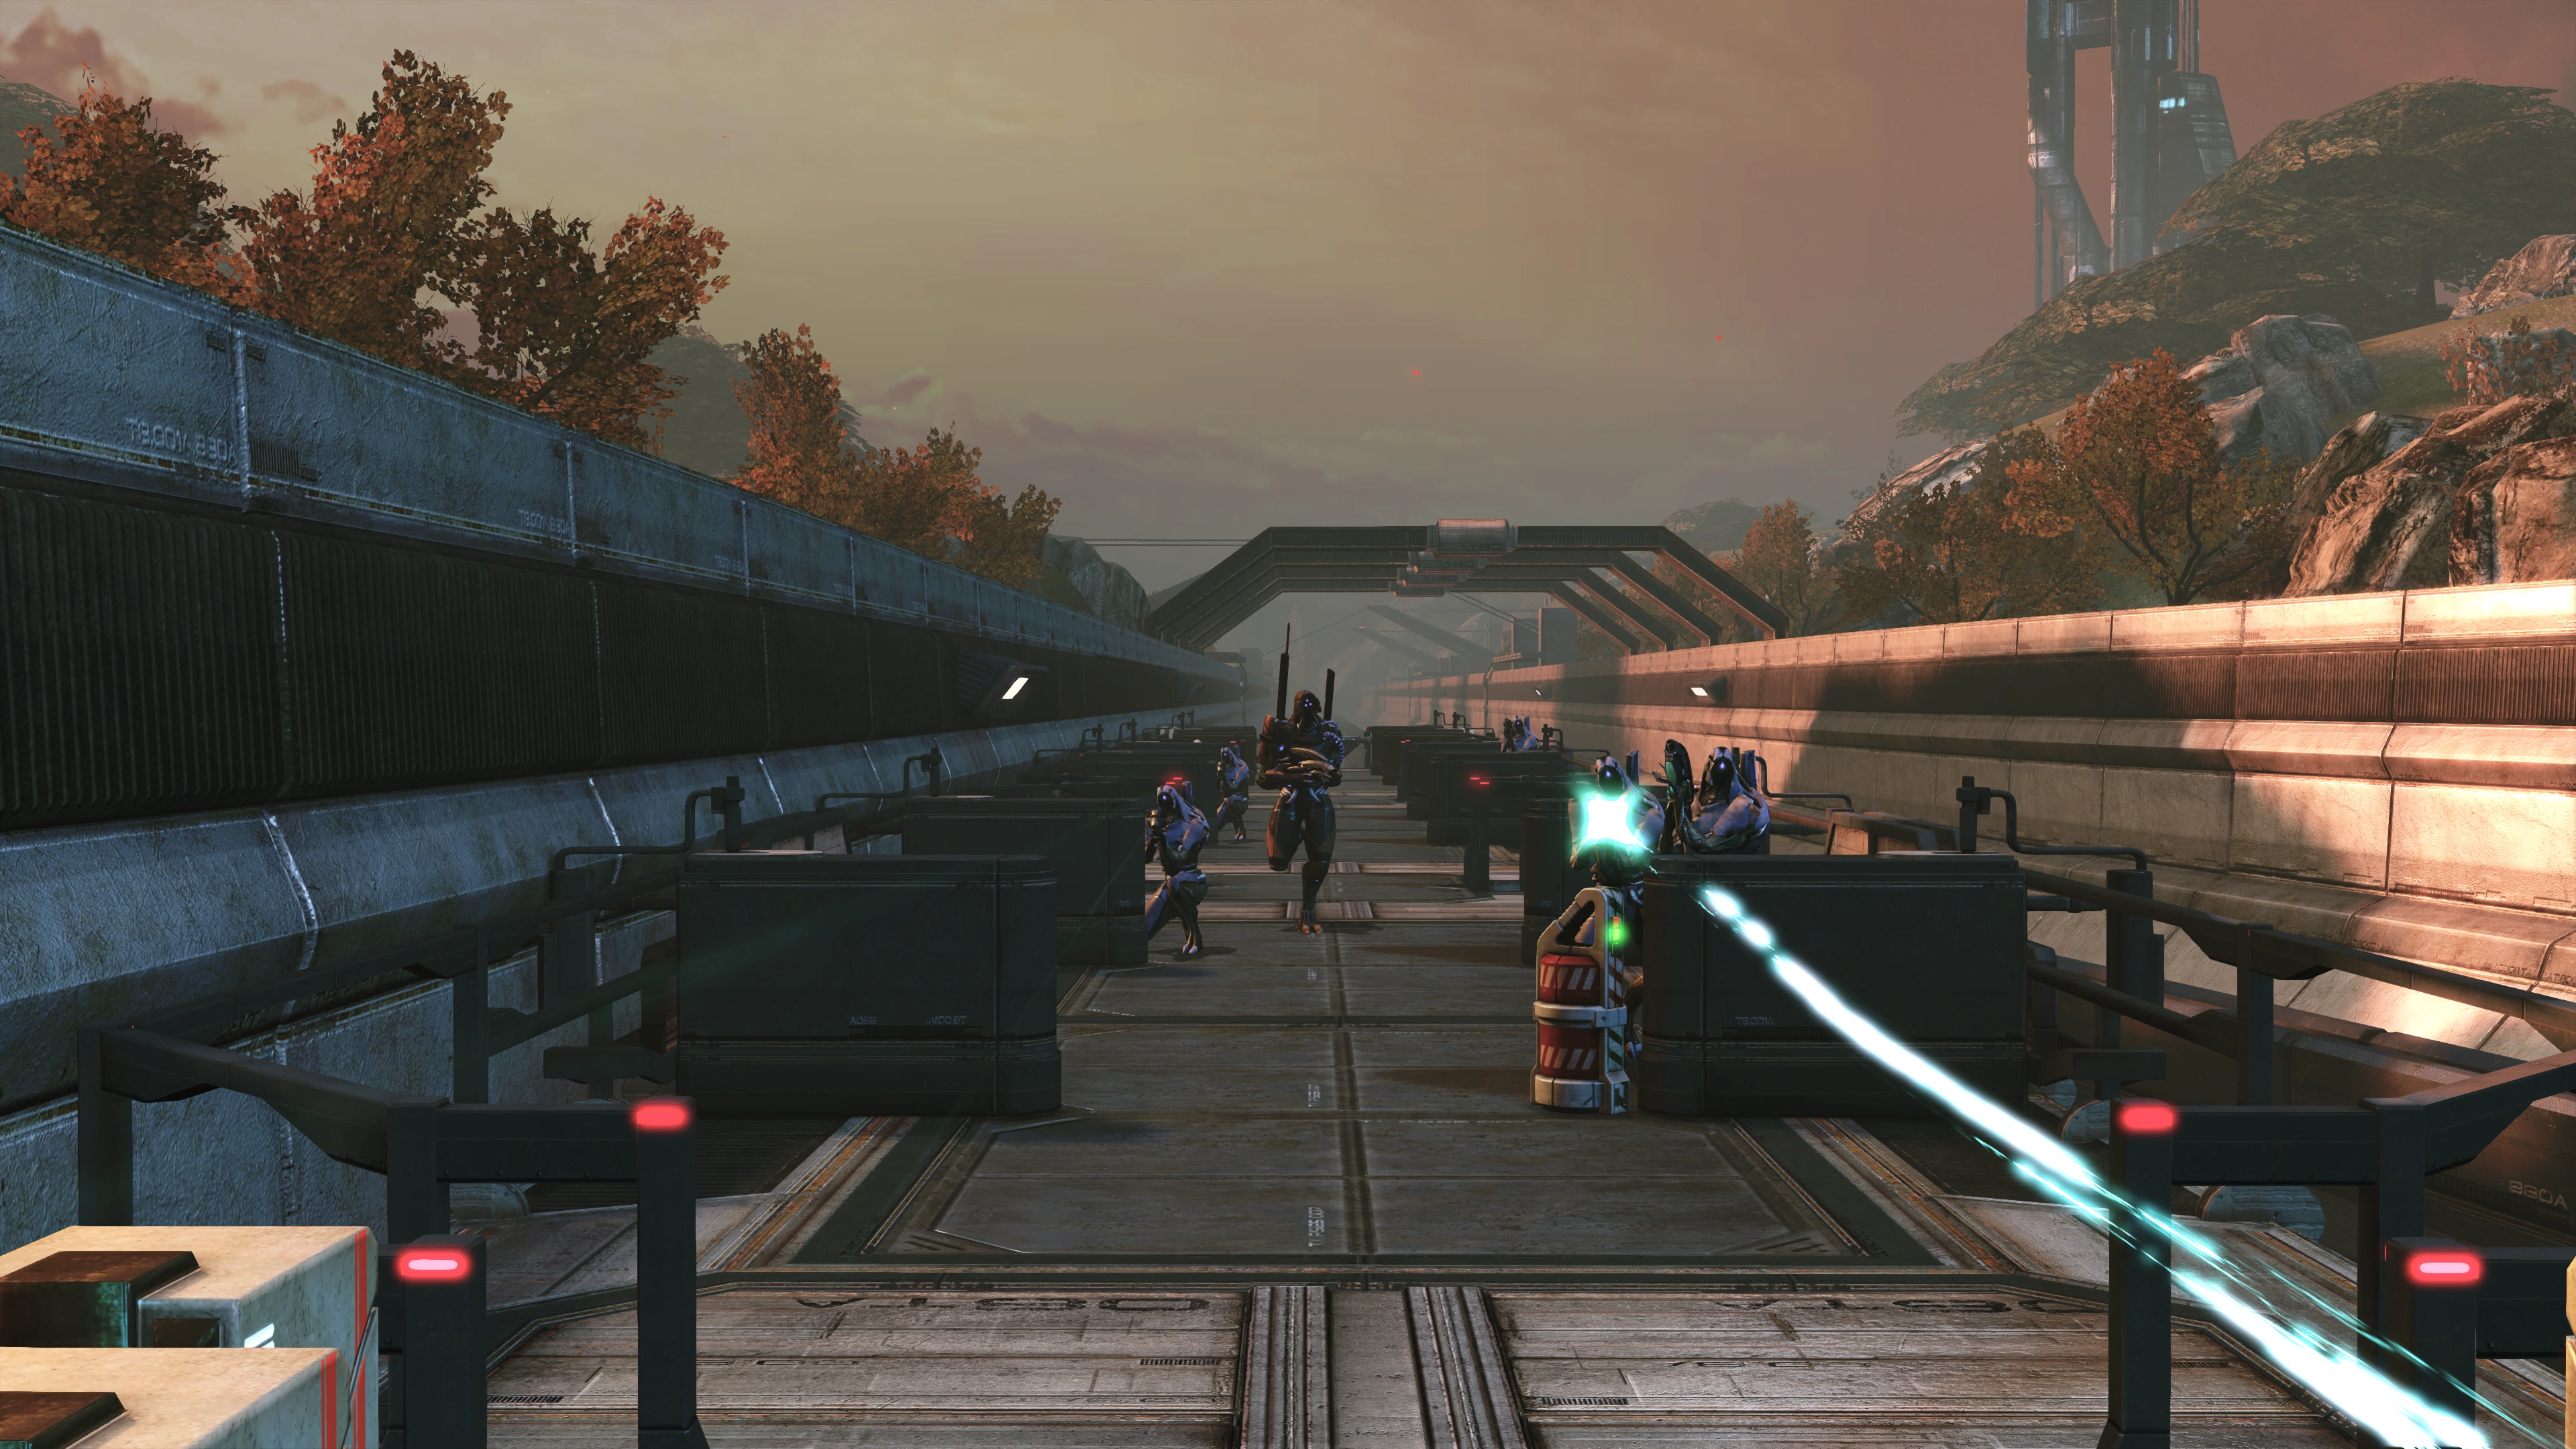
When you regain control of Shepard, you have five minutes to disarm four explosives. The first is right near the train and can be done without shooting. Be warned that while you are disarming them, you can't return fire or do anything else, so make sure you are in cover and the enemies are pinned down. Once the first charge is disarmed, head up the ramps and you will come under fire. Head across the bridge and use the last panel on the right to position your squad to cover you while you move to the left and disarm another charge. Then take out the Geth Troopers, Geth Sniper, and Shock Troopers that are attacking you. Be careful of the Sniper because it can take you down in one hit, even with full shields. The geth sometimes hide behind the crates at the other end of the platform and on the bridge, but they rarely go to the other side so no need to worry about flanking fire.
Once all the geth are down, the first alcove on the left has another charge; disarm it and then head all the way down the platform and disarm the last charge. Now head over to the ramps to the last area of the level. There is a crate just before the catwalk, grab it then move your squadmates about halfway down the catwalk and prepare to face the final four enemies of the level: two Husks and two Geth Troopers. The Husks will storm up the ramp so use Throw to get them back down the ramps. There is a possibility that one or both can go over the railings to the left, though once they're at the bottom of ramps it is easy to take them out because they won't move. Once the Husks are out of the way, move to eliminate the Troopers.
Once the troopers are down, DO NOT investigate the beacon yet if you aren't ready to end the mission. There is a crate and a storage locker on the main platform, a wall safe to the far left, and a technician kit on the far right, when looking at the beacon. Note that there is a brief but easy-to-miss cutscene that triggers if you walk up to the middle of the fence posts behind the beacon and next to the crate (i.e. in between the beacon and the crate). Once you are done, investigate the beacon and a final cutscene will start.
Shepard radios the Normandy for pickup while Kaidan and Ashley investigate the beacon. The person who is the same gender as Shepard will then go to talk to the Commander, while the other investigates the beacon. Suddenly they are pulled towards the beacon, Shepard notices and as they are lifted into the air, Shepard grabs them and throws them aside. Then Shepard is lifted up and a scene showing disjointed chaotic images plays, while the non-thrown squad member prevents the other from going near Shepard to keep them out of danger. Then the beacon explodes and Shepard falls to the deck.
Normandy[]
You find yourself in the med bay of the Normandy with Dr. Chakwas and the squad member you threw out of the way. Chakwas asks how you feel, and you get the story about the beacon and what happened to it. Then Anderson walks in and asks for the room to be cleared. You can ask and answer Anderson's questions as you wish. Once you are done, Anderson tells you to see Joker and tell him to bring the Normandy into dock at the Citadel.
You can either head straight for the bridge, or walk around a little. If you choose to walk around, talk to Ashley and Kaidan. If you were rough on Ashley on Eden Prime, you can apologize now. Take advantage of this especially if Shepard is male and you wish to pursue a relationship with Ashley later. Before leaving the med bay, replenish your medi-gel on the right next to the door. Next to Dr. Chakwas is Shepard's locker. You can head to the cargo hold where you can sell and buy equipment (although not much at this point) from the Alliance Requisition Officer. You can buy the medi-gel and grenade upgrades, which allow you to carry one more medi-gel and grenade respectively.
Note: Walking around a little may allow you to obtain several codex entries by investigating prompts on certain objects or areas.
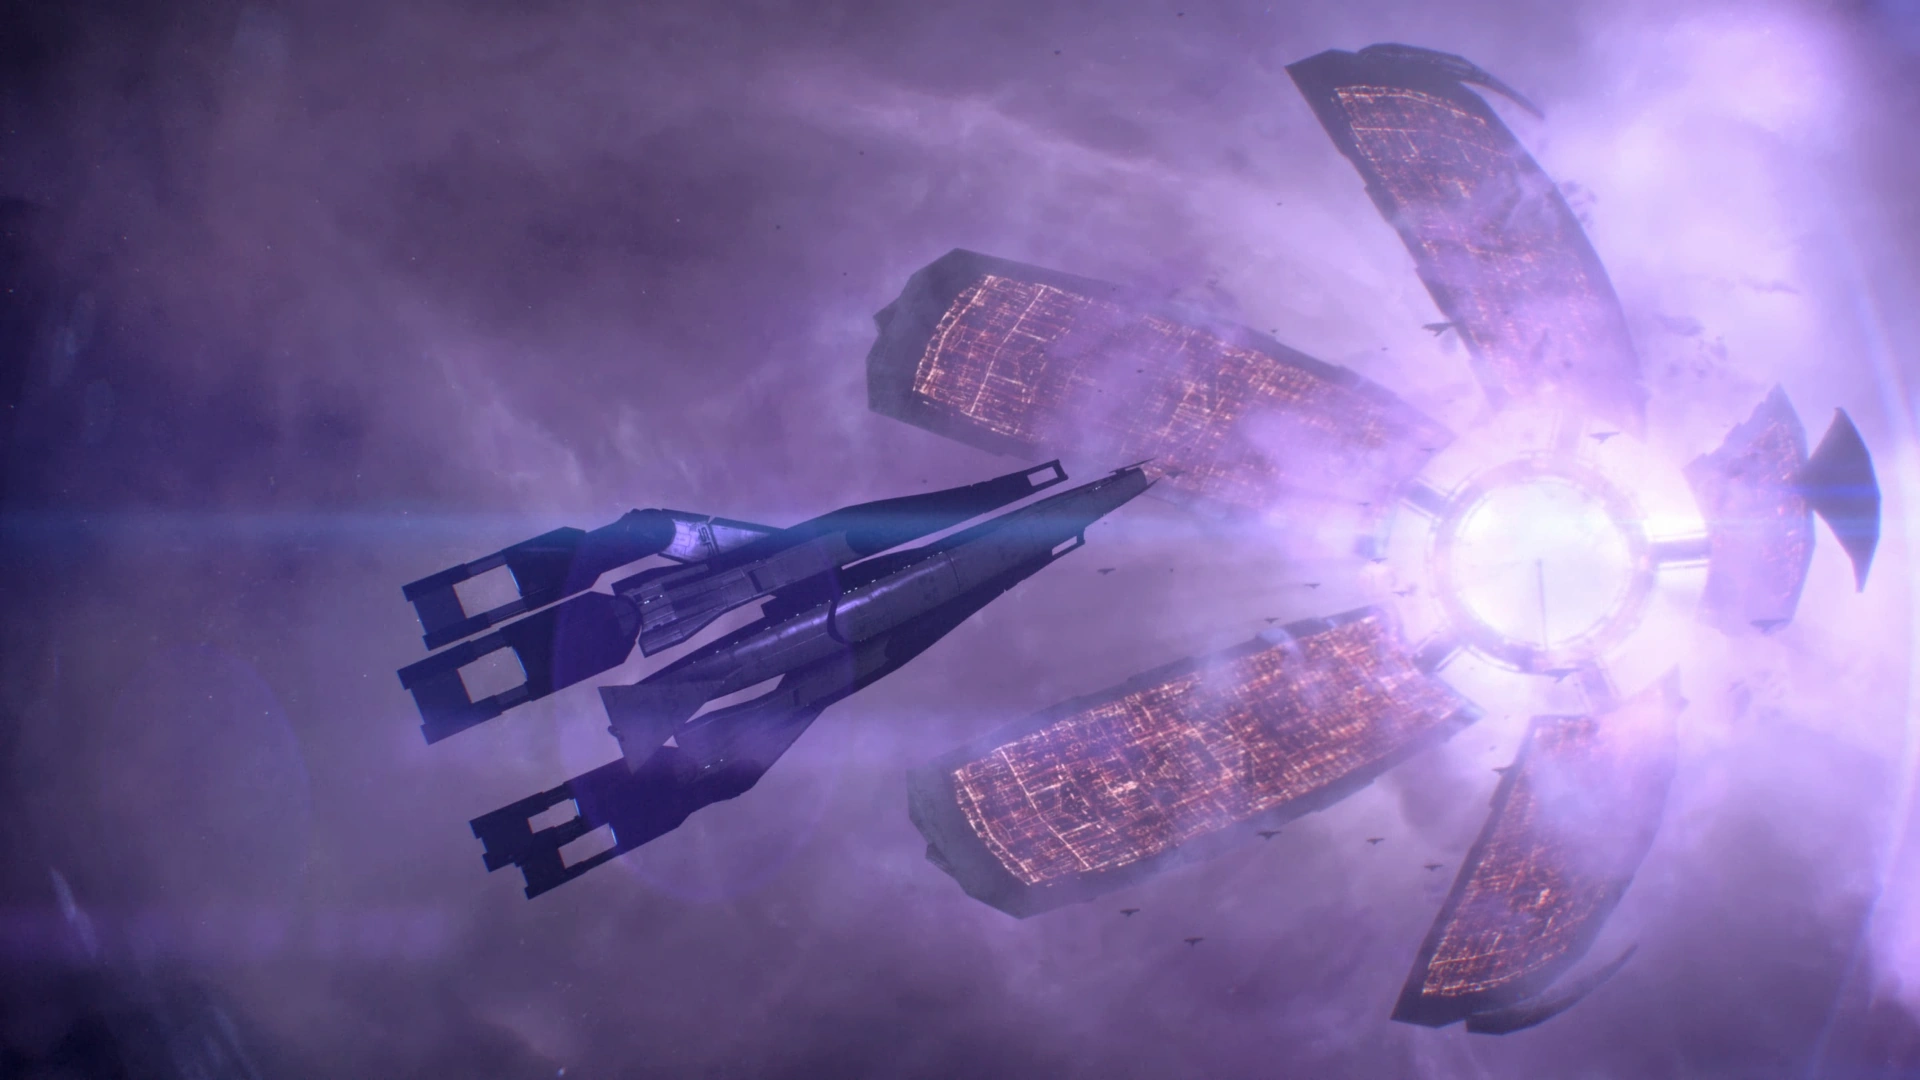
When you head up to the bridge, talk to Joker and you get treated to a cutscene revealing the Citadel, an enormous space station and major hub of galactic civilization. Guarding it are several starships that make up the Citadel Fleet, including its massive flagship, the Destiny Ascension. The Normandy is eventually cleared to land at Dock 422, where the scene transitions directly into your next mission.
Tip: If this is your first time playing, you may want to visit the Mass Effect Guide for a general overview of the game's mission progression.
Trivia[]
- On the Normandy prior to touching down on Eden Prime, the player is wearing armor and can use their weapons, grenades, and abilities. This is the only part of the game where it's possible to perform these combat actions while aboard ship.
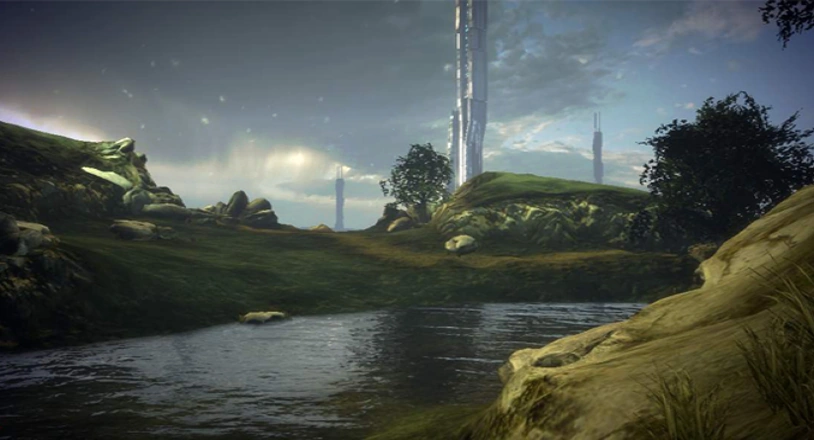
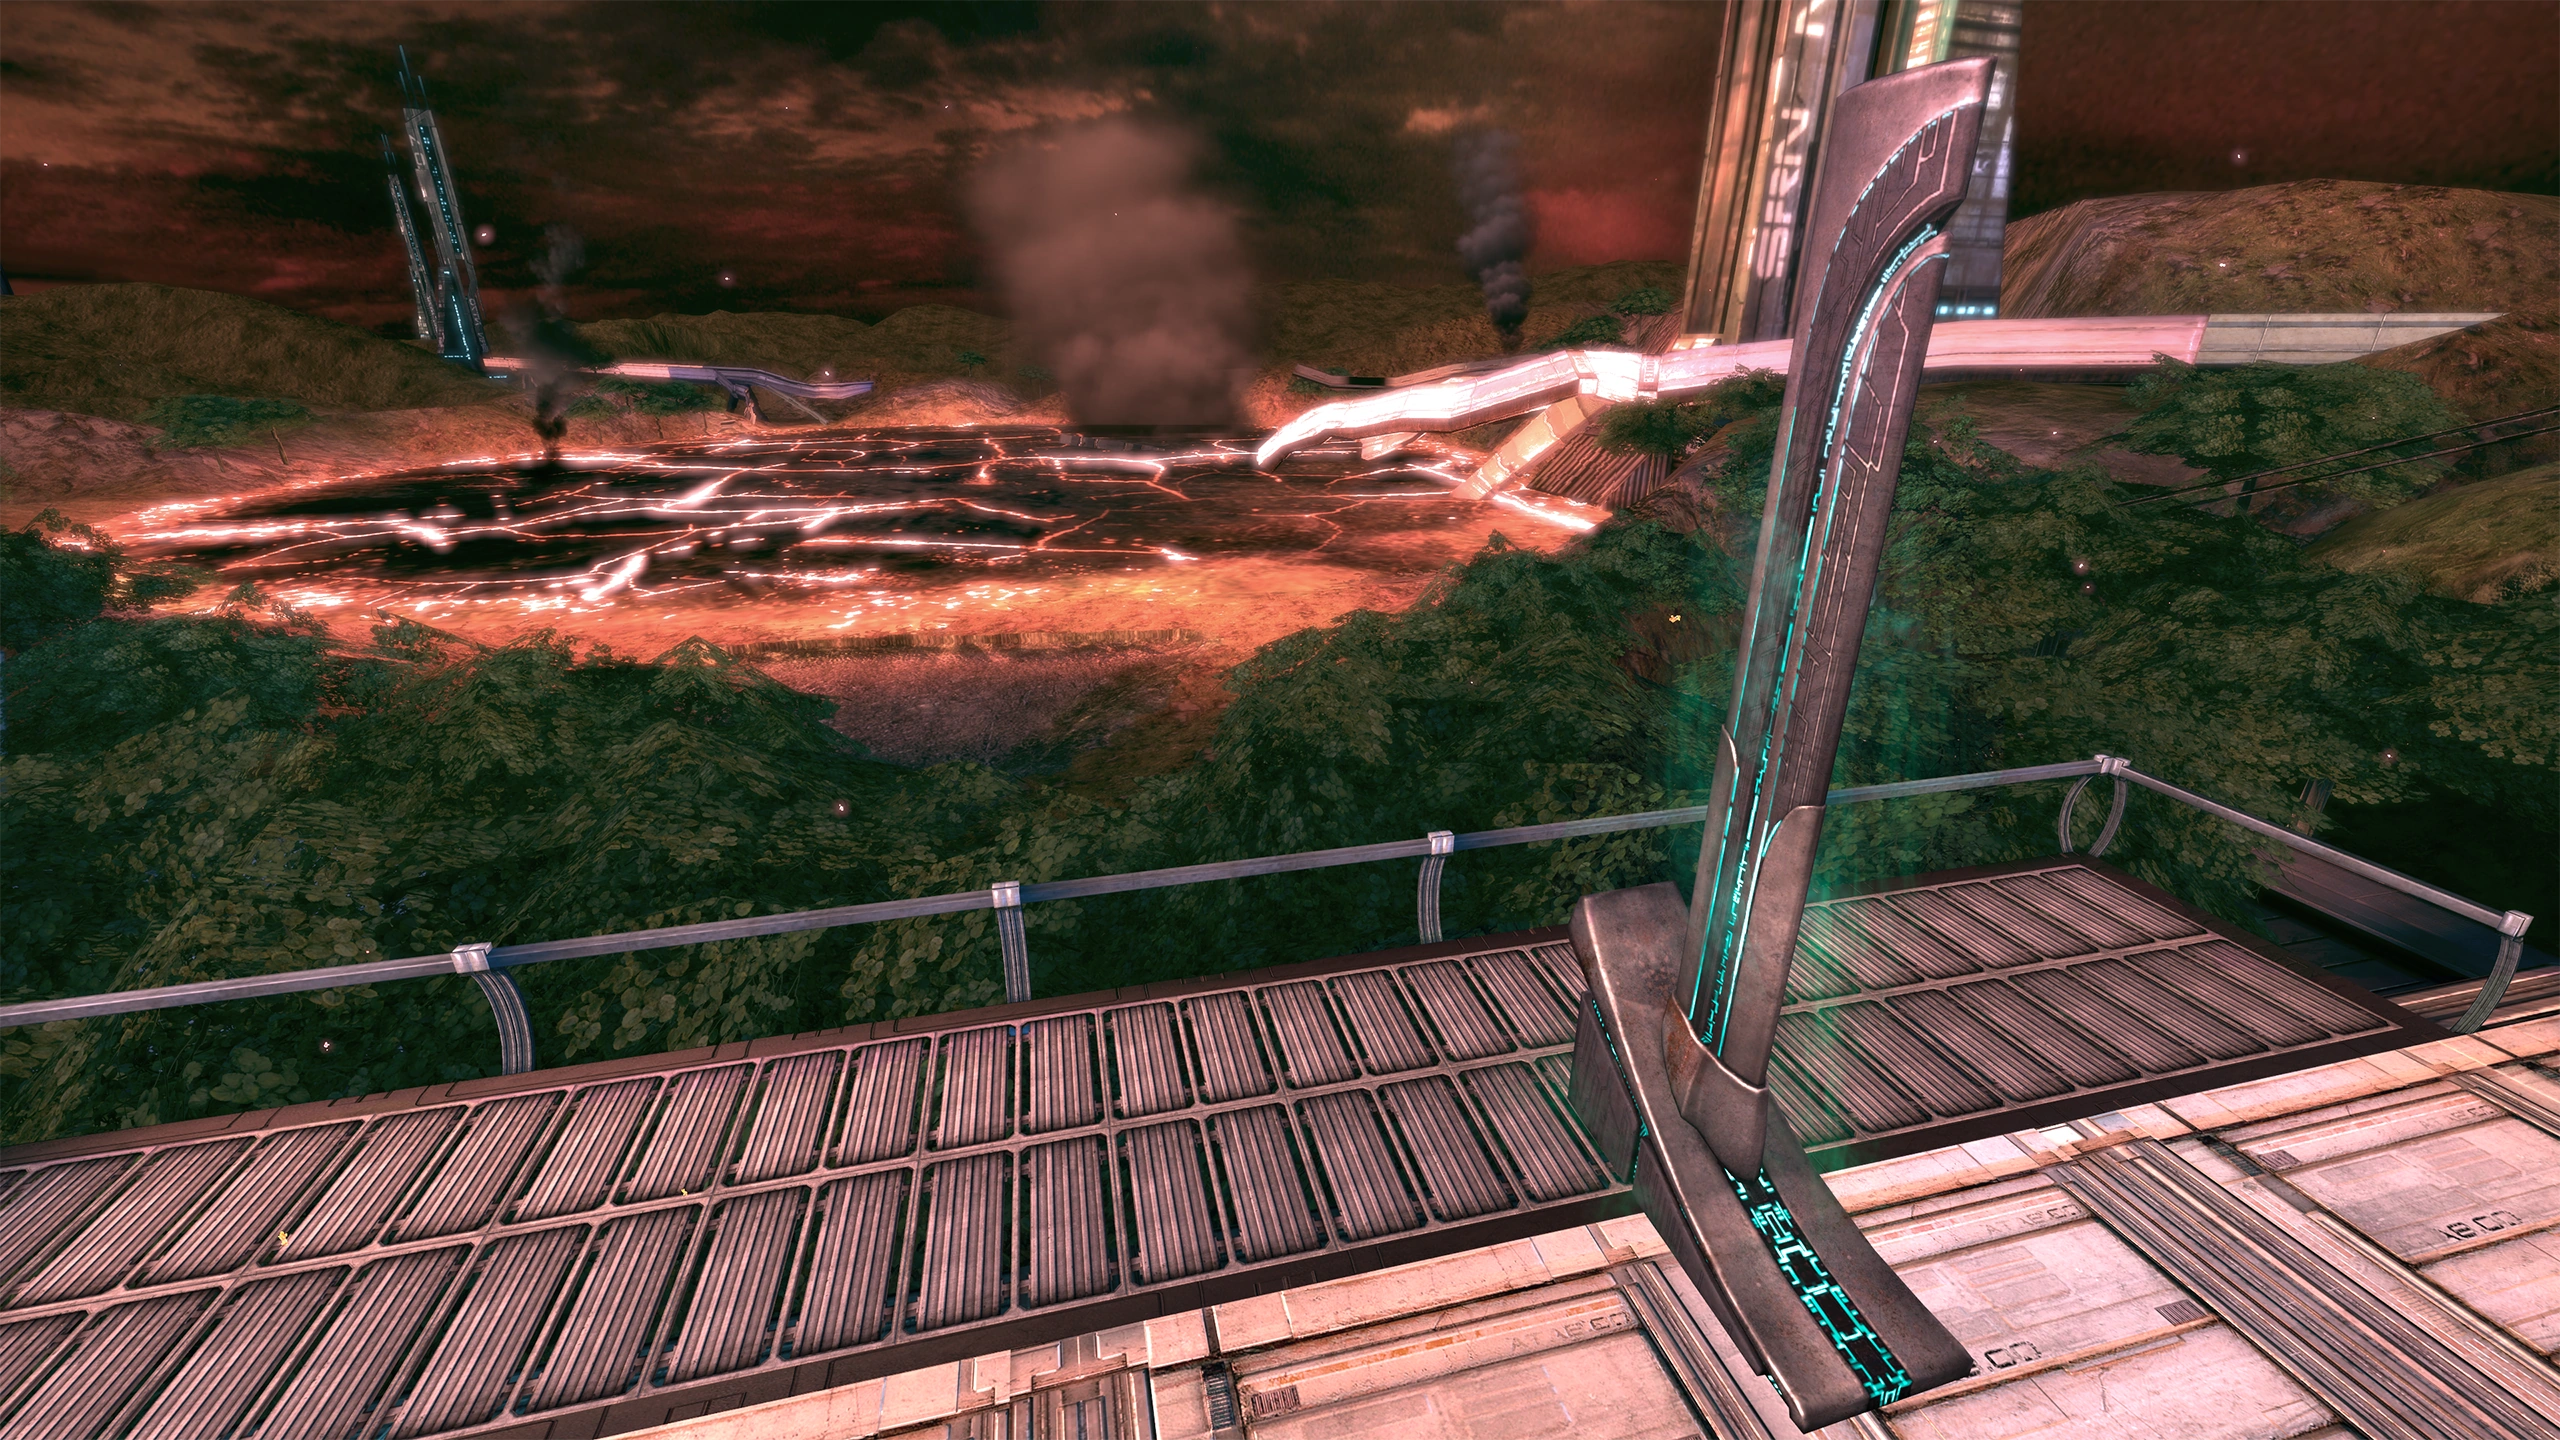
- During development, the attack on Eden Prime was originally meant to look less devastating than in the final release. The weather would have been clearer and the environments greener as Shepard battles the geth, until BioWare decided the attack needed to look truly harrowing. Shepard's path was also altered significantly (see Cut Content below).
- Main article: Bonus Content Disc/Environments: Eden Prime
Cut Content[]

|
The following information is drawn from cut content and is not to be considered canon in any way. |
Various cut voicelines imply additional conversations and events could have occurred during this mission:
- In the Normandy mess hall, Shepard and Dr. Chakwas could witness Kaidan's biotics demonstration where he lightly hurt Jenkins in annoyance. While one data source implies Jenkins himself was tossed, a left-over animation file clearly shows Kaidan throwing a cup at Jenkins. Dr. Chakwas in Mass Effect 2 references a similar scene, though it differs in that Kaidan tossed Jenkins to the latter's amusement. In addition, it was possible for Shepard to go down to the cargo hold and engine room, to which Adams would remark that it's unusual to see officers down there.[1]
- During the cutscene where Jenkins is shot, just before that happens, Shepard would have vocally given him the order to take point.[2]
- Shepard's interaction with Manuel would have had different ramifications. You could offer to help him, or refuse to. A grenade is also mentioned, which could detonate or be disarmed. It was also possible, somehow, to "heal" Manuel.[3]
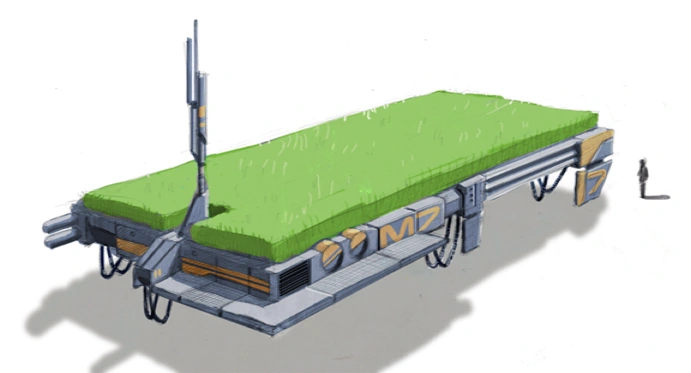
- After passing the sheds, the path to the spaceport apparently would lead through agricultural fields and installations.[4] Kaidan and Ashley would comment on the surroundings, offering information on Eden Prime farming and agriculture, and suggesting to use different tactics, like hacking an immobilized M35 Mako to use its guns, bringing down the aeroculture on the geth, or starting a disabled crop harvester to clear out the geth. Ashley also remarks on some local farming animals called "hexacows", which is an internal data name for the space cow.
- Approaching the spaceport, the squad would come across a number of dead bodies. From the conversation with Cole, they conclude it must have been his friends who didn't make it to the garage.[5]
- A combat sequence was planned on top of the moving train, but it was scrapped due to numerous technical issues.[6]
Enemies[]
References[]
- ↑ Mass Effect Cut Content/Prologue Voicelines#nor10_ambient_03; Plot Database: LE1.CH0_Eden_Prime.Normandy_Conversation.Kaidan_at_dining_table, LE1.CH0_Eden_Prime.Normandy_Conversation.Jenkins_Tossed; Mass Effect\BioGame\CookedPC\Maps\NOR\DS1\BIOA_NOR10_11_DS1.SFM has a developer note saying: "Jenkins hangs out in the garage after the biotic scene"
- ↑ Mass Effect Cut Content/Prologue Voicelines#pro10_trigger_03_b_river_ambush
- ↑ Plot Database: LE1.CH0_Eden_Prime.Free_the_scientists.Grenade_Detonated, E1.CH0_Eden_Prime.Free_the_scientists.Grenade_disarmed, E1.CH0_Eden_Prime.Free_the_scientists.Manuel_healed, E1.CH0_Eden_Prime.Free_the_scientists.Player_offered_to_help_Manuel, E1.CH0_Eden_Prime.Free_the_scientists.Player_refused_to_help
- ↑ Bonus Content Disc/Environments: Eden Prime#Image 4
- ↑ Mass Effect Cut Content/Prologue Voicelines#pro20_trigger_10_bodies
- ↑ Bonus Content Disc/Environments: Eden Prime#Image 17