Garrus has learned the location of Sidonis, the mole who betrayed his team. He was last seen on the Citadel in the company of Fade, a forger who specializes in helping people disappear.
Acquisition[]
You automatically acquire this mission after completing a few missions and/or assignments following the mission on Horizon. Kelly Chambers reports that Garrus has received a message that "put some fire in his eyes". Talk to Garrus at his station in the Normandy's weapons batteries. He says he has new information on Sidonis, the turian who sold out his team on Omega, leading to their deaths.
Preparation[]
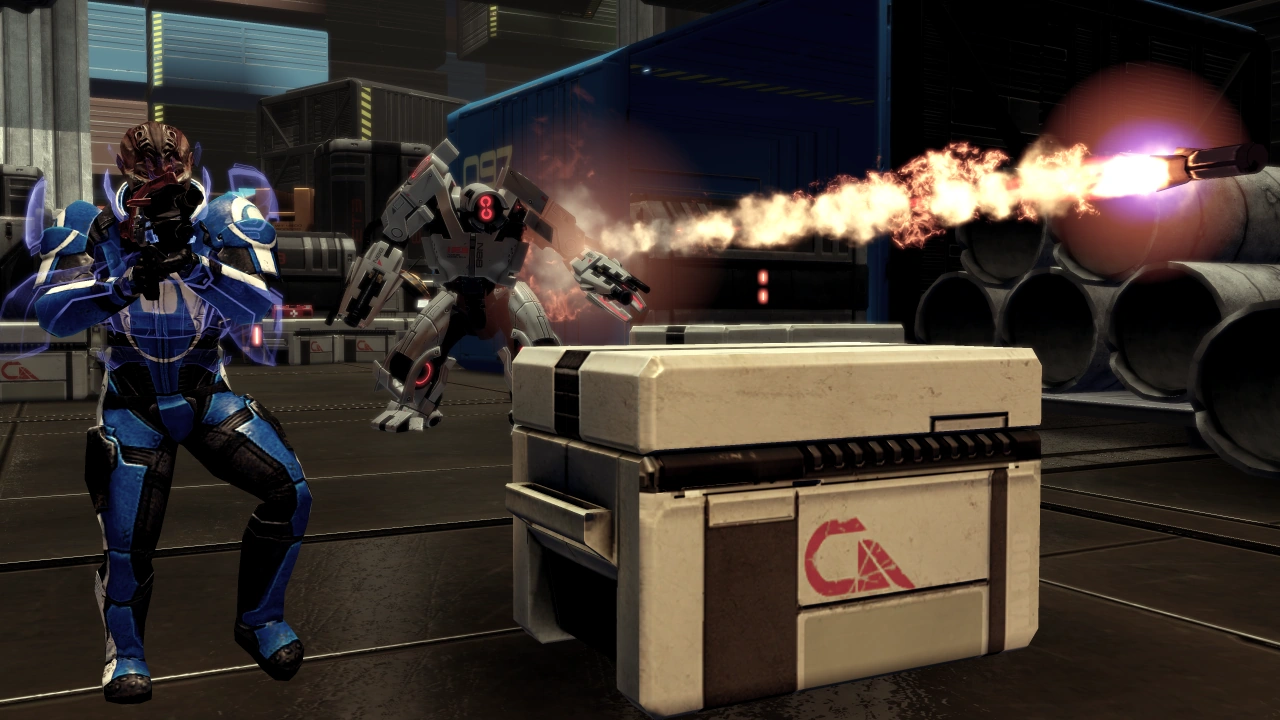
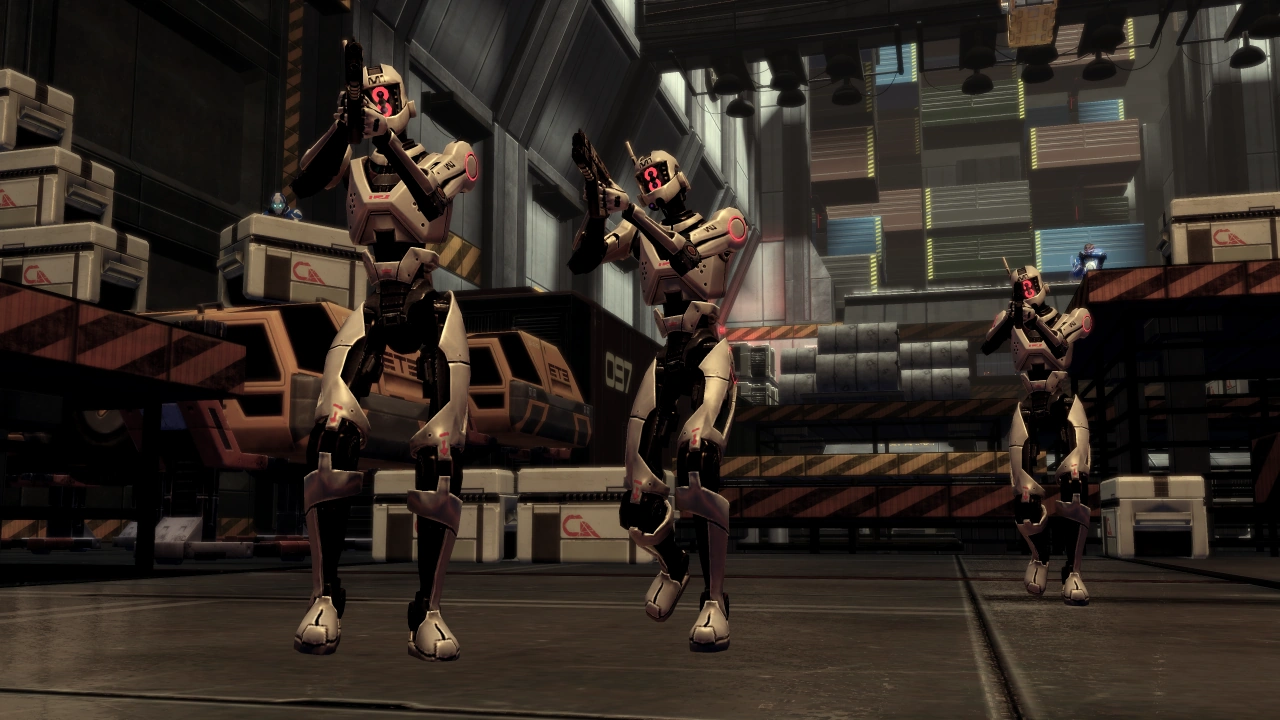
For this mission, you will be facing a mix of mostly unprotected mercs and LOKI Mechs; on Hardcore and Insanity they will all have shields and armor respectively. You will also have to face a total of three YMIR Mechs, two of them simultaneously. As such, you may wish to bring a second squad member capable of efficiently stripping armor or shields; Garrus has Overload for the latter so investing points in it is wise.
The substantial number of mechs that you will encounter makes having someone with AI Hacking useful as well, Tali being an excellent choice especially if she has unlocked her Energy Drain power. Energy Drain is also a good bonus power for Shepard here for the above reasons, but another good option is Stasis, particularly for the encounters with the YMIRs as Stasis both freezes and ragdolls them. In addition to mechs, you'll be facing a large number of enemies armed with shotguns, so taking engagements from longer ranges is recommended, especially on higher difficulties.
Just about any heavy weapon can be effective for general combat, or you can bring the M-920 Cain to save for the fight at the end of the mission.
Walkthrough[]
During the initial talk with Garrus, he says he has arranged a meeting with Fade in a warehouse near the Neon Markets in Zakera Ward. It's in the Shipping Warehouse on Level 26.
Arrival on the Citadel[]

Upon your arrival at the Citadel, EDI advises Shepard to talk to C-Sec. This is completely optional: because Garrus already told you where the meeting would take place you can head straight to the warehouse without consulting C-Sec. If you wish to follow EDI's advice, go talk to Captain Bailey, and he says that Fade has contacts in the warehouses.
Inside the warehouse is a volus with two krogan bodyguards. Garrus is required to be with the party when going to the warehouse, else you will not see these three guys. Talk to the volus. You can use a Renegade interrupt, causing Shepard and Garrus to shoot the bodyguards dead. Otherwise, they draw their guns, scaring the bodyguards off. The volus tells them Fade is a former C-Sec officer named Harkin and that he can be found in the old prefab factory in the Factory District, but he's protected by Blue Suns mercenaries. Shepard lets the volus go, but Garrus warns that if they don't find Harkin then they will be back for him. Head out of the warehouse and use a Rapid Transit terminal to go to the Factory District.
Factory District[]
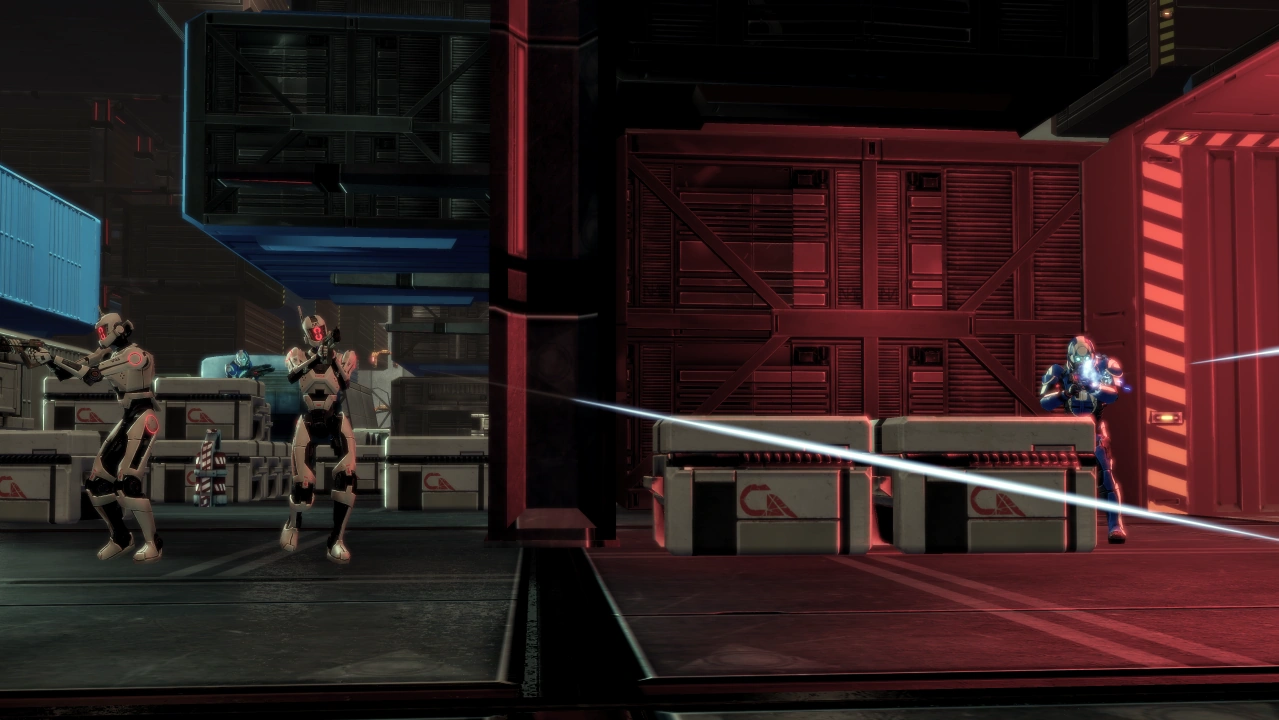
At the Factory District, Shepard meets Harkin and two Blue Suns troopers. Harkin, noticing Shepard and Garrus, flees leaving the two Blue Suns mercenaries. The cutscene places you in cover so use it and take out the Blue Suns. Go through the door and search the trash to the left for 600 credits. The table across from the entrance has a med kit on it. To the left two LOKI Mechs will suddenly emerge from the blue shipping container. Take them out before they have a chance to hurt you and then use the elevated cover to combat more Blue Suns and LOKI Mechs as you move through the area.
Use the elevated cover in this area as much as you can, but keep an eye out for flankers, especially the mechs, as they persistently try to walk around the cover to get to you. Combat Tip: Generally give priority targeting to mechs for this reason - the Blue Suns mostly won't move to flank you.
Move along until you reach a narrowing in the path. On the right is another shipping container that will produce more mechs when you get close. Take them out and any others you missed and the area will be clear. Before moving on there is an easily-missed wall safe on the left that can be bypassed for 1,500 credits. Moving beyond the area, medi-gel, and a circuit board for 900 credits. This is a good point to save the game.
Moving Deeper[]
While you are still getting the medi-gel and bypassing the circuit board Garrus will comment that Harkin is still here, he can smell it. Move across and take cover behind the crates and optionally use the elevated cover to the left. LOKI Mechs will be present, more will come from overhead, and even more will emerge from the shipping container on the right. On top of all that there are some Blue Suns that just don’t seem to get the message that you are coming through and open fire. Tip: You'll be tempted to take up position on the elevated cover as you come around the corner, but it can become a deathtrap when mechs are introduced on your right flank. Either stay back in the first place or be ready to pull back quickly - don't get overextended because pulling back too late from the mechs often exposes you to fire from the Blue Suns.
Take out the targets based on whatever system you use to rank threats, then when you get a chance move up and stay in cover. Use the pillars and crates further up but don’t go too far because an open container on your right has a Blue Sun Trooper in it wielding a shotgun. Take him out as you are moving up and then get in cover.
More LOKI Mechs will drop from the passing cranes and more Blue Suns mercenaries will appear at the other end, in several waves that can merge together if you advance too quickly. The final group includes a few Blue Suns Legionnaires along with the Troopers and mechs, so when the fighting gets toughest you'll know you're almost done.
Warning: Just because you're standing there when a wave goes down, do not go for the circuit boards on the right too quickly as sometimes a few more Blue Suns or mechs are due to spawn, and can shoot you in the middle of attempting a bypass. You can test if you're done by moving forward a bit, and as noted the appearance of the Legionnaires seems generally to signal the final phase of the fight.
Once no enemies appear, or you reach the power cells and medkit, then come back and bypass the two circuit boards for 900 credits each. Move into an area that resembles an office. Well it has a desk anyway. The goodies in the area are medi-gel, power cells, a laptop that can be hacked for 4,500 credits, and 2,000 units of iridium. Access the bridge controls, save your game and then proceed.
Beyond the Bridge[]
This next area use cover and watch out for the container on the right, more LOKI Mechs will emerge. This area has Blue Suns Troopers, a Blue Suns Commander, and LOKI Mechs. Take them out at range, then move up when you can. Tip: The enemies here come in several "batches", each activated when you reach a certain point. By eliminating each wave before moving up, you can ensure you don't face too many enemies at one time. There are also plenty of places to fall back to if things get too hot.
When you move up far enough your squadmates will say that something is incoming, which reveals itself as a YMIR Mech. If you have AI Hacking, then focusing your squad on knocking out the YMIR's shield and armor protections can give you the opportunity to convert the unprotected YMIR into an ally that makes taking out any other enemies a breeze. Otherwise, choose tactics appropriate to your weapons and squadmates. Use Garrus’ Overload to reduce the shields and disable the YMIR when you can. Above all, stay in cover and if you're taking point be sure not to get flanked by advancing enemies. Once they are all down move up and grab the medi-gel, and bypass the circuit board for 1,200 credits. Move into the office.
Inside before you access the shutter controls, pick up the power cells, bypass the wall safe for 2,100 credits, grab the medi-gel from the medical station, and go past the door on the right and hack the terminal for a sniper rifle damage upgrade. You can also find a forged ID on the desk. Go back and access the shutter controls and a cutscene will play where you get some information and Garrus spells out his intentions. You can express skepticism or offer your support, but this won't affect any later outcomes or award any morality points. Either way, move on.
Fade’s Hideout Exterior[]
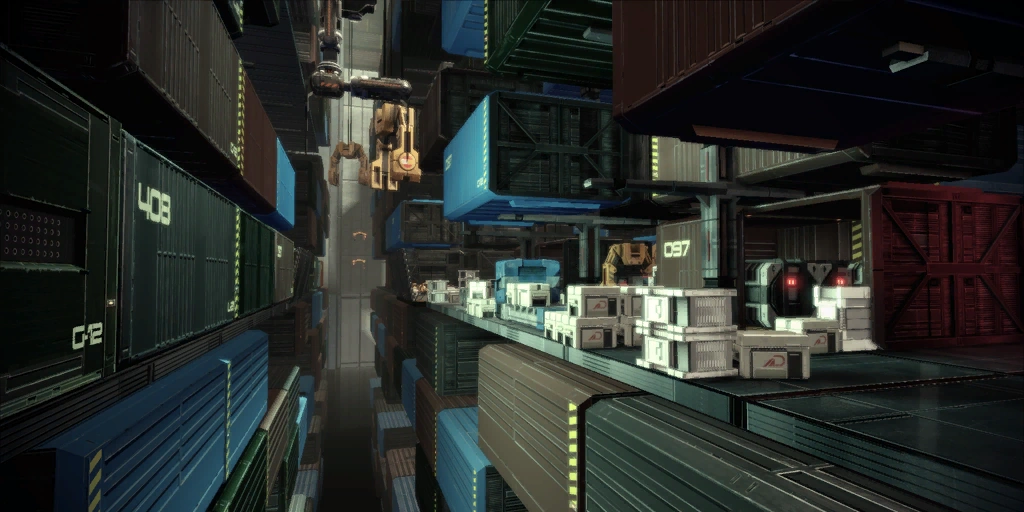
If you didn’t hack the terminal, do so now on your way out. The area outside is a mess of platforms at varying levels; EDI will announce that crates being carried overhead contain explosives, but she is mistaken: they are empty. For now stay on the floor and get in cover with your squad to the right of the raised platform. There will be a Blue Suns Trooper in the distance on an upper level platform to the left; it's impossible to physically reach him so just take him out from a distance. The elevated positions on the right side will usually contain a Blue Suns Commander and either a Legionnaire or a Heavy with a rocket launcher.
Endless LOKIs: In addition to the Blue Suns lying in wait, waves of three LOKI Mechs at a time will get dropped in periodically via overhead conveyor, with the first wave appearing soon after you enter this area. They can be spotted flying in from a distance to give you warning of their arrival. These waves spawn endlessly, but can be stopped in one of two ways: one is by killing all of the Blue Suns, and the second is by physically reaching the platform that leads up and out of the initial area (to the left and then straight ahead). As a practical matter, the latter method is dangerous if you don't take out at least a few of the mercs first as you'll be on the low ground and can get hit by all of them at once, but with the aid of a distraction such as a hacked LOKI it's doable. The very foot of the high platform is out of the line of fire of the Commander and the Heavy. In either case, you'll know when the LOKI waves have stopped spawning if you hear Harkin's line taunting you or Garrus, and then Garrus's response about making Harkin "regret this."
Combat Strategies:
- A straightforward way to deal with this battle is to take it slow and deal with the Blue Suns one at a time yourself in between the LOKI waves. Leave your squad on the lowest level to the right of the raised platform where they will have clear line of sight to the LOKI's as they advance forward on the left side, and assist them in taking the mechs out when they show up. In between waves, climb up carefully and use powers, your squad's abilities, and weapons to wear down and take out each of the mercs in turn. Be especially careful of any Heavy as its rockets seek and take time to travel and you absolutely don't want to get hit while in the open. Always make sure you have a position to take cover from LOKIs when they arrive to the left so you don't get flanked.
- If you're a sniper rifle type, then moving a bit to the left as you enter and staying well back behind the first row of boxes gives you a wide field of fire that takes in all the enemies. The new waves of mechs will drop safely far in front of you, and as long as they're far away you can safely pound away at the various Blue Suns.
- You can also climb around in the crates on the right side and in doing so achieve positions where you can face only one or two enemies at a time, often at relatively close range. The mechs generally won't be able to get to you. This method is both appropriate and fun for shotgun-wielders.
Once all the attackers are down, move all the way to the right and behind three waist high crates is a datapad that you can hack for 1,200 credits. Once you get back from there the only way to proceed is going to the ground floor. Save your game here because of the opponents you are about to face. Once you start climbing the platforms, Harkin will come over the PA system saying that he’s not running from you (or alternatively, taunting Garrus if you never met Harkin prior to this mission). Once you make the right turn after the first platform get your squad into cover on the upper platform to your right. This area is perfect for the battle you are about to face. Just make sure they stay there. Once they are in cover move up to the end of the mid level platform and Harkin will play his trump card: two YMIR Mechs.
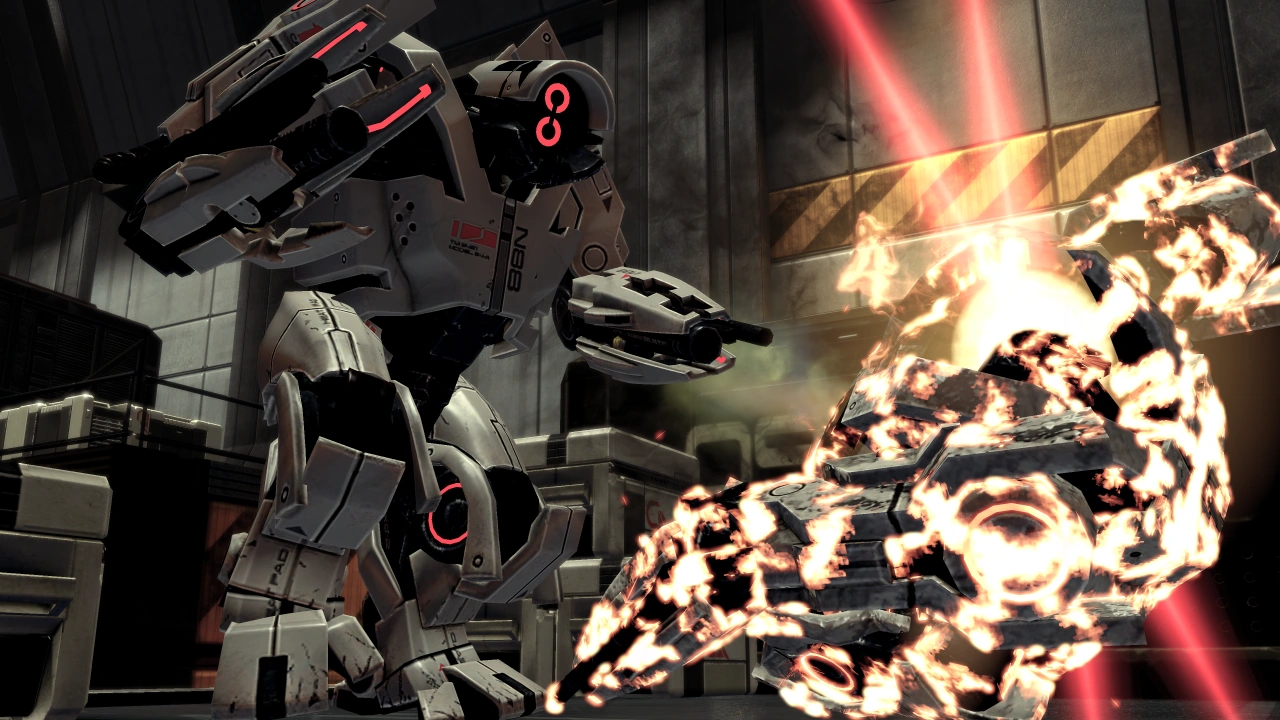
While the YMIR Mechs are still dropping and deploying, if your squadmates came out of cover on the upper platform, put them back there and climb back up to join them yourself. If you take cover on the upper platform toward the back it will prevent the YMIR Mechs from flanking you and your squad the way that can happen if you get in cover on the lower levels. The YMIR Mechs can get stuck in the crates as they try to get to you but stay in cover and hit them hard each time they stop firing for a moment.
If you have AI Hacking, you can damage one mech until its shields and armor are gone, then repeatedly hack it creating some hot mech-on-mech action where it kills (or is killed by) the other mech. Then finish off the remaining mech.
If you don't have AI Hacking, then simply focus your fire on the lead mech, then finish it with a headshot to trigger its critical overload. With luck, the ensuing explosion will either kill the remaining YMIR or severely damage it.
If you're equipped with the M-920 Cain and have enough ammo to use it, then you should fire it into the space in between the two YMIR Mechs as soon as you can. On lower difficulties the blast will instantly obliterate both of them, and even on Hardcore or Insanity, the blast will take out their shields and a good chunk of their armor, making the rest of the fight much easier. You should start charging the shot even before the mechs land, as it can be very difficult to charge the Cain once under fire from where you are.
Tip: Once you have a sense of where and when the YMIR Mechs deploy, it is actually possible to "instakill" them. When the crane that drops them spawns, shoot it or hit it with a power such as Overload or Concussive Shot; this should cause the mech to prematurely drop. If the crane was shot early enough, the YMIR will drop into a non-playable zone, resulting in an instant kill. Sniper rifles tend to make this task extremely easy.
Once the YMIR Mechs are down move up and Harkin will raise the six platforms in front of where he is hiding. Now you have to climb up to his position by the platforms on your left. His final defenders are two LOKI Mechs that will deploy from the top level and start walking down to you. Take them out and keep climbing. Warning: Don't be lulled to sleep by the anticlimactic nature of this final encounter - the mechs have a considerable height and field-of-fire advantage over your group, so if you don't take them seriously and carefully the mission can end in an embarrassment.
Class Tips: As a Vanguard it is possible to dash to the left past the YMIR mechs and use Charge on one of the LOKI Mechs at the top of the platforms near the entrance to Harkin's room, simply charge them and deal with them and click the door to the room a few times and you can skip the difficult YMIR fight entirely. As an Engineer, it is possible to use the Combat Drone to activate the LOKI mechs early, during the YMIR fight. By then hacking them as they approach, a substantial distraction of the YMIRs can be achieved.
Once you reach the door at the far end of the area leading to where Harkin is hiding, a cutscene begins.
Fade’s Hideout[]
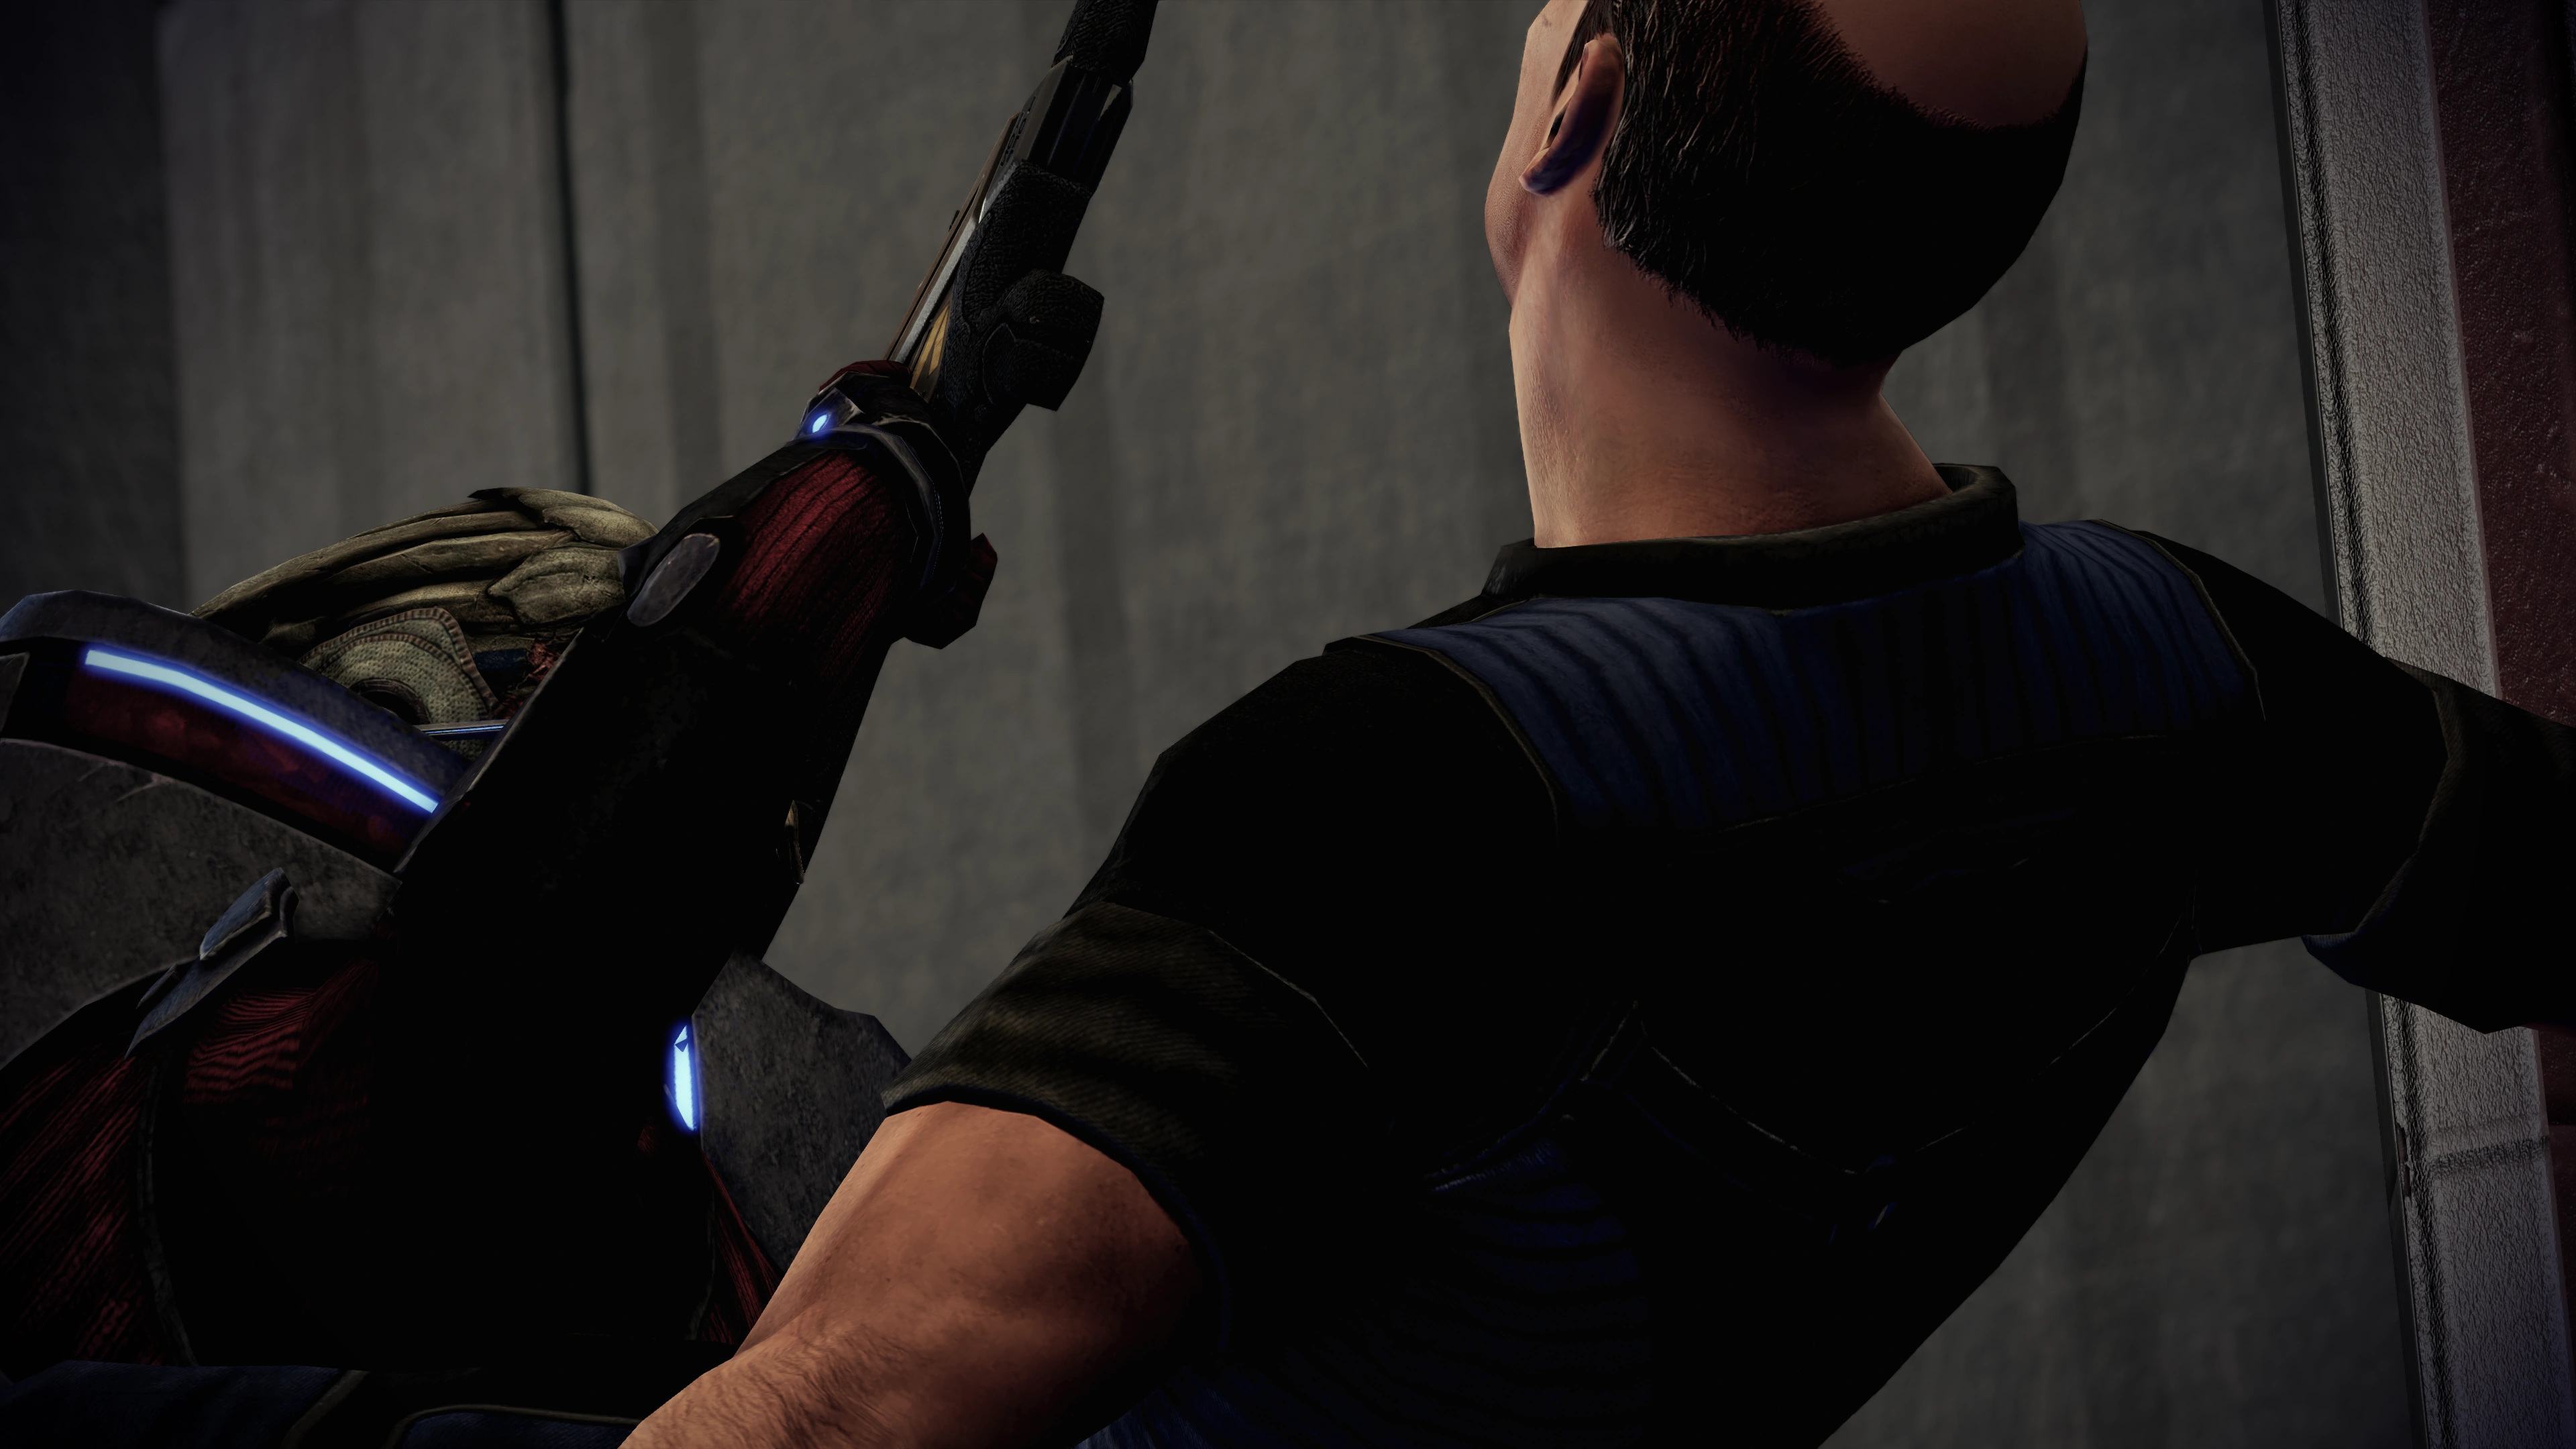
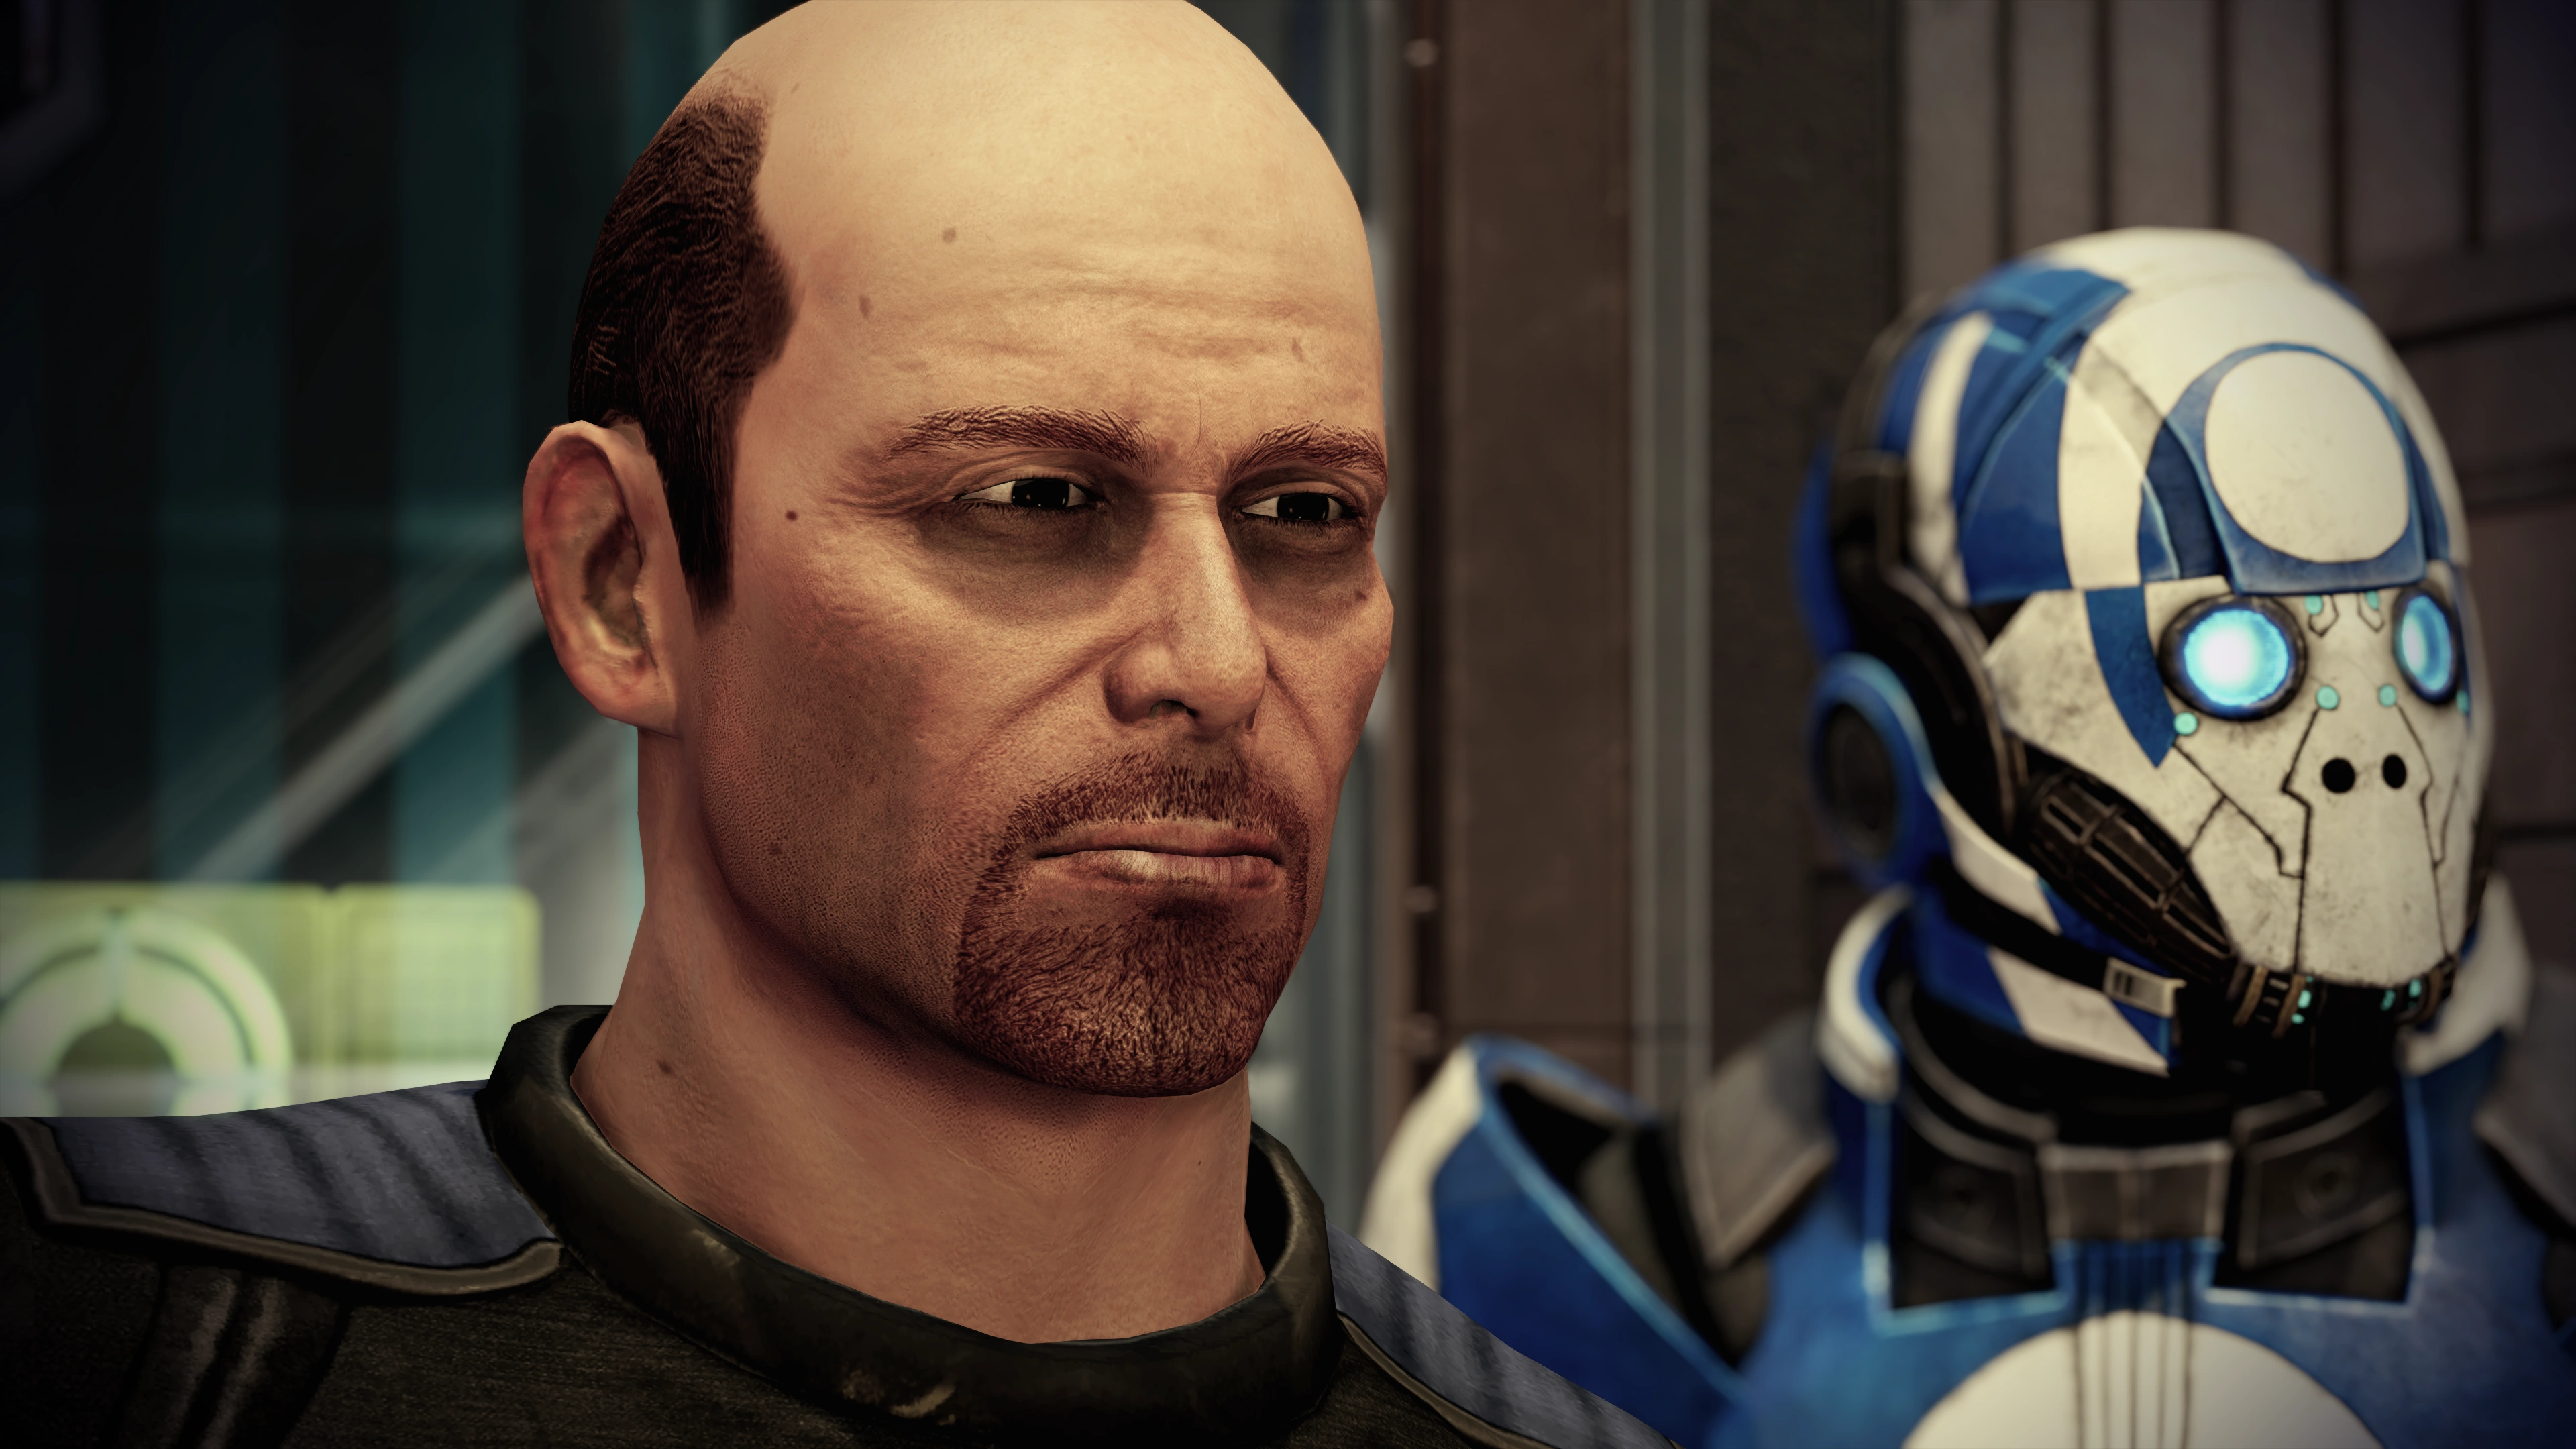
As Shepard moves into position, Harkin is seen engaged in frenetic observation through the window. Noticing Shepard's approach, he turns and runs—only to be intercepted by Garrus, who proceeds to slam him against a nearby wall in none too gentle a fashion. When Garrus' purpose becomes clear, however, Harkin is not forthcoming with Sidonis' location; apparently "it's bad for business." In response, Garrus knocks him to the floor and pins him there with a foot to the throat, furiously noting that a broken neck is also bad for business. Harkin quickly yields to Garrus' persuasion; staggering to his feet, he stumbles to a nearby terminal to contact Sidonis, and a rendezvous is soon arranged for mid-day outside Orbital Lounge.
After severing communications Harkin makes a move to leave, but Garrus is not willing to overlook his former C-Sec colleague's criminality so easily. Taking aim with his pistol, Garrus suggests darkly that he doesn't mind slowing Harkin down. At this point, you can use a Paragon interrupt to stop Garrus from shooting Harkin in the leg. If you do, Garrus will deliver Harkin a violent headbutt as a parting shot instead. Regardless, Garrus ends the conversation with an ominous threat to return and "finish the job" if Sidonis doesn't show.
Note: If Garrus is allowed to shoot Harkin in the leg and Shepard is female, choosing a certain dialogue choice afterwards will result in Shepard telling Harkin: "You're lucky. I wouldn't have shot you in the leg." This response differs markedly from what a male Shepard says, and is one of the few gender-specific comments voiced by Shepard while on missions.
Orbital Lounge[]
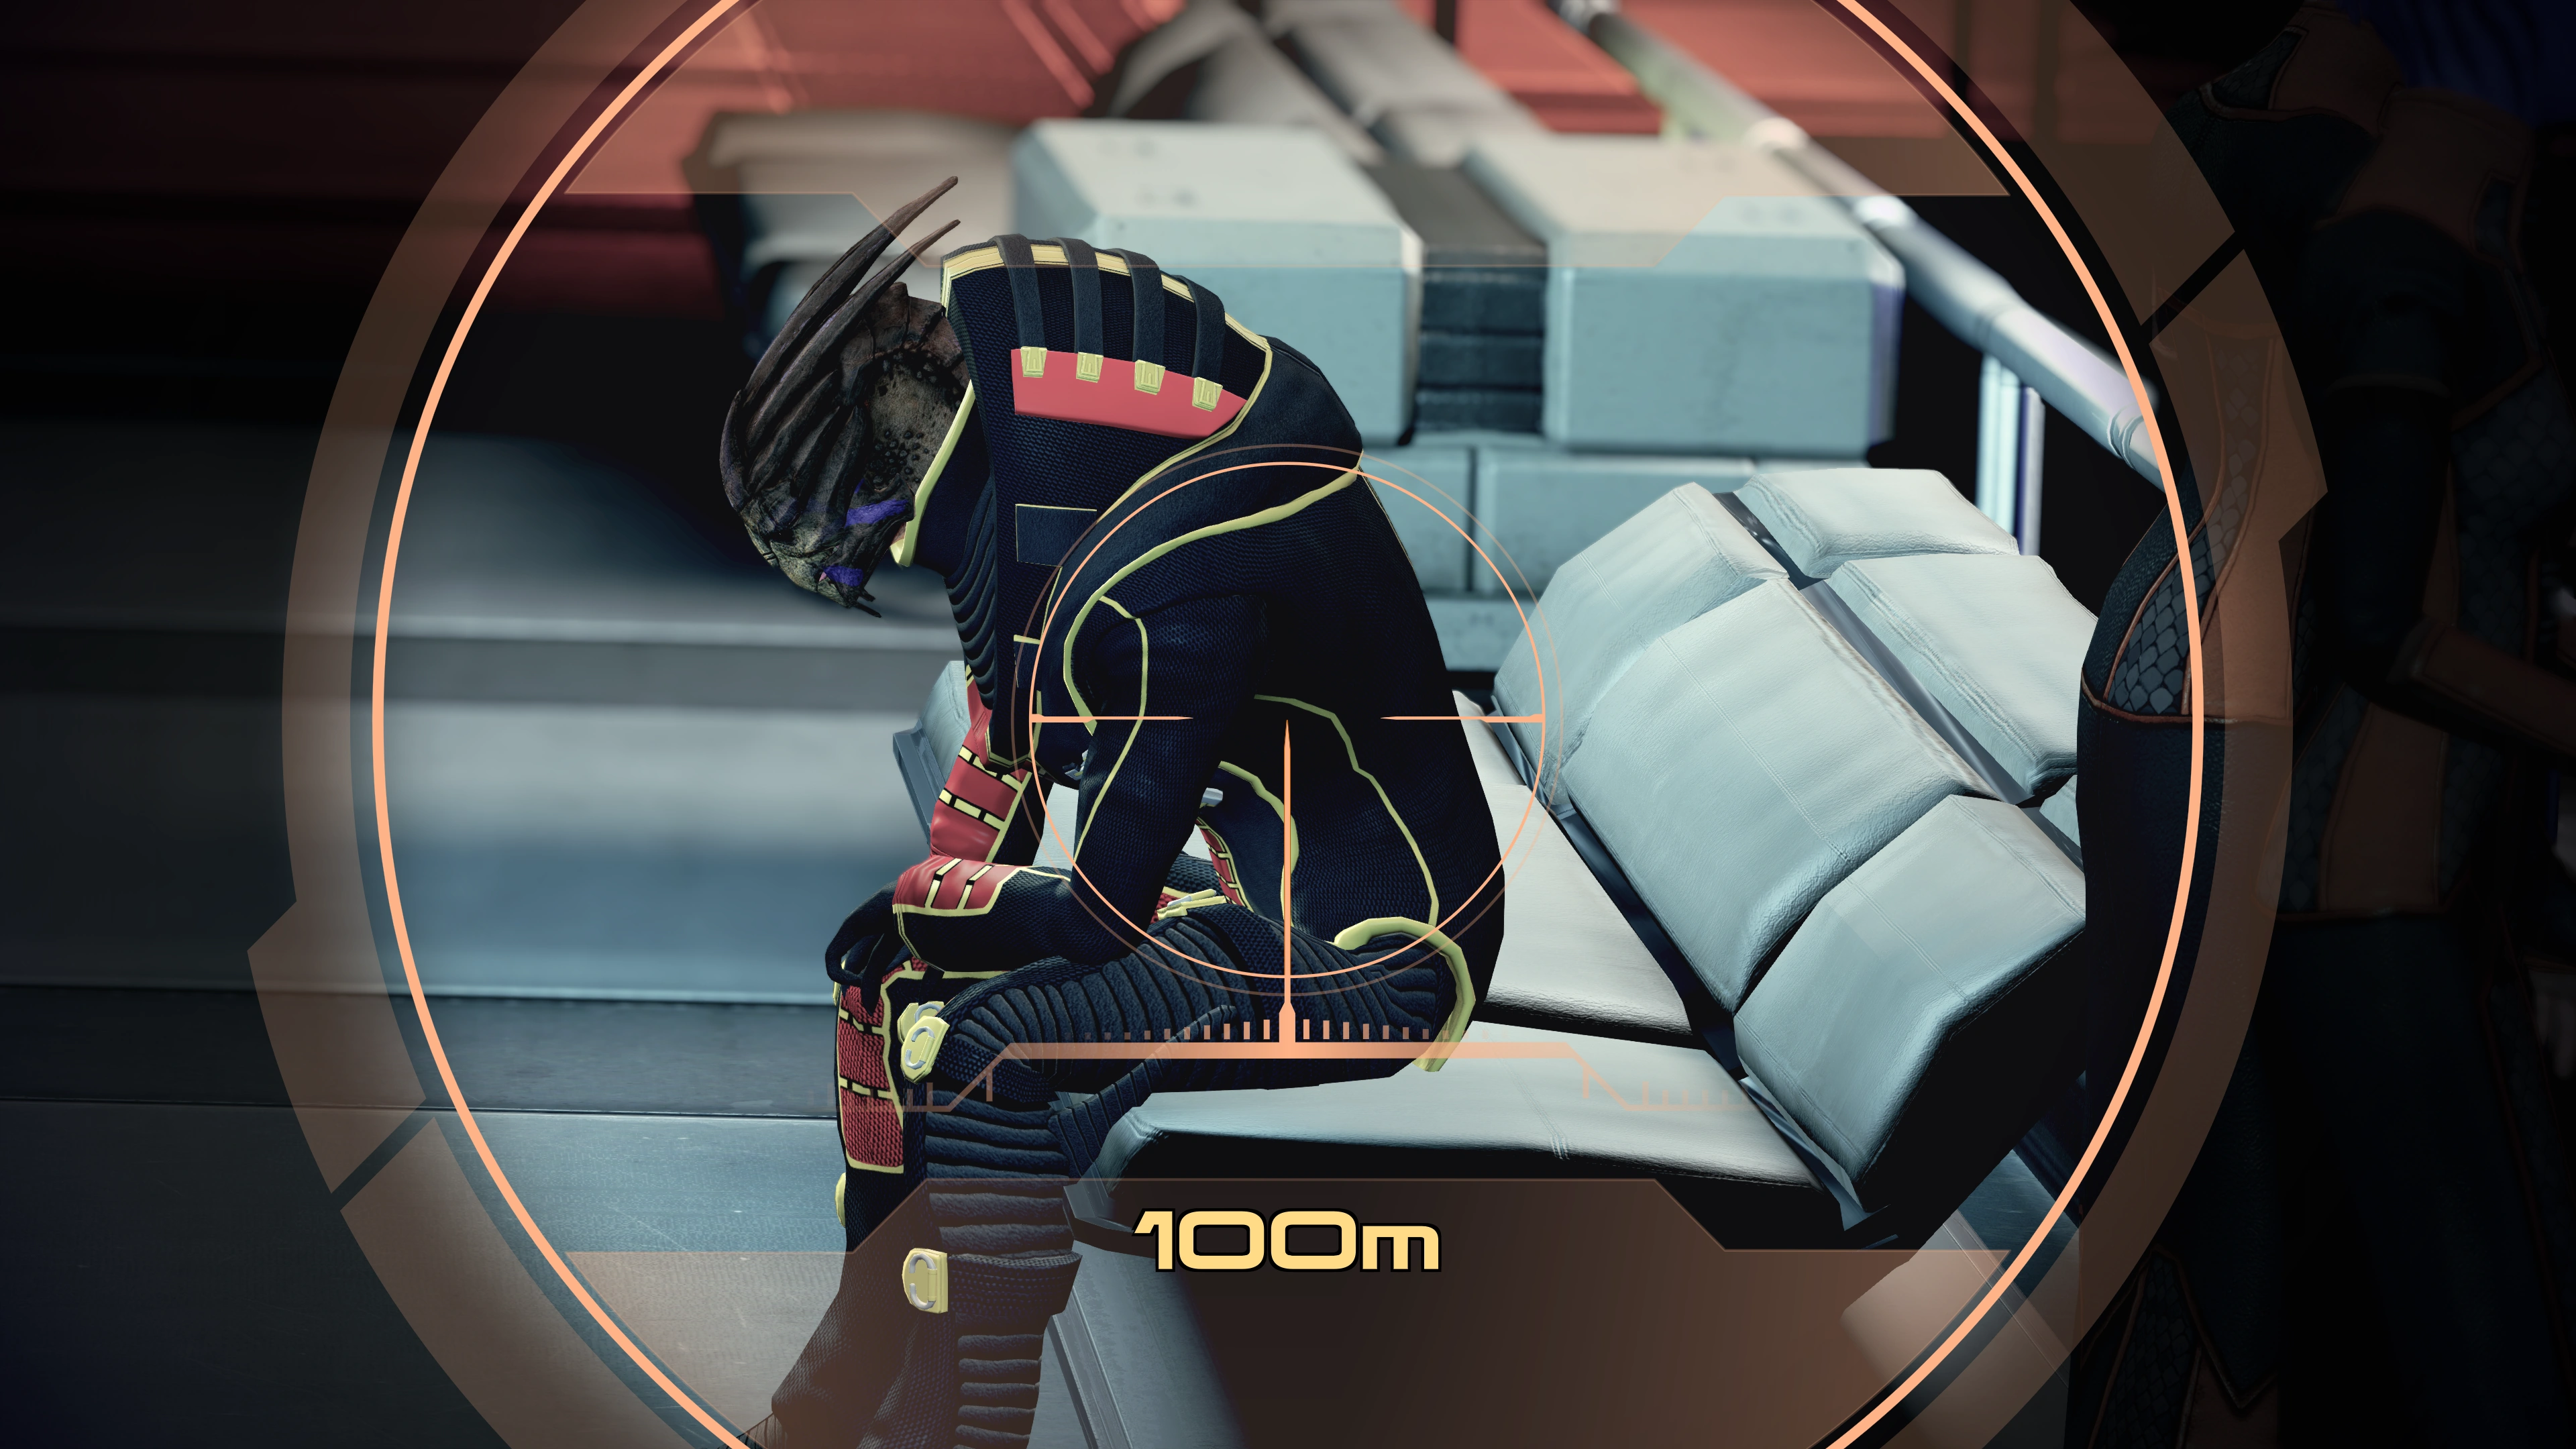
The squad takes a skycar to the Lounge and during the ride you can either support Garrus' planned revenge or try to talk him out of it. He doesn’t back down and Shepard asks what his plan is. Garrus points to a location where he will set up in a sniper perch. He tells Shepard to draw Sidonis out and he will take the shot. Garrus leaves the cab and it takes off. Down below, Sidonis is waiting and Shepard motions him over. This conversation starts with your dialogue choice to either warn Sidonis or allow Garrus to shoot him.
If you warn Sidonis that you are a friend of Garrus, he gets scared and begins to walk away. If you miss the Paragon interrupt, he dies. If you make the interrupt, Shepard warns him to stay still. A terrified Sidonis attempts to explain himself, claiming he only sold out Garrus' team to save his own skin. You can then allow Garrus to take the shot after all, or continue the conversation to learn that Sidonis has become haunted and depressed by his actions. If you have enough Paragon points, you can convince Garrus to spare him, or you can step aside for the last time. If you persuade Garrus to let Sidonis leave, Shepard tells him to go and that Garrus has given him a second chance. Sidonis expresses his gratitude to Garrus and walks away.
Once back at the skycar you can discuss the encounter with Garrus and then return to the Zakera Ward Dock.
Note: Since morality point notifications are suppressed by area transitions, you will not receive the usual pop-ups reporting the amount of points gained.
Aftermath[]
If Garrus killed Sidonis, EDI reports that C-Sec is investigating his death, but has no leads. If Garrus is in the party, he sarcastically replies, "what a shame".
If Garrus spared Sidonis, EDI reports that Harkin is taken into custody and charges are pending. News reports say that Sidonis went to C-Sec and confessed the murder of 10 people on Omega, but C-Sec doesn't know what to do with him, as Omega has no government to make an extradition to.
Either result will gain Garrus's loyalty.
Enemies[]
Mission Summary[]
Garrus's traitor has been found and dealt with, leaving Garrus clearheaded for the mission.
Operatives in C-Sec will ensure no criminal charges are filed against him or Shepard. May be able to co-opt Harkin's criminal network. Sending agents to investigate.
- Experience: 750 (937)
- Credits: 28,800
- Cerberus Funding: 15,000
- Credits Found: 13,800
- Upgrades:
- Powers:
- Garrus: Armor Piercing Ammo
- Minerals:
- Iridium: 2,000
Bugs[]
- The brief skycar flyby scene before Shepard and Garrus disembark and discuss taking out Sidonis has noticeable missing features like textures or even bounding geometries to seal the game world and make it internally cohesive. This is evident in PC versions of the game. Mass Effect Legendary Edition fixes most of these issues.
Trivia[]
- The mission title "Eye for an Eye" is a reference to the principle of retributive justice.
- If playing a game imported from Mass Effect where Shepard never met Harkin and had to ask Garrus about him, Shepard and Harkin still recognize each other on sight at the start of the combat portion of this mission.