


Saren sent the geth to Feros to destroy an alien life form known as the Thorian. Why Saren wants this parasitic plant creature destroyed is still unclear, but it has evidently taken control of most of the colonists back at Zhu's Hope.
Acquisition
Feros: Geth Attack is renamed to its present form after the talk with the ExoGeni VI. This is the second leg of the main Feros story arc.
Walkthrough
Escaping ExoGeni HQ
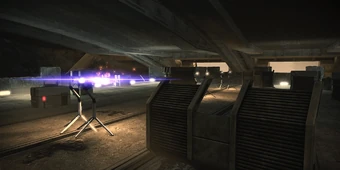
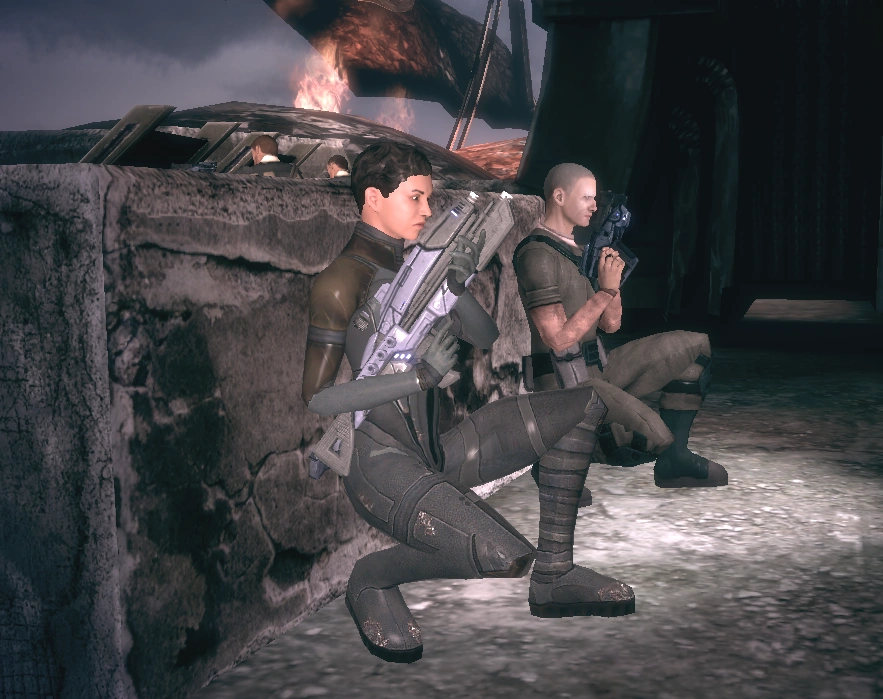
When you are done talking to the ExoGeni VI head out and eventually you come to a room where your squadmates comment about the legs that are holding the dropship to the building. Continue along the catwalk and you will see two Geth Shock Troopers are bent over in what appears to be prayer to a glowing orb. The second you start shooting the geth rise and return fire, although it may be useless because if you are fast enough you can take them out before they do. Drop down and you can investigate the orb: your squadmates give their opinions, but nothing tangible is gained, so grab the crate on the floor near where you dropped down and move on.
The next area you enter will be the main entrance to the facility, and it is protected by a sizeable group of geth. There is some cover here, however, which makes it easier to take them out. There are usually a Hopper, Shock Trooper, and a Trooper or two in the room, but watch for a Sniper in back. When the geth are down head to the door across from where you entered and up the stairs.
When you get to the top, put your squadmates in cover as there are three krogan here; just make sure they don't get close enough to use their shotguns effectively -- they won't come far down the stairs so you can retreat when needed. Tip: A Lift followed by a Throw while they're in their starting position will often boost at least one of the krogan "through the ceiling" resulting in an insta-kill.
When you are done dealing with the organic intruders, head to the other side of the room and access the terminal. If you accepted Gavin Hossle's assignment this will complete it, and a nearby server node will give the Communications: Methodology Codex entry if you didn't access the public terminal at Zhu's Hope. Also grab the storage locker and head out. When you get back to the main room, head through the other door and up these stairs, grabbing the crate along the way, and into yet another room.
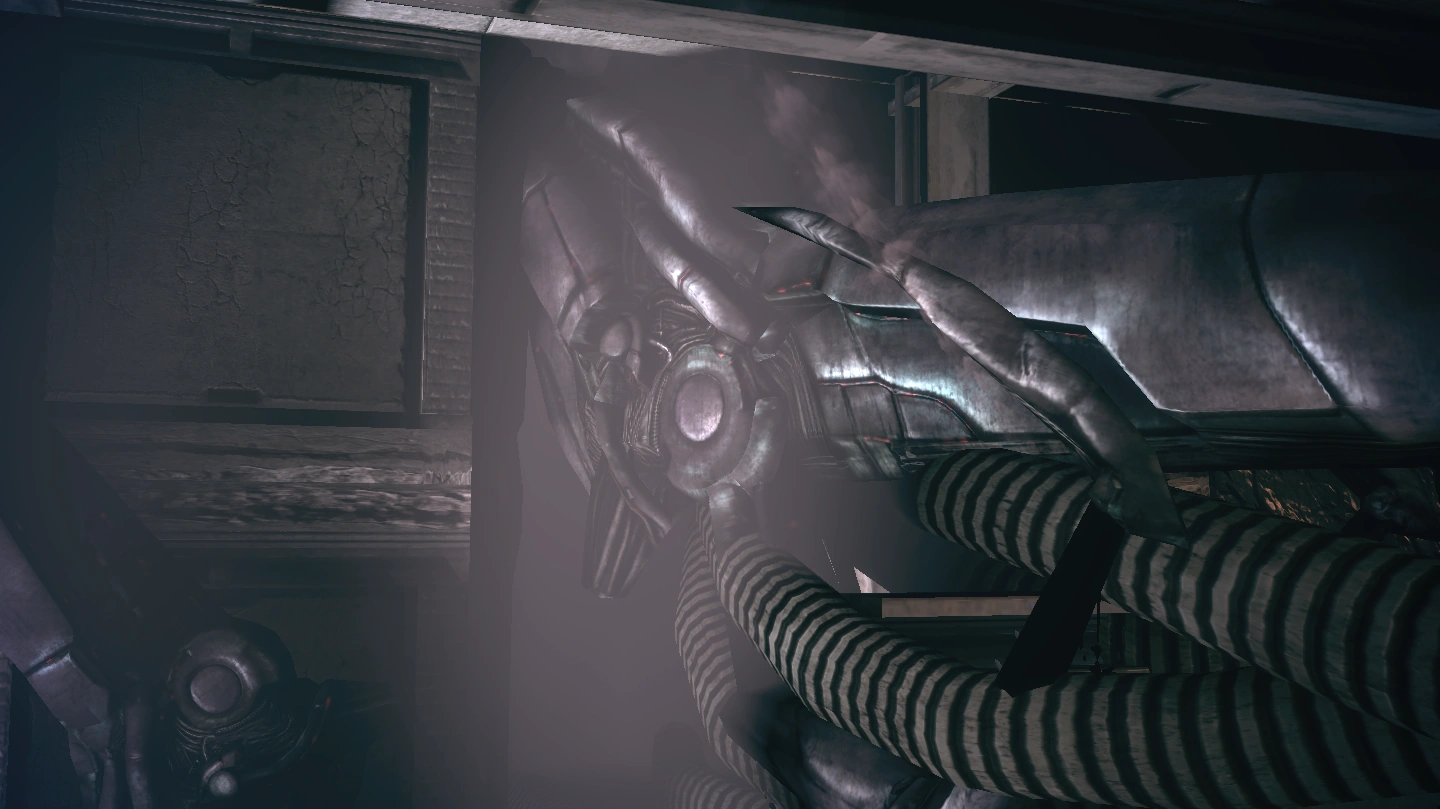
When you get to the end of the corridor, send in your squadmates first because there are some geth in the room: Hoppers, Shock Troopers, and Troopers usually, with a Geth Sniper lurking in the rear. When the geth are finally down search the room for an ExoGeni terminal (Average Decryption) that gives the assignment Investigate Facility. Then head up the stairs and about halfway down your squadmates will comment on the claw in the middle of the room. Then the camera pans to the other end of the room where a Destroyer is patrolling and keeping watch over Shock Troopers, Troopers, a Sniper, and Rocket Troopers.
When you regain control, just shoot to get the geth's attention and then a hidden Hopper will jump out. Move around and backpedal if you need to, and take out the geth. Keep an eye on the Destroyer especially because it just loves to charge and melee the squad to death.
When the geth are down, move to the other side and grab the crate near the large claw, then bypass a geth terminal (Hard Decryption) to get the assignment Geth Activity. If you have already been to the Armstrong Nebula then this console will not be available. Bypass a server node (Average Decryption) for the Investigate Samples assignment. There is a small door and there is a crate on the other side so head over and grab it, then return and access the shuttle bay door controls along the wall.
Head over to another console to read a note saying that the door to the shuttle bay is currently glitchy: it works fine at under 30 PSI, at 31-34 it can shear through a metal I-beam, and at over 35 PSI it automatically shuts down. Use the buttons to the left of this console to get to 31-34 PSI; anything under 30 is fine, but at 35 or over the system will reset. The 17, 11 and 5 buttons, or 13, 11 and 7 will be sufficient. When you get the proper combination, close the door and watch as the claw is sheared through and the dropship falls into the rubble that covers the planet's surface.

The cutscene jumps again to where the forcefield was. The blue field drops while one of your squadmates points out the obvious. Depending on which squadmates you brought, they will also make various tongue-in-cheek comments about the mission.
The second the dropship falls, Joker comes over the comm and apparently is desperate to contact the Commander. Reply and Joker will tell you that the colonists have gone crazy and are clawing at the Normandy’s hull. You can respond but no matter the action the crew will stay in the ship to prevent the crazed colonists from getting in. He also says that there are a lot of geth heading Shepard’s way, so be prepared.
Head back up the stairs, check the area again for crates and back to the main room where the forcefield was. Meeting you there is Lizbeth Baynham and now you can confront her with the information you retrieved from the ExoGeni VI.
She confesses to knowing and she says the reason she stayed behind was to send a distress call but got cut off before the transmission was sent, so she hid. You can interrogate her further and she gives up all the details of the Thorian project and why she was suspended. She was apparently very vocal in expressing her displeasure with the project and what it was doing. When you are done, she wants to come back with you to try and help.
When you regain control Lizbeth will be gone but apparently gets into the Mako when you do. When you turn to leave don’t think that your trip back will be easy, more geth have positioned themselves along the skyway and are just looking to stop the squad from getting back.
Back on the Skyway
When you exit the ExoGeni garage, on the other side are two Geth Armatures and two Geth Juggernauts outside that are just waiting for you to come out. There are also some Geth Rocket Troopers and Geth Shock Troopers as well, but they aren’t the biggest threat. Deal with them, using the garage door if necessary to avoid their fire (Tip: their shots will always target the very front of the Mako at the time they fire, so you can avoid quite a lot of damage by keeping the front of the Mako hidden behind the bulkhead). Then roll down the skyway and back to the ExoGeni bunker.
As you get closer you hear another radio transmission from Juliana Baynham asking for help, Ethan Jeong is then heard telling her to get away from the radio. Lizbeth asks about it then you hear Juliana again using a general distress call and then is cut off. When you get near the bunker a cutscene plays where Lizbeth asks for the Mako to be stopped. She exits and heads down the ramp, so exit the Mako and follow her. If you were on foot, you are put back in the Mako and the Mako is relocated here for the cutscene. The door to Zhu's Hope is locked, so you can't progress any further until you deal with this latest interruption.
ExoGeni Bunker
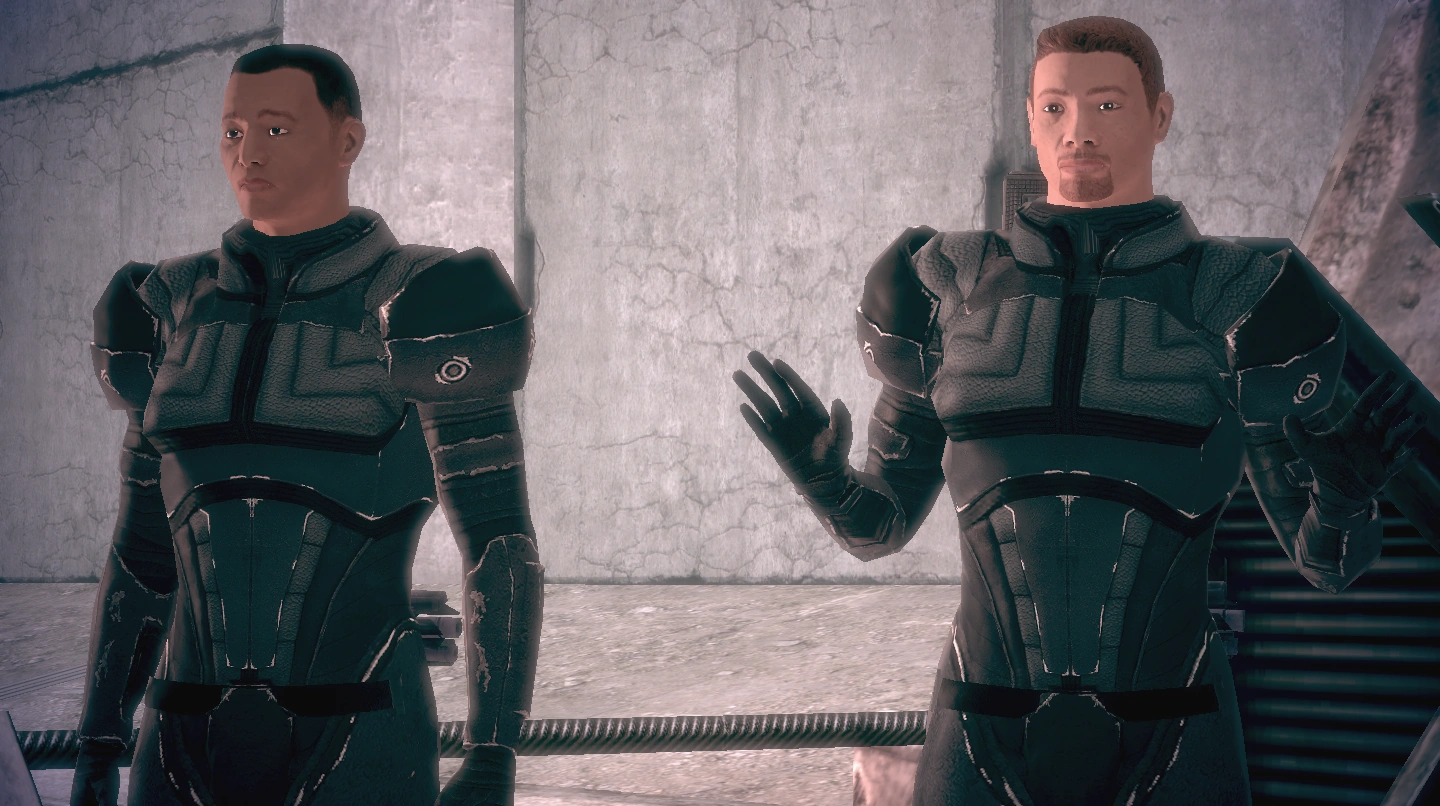
When you get far enough down the ramp a cutscene will play where Lizbeth and the squad are hiding and watching the action unfold. Jeong has some of the ExoGeni Security leading Juliana away while she is telling him that he won’t get away with something. Lizbeth jumps up, Shepard reaches to grab her, but misses and Lizbeth runs to her mother and they hug. Jeong orders Shepard and the squad out and they leave cover. Jeong proceeds to tell Shepard that he found some very interesting things about Shepard in the ExoGeni database. Also because the comms have been restored, ExoGeni wants the colony purged and the colonists have a problem with that.
You have a few options from here. If you don't have the necessary morality points (10 Intimidate or 12 Charm), then you can't reason with Jeong and Shepard shoots him when he draws his pistol. If you have the necessary options then you can convince Jeong that saving the colony is worth ExoGeni’s time and money, either by appealing to the "against all odds" approach (Paragon), or by threatening him with Shepard's Spectre status (Renegade).
If you choose to use the options then Jeong will agree to support and expand the colony with ExoGeni resources, and you bank a lot of morality points and can significantly impact the fate of the Feros colony. Either way Juliana will ask to speak with you before you leave for Zhu’s Hope.
If you managed to talk Jeong down then Juliana thanks you; if you shot him then she sees it as a bad sign because ExoGeni may pull out. She will ask you to spare as many colonists as possible and after some talking she speculates that using a modified nerve gas might be the best thing to help take down the colonists because of their weakened immune systems. The nerve gas isn’t weapons grade but is enough to take down the colonists without harming them; the only other safe option is to melee them. Or you can do neither and just kill everyone. Either way, you will want the Anti Thorian Gas for your grenades for the final battle, so equip it into your grenades now.
If you have the data from Feros: Data Recovery, you can give it to Gavin Hossle now but you can still wait until after the mission for that.
Back on the Road
When you are ready, head back up to the Mako and head out of the Weigh Station and back on the last part of the skyway to Zhu's Hope. If it wasn't already obvious the geth are mounting a final defense to prevent Shepard from getting back.
Just beyond the door are more Rocket Troopers, Juggernauts, Armatures, and Shock Troopers. Deal with them either on foot or from the Mako. The Mako is quite sufficient by itself if you are good at rocking back and forth to avoid fire and don't mind the reduced XP. If you are able to use a sniper rifle, then positioning yourself behind the pile of dirt in the middle of the road, you might be able to take them all down without them being able to hit you. Your squad members should stay out of the line of fire as well, because their helpfulness when doing this, will be questionable.
When the geth are down move up and when you reach the part where the skyway broke and a large section goes down to the lower level there are two final Armatures and some level-appropriate friends which block your path to Zhu's Hope. Make sure to take out this final road block, then move along the skyway until you reach the garage door to Zhu's Hope. Mako Tip: Because of the discontinuity in the skyway, it can be difficult to position the Mako where it can fire on the geth without exposing yourself to their full withering barrage: your cannon blasts fired from behind the discontinuity will seem to go high and astray. However if you double-zoom the cannon it will accurately fire on geth positions over the hump in the terrain, and you'll be able to eliminate the geth from a much safer "hull down" position.
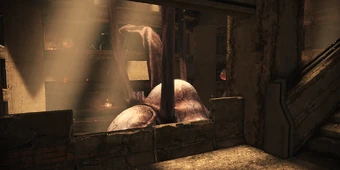
When you get close enough to the door, Shepard and the squad will exit the Mako and observe a creature on the ground folded up like the geth in storage mode. When the squad gets close to it, it wakes up, stands up and attacks. You regain control shortly so shoot the thing dead. When it falls your squadmates ask what it was and you have two options that do affect your squad’s actions. If you choose the “Don’t shoot the colonists” dialogue option, then your squadmates will only fire on the creepers and not the colonists; the other option will cause your squadmates will shoot at everything including the colonists. A display in the lower right hand corner will let you know how many colonists are still alive, starting at 16. The number of colonists you kill will have an impact on the colony's ultimate fate. It is recommended you save before you open the door.
When you regain control open the garage door, and for safest results quickly jump back in the Mako. You will come under attack from a large number of Thorian Creepers, but the Mako's guns, especially the cannon, will make quick work of this first batch with no danger to you.
Be careful not to target the colonists behind the barricades on the upper level inside the garage if you're trying to save them. For preserving exp gain, you can always use the time-honored tactic of periodically using the Mako's guns to shorten the creepers' lives before hopping off the vehicle to finish them on foot. For more in-depth tactics on killing the creatures, see here.
When you've dealt with the first wave of creepers, equip the Anti-Thorian Gas to your grenades if you haven't already. More creepers are ahead, prepare accordingly. If you're playing paragon, fling a grenade at the colonists. They're usually clumped in groups; aim for the middle guy to increase your chance of taking down all four in one shot. If you're playing Renegade you can just shoot the colonists and save the grenades for when you're under pressure from multiple Thorian Creepers. Lots of morality points are to be had in this part of the mission, and what you get depends on the number of colonists saved or killed.
Note: If you run out of gas grenades, don't worry; meleeing the colonists knocks them out instead of killing them. Remember that storming into an enemy causes you to make a melee attack; if you're having trouble pulling off melee attacks with your attack button without accidentally shooting the colonists, charging headlong into them is a good alternative strategy.
When the creepers are biodegrading and the colonists are either dead or safely incapacitated, head back down the elevator. Note: Once you use it, the elevator will be disabled, so this is your last chance to return towards ExoGeni Headquarters to deal with anything you left undone (e.g. locked containers or electronics).
Surprise Opponents
When you exit the elevator go around to the left and there will be more creepers and through the door will be two more colonists. Use a grenade to take them all out quickly or just shoot them. The creepers will not rise until a certain amount are down and they will rise in order but if you gas the two colonists that are behind the barrier then they will all get up. On higher difficulty levels retreat slowly from the creepers while shooting them to avoid facing too many at once. When they are down move down the stairs and combat more creepers along the way as they rise and sometimes charge up the stairs to attack you.
When you reach the bottom of the stairs you'll find the defensive barriers manned by four colonists and guarded by about 5 to 7 more creepers. After taking down the creepers use a grenade or melee attacks to incapacitate the colonists - or just shoot everything, your choice. When you have dealt with the enemies at the gates, move up and around. The freighter will be locked so you can’t go through it, so head right and up to the elevated catwalk. As you near the catwalk there is a box on the ground that will give you five more grenades to use wisely; if you're fewer than five grenades from your carrying capacity then be sure to expend some grenades before returning here and opening the box so that you get the maximum benefit.
Note: There will be LOTS of creepers in the subsequent portion of this mission, so if you can make it through this level with a few grenades left over -- easy to do if you're not saving the colonists, a bit harder otherwise -- then you will be very glad you have them later. Again, you can conserve grenades even with a Paragon strategy by meleeing the colonists into submission.
There are also some creepers on the catwalk so watch your step. Ledra the merchant will be one of the colonists defending the catwalk, so if you were still hoping to trade with him you'll want to leave him alive. When you get to the other side, there are more barriers, creepers, and the last of the colonists. Once the creepers wake up, retreat from the area with the colonists so you can deal with the creepers individually. Once all the creepers are down return and you will be able to precisely grenade or melee the colonists. When they are all down one way or the other, one of your squadmates will ask if Shepard can work the crane to get access to the Thorian. Just walk over to the crane controls and activate them.
When you do, a section of the freighter will rise exposing a stairwell leading into the underworks of the colony. Just as Shepard is about to step down Fai Dan comes around and says that the Thorian wants him to kill Shepard, but while the pain is apparently immense, he still manages to resist and shoot himself in the head. Head down the stairs and you are treated to a cutscene where Shepard and the squad descend into the Thorian's lair.
The Thorian's Lair

When you regain control you get your reward from either killing or gassing the colonists, you get two morality points for each colonist either killed or saved. Head down the stairs and just keep going because there will be no enemies yet. Before you reach the bottom, however, save the game, because a few steps forward later, a cutscene plays.
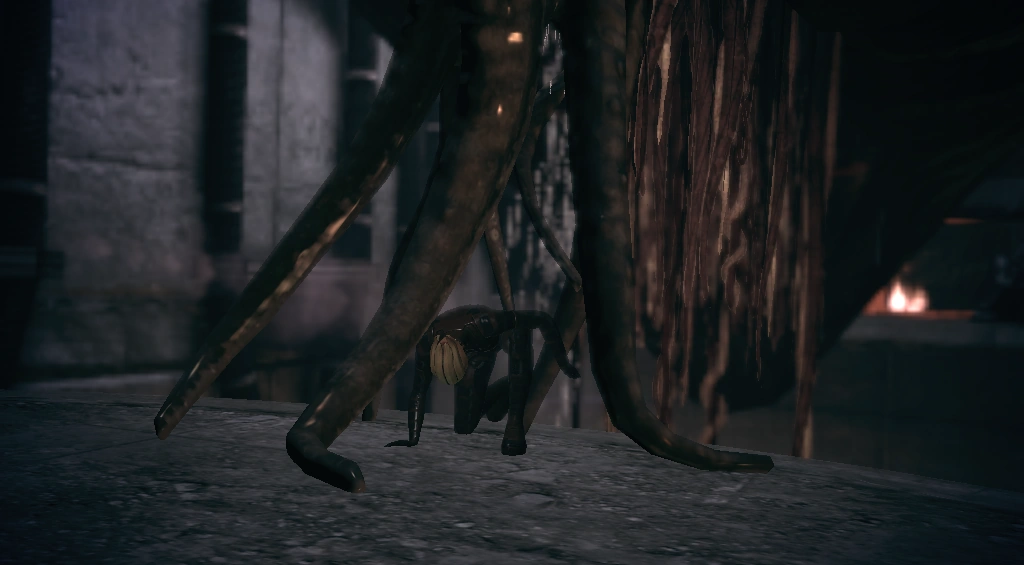
One of the squadmates starts talking about finding a central core, and the team is soon confronted with the enormity of the Thorian. The immense creature notices the team and expels a green-skinned asari clone.
Level 1
The Asari Clone starts speaking to you, and explains that the Thorian was attacked by Saren to prevent Shepard from gaining access to the knowledge to understand the beacon’s vision. The Thorian absorbed the essence of the Protheans and gave the knowledge to Saren in exchange for her and an understanding that the Thorian would be left alone. Saren broke the agreement and attacked, however, so the Thorian does not want to talk to any 'meat bags' such as the team. The conversation ends abruptly and you regain control.

The first thing you should do in this fight is use Throw to throw the asari off and into the abyss below the Thorian - safe disposal for an extremely tough foe. Then turn to the Thorian creepers that are scattered around and use powers, gunfire, grenades, and well anything else to take them down - just don’t let them get close. Two creepers start right in the room with you, but the instant you destroy them another door opens and more pour in.
When they are all down, one of your squadmates notices something in the next room, so go and investigate. In the room is a large ball of organic material that is attached to the wall, shoot it and the node will eventually be destroyed. The second it is destroyed, the Thorian groans, or screams, and your squadmates will comment that that hurt it and now you have to hunt down the rest of the nodes. Heading upstairs you are also soon treated to another cutscene where the Thorian produces yet another clone.
Whatever the difficulty level, if you have a low level character, you will probably find this an extremely difficult scenario. Take heart that with practice it IS possible to run this entire level perfectly on Insanity, even with a low level character, and with a variety of classes and squadmates. Here are some tips for survival in the coming fight:
- Consider equipping shotguns, even for squadmates who aren't trained in them. This will help knock creepers off their feet and slow their pursuit.
- Use Hammerhead Rounds in your weapons if you have them (Sledgehammer Rounds even better). Increases the chance of knocking creepers down, even if not used in a shotgun.
- Always take down the Asari Clone first whenever you see her. She's the only ranged opponent, her weapon is powerful, and her biotic knockdown can leave you helpless while creepers catch you and barf on you.
- A new Asari Clone spawns whenever you knock out a node, so be ready -- return to the safety of your squad and get your abilities ready to go. There are six Thorian Neural Nodes and seven Asari Clones.
- Take this level VERY slowly. Rushing forward will spawn too many enemies too quickly. Whenever it's quiet stop and rest until your abilities and health regenerate.
- Consider parking your squadmates in one of the relatively open spaces and carefully scouting ahead alone. This will keep your squadmates from getting killed which deprives you of the use of their all important abilities. When Shepard triggers new enemies, quickly return to where your squad is. This will cause the enemies to "train" out into a line and you won't have to fight as may as once. The dangerous Asari Clone in particular will tend to arrive well ahead of the creepers.
- There are several vantage points from which you can gain line-of-sight on one of the Thorian "nodes" from across the center space. This gives you the chance to shoot it and take it out from safety - or at least provoke creepers to run at you one by one.
- The mission terrain freely lends itself to interesting biotic attacks. Feel free to push enemies over to the open chasm on the sides. Chokepoints are also abundant for any holding action you may take.
- Your armor upgrade configurations should have a focus on toxin resistance, hardening, and/or physics threshold. Combinations of Medical Exoskeleton and Combat Exoskeleton and related upgrades should be a priority for your team's defense.
- Did you manage to save any grenades? When equipped with the Anti Thorian Gas they will take out a whole roomful of creepers and therefore should be saved for the ultimate last resort.
Level 2
This next part is very linear so just follow the path forward and you will complete the mission. Head past and under the dead node and up the stairs. Don't worry about the creepers, they won't wake up, well at least right now. Head up the stairs and you will run into more dormant creepers.
Eventually when you reach the landing send in your squad first because this time the creepers are awake and they're determined to keep you away from the next node. If the asari is in the right position, then she can be thrown off again. Once you have dealt with the Thorian creepers and the clone, head to the opposite side of the room and access the weapons locker.
Warning: Although normally in this area you can walk to the edge of the chasm with no danger, there is a spot near the corner by the weapons locker which will kill you instantly.
In the room with the node are more Thorian creepers; now you have two options on how to deal with this problem. If you shoot the node until it bursts, it will kill all the creepers even if they aren’t up yet. However, you lose out on the experience points they provide, and the node's health is directly proportional to the number of living creepers "attached" to it, so it will take longer to kill while the creepers are still alive. The other option is to shoot the node and when the creepers rise up then deal with them, then get back to shooting the node. When the node is dead move up the rubble and to the next level.
Level 3
The next room contains even more creepers and another clone. If you are sneaky enough, then you can throw the clone off and then you only have to deal with the creepers. Move into the room and take out the creepers and then look to your left as you can see the node from here. The best way to deal with it is to shoot it from this room and deal with the creepers as they come, otherwise you can get overwhelmed very quickly.
Put your squadmates in cover near the door and start shooting the node and then deal with the creepers as they come down the tunnel. Eventually you will run out of creepers and the node will run out of health and blows up. Move into the room where the node was and then put your squadmates in cover near the door as the next room has more of the same. Just shooting down the tunnel should be enough to attract their attention. So deal with the creepers and the clone as they come. When you are done head into the large room and decrypt the medical station at the other end of the room before going into the room with the node.
The room with the node also contains 10-12 creepers and they will follow the usual “waking up when you shoot the node so kill me now” routine. When all the creepers or the node is destroyed, head up the rubble and onto the next level. Remember that each time you destroy a node a new clone will spawn, so it's often wise to wait for her before advancing. If you can see on the radar that the enemies aren't advancing on you, a few shots fired in the air will often get them going.
Level 4
When you get up you can throw the clone or a creeper off the ledge. Unlike the rest of the rooms this one opens to the right and has a lot less enemies than the three previous ones. Take down the clone and creepers as they come, throw a few off for a few laughs, and then turn around and shoot the node. You can even do that first but remember you will lose the exp. Once the node is destroyed head down where the node currently blocked you and you arrive at the first staircase.
Head up the stairs and then you will be forced to deal with those creepers that you had to bypass earlier. They will wake up, in droves, and attack along with the clone while you are trying to climb the staircase to the last node. Take them down with shotguns, powers, gunfire, and any grenades you have left. When all the enemies are on the ground, resume climbing the stairs and onto the final level.
Level 5
Once on the top there are two rooms with creepers, and a final clone. Take down the ones in the middle and then get into cover and use the same tactics as before, or whichever tactics that work best for you. Note: You can avoid the spawning of the seventh Asari Clone by shooting the final neural node at a distance from the next room and never approaching close to the room the node is in. This makes the final section a bit easier but lowers your experience reward.
When you have dealt with the final creepers, finish off the node and you are treated to the nodes you destroyed collapsing and the Thorian falling into the abyss.
Shiala

Then the scene jumps to a pod like structure and another asari - but this time violet-skinned instead of green - falls out. She starts talking and she introduces herself as Shiala and she served Matriarch Benezia. Talk to her and you will learn that Saren came to get the Cipher and understand the disjointed images from the Beacon on Eden Prime. She will tell you that Saren gave her to the Thorian in exchange for the Cipher and then tried to kill the Thorian to keep Shepard from getting to it. Apparently Saren knows that Shepard is searching for the Conduit and is doing everything possible to stop Shepard.
She will give you the Cipher and then her fate is in your hands. You can choose to kill her, or allow her to help the colony to recover, which will affect the colony's survival chances. Either way you head back up to the colony automatically when the dialog ends.
The Fate of the Colony
The ExoGeni personnel are here from their bunker, and will greet you with either respect or distrust as you learn the consequences of your actions for the colony's future. Your results here can be predicted by a simple formula, as follows:
- Colony health
- For each sidequest completed (varren meat, geth in the tunnels, etc.), add 1
- For each surviving colonist, add 1
Colony health is cumulative, so 11 surviving colonists and three sidequests nets a health of 14, for example.
- Colony leadership
- If Shiala survives, leadership is 5
- If Ethan Jeong agrees to help the colony, leadership is 12
Colony leadership is not cumulative; if Jeong agrees to help, it doesn't matter what you do with Shiala, you still only get 12 points.
For Feros to survive, the total value of colony health + colony leadership must be thirteen or higher. So, for example, if you kill Shiala and Jeong, you need to spare at least 13 colonists, or spare at least 9 colonists and complete all four sidequests. If you convince Jeong, to help, you only need to do one sidequest or save one single colonist. Meet this bar and the remaining colonists will thank you for your help and cheer about the colony's newly bright future. Fall short, and they'll dejectedly explain that the colony is being shut down.
With this conversation done, you can talk to the various people left, trade with Ledra (if he survived), give Gavin his data (if you recovered it but delayed turning it in), or simply head straight back to where the Normandy is docked and leave this planet behind.
Normandy
If you have Liara in your party she will offer to join your minds again to try and make sense of the vision, but the meaning will remain elusive. You can also choose to report to the council or not. If you do they make comments about the Thorian and how it was a problem and they should have been informed. Also they comment about if the colony was saved or not. If the colony was being shut down then the asari councilor is disappointed that the colony couldn’t be saved and the turian councilor approves saying the mission came first. If the colony was saved the salarian councilor will approve and the turian councilor will disapprove.
Enemies
- Asari Clone
- Colonist (enemy)
- Geth Armature
- Geth Destroyer
- Geth Juggernaut
- Geth Rocket Trooper
- Geth Shock Trooper
- Geth Trooper
- Thorian Creeper
Mass Effect 2 Consequences
Although Shiala will appear in Illium if she survives, a different colonist will appear in her place if she does not - so she does not need to be saved in order to receive the assignment and its rewards.
Mass Effect 3 Consequences
If you spared Shiala and managed to save the colony, they will join the war effort against the Reapers.
| ← Previous Mission | Mission Index | |
|---|---|---|
| Feros: Geth Attack | Missions |