Tags: Visual edit apiedit |
(as suspected, further testing disproves this, only Shepard's position is relevant) |
||
| (29 intermediate revisions by 9 users not shown) | |||
| Line 4: | Line 4: | ||
{{Prerequisite|Freedom's Progress (mission)}} |
{{Prerequisite|Freedom's Progress (mission)}} |
||
This mission is acquired after the mission to [[Freedom's Progress]]. |
This mission is acquired after the mission to [[Freedom's Progress]]. |
||
| − | |||
{{emailquote|Jack (no last name known) |
{{emailquote|Jack (no last name known) |
||
| + | |||
- Exceptional biotic ability |
- Exceptional biotic ability |
||
- Note: Criminal background, currently in custody |
- Note: Criminal background, currently in custody |
||
| + | |||
Jack is rumored to be the most powerful human biotic ever encountered. Very little additional data regarding Jack is available, except that the subject has a history of violence and should be approached carefully. Currently, Jack is being held on the turian prison ship Purgatory. Cerberus has negotiated for the prisoner's release.}} |
Jack is rumored to be the most powerful human biotic ever encountered. Very little additional data regarding Jack is available, except that the subject has a history of violence and should be approached carefully. Currently, Jack is being held on the turian prison ship Purgatory. Cerberus has negotiated for the prisoner's release.}} |
||
== Preparation == |
== Preparation == |
||
| − | [[Overload]] and [[Disruptor Ammo]] are very useful for this mission, especially on Insanity, as some of the [[#Enemies|enemies]] are synthetic and most of them have shields. |
+ | [[Overload]] and [[Disruptor Ammo]] are very useful for this mission, especially on Insanity, as some of the [[#Enemies|enemies]] are synthetic and most of them have shields. You'll find yourself in several fights where you come under extremely heavy fire. [[Squad Members Guide (Mass Effect 2)|Squadmates]] like [[Miranda]] and [[Mordin]] that can apply damage consistently through powers can be very useful for wearing down enemies without having to pop out of cover into a hail of bullets. |
| − | + | There are three [[power cells]] available in this mission, meaning that if you are running low on [[heavy weapon]] ammo you can get a substantial refill here. It also means you can use heavy weapons fairly freely; good standard options are the [[M-622 Avalanche]] or the [[Grenade Launcher]]. |
|
== Walkthrough == |
== Walkthrough == |
||
=== Arrival === |
=== Arrival === |
||
| + | The mission starts with a cutscene of the Normandy's arrival, and [[Purgatory]]'s commander watching the event then preparing to welcome the visitors. When you gain control simply approach the trio of [[Blue Suns]] mercs at the end of the corridor to trigger a conversation. As this is supposed to be a simple transaction, you won't be able to draw weapons and shoot anything for now. |
||
| − | [[Image:Kuril_Purgatory.jpg|250px|left|Warden Kuril. Don't trust him.]]Upon arriving at [[Purgatory]], Shepard is confronted by several guards that insist that Shepard and the [[squad]] relinquish their weapons. The following conversation can yield a few morality points in either direction. After your point has been made, [[Warden Kuril]] will enter and will allow you to proceed, telling his guards that they are well equipped to handle three armed guests. Kuril will take you on a walkthrough of the facility. You are in the maximum-security wing and he explains how each pod is a self-contained cell that can be ejected if necessary. You can see giant arms moving cells and it moves three onto the walkway further along. Kuril tells you how to get to where you can retrieve Jack, once [[Cerberus]]' credits are transferred. |
||
| + | [[File:Dossier Jack - welcome party.png|340px|right|They run a tight ship, or so it seems]] |
||
| − | Once you have control again, move along the tunnel to where the cells are. Once you arrive at the first cell, one of the squad members with you may offer his or her thoughts. You can choose to converse with the guards, or you can walk past. If you choose to converse, you can earn a few morality points based on your conversation options. Moving past the guards and the prisoner, you can converse with the next prisoner and he gives you some inside details on how the prison really works. Apparently, the warden sells prisoners to earn some extra income. He asks if you can buy him, but once he learns that you have come for Jack he immediately changes his mind. You can question him about how dangerous Jack is. It isn’t good, but for the mission’s purposes, she’s perfect. |
||
| + | The guards will ask you to surrender your weapons. Whichever way you answer, you'll refuse. The [[turian]] station commander, [[Warden Kuril]], enters and explains that it's "standard procedure". Again, you will refuse. Both refusals come with [[Morality Guide (Mass Effect 2)#Dossier: The Convict|opportunities]] to gain {{Renegade}} morality points depending on how strongly you feel about the issue. Invariably Kuril relents and allows you to proceed, telling his guards that they are well equipped to handle three armed guests. |
||
| + | Kuril will take you on a small walkthrough of the facility. You are in Cellblock Two, and he explains how each pod is a self-contained cell that can be ejected if necessary. You can see giant arms moving cells and it moves three onto the walkway further along. Kuril touts Purgatory's other features and boasts that nothing goes wrong here. You can then investigate what he knows about Jack, his backstory, and the expense his operation must be costing. |
||
| ⚫ | |||
| + | |||
| + | When you tell Kuril to keep moving one of your squadmates will raise concerns about escape attempts, which Kuril then downplays because there are limited opportunities to do so in space. You then see another demonstration of Purgatory's crowd-control tech, which will be relevant in the inevitable battles ahead, so take note. Kuril then informs you to proceed to Outprocessing, while he leaves to confirm if the [[credits]] for Jack's release have been transferred. |
||
| + | |||
| + | [[File:Dossier Jack - Bimmy beatdown.png|340px|left|The relationship between prisoner and guard never changes no matter the century or setting]] |
||
| + | Once you have control again, walk down the one-way hallway and you'll arrive at three prisoner cells. The first cell has two guards, one standing outside and another beating a prisoner inside his cell. The next two cells house Prisoner 780 and Prisoner 403. These are optional interactions though you may gain further understanding of the situation if you investigate. |
||
| + | |||
| + | You can talk to the guard outside the first cell and either agree with what they're doing or order them to stop. Morality points may be gained from the conversation. On the next cell, Prisoner 780 calls you over and wants you to buy him as well, but when he learns you're here for Jack he immediately changes his mind. He can also explain what's the deal with Bimmy, the prisoner being beaten next to him, as well as some inside details on how the prison really works. On the last cell, Prisoner 403 claims he can hear the screaming in his head, and it's nice. Clearly he's off his rocker, so move on. |
||
| + | |||
| + | [[File:Dossier Jack - outprocessing.png|340px|right|Not even bothering to clean up bloodstains is one big red flag]] |
||
| + | After going through the door, you see a fork in the walkways. In front of you is the door to Outprocessing. The alternate route leads to the supermax wing and a guard says it's off-limits for now, so ignore it. |
||
| + | |||
| ⚫ | The technician at the entrance to Outprocessing tells you to go to the door at the end of the room. As you open the door, it reveals a cell. A cutscene plays where the Warden comes over the intercom and tells Shepard that they are too valuable to leave the station without a price tag. If you learned about his motivations earlier, you can call him out on the hypocrisy. Whatever you tell him though, Kuril is in no mood to listen and activates the prison's systems. On the upside, all responses yield morality points. Finally you're able to bring out your guns: prepare for combat. |
||
| + | |||
| + | An autosave is generated when you open the door. Since events immediately lead to a fight, loading it will take you to the moment before you open the door. |
||
=== Betrayal === |
=== Betrayal === |
||
| + | [[File:Dossier Jack - first 4 hostiles.png|340px|left|As the saying goes, never trust a turian without facepaint - this guy has lots so he probably can be trusted to kill you]] |
||
| − | [[Image:Jack_and_YMIRs.jpg|250px|right|Jack gets ready to take out three YMIR mechs. If only she did that in every battle!]]Once the cutscene with the devious Warden ends, get your squad into cover and target the doors as [[Blue Suns]] mercs will come streaming in that door. [[FENRIS Mech]]s will also come through and try to harass you. Stay in cover and kill off the mercs before they do the same to you. Once the mercs are dead, gather up thermal clips and move out the door: the tube to your left is your target. Move your squadmates up to the first support pillars on either side to provide cover and take cover yourself, either behind the crate or at the entrance to the tube. Big surprise: more mercs will try to take you down; deal with them and move on. There is no real reason that you should move your squadmates or yourself, as the mercs will just come at you. |
||
| + | Once the cutscene with the devious Warden ends, get your squad into cover and target the door you came in as mercs will come guns blazing: 3 [[Blue Suns Trooper]]s (2 humans 1 turian), and a [[Blue Suns Centurion]]. These four are followed by a [[Blue Suns Legionnaire]], 2 [[FENRIS Mech]]s, and 2 more Troopers (1 human 1 turian). |
||
| + | |||
| + | {{note|Combat Tips:}} The ambush gives you no time to prepare you team for combat, but you should still remember to take a moment to activate [[Weapons#Ammo Powers|ammo powers]] to maximize your damage. Enemies bottleneck themselves as they come through the door, so heavy weapon fire can devastate them, and you'll get plenty of refills later. Using the [[M-622 Avalanche]] to disable the initial wave can buy you plenty of breathing room. |
||
| + | |||
| + | Order your squad into cover and head there yourself immediately. The dog-mechs will try to harass you: prioritize them before they compromise your cover position. After them, the turians with shotguns are the next most likely to get you into trouble. Once the mercs are dead, gather up [[thermal clips]] and move out the door: the way you came in is locked, so you have to go to the aforementioned supermax wing. |
||
| + | |||
| + | Move your squadmates up to the first support pillars on either side to provide cover and take cover yourself, either behind the crate or at the entrance to the tube. Big surprise: more mercs will try to take you down: a Legionnaire and three turian Troopers. There is no real reason that you should move your squadmates or yourself, as the mercs will just usually come at you, though in [[Mass Effect Legendary Edition]] they sometimes bizarrely all run away back to the room they start from. |
||
| + | |||
| + | Pick up the clips once the mercs are down and enter the control booth for the supermax wing. The [[Technician]] inside comms his buddies that you are on the loose, so deal with him violently. The room has refined [[element zero]] (+500 units), a medical station next to a locked door (for now), and a console for accessing Purgatory's security controls. |
||
| + | [[File:Dossier Jack - grumpy awakenings.png|340px|right|Jack gets ready to take out three YMIR mechs. If only she did that in every battle!]] |
||
| − | Pick up the clips once the mercs are down and enter the control booth for the super max wing. The tech inside will try to stop you -- deal with him -- then grab the refined [[element zero]] next to the door where you entered, the medi-gel near the exit, and then access the console. (If you shoot the [[Technician]] at point-blank rage with a shotgun, then access the console, you will see him slide off the desk during the cutscene.) As you access the console, one of your squadmates will tell you that this will override the security for the whole prison. Doing it will continue the cutscene and Jack is shown to be fully revived and clearly angry at her incarceration. The three [[YMIR Mech]]s in the room are apparently no deterrent for her, as she breaks her restraints, unleashes her massive biotic powers on the YMIRs, and escapes. Now, it’s a chase. |
||
| + | As you access the console, your squadmates tell you that this will override the security for the whole prison. It's also the only way to bring Jack out of cryostasis. You complete the procedure, and the cutscene goes on to show Jack's cell being pulled out of the ground. One of your squadmates will react incredulously when they see a highly feared and dangerous criminal is a skinny bald tattooed woman. She revives, seemingly angry at her incarceration. The three [[YMIR Mech]]s guarding her cell are apparently no deterrent for her, as she breaks her restraints, unleashes her massive [[biotic]] powers on the YMIRs, and escapes. Now, it's a chase. |
||
=== The Chase Begins === |
=== The Chase Begins === |
||
| + | Once you regain control, the previously locked door is now accessible. Run past it and down the ramp to where Jack was. You'll find that she has blasted a hole in the wall and the YMIR Mechs are in ruins. Turns out she demolished ''four'' YMIRs instead of just three. Before going through the hole, scan the YMIR Mech at the back for an [[Research#Shield Upgrades|Ablative VI]] damage protection upgrade. |
||
| ⚫ | |||
| − | Once you regain control, run to the door on your right and down the ramp to where Jack was. You'll find that she has blasted a hole in the wall and the YMIR Mechs are in ruins. Before going through the hole, scan the YMIR Mech at the back for a damage protection research upgrade, then proceed into the hole. Kuril comes over the intercom and tells all the Suns on the station that there is a riot in progress and Jack is loose. The computer tells you a little further along that some cellblocks have decompressed, with no survivors. The computer will regularly update you on the destruction running through the station. Moving along the hallway, grab the power cells and loot the dead guard farther down for some credits. Once you reach another hole, walk through it and into a scene of destruction. |
||
| ⚫ | |||
| − | The room bears all the signs that someone came through in a fit of rage. Move your squad into cover and take out the mercs that are trying to kill both you and the prisoners. Unfortunately, the prisoners are going to kill you, too, so move through and kill everyone and everything that gets in your way. In this room, stay on the upper level and in cover on the bridge, and use long range weapons to take out the Blue Suns. Watch your flanks for any enemies. After a few seconds of taking cover on the bridge, however, a large problem waltzes in: an YMIR Mech. The mech will deal with any remaining prisoners, then open fire on you. Use powers to take out the mech quickly because it can get on your flank or behind you. |
||
| + | The hole leads to a hallway with dead prison guards and some items. Kuril bellows over loudspeaker mobilizing the rest of the guards and authorizing lethal force. He still wants Jack alive though, and orders his techs to commence facility lockdown. |
||
| + | The computer tells you a little further along that some cellblocks have decompressed, with no survivors. It will regularly update you later on the destruction running through the station. Moving along the hallway, take the [[power cells]] and loot the dead guard farther down for 1,500 credits. If you attempt to backtrack [[EDI]] informs you that the Warden has locked the area behind you, so you have no choice but to go forward. Once you reach another hole, walk through it and into a scene of destruction. |
||
| ⚫ | |||
| + | The next location is the prison's common area you saw earlier, only this time you're on the ground instead of the walkways above. The three prison cells you passed earlier are heavily damaged, and there's no word on the fates of their occupants. The scene bears all the signs that someone came through in a fit of rage. |
||
| ⚫ | |||
| ⚫ | The next cellblock is full of Blue Suns. Move your squadmates into cover: the thing on the floor across from you is a pop-up cover, so just move a squadmate or yourself near it and it will |
||
| + | The [[Human Prisoner]]s are out of their cells and are actively attacking their jailers with pistols they somehow got their hands on. Either group would also be equally happy to attack you and your squad, and from across the room a YMIR Mech waits to join the fray as soon as you walk onto the bridge in front of you. You now have a couple strategies available: |
||
| ⚫ | Sometimes the YMIR will activate during your fight |
||
| + | [[File:Dossier Jack - shower skirmish.png|340px|right|When inmates told you to watch your ass on the showers they didn't mean you'll be dodging mass-accelerated bullets and lumbering mechs]] |
||
| − | Option 1: Move back to the last piece cover before the bridge and hunker down there. Use ammo powers and anything else you have to take down the YMIR when it approaches from the right. Be prepared to retreat even further to avoid being flanked - do not let the YMIR approach to point blank range. Keep an eye out for Blue Suns mercs that will try to take advantage of your focus on the mech, but if you retreat back to the beginning of the room they are unlikely to follow you. Once the YMIR is down, either go to the right and deal with the remaining mercs, or use the upper catwalk for the same purpose. {{note|Insanity Tip:}} Right after the YMIR fires its missile you have a moment to run away before its machine guns crank up again. Abilities such as [[Stasis]] and [[Tactical Cloak]] can also break its target lock on you. |
||
| + | {{note|Let Them Duke It Out:}} Since the prisoners are actively fighting their jailers you have two options here. One is to leave your squadmates in cover/squatting down in the passageway to let the two factions fight it out, so that they don't get killed before you move into this section. Don't cross the bridge in front of you as this triggers the YMIR mech (as noted above). Use your radar and listen to see if the merc / prisoner battle is over. When you are ready, dash out onto the bridge to trigger the YMIR and the mercs but run back to the left quickly. Take cover on the large container looking thing to the left of the bridge. If you do this correctly, the YMIR will walk down the spillway towards the bridge on the lower level and stop / get hooked right below where Shepard is in cover. The YMIR will look upwards stomping and trying to get to Shepard but can't. The mercs will be in shower stalls below but can't get to Shepard either. Reposition / change the view of Shepard as needed carefully in cover so that you can get a target lock on the YMIR below. Carefully snipe / use powers to chip away at the YMIR mech located below and soon it will fall. [[Incinerate]] works great for this as Shepard can throw it over the bridge railing right into the YMIR's face. Don't go rushing out yet as the mercs are still in cover below. Eliminate them from cover before you continue on. |
||
| + | {{note|Help The Prisoners:}} Since the prisoners are a bit outgunned and out-armored, they won't last very long against the mercs by themselves. This raises the opportunity of actively intervening on their behalf, distracting and disabling the Blue Suns while the prisoners focus on them as well. If you do this optimally, you will have as many as two prisoners still alive when you activate the YMIR by walking onto the bridge, and thus the prisoners can now distract the YMIR on ''your'' behalf giving you extra time to pound on its shields and armor before it is actively sending missiles your way. If you somehow manage to eliminate the YMIR with the prisoners are still alive, give yourself a pat on the back but now they will ungratefully turn on you so gun them down mercilessly and move onto the next room. |
||
| − | Option 2: Heavy Weapons! Whip out your ever-handy [[Arc Projector]] and blast away at the YMIR. It will handily start vaporizing the Blue Suns even while you put damage on your main opponent. |
||
| ⚫ | When everything is down, move from cover and collect clips. Cross the bridge at the very back and hack the dead guard's datapad at the top for 4,500 credits. On the way out, scan the shotgun for a [[Research#Shotguns|Synchronized Pulsar]] research upgrade. Once in the U-shaped corridor between the cellblocks, loot the [[medi-gel]], and access the datapad for 4,500 credits. Save your game and open the door into the next cellblock. |
||
| − | Option 3: Not recommended on Insanity level. Once you have cleared out the mercs, take your squad up the ramp to the catwalk and take cover, both from the mercs and from the approaching YMIR Mech. The mech will meander its way over and come between some cell-pods ahead of you. While it starts to climb the ramp, focus your firepower on it. Once the mech is destroyed, take out the remaining Blue Suns and head for the door. |
||
| + | {{note|Tip:}} In the section in between cell blocks, '''do not''' pick up the power cells immediately unless you really need them. You will be able to return here during the subsequent fight, and since picking up the power cells will immediately restore your other ammo as well, this can be a big help in facing the upcoming fight. |
||
| ⚫ | However you chose to deal with the mech and mercs, don’t forget to grab credits from the dead Blue Suns soldier on your way to the next hallway. This hallway has a medical station, power cells, and a wall safe. Collect from each and '''BEFORE''' opening the door, save your game. Once you open this door you will not be able to return to this area. |
||
| + | |||
| ⚫ | |||
| ⚫ | The next cellblock is full of Blue Suns. The first four are 3 Troopers (2 humans 1 turian) and a Legionnaire. Move your squadmates into cover: the thing on the floor across from you is a pop-up cover, so just move a squadmate or yourself near it and it will deploy. There are a few of these in this room so be on the lookout for them. There is an explosive container along the wall of prison cells and the two human Troopers usually hang around that area, so shoot it when opportunity comes. |
||
| + | |||
| + | Once they're all down move to the sturdy shower stalls in the trench and remain there while you take out the next group of Blue Suns, consisting of 3 Troopers (1 human 2 turians) and a Legionnaire. Do NOT proceed under the bridge yet, as that will activate the YMIR mech at the far side of the room. |
||
| + | |||
| ⚫ | Sometimes the YMIR will activate during your fight—for example if you or your squadmates accidentally hit it where it sits dormant on the far bridge. It will also activate if you spawn a [[Combat Drone]] beyond the bridge, but a combat drone merely ''moving'' past the bridge will not have this effect. In these cases you may need to beat a temporary retreat to the original cover. If you beat the second group of Blue Suns without activating the YMIR you may have a moment to gather ammo, but as soon as you head underneath or to the upper section alongside it the YMIR will activate along with yet another group of Blue Suns: 2 Troopers (1 human 1 turian), and a human Centurion. Followed by the real last group in the area: 3 human Troopers and a turian Centurion. |
||
| + | |||
| + | [[File:Dossier Jack - artificial stupidity.png|340px|right|Mechs and organics alike don't have complex pathing AI so they seldom think to go around if you force them to target you through the narrow slit]] |
||
| + | {{note|Combat Strategy:}} Once the YMIR triggers (you'll be able to hear the mechanical stomping getting louder even if you can't see it right away) the most careful way to handle it is to simply retreat back to where you first entered this cellblock, as the YMIR is unable to follow you up onto the entry platform. There is a large central pillar reaching up to the ceiling; park your squad back here so they won't expose themselves to the YMIR and use their abilities to help you chip away at the YMIR. Just peek out around the left edge of the pillar carefully and work the mech down gradually with weapons and powers; alternately if you go all the way back towards the right side wall behind the pillar, there is a small gap between the pillar and what looks like some kind of cylindrical tank; it's possible to hit the YMIR from this gap as well. Most Blue Suns still alive shouldn't follow you all the way back here either but if they do, take them out first. If you saved the power cells in the previous hallway you'll have all the ammo refills you should need, and even if you didn't, there will be more up ahead. |
||
| + | |||
| ⚫ | However you chose to deal with the mech and mercs, don’t forget to grab 1,500 credits from the dead Blue Suns soldier on your way to the next hallway. Over loudspeaker Kuril is getting desperate in trying to find Jack, and later he orders all guards to Cellblock One. This hallway has a medical station, power cells, and a wall safe for bypass (3,000 credits). Collect from each and '''BEFORE''' opening the door, save your game. Once you open this door you will not be able to return to this area. |
||
=== The Warden === |
=== The Warden === |
||
| + | [[File:Dossier Jack - revenant dakka.png|340px|left|It's time to kill prisoner scum and chew bubblegum. The Warden's all out of gum.]] |
||
| − | + | Opening the door this time gives a cutscene where Warden Kuril is using his [[M-76 Revenant]] to cut down rioting prisoners. Then he happens to notice you, and mentions that while he could not take Shepard, he will still recapture Jack. Take him down before he has a chance to carry through on that threat. It isn't that simple, though, because he's protected by a shield whose generators must be destroyed to disable it. It's not only good for separating quarreling prisoners, it's also good at providing bossfight protection. Shooting at Kuril at this point is just a waste of ammo. |
|
| − | The three shield generators powering Kuril's shield are on the lower level ahead of you, and on the upper level to your left and to your right. The center and left ones can be taken out from your initial cover site ahead of you; the right one is a little trickier. |
+ | Once the cutscene ends, take cover behind the crates ahead of you. The three shield generators powering Kuril's shield are on the lower level ahead of you, and on the upper level to your left and to your right. The center and left ones can be taken out from your initial cover site ahead of you; the right one is a little trickier. Initial merc troops are a Legionnaire and two human Troopers defending the shield generator at the shower stalls. |
| + | {{Note}} Successfully hitting the shield generators with powers will instantly disable them, but shooting them requires a certain amount of "damage" to be done, per a red health bar that will be shown when you focus on one of them while close enough. Generators can only be shot out by hitting them in the center near the glowing blue lights. An accurate weapon such as the [[M-5 Phalanx]], the [[M-12 Locust]] (with slow, deliberate shots), the [[M-96 Mattock]], or any [[sniper rifle]] can pick them off at any range, and it's possible to hit all of the generators without venturing too far from your start position. |
||
| − | Be warned that enemies will be spawning from two possible directions: from the door you came in, and the door to the far right. Keep an eye on them wherever you are during the fight in order to prevent surprise visitors on the flank. Two main strategies are now available: you can fight your way through several long but predictable waves of spawning minions and then plan to deal with Kuril separately, or you can race around to knock down all three shield generators at the outset, after which you can try to take Kuril out early, instantly ending the mission. |
||
| + | [[File:Dossier Jack - miniboss problems.png|340px|right|Having the same gun as the boss is apparently one way to earn a promotion]] |
||
| − | Once the cutscene ends, run up and take cover behind the crates ahead of you. Take out the mercs that are protecting the center shield generator and then shoot it when you see the glowing blue power cell. The generators take a short time to deploy; you can't run up to Kuril and rain tons of damage in that period. |
||
| + | A combination of the following will spawn from either of the two doors in the area, {{warning|including the one you came in}}: human Troopers, human or turian Centurions, and/or a [[Blue Suns Commander]], with 2-3 per wave. They do so after the destruction of the first two generators, and a short while later both are followed up with a secondary wave. Enemy spawning is time-delayed, and destruction of the third generator cancels enemy spawns, even pending previous ones, so destroying all three generators in quick succession can minimize the total number of enemies. The armored Commander '''only''' appears from the north door (on your right from your initial position), unlike the others. Keep an eye on the hostiles wherever you are during the fight in order to prevent surprise visitors on the flank. They will generally spawn at the furthest point from '''you''' ('''not''' your squad) so the best way to prevent an enemy from entering from where you did is to stand near there when destroying generators. In the absence of further hostiles, your squadmates will default to targeting Kuril but of course this is moot until all generators are disabled. |
||
| + | You can take two general approaches: |
||
| − | [[File:Purgatory ship - kuril shields.png|right|370px|Your team starts off at the right, near the set of crates, and the area provides numerous cover opportunities for both you and your adversaries]]From your initial position, you have free rein to deal with either left or right generators. The left generator is partly inaccessible because of barricades facing your direction. With a little aiming you can disable it from where you're standing, or you can run up to it and shoot it up close. |
||
| + | {{note|Slow and Steady:}} Option one is you can fight your way through several long but predictable waves of spawning minions and then plan to deal with Kuril separately. To proceed with this strategy, you can now take out the nearby shield generator by shooting it when you see the glowing blue power cell. A new wave of mercs will spawn. Once you take out those mercs, you can knock down another shield generator, triggering a final wave of mercs. When you've taken ''them'' out you can then knock down the third generator and face Kuril all by himself. From your initial position, you have free rein to deal with either left or right generators. The left generator is partly inaccessible because of barricades facing your direction. With a little aiming, you can disable it from where you're standing, or you can run up to it and shoot it up close. |
||
| ⚫ | The left area (marked by the "STAND CLEAR" warning on the floor) is studded with barricades that pop up on approach, offering lots of protection from enemies that will be coming in from |
||
| + | {{note|Fast and Furious:}} Option two is, once you've taken out most of the initial set of mercs—at least the three down in lower section—assign your squad to cover while you rush around to knock down all three shield generators early on, which stops the spawning of enemies. To minimize the danger, move up and knock out the shield generator on the ''right hand side'' first, then quickly run back down toward the starting point to knock down the center shield generator. Finally, move up to the left side and take cover, possibly leaving a squad member assigned to the starting area to cover your flank. Then take out the third generator to stop any more mercs from spawning. Kuril now joins the fight, but he doesn't have a very long range, plus you get the option to take him out early, instantly ending the mission without the need to take out any remaining mercs. |
||
| ⚫ | No matter which direction you choose, once you've taken down the Warden’s shield, the mercs will stop coming through the large door and you'll now be faced with the Warden himself plus any remaining minions. Kuril has |
||
| + | [[File:Purgatory ship - kuril shields.png|left|340px|Your team starts off at the right, near the set of crates, and the area provides numerous cover opportunities for both you and your adversaries]] |
||
| ⚫ | |||
| ⚫ | The left area (marked by the "STAND CLEAR" warning on the floor) is studded with barricades that pop up on approach, offering lots of protection from enemies that will be coming in from the far right. The right area has a bridge with flimsy cover, and you will be required to quickly neutralize any mercs at the other end and steal their cover boxes if you want to live. Fortunately, the right shield generator is within shooting distance even from the bridge and you can simply shoot it when you're secure. |
||
| + | |||
| ⚫ | No matter which direction you choose, once you've taken down the Warden’s shield, the mercs will stop coming through the large door and you'll now be faced with the Warden himself plus any remaining minions. Kuril has health, armor, and shields for defense once the generated shield is down; once he's dead the mission immediately ends so you can try to eliminate him while ignoring any other mercs, but the safest route is to methodically eliminate all the other threats first. The best time to hit him is when he pops up or starts to go back into cover. Once Kuril's shields and armor are down, biotics like [[Pull]] or [[Throw]] can disable or even instantly kill him by knocking him off his perch. |
||
| + | |||
| + | {{note|Caution:}} When playing as an [[Engineer]], be aware that summoning a [[Combat Drone]] deep in enemy territory during this battle can sometimes focus the entire mass of Blue Suns infantry on Shepard, causing them to bum rush your cover position and overwhelm you at close range. Keeping squad members deployed between Shepard and said enemies will prevent or mitigate this effect. |
||
| + | |||
| + | {{note}}It is possible to charge and fire the [[M-920 Cain]] immediately upon entering the room. A well-aimed shot will instantly kill Kuril and end the confrontation without needing to destroy any of the generators, as its blast ignores intervening terrain and other obstacles. |
||
| + | |||
| ⚫ | |||
=== Escape and the Normandy === |
=== Escape and the Normandy === |
||
| + | [[File:Dossier Jack - making deals.png|340px|right|"You sound like a pussy."]] |
||
| − | + | Jack, however, has also been busy and has reached the airlock. The guards try to stop her, but her biotics take them down before they have a chance to even raise their weapons. Apparently, the large ship out the window draws Jack's interest, but she spots the [[Cerberus]] logo on the [[Normandy SR-2|Normandy]]'s bow planes. That sends her into a fit, allowing a [[batarian]] guard to sneak up on her, but before the guard can do anything he gets a shot in the head from Shepard's [[Heavy Pistols|pistol]]. Jack spins around, and a conversation begins. |
|
| + | |||
| ⚫ | If you have [[Jacob]] and/or [[Miranda]], there are a few interesting comments from Jack during the conversation. You can earn a few morality points based on your conversation options: Jack wants access to Cerberus files aboard the ship; Miranda and Jacob think it's a bad idea. You will respond that you'll give her access in the exact same tone regardless of whether you were being honest or bluffing. Either way, Jack deems the matter settled and badgers your team why they're still standing about. |
||
| + | |||
| + | Back on the Normandy, Miranda formally introduces herself and her role to Jack regardless of whether she was on the mission or not. Jack demands immediate access to the files, and you can either give them to her right away or tell her to settle in first. Either decision results in the last morality points for the mission. From the get-go Jack has developed a dislike for the "cheerleader" and will rub it in Miranda's face when you do something to support Jack's aims. |
||
| + | |||
| + | Jack then leaves the briefing room to settle at the lowest point on the ship. In between missions and assignments you can find her down the stairs outside Main Engineering on Deck 4. |
||
| + | == Email == |
||
| ⚫ | If you have [[Jacob]] and/or [[Miranda]], there are a few interesting comments from Jack during the conversation. You can earn a few morality points based on your conversation options: Jack wants access to |
||
| + | After having to release all prisoners in order to rescue Jack, you will receive a message from an escaped prisoner named Billy. You apparently gained a fan from the more psychotic criminals of Purgatory. |
||
| + | {{emailquote|term=Title: (Untitled)| |
||
| + | From: (Error, Invalid Sender Name) |
||
| + | Hey Shepherd{{sic}} heard I have you to thank for getting out of Purgatory (sent a ship to round me up, but they didn't weapons-check good enough)! I'm gonna carve your name instead of mine into my next victim as thanks, got anyone you need dead (haha)? You did take a shot at me though on my way out so I have to kill you, you know how it goes. Dad taught me that you let anybody hurt you, they get ideas so you make sure to send a message, not like I'm sending now, though! See you around, the people who live here are coming back and it's showtime! Look around for your name, I'll make sure you find it before I find you! Billy...}} |
||
| − | Once back on the Normandy, Jack demands immediate access to the files, and you can either give them to her right away, or tell her to settle in first. She says she is going to the lowest point on the ship. You can find her down the stairs outside Main Engineering on Deck 4. |
||
| − | + | == Enemies == |
|
*[[Blue Suns Centurion]] |
*[[Blue Suns Centurion]] |
||
*[[Blue Suns Commander]] |
*[[Blue Suns Commander]] |
||
| Line 85: | Line 144: | ||
== Mission Summary == |
== Mission Summary == |
||
| − | Recruited prisoner known as |
+ | Recruited prisoner known as "Jack" for the team. |
Purgatory’s betrayal of Shepard unacceptable. Fortunately, was able to reverse credit transfer. May have to take steps against Blue Suns to demonstrate consequences of interference. |
Purgatory’s betrayal of Shepard unacceptable. Fortunately, was able to reverse credit transfer. May have to take steps against Blue Suns to demonstrate consequences of interference. |
||
Latest revision as of 05:33, 15 December 2023
Jack is rumored to be the most powerful human biotic ever encountered. Very little additional data regarding Jack is available, except that the subject has a history of violence and should be approached carefully. Currently, Jack is being held on the turian prison ship Purgatory. Cerberus has negotiated for the prisoner's release.
Acquisition[]
This mission is acquired after the mission to Freedom's Progress.
Preparation[]
Overload and Disruptor Ammo are very useful for this mission, especially on Insanity, as some of the enemies are synthetic and most of them have shields. You'll find yourself in several fights where you come under extremely heavy fire. Squadmates like Miranda and Mordin that can apply damage consistently through powers can be very useful for wearing down enemies without having to pop out of cover into a hail of bullets.
There are three power cells available in this mission, meaning that if you are running low on heavy weapon ammo you can get a substantial refill here. It also means you can use heavy weapons fairly freely; good standard options are the M-622 Avalanche or the Grenade Launcher.
Walkthrough[]
Arrival[]
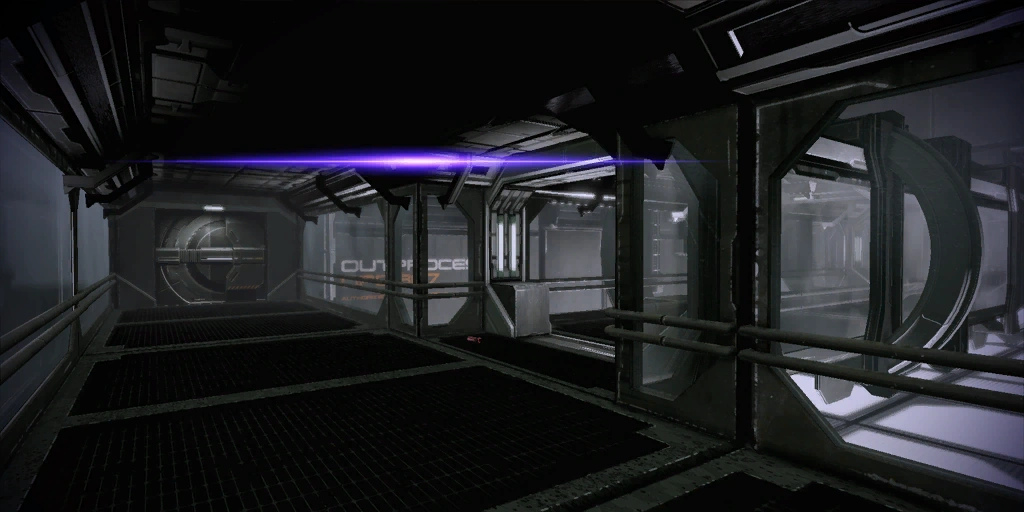
The mission starts with a cutscene of the Normandy's arrival, and Purgatory's commander watching the event then preparing to welcome the visitors. When you gain control simply approach the trio of Blue Suns mercs at the end of the corridor to trigger a conversation. As this is supposed to be a simple transaction, you won't be able to draw weapons and shoot anything for now.
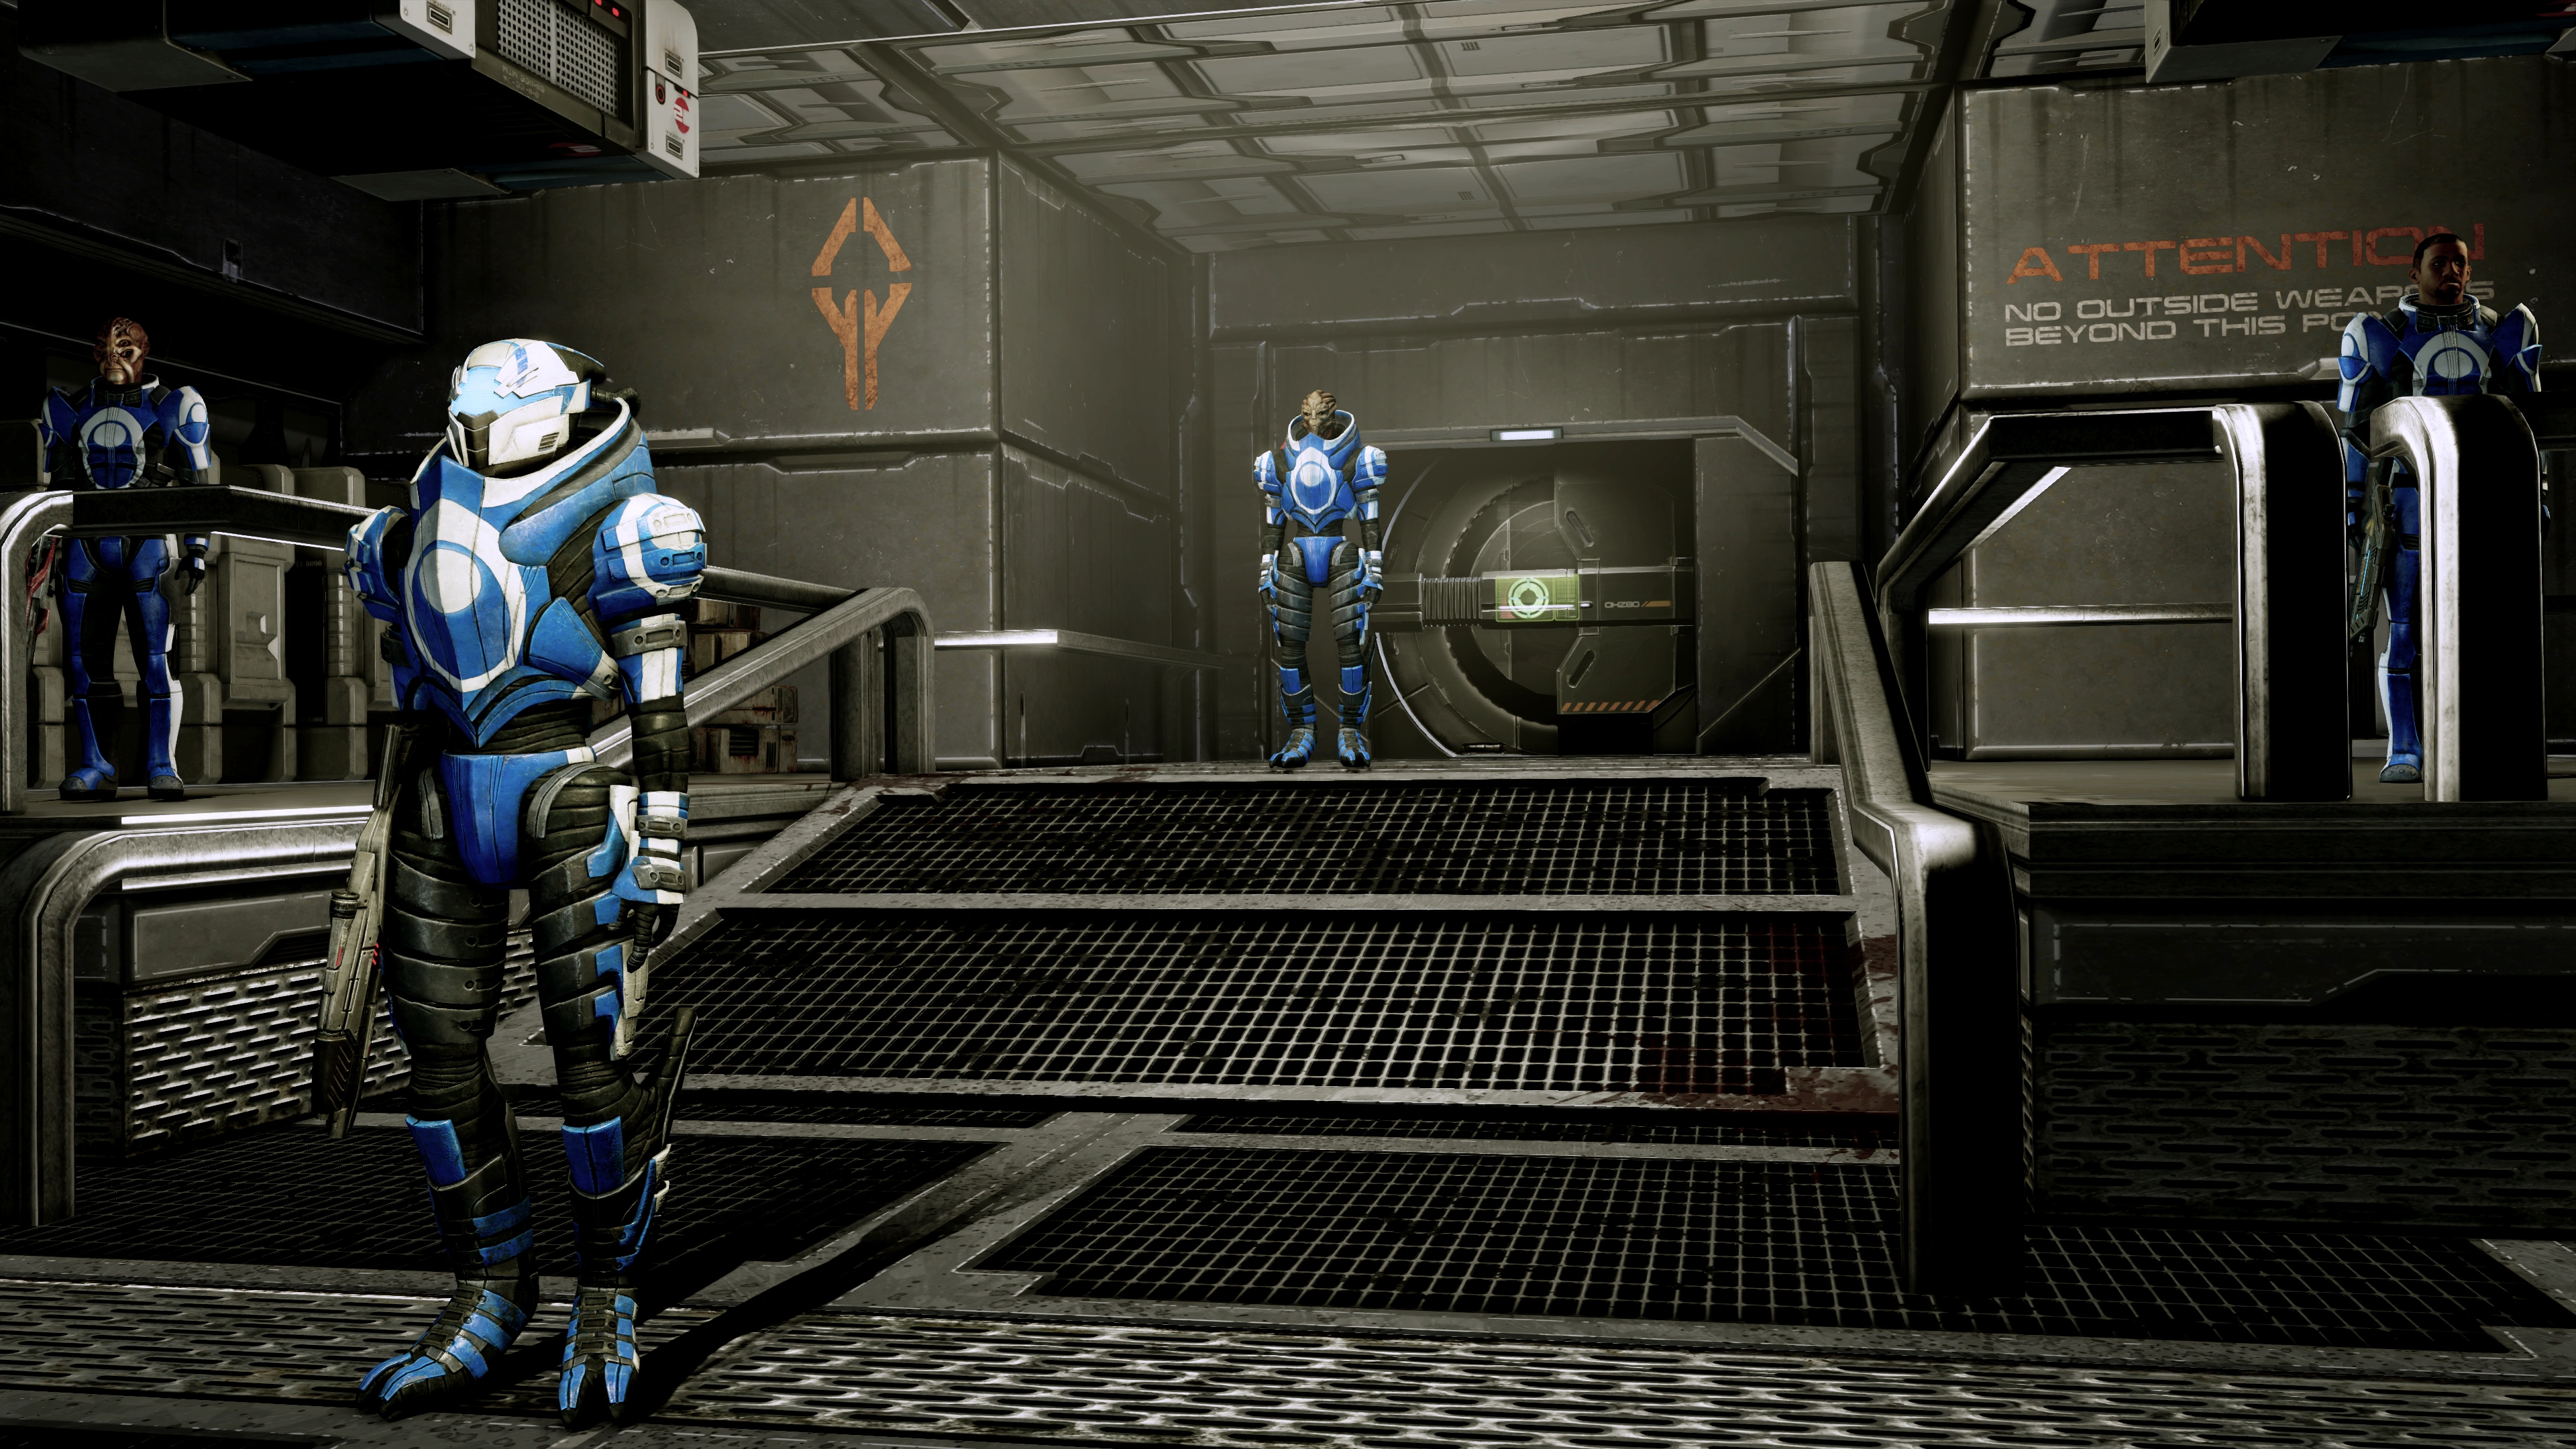
The guards will ask you to surrender your weapons. Whichever way you answer, you'll refuse. The turian station commander, Warden Kuril, enters and explains that it's "standard procedure". Again, you will refuse. Both refusals come with opportunities to gain Renegade morality points depending on how strongly you feel about the issue. Invariably Kuril relents and allows you to proceed, telling his guards that they are well equipped to handle three armed guests.
Kuril will take you on a small walkthrough of the facility. You are in Cellblock Two, and he explains how each pod is a self-contained cell that can be ejected if necessary. You can see giant arms moving cells and it moves three onto the walkway further along. Kuril touts Purgatory's other features and boasts that nothing goes wrong here. You can then investigate what he knows about Jack, his backstory, and the expense his operation must be costing.
When you tell Kuril to keep moving one of your squadmates will raise concerns about escape attempts, which Kuril then downplays because there are limited opportunities to do so in space. You then see another demonstration of Purgatory's crowd-control tech, which will be relevant in the inevitable battles ahead, so take note. Kuril then informs you to proceed to Outprocessing, while he leaves to confirm if the credits for Jack's release have been transferred.

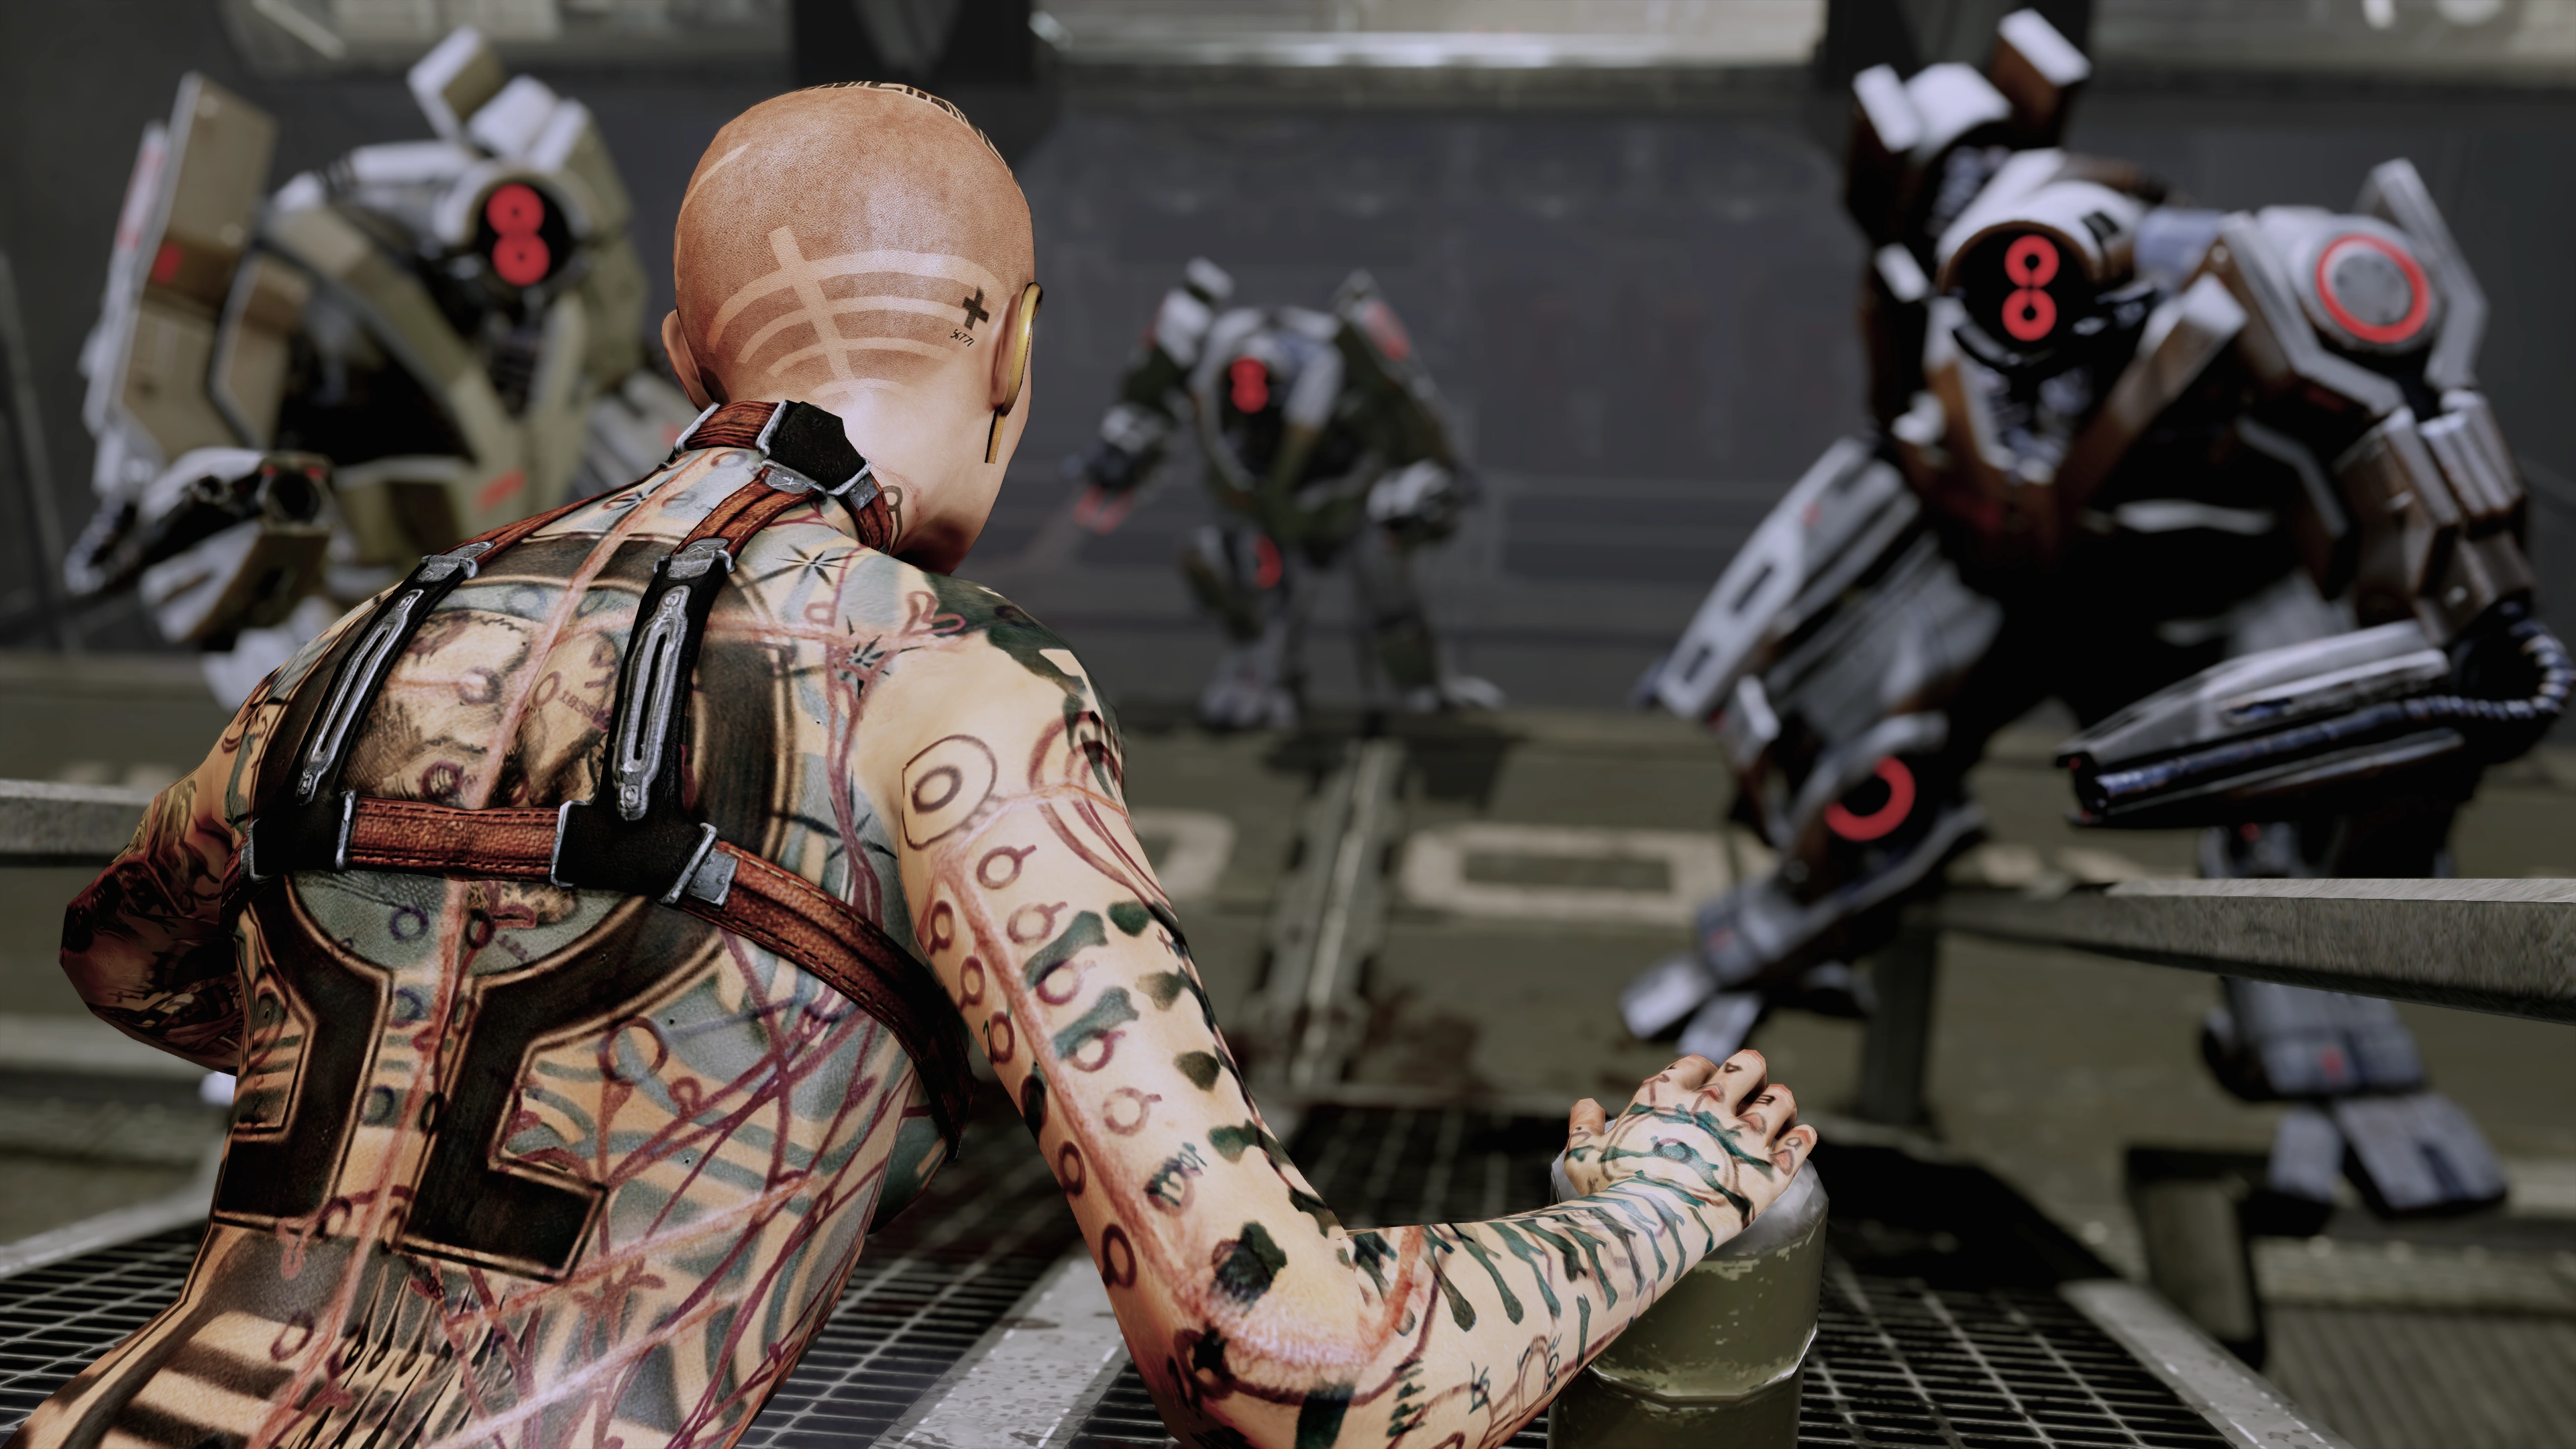
Once you have control again, walk down the one-way hallway and you'll arrive at three prisoner cells. The first cell has two guards, one standing outside and another beating a prisoner inside his cell. The next two cells house Prisoner 780 and Prisoner 403. These are optional interactions though you may gain further understanding of the situation if you investigate.
You can talk to the guard outside the first cell and either agree with what they're doing or order them to stop. Morality points may be gained from the conversation. On the next cell, Prisoner 780 calls you over and wants you to buy him as well, but when he learns you're here for Jack he immediately changes his mind. He can also explain what's the deal with Bimmy, the prisoner being beaten next to him, as well as some inside details on how the prison really works. On the last cell, Prisoner 403 claims he can hear the screaming in his head, and it's nice. Clearly he's off his rocker, so move on.
After going through the door, you see a fork in the walkways. In front of you is the door to Outprocessing. The alternate route leads to the supermax wing and a guard says it's off-limits for now, so ignore it.
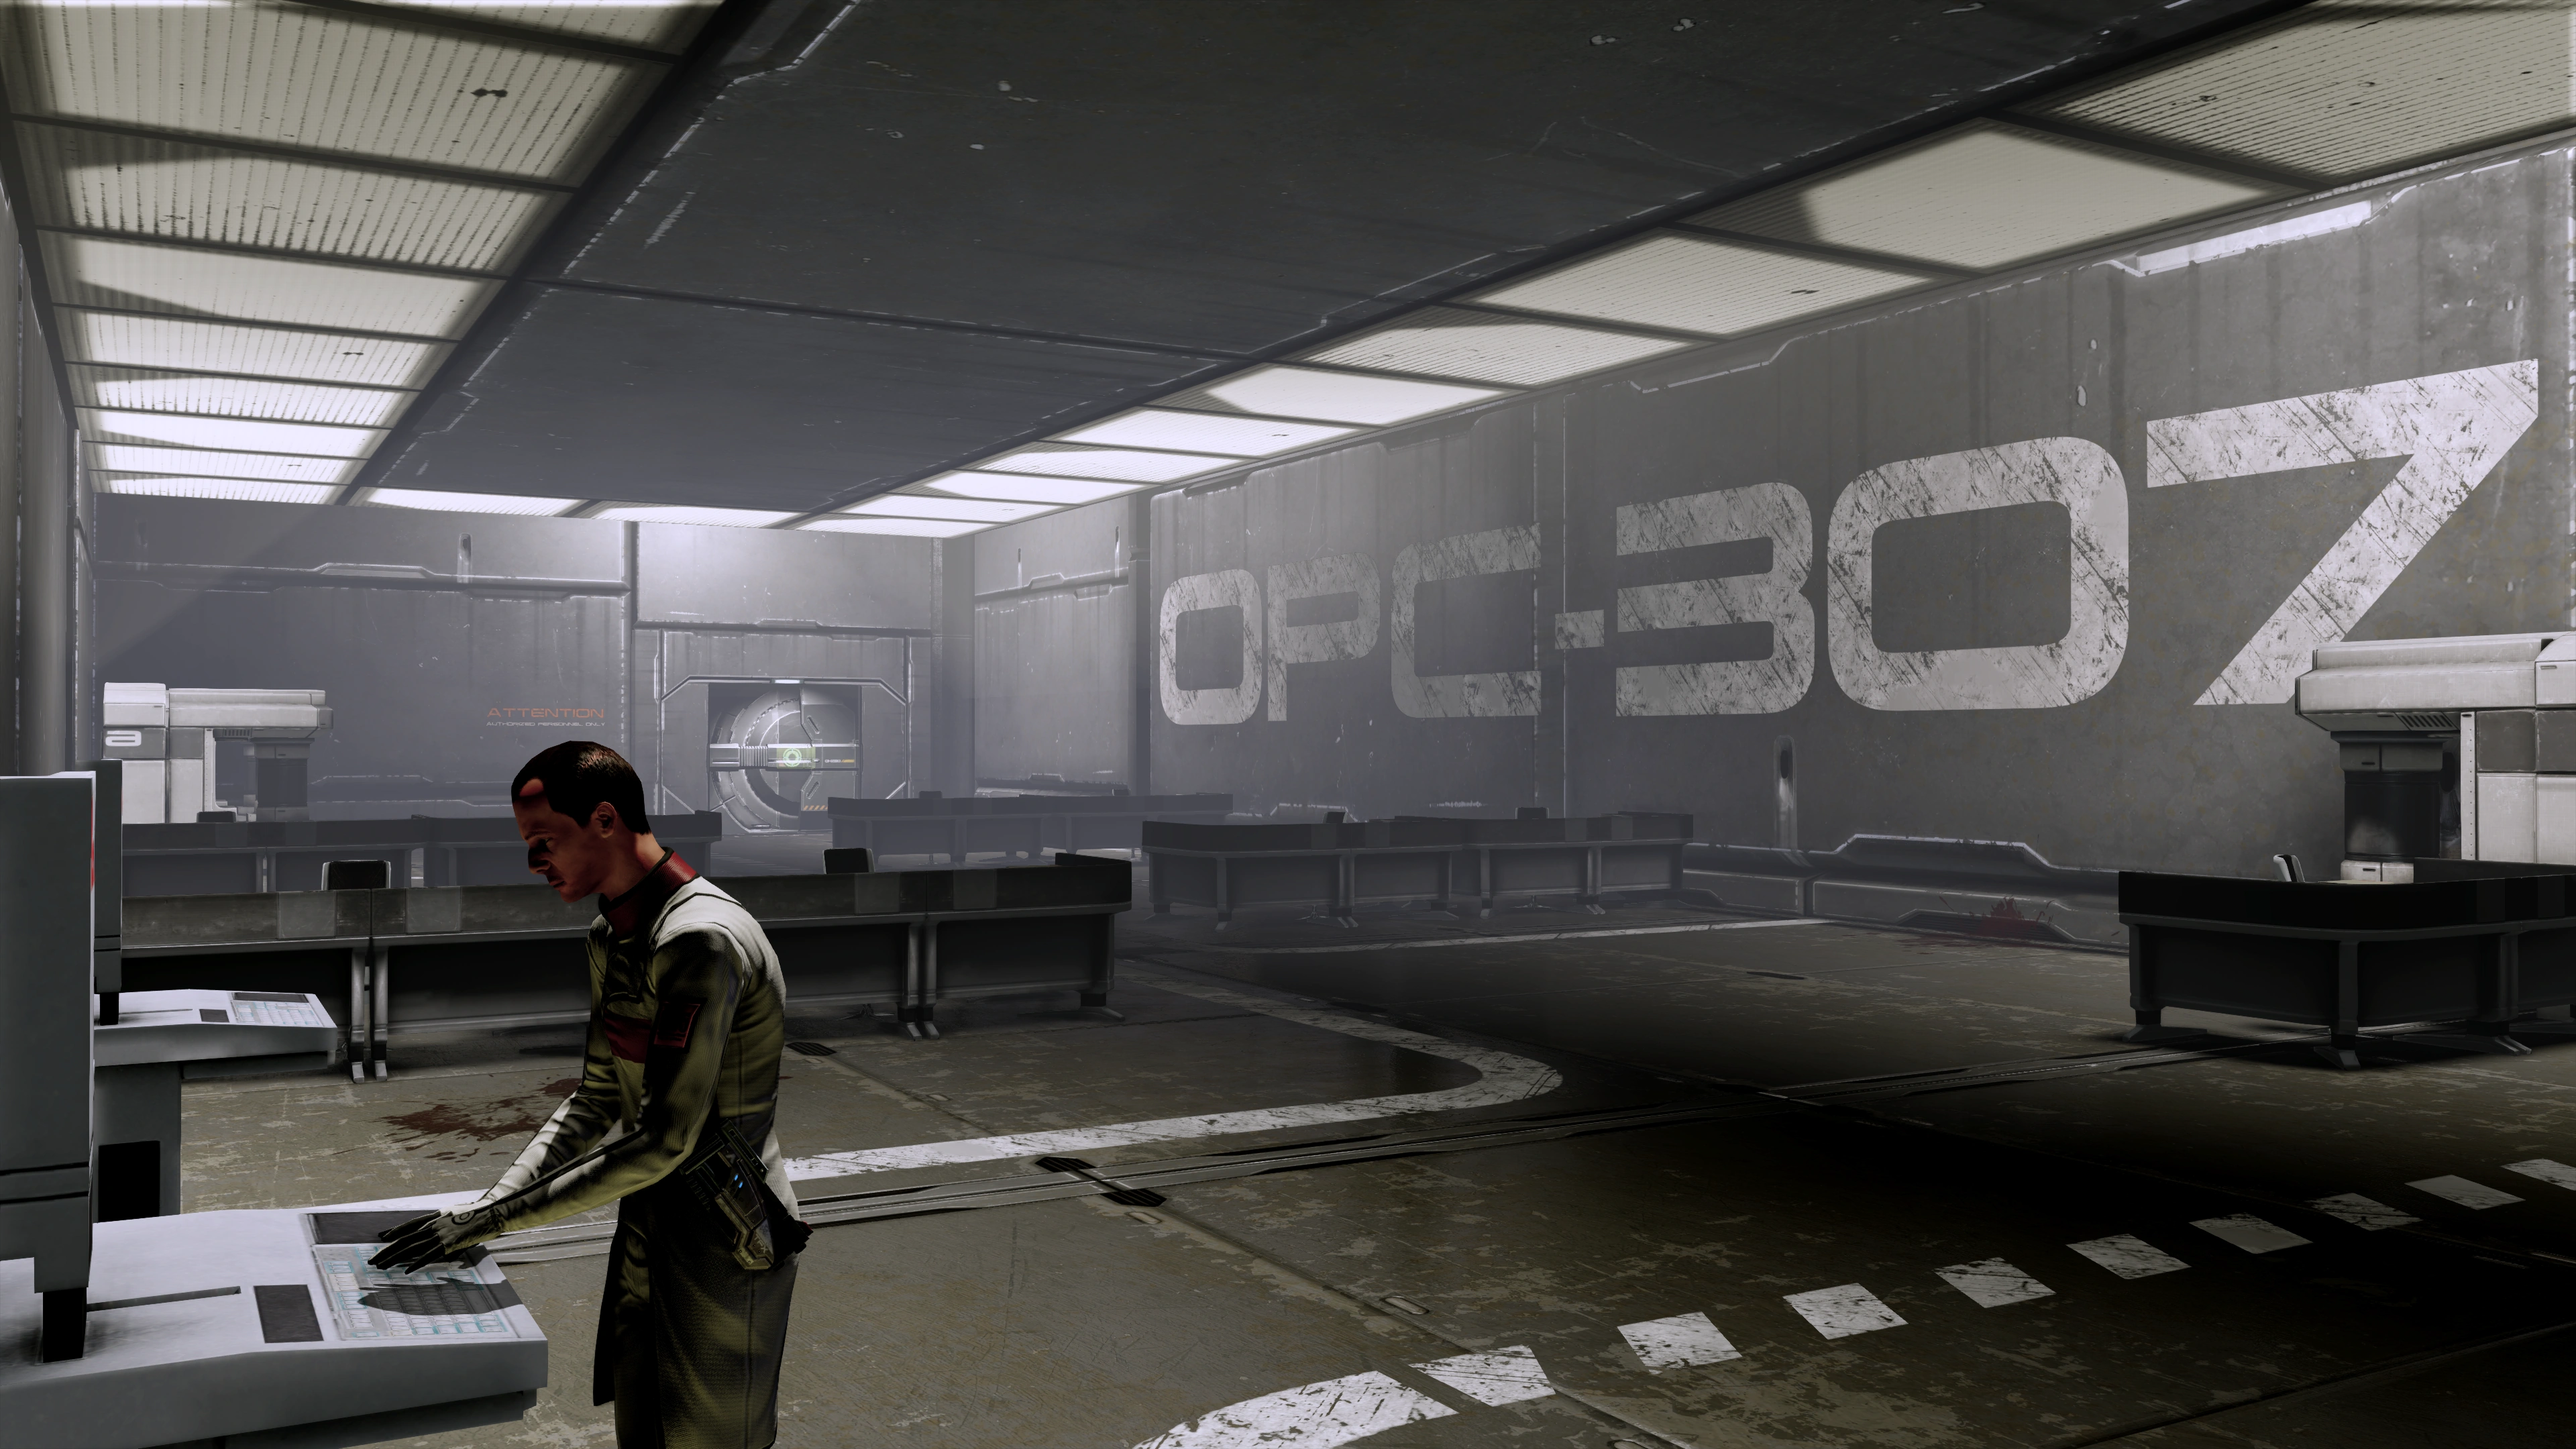
The technician at the entrance to Outprocessing tells you to go to the door at the end of the room. As you open the door, it reveals a cell. A cutscene plays where the Warden comes over the intercom and tells Shepard that they are too valuable to leave the station without a price tag. If you learned about his motivations earlier, you can call him out on the hypocrisy. Whatever you tell him though, Kuril is in no mood to listen and activates the prison's systems. On the upside, all responses yield morality points. Finally you're able to bring out your guns: prepare for combat.
An autosave is generated when you open the door. Since events immediately lead to a fight, loading it will take you to the moment before you open the door.
Betrayal[]
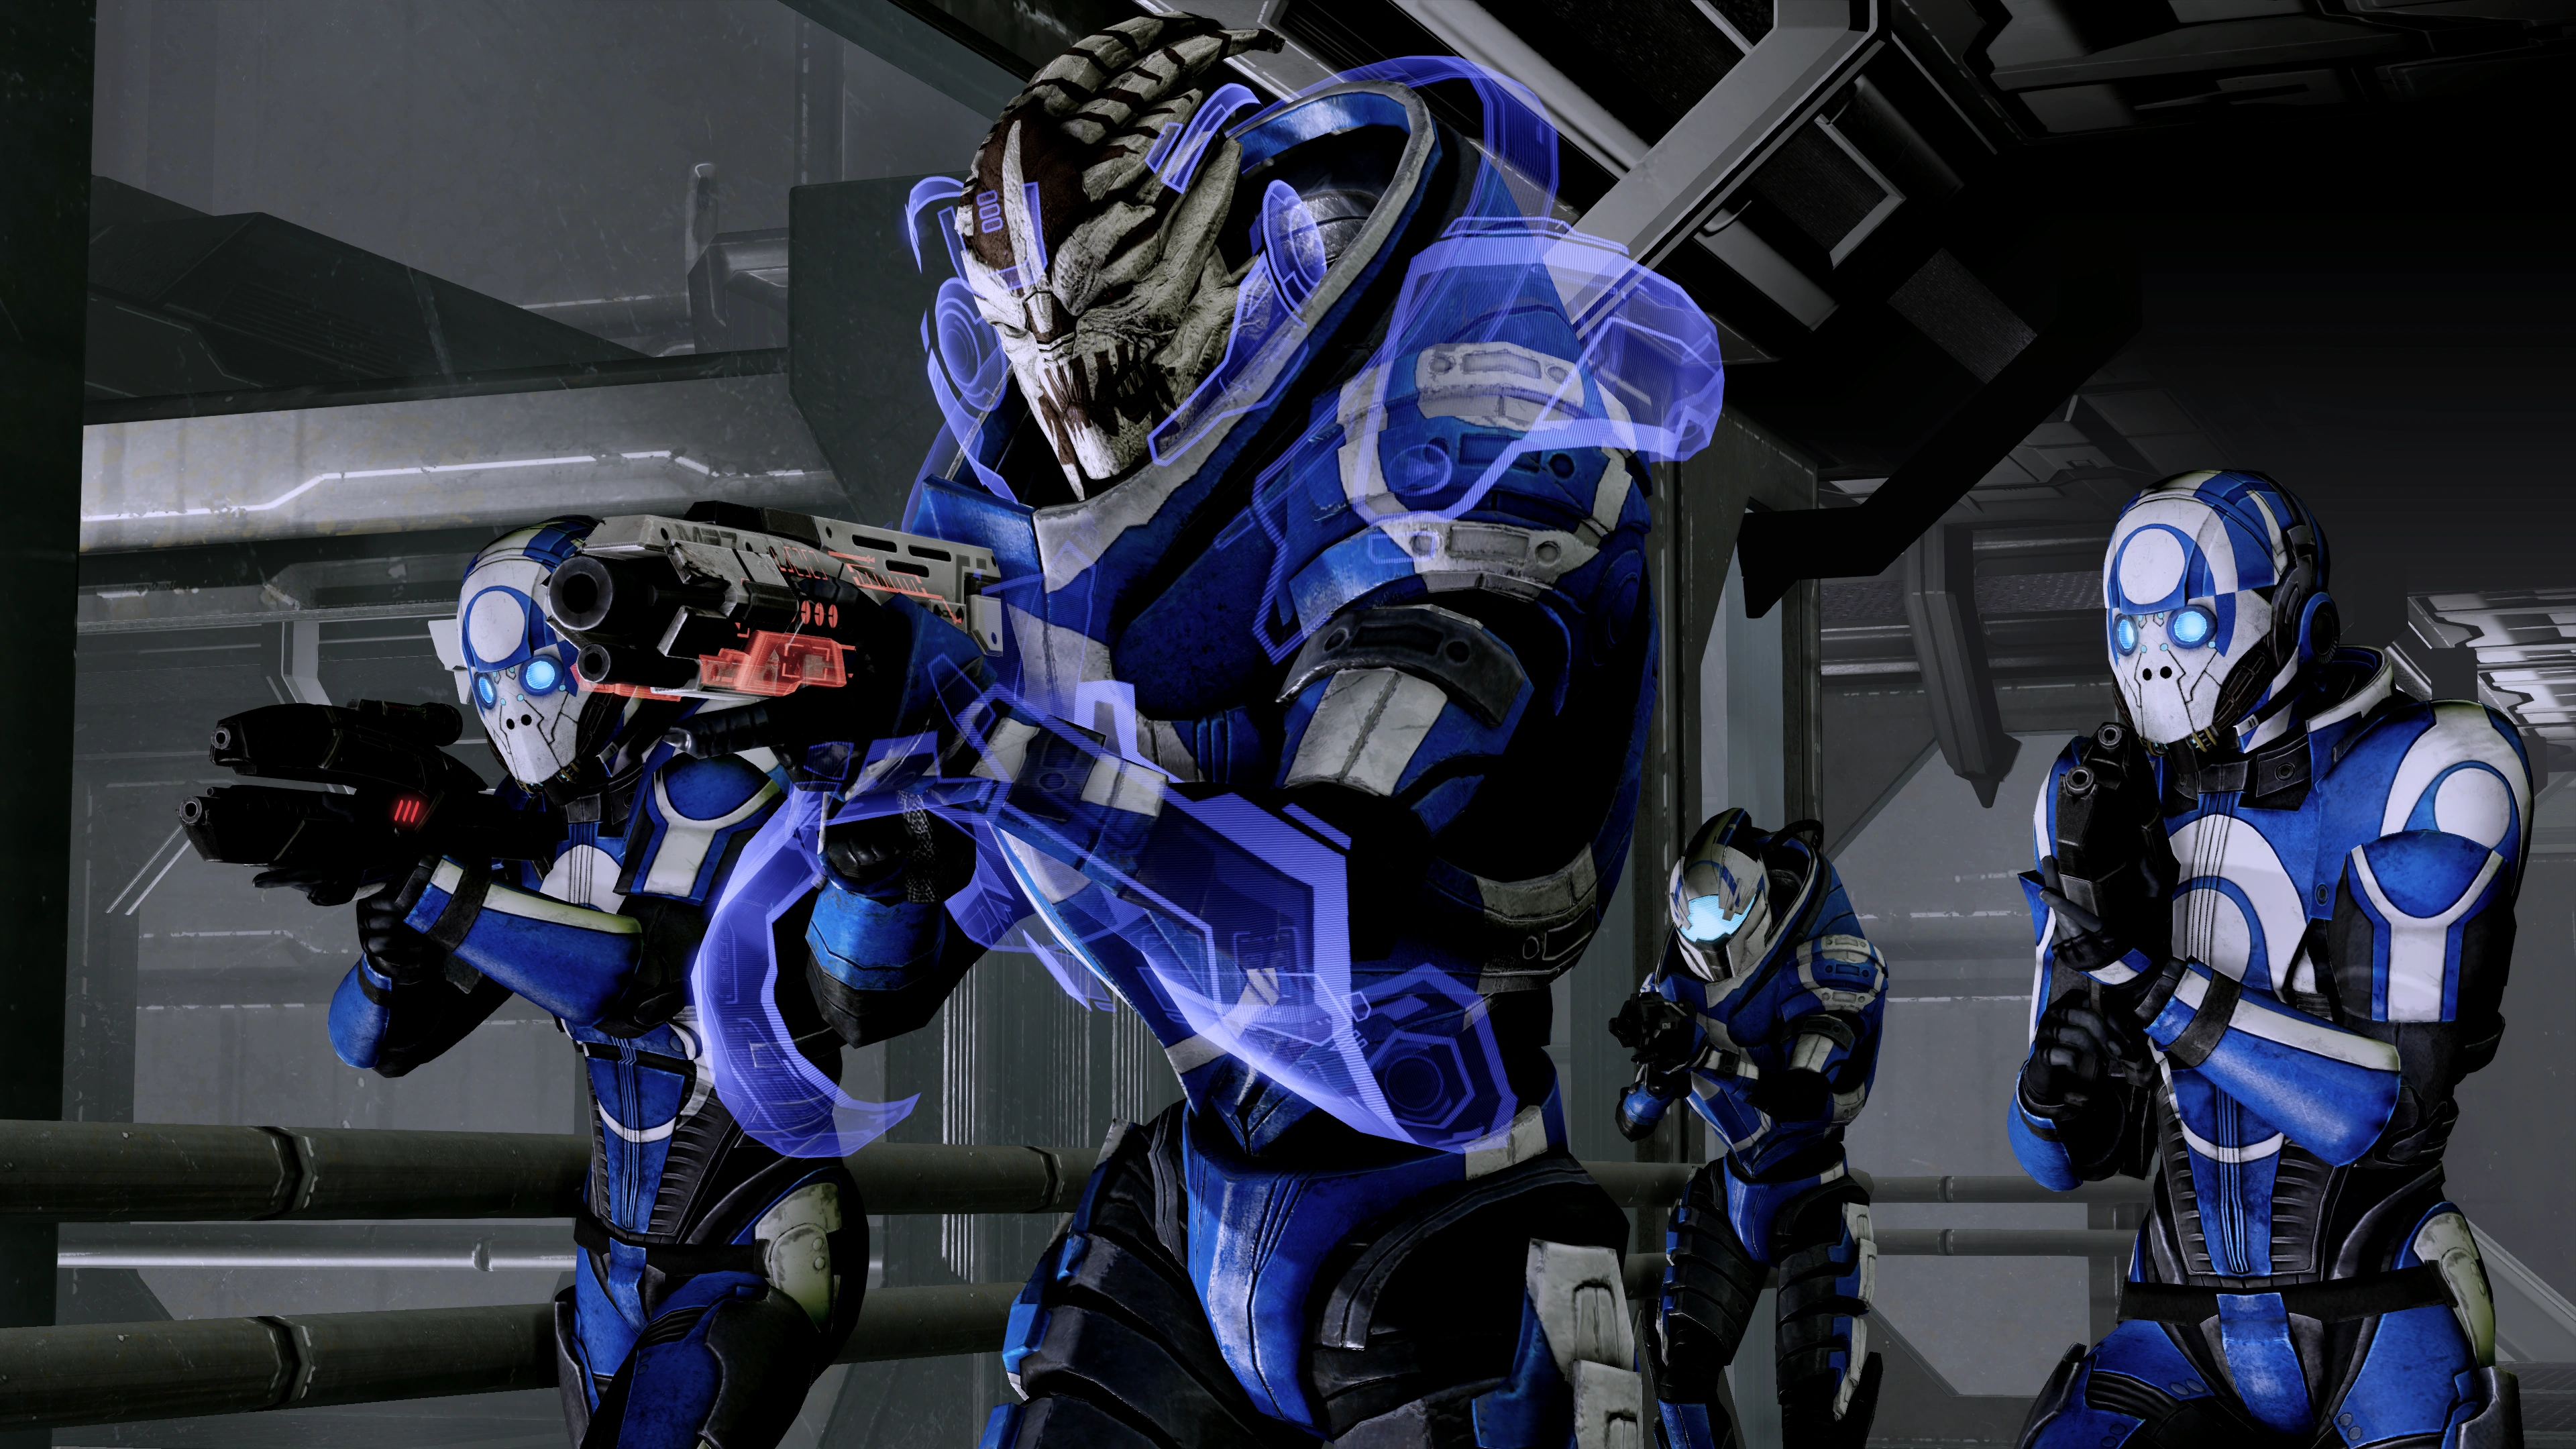
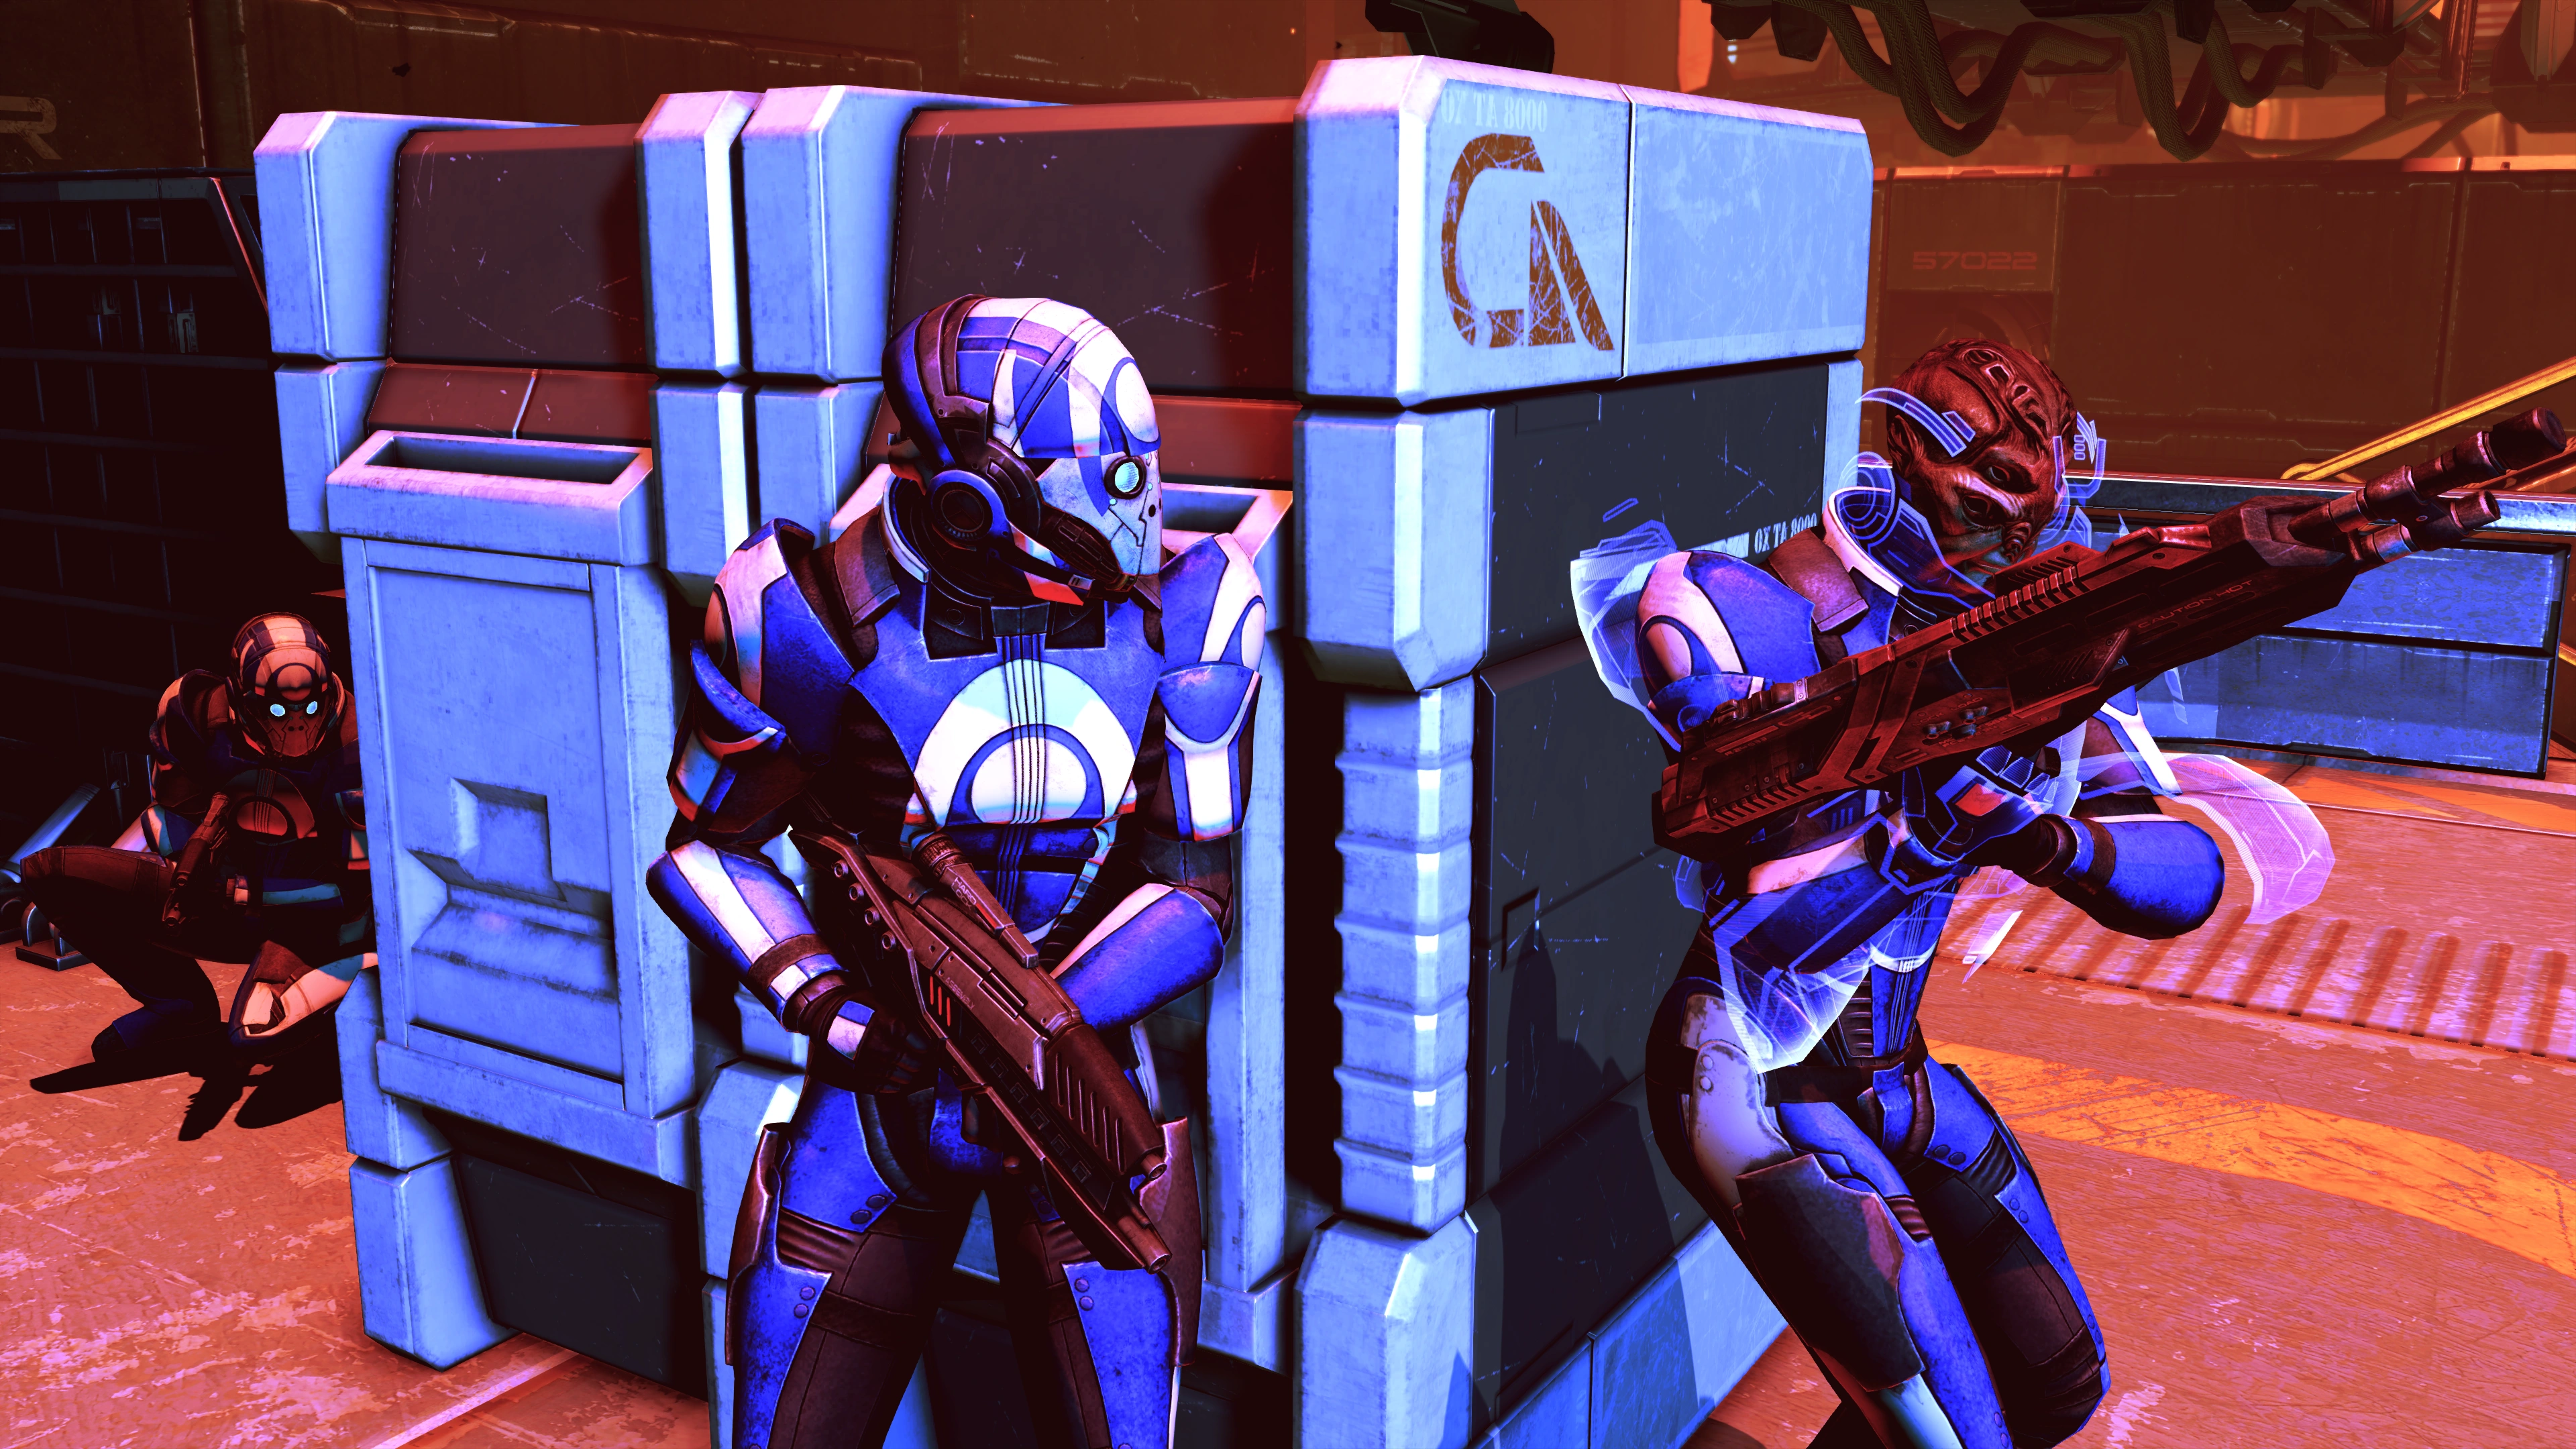
Once the cutscene with the devious Warden ends, get your squad into cover and target the door you came in as mercs will come guns blazing: 3 Blue Suns Troopers (2 humans 1 turian), and a Blue Suns Centurion. These four are followed by a Blue Suns Legionnaire, 2 FENRIS Mechs, and 2 more Troopers (1 human 1 turian).
Combat Tips: The ambush gives you no time to prepare you team for combat, but you should still remember to take a moment to activate ammo powers to maximize your damage. Enemies bottleneck themselves as they come through the door, so heavy weapon fire can devastate them, and you'll get plenty of refills later. Using the M-622 Avalanche to disable the initial wave can buy you plenty of breathing room.
Order your squad into cover and head there yourself immediately. The dog-mechs will try to harass you: prioritize them before they compromise your cover position. After them, the turians with shotguns are the next most likely to get you into trouble. Once the mercs are dead, gather up thermal clips and move out the door: the way you came in is locked, so you have to go to the aforementioned supermax wing.
Move your squadmates up to the first support pillars on either side to provide cover and take cover yourself, either behind the crate or at the entrance to the tube. Big surprise: more mercs will try to take you down: a Legionnaire and three turian Troopers. There is no real reason that you should move your squadmates or yourself, as the mercs will just usually come at you, though in Mass Effect Legendary Edition they sometimes bizarrely all run away back to the room they start from.
Pick up the clips once the mercs are down and enter the control booth for the supermax wing. The Technician inside comms his buddies that you are on the loose, so deal with him violently. The room has refined element zero (+500 units), a medical station next to a locked door (for now), and a console for accessing Purgatory's security controls.
As you access the console, your squadmates tell you that this will override the security for the whole prison. It's also the only way to bring Jack out of cryostasis. You complete the procedure, and the cutscene goes on to show Jack's cell being pulled out of the ground. One of your squadmates will react incredulously when they see a highly feared and dangerous criminal is a skinny bald tattooed woman. She revives, seemingly angry at her incarceration. The three YMIR Mechs guarding her cell are apparently no deterrent for her, as she breaks her restraints, unleashes her massive biotic powers on the YMIRs, and escapes. Now, it's a chase.
The Chase Begins[]
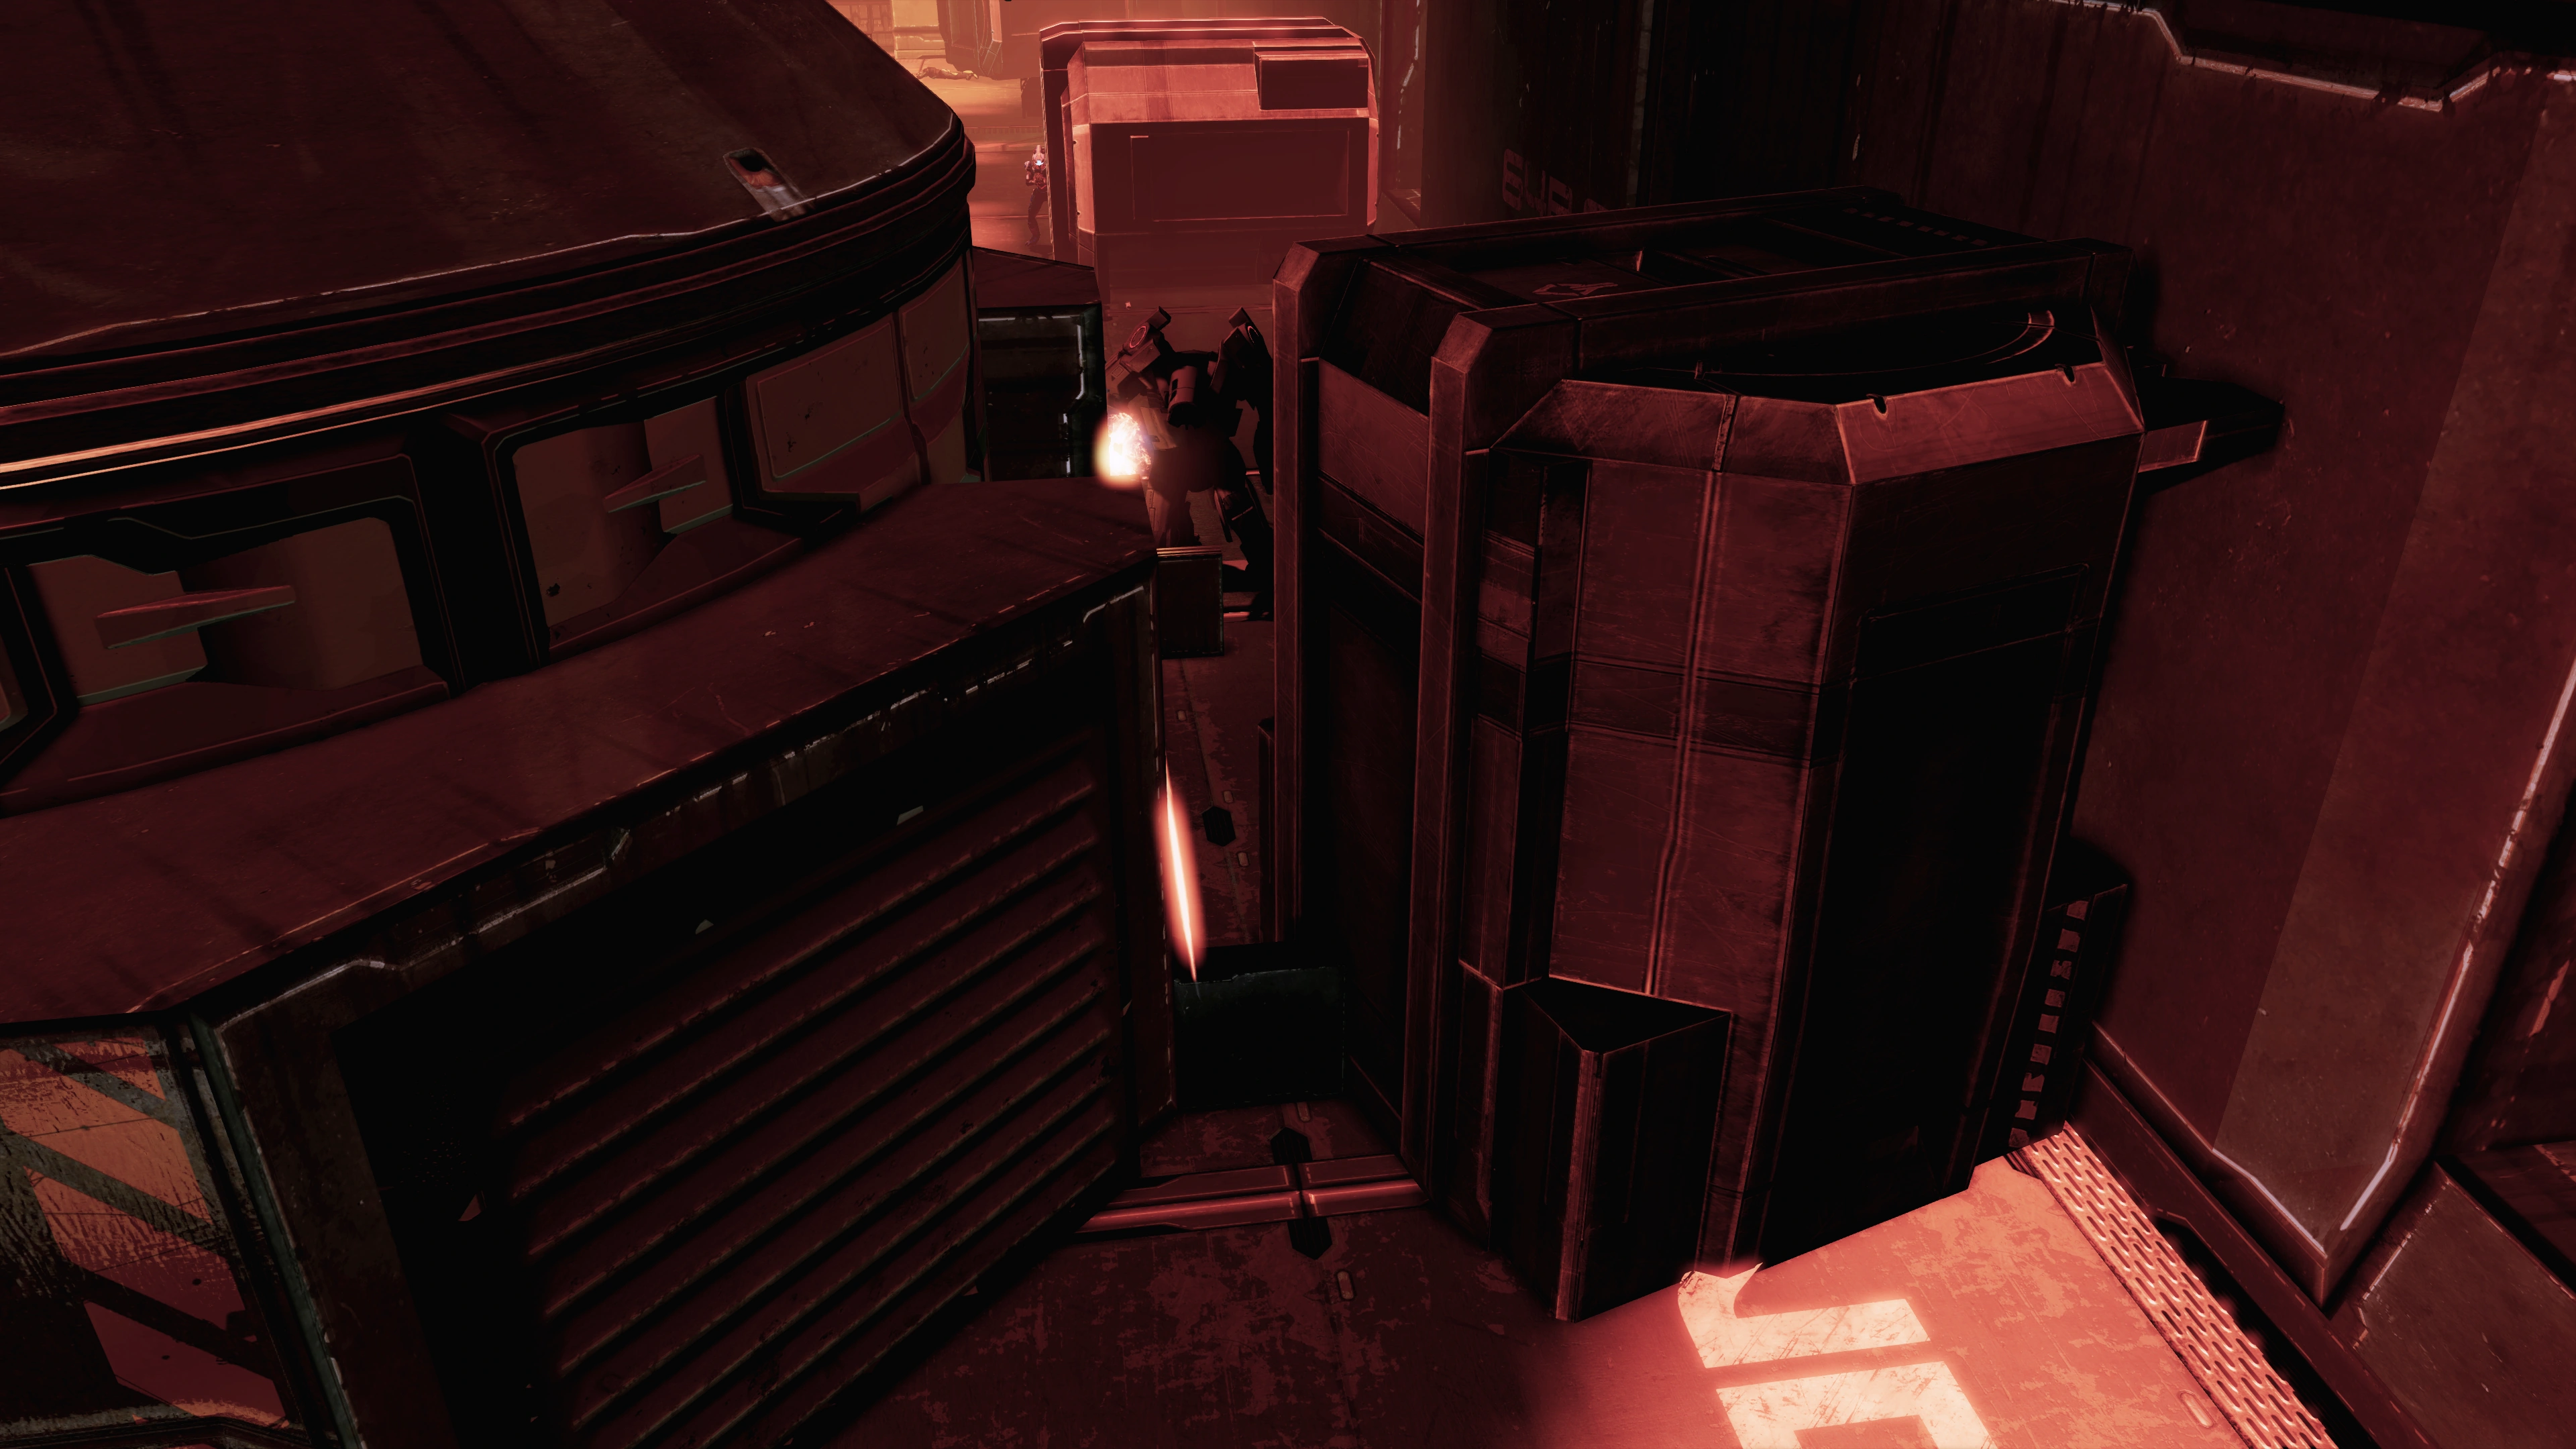
Once you regain control, the previously locked door is now accessible. Run past it and down the ramp to where Jack was. You'll find that she has blasted a hole in the wall and the YMIR Mechs are in ruins. Turns out she demolished four YMIRs instead of just three. Before going through the hole, scan the YMIR Mech at the back for an Ablative VI damage protection upgrade.
The hole leads to a hallway with dead prison guards and some items. Kuril bellows over loudspeaker mobilizing the rest of the guards and authorizing lethal force. He still wants Jack alive though, and orders his techs to commence facility lockdown.
The computer tells you a little further along that some cellblocks have decompressed, with no survivors. It will regularly update you later on the destruction running through the station. Moving along the hallway, take the power cells and loot the dead guard farther down for 1,500 credits. If you attempt to backtrack EDI informs you that the Warden has locked the area behind you, so you have no choice but to go forward. Once you reach another hole, walk through it and into a scene of destruction.
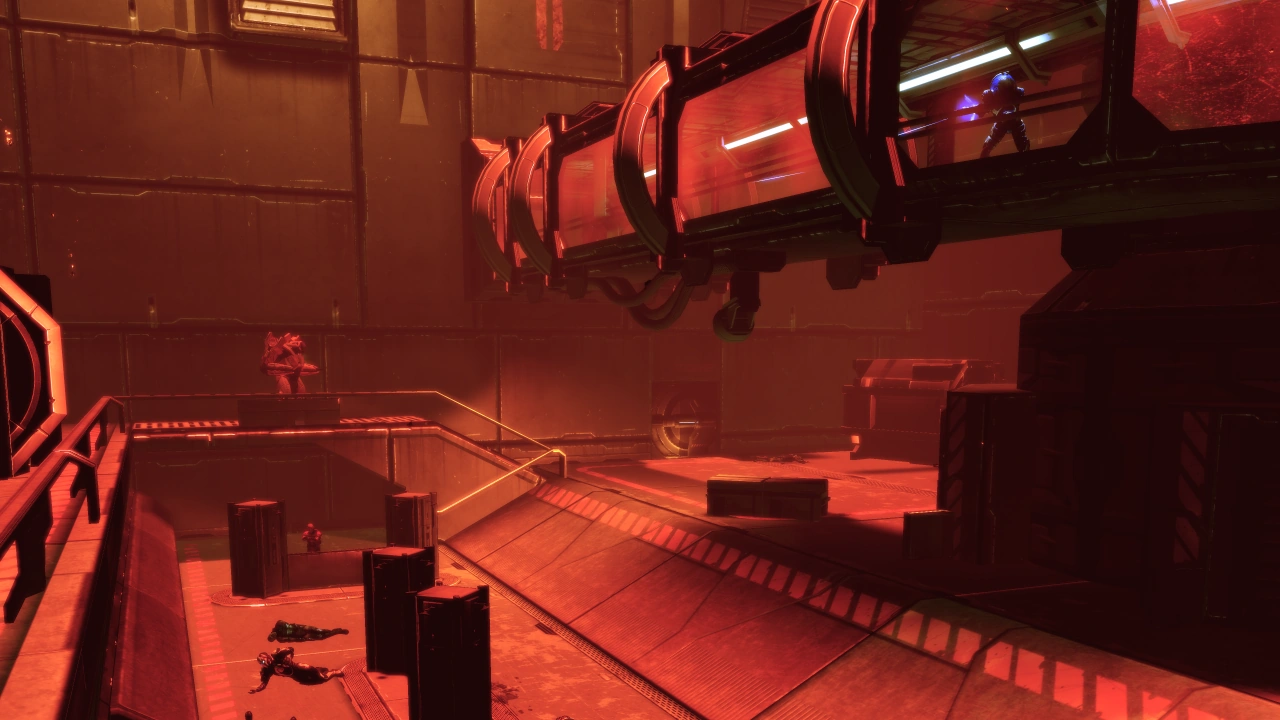
The next location is the prison's common area you saw earlier, only this time you're on the ground instead of the walkways above. The three prison cells you passed earlier are heavily damaged, and there's no word on the fates of their occupants. The scene bears all the signs that someone came through in a fit of rage.
The Human Prisoners are out of their cells and are actively attacking their jailers with pistols they somehow got their hands on. Either group would also be equally happy to attack you and your squad, and from across the room a YMIR Mech waits to join the fray as soon as you walk onto the bridge in front of you. You now have a couple strategies available:
Let Them Duke It Out: Since the prisoners are actively fighting their jailers you have two options here. One is to leave your squadmates in cover/squatting down in the passageway to let the two factions fight it out, so that they don't get killed before you move into this section. Don't cross the bridge in front of you as this triggers the YMIR mech (as noted above). Use your radar and listen to see if the merc / prisoner battle is over. When you are ready, dash out onto the bridge to trigger the YMIR and the mercs but run back to the left quickly. Take cover on the large container looking thing to the left of the bridge. If you do this correctly, the YMIR will walk down the spillway towards the bridge on the lower level and stop / get hooked right below where Shepard is in cover. The YMIR will look upwards stomping and trying to get to Shepard but can't. The mercs will be in shower stalls below but can't get to Shepard either. Reposition / change the view of Shepard as needed carefully in cover so that you can get a target lock on the YMIR below. Carefully snipe / use powers to chip away at the YMIR mech located below and soon it will fall. Incinerate works great for this as Shepard can throw it over the bridge railing right into the YMIR's face. Don't go rushing out yet as the mercs are still in cover below. Eliminate them from cover before you continue on.
Help The Prisoners: Since the prisoners are a bit outgunned and out-armored, they won't last very long against the mercs by themselves. This raises the opportunity of actively intervening on their behalf, distracting and disabling the Blue Suns while the prisoners focus on them as well. If you do this optimally, you will have as many as two prisoners still alive when you activate the YMIR by walking onto the bridge, and thus the prisoners can now distract the YMIR on your behalf giving you extra time to pound on its shields and armor before it is actively sending missiles your way. If you somehow manage to eliminate the YMIR with the prisoners are still alive, give yourself a pat on the back but now they will ungratefully turn on you so gun them down mercilessly and move onto the next room.
When everything is down, move from cover and collect clips. Cross the bridge at the very back and hack the dead guard's datapad at the top for 4,500 credits. On the way out, scan the shotgun for a Synchronized Pulsar research upgrade. Once in the U-shaped corridor between the cellblocks, loot the medi-gel, and access the datapad for 4,500 credits. Save your game and open the door into the next cellblock.
Tip: In the section in between cell blocks, do not pick up the power cells immediately unless you really need them. You will be able to return here during the subsequent fight, and since picking up the power cells will immediately restore your other ammo as well, this can be a big help in facing the upcoming fight.
The next cellblock is full of Blue Suns. The first four are 3 Troopers (2 humans 1 turian) and a Legionnaire. Move your squadmates into cover: the thing on the floor across from you is a pop-up cover, so just move a squadmate or yourself near it and it will deploy. There are a few of these in this room so be on the lookout for them. There is an explosive container along the wall of prison cells and the two human Troopers usually hang around that area, so shoot it when opportunity comes.
Once they're all down move to the sturdy shower stalls in the trench and remain there while you take out the next group of Blue Suns, consisting of 3 Troopers (1 human 2 turians) and a Legionnaire. Do NOT proceed under the bridge yet, as that will activate the YMIR mech at the far side of the room.
Sometimes the YMIR will activate during your fight—for example if you or your squadmates accidentally hit it where it sits dormant on the far bridge. It will also activate if you spawn a Combat Drone beyond the bridge, but a combat drone merely moving past the bridge will not have this effect. In these cases you may need to beat a temporary retreat to the original cover. If you beat the second group of Blue Suns without activating the YMIR you may have a moment to gather ammo, but as soon as you head underneath or to the upper section alongside it the YMIR will activate along with yet another group of Blue Suns: 2 Troopers (1 human 1 turian), and a human Centurion. Followed by the real last group in the area: 3 human Troopers and a turian Centurion.
Combat Strategy: Once the YMIR triggers (you'll be able to hear the mechanical stomping getting louder even if you can't see it right away) the most careful way to handle it is to simply retreat back to where you first entered this cellblock, as the YMIR is unable to follow you up onto the entry platform. There is a large central pillar reaching up to the ceiling; park your squad back here so they won't expose themselves to the YMIR and use their abilities to help you chip away at the YMIR. Just peek out around the left edge of the pillar carefully and work the mech down gradually with weapons and powers; alternately if you go all the way back towards the right side wall behind the pillar, there is a small gap between the pillar and what looks like some kind of cylindrical tank; it's possible to hit the YMIR from this gap as well. Most Blue Suns still alive shouldn't follow you all the way back here either but if they do, take them out first. If you saved the power cells in the previous hallway you'll have all the ammo refills you should need, and even if you didn't, there will be more up ahead.
However you chose to deal with the mech and mercs, don’t forget to grab 1,500 credits from the dead Blue Suns soldier on your way to the next hallway. Over loudspeaker Kuril is getting desperate in trying to find Jack, and later he orders all guards to Cellblock One. This hallway has a medical station, power cells, and a wall safe for bypass (3,000 credits). Collect from each and BEFORE opening the door, save your game. Once you open this door you will not be able to return to this area.
The Warden[]
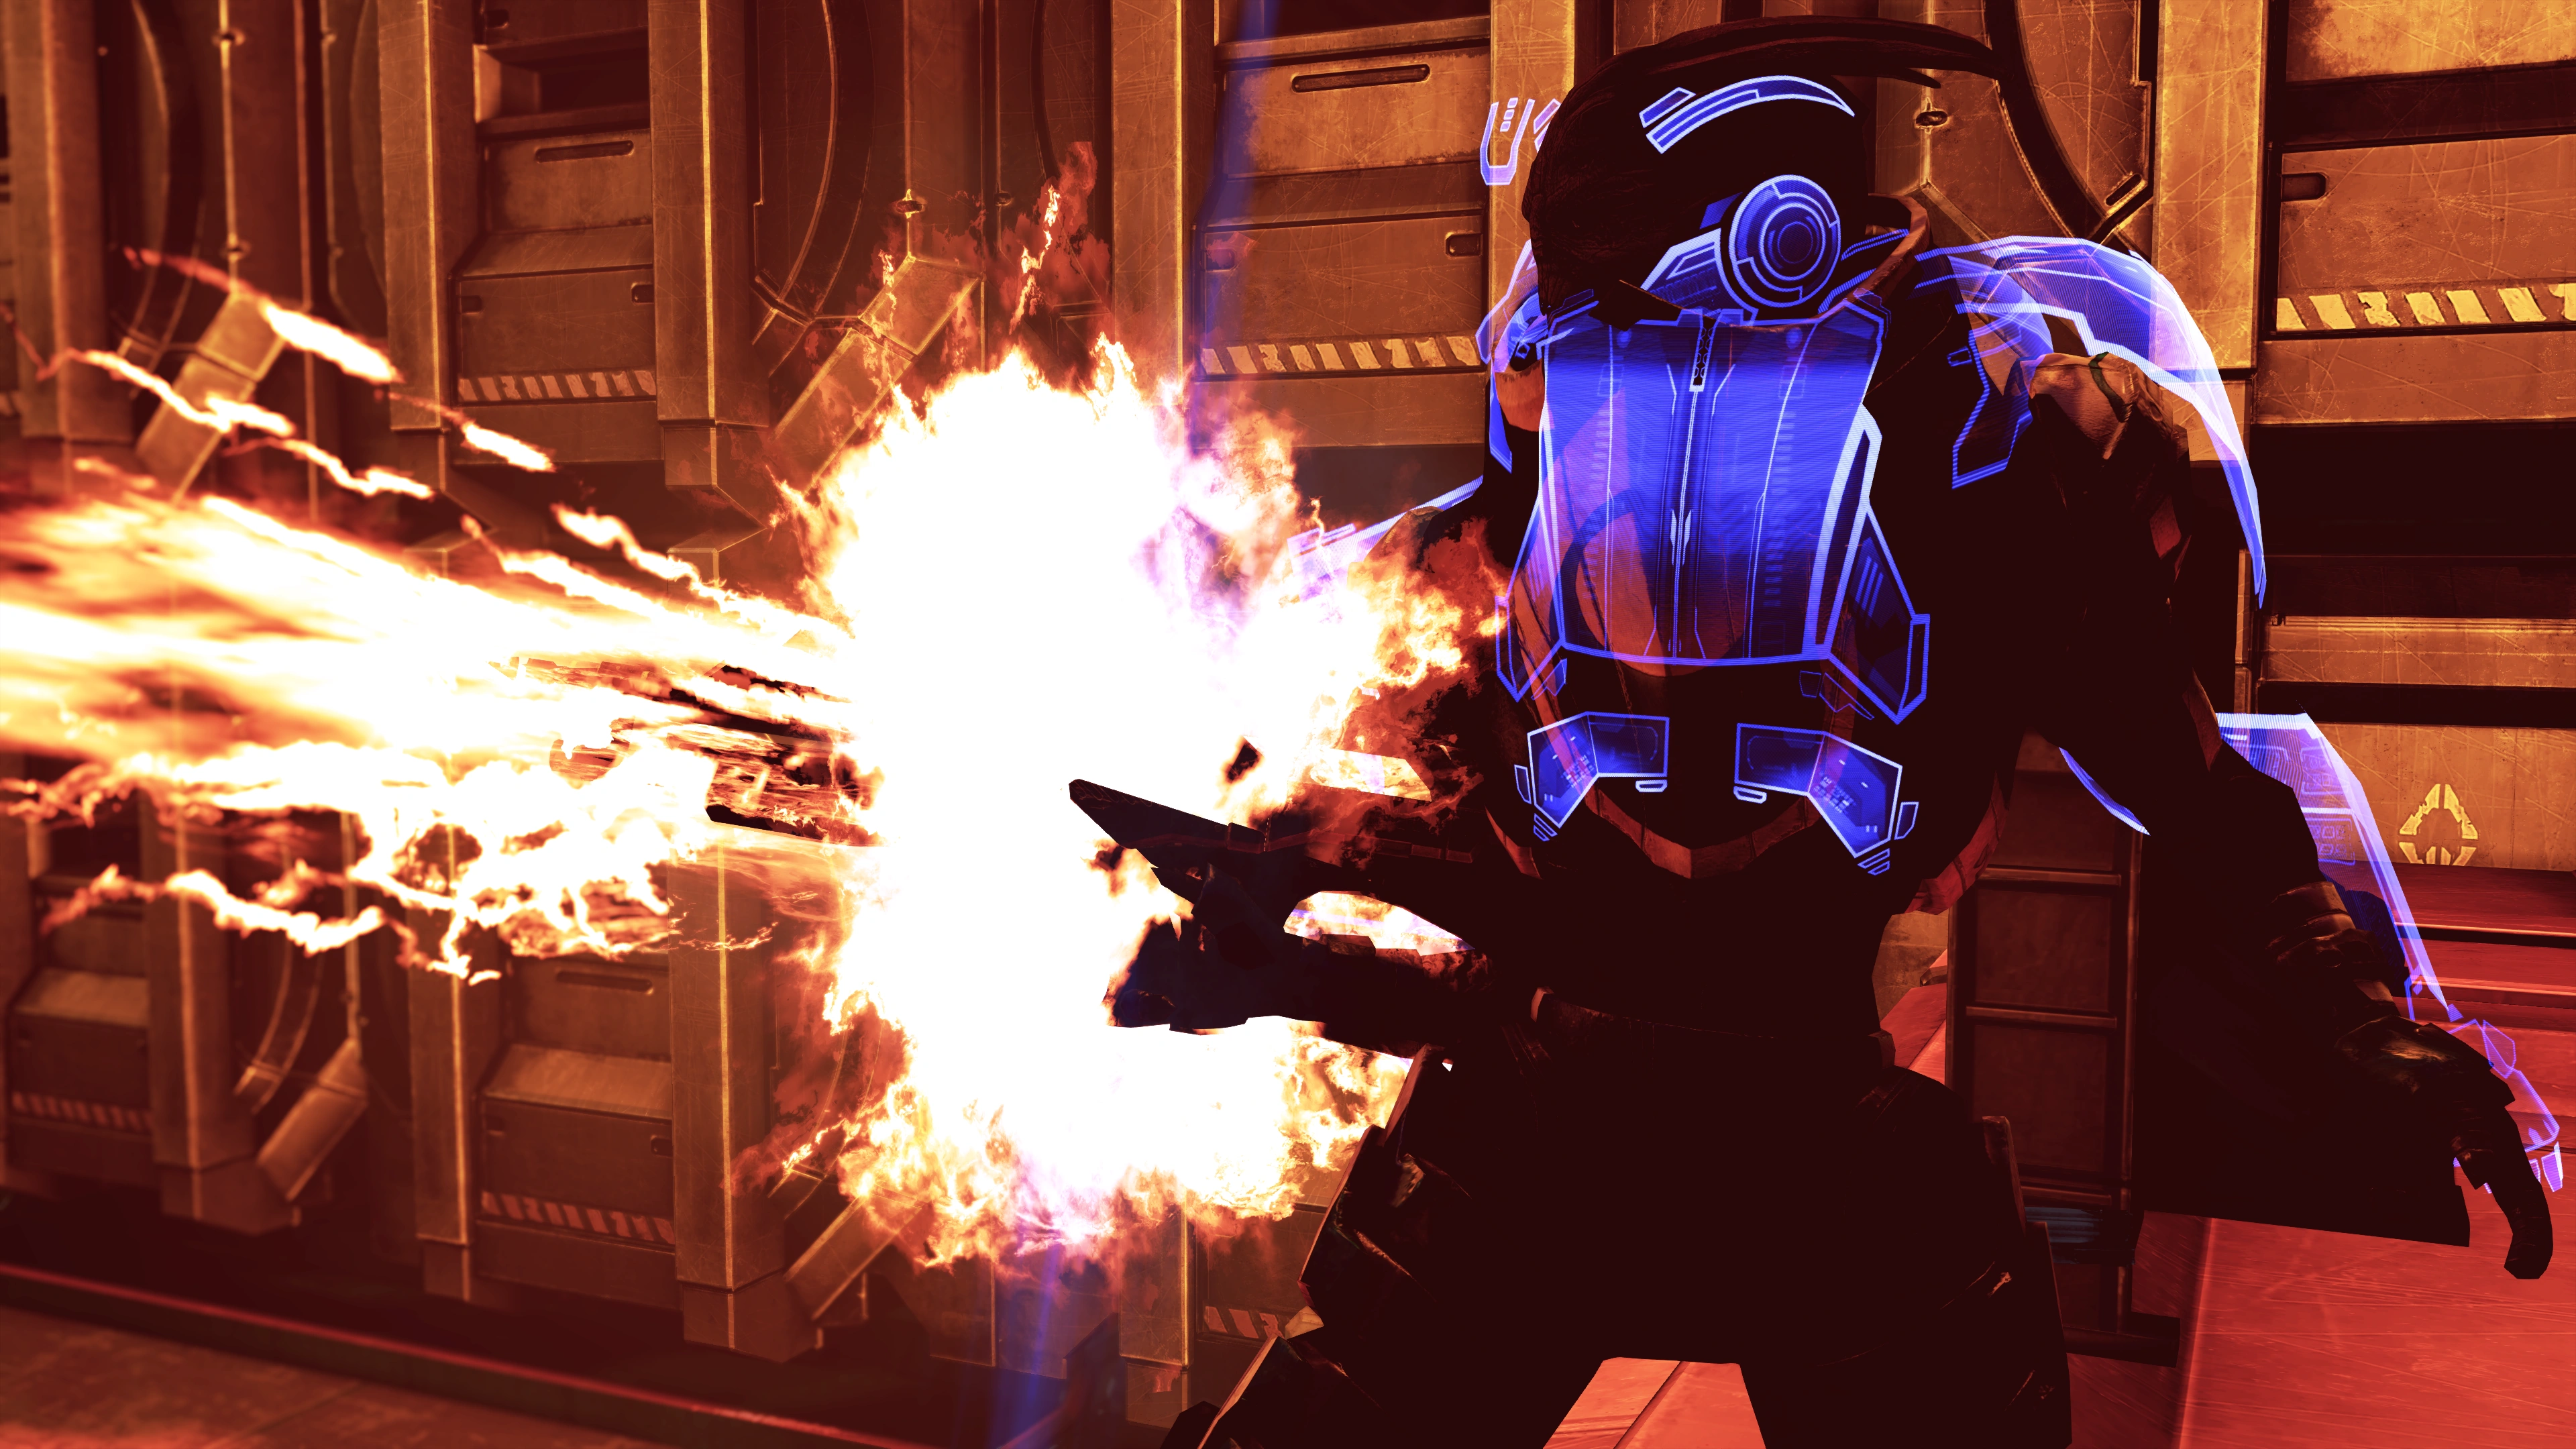
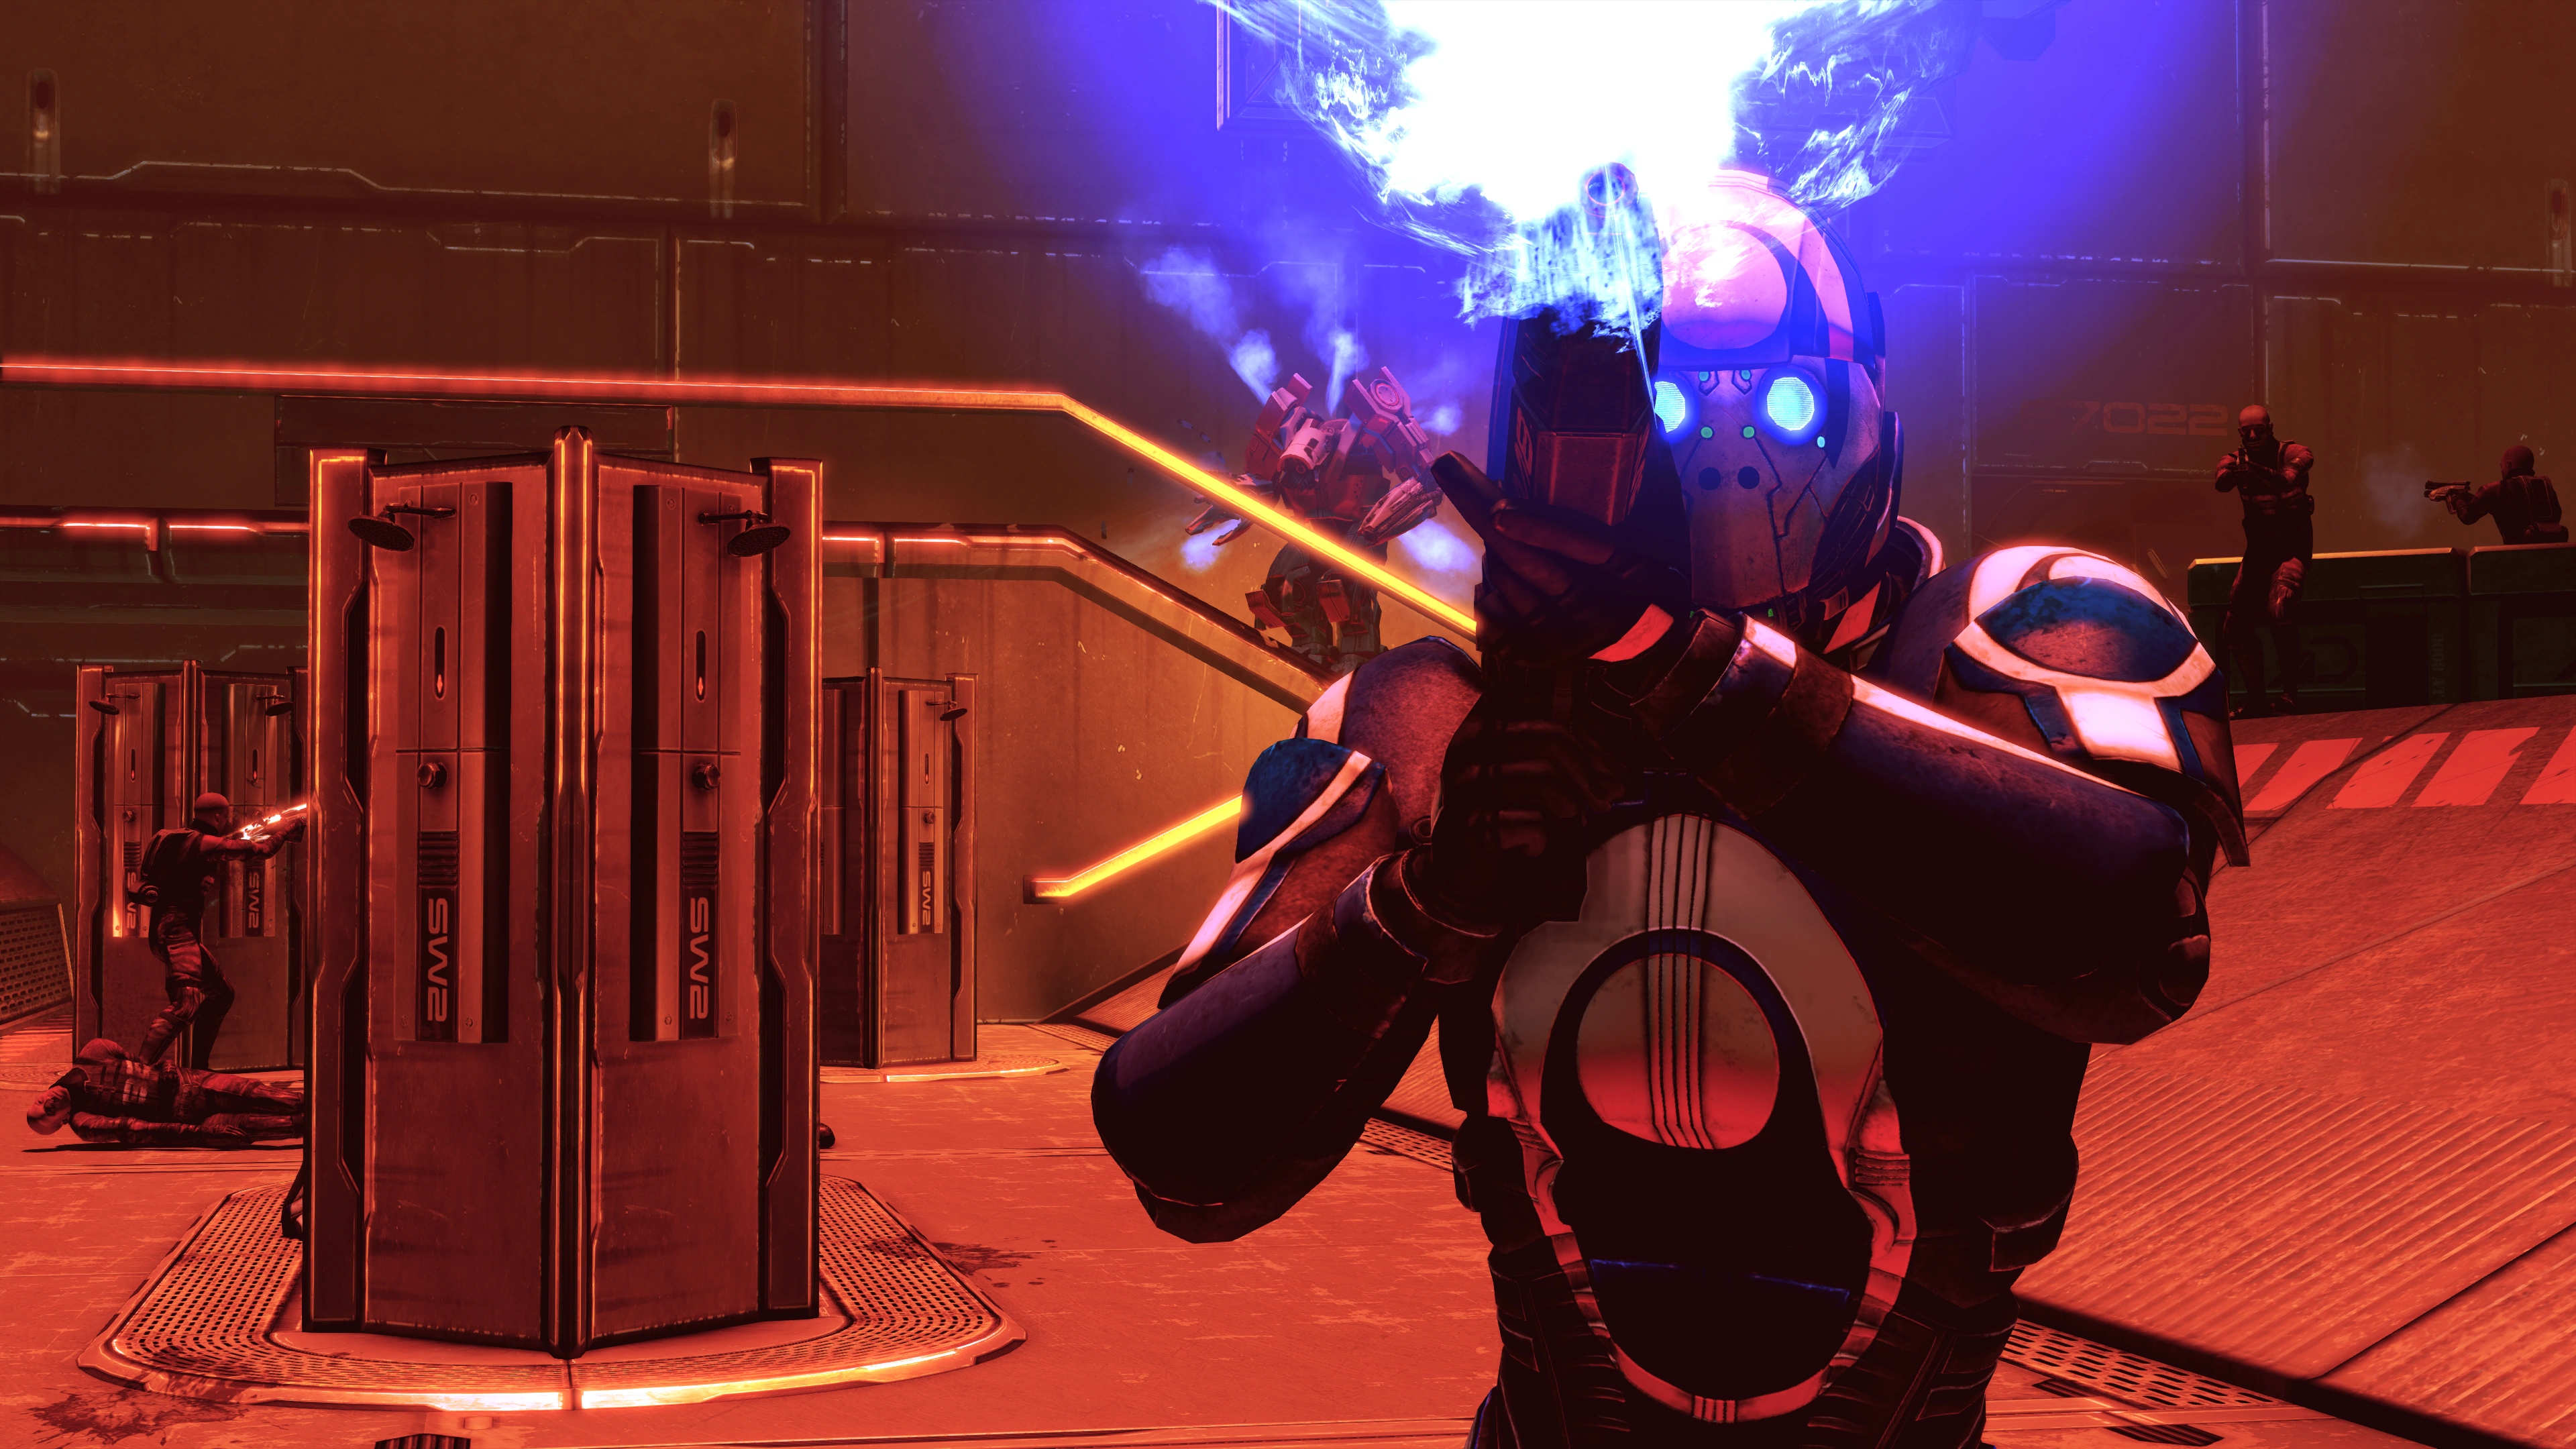
Opening the door this time gives a cutscene where Warden Kuril is using his M-76 Revenant to cut down rioting prisoners. Then he happens to notice you, and mentions that while he could not take Shepard, he will still recapture Jack. Take him down before he has a chance to carry through on that threat. It isn't that simple, though, because he's protected by a shield whose generators must be destroyed to disable it. It's not only good for separating quarreling prisoners, it's also good at providing bossfight protection. Shooting at Kuril at this point is just a waste of ammo.
Once the cutscene ends, take cover behind the crates ahead of you. The three shield generators powering Kuril's shield are on the lower level ahead of you, and on the upper level to your left and to your right. The center and left ones can be taken out from your initial cover site ahead of you; the right one is a little trickier. Initial merc troops are a Legionnaire and two human Troopers defending the shield generator at the shower stalls.
Note: Successfully hitting the shield generators with powers will instantly disable them, but shooting them requires a certain amount of "damage" to be done, per a red health bar that will be shown when you focus on one of them while close enough. Generators can only be shot out by hitting them in the center near the glowing blue lights. An accurate weapon such as the M-5 Phalanx, the M-12 Locust (with slow, deliberate shots), the M-96 Mattock, or any sniper rifle can pick them off at any range, and it's possible to hit all of the generators without venturing too far from your start position.
A combination of the following will spawn from either of the two doors in the area, including the one you came in: human Troopers, human or turian Centurions, and/or a Blue Suns Commander, with 2-3 per wave. They do so after the destruction of the first two generators, and a short while later both are followed up with a secondary wave. Enemy spawning is time-delayed, and destruction of the third generator cancels enemy spawns, even pending previous ones, so destroying all three generators in quick succession can minimize the total number of enemies. The armored Commander only appears from the north door (on your right from your initial position), unlike the others. Keep an eye on the hostiles wherever you are during the fight in order to prevent surprise visitors on the flank. They will generally spawn at the furthest point from you (not your squad) so the best way to prevent an enemy from entering from where you did is to stand near there when destroying generators. In the absence of further hostiles, your squadmates will default to targeting Kuril but of course this is moot until all generators are disabled.
You can take two general approaches:
Slow and Steady: Option one is you can fight your way through several long but predictable waves of spawning minions and then plan to deal with Kuril separately. To proceed with this strategy, you can now take out the nearby shield generator by shooting it when you see the glowing blue power cell. A new wave of mercs will spawn. Once you take out those mercs, you can knock down another shield generator, triggering a final wave of mercs. When you've taken them out you can then knock down the third generator and face Kuril all by himself. From your initial position, you have free rein to deal with either left or right generators. The left generator is partly inaccessible because of barricades facing your direction. With a little aiming, you can disable it from where you're standing, or you can run up to it and shoot it up close.
Fast and Furious: Option two is, once you've taken out most of the initial set of mercs—at least the three down in lower section—assign your squad to cover while you rush around to knock down all three shield generators early on, which stops the spawning of enemies. To minimize the danger, move up and knock out the shield generator on the right hand side first, then quickly run back down toward the starting point to knock down the center shield generator. Finally, move up to the left side and take cover, possibly leaving a squad member assigned to the starting area to cover your flank. Then take out the third generator to stop any more mercs from spawning. Kuril now joins the fight, but he doesn't have a very long range, plus you get the option to take him out early, instantly ending the mission without the need to take out any remaining mercs.
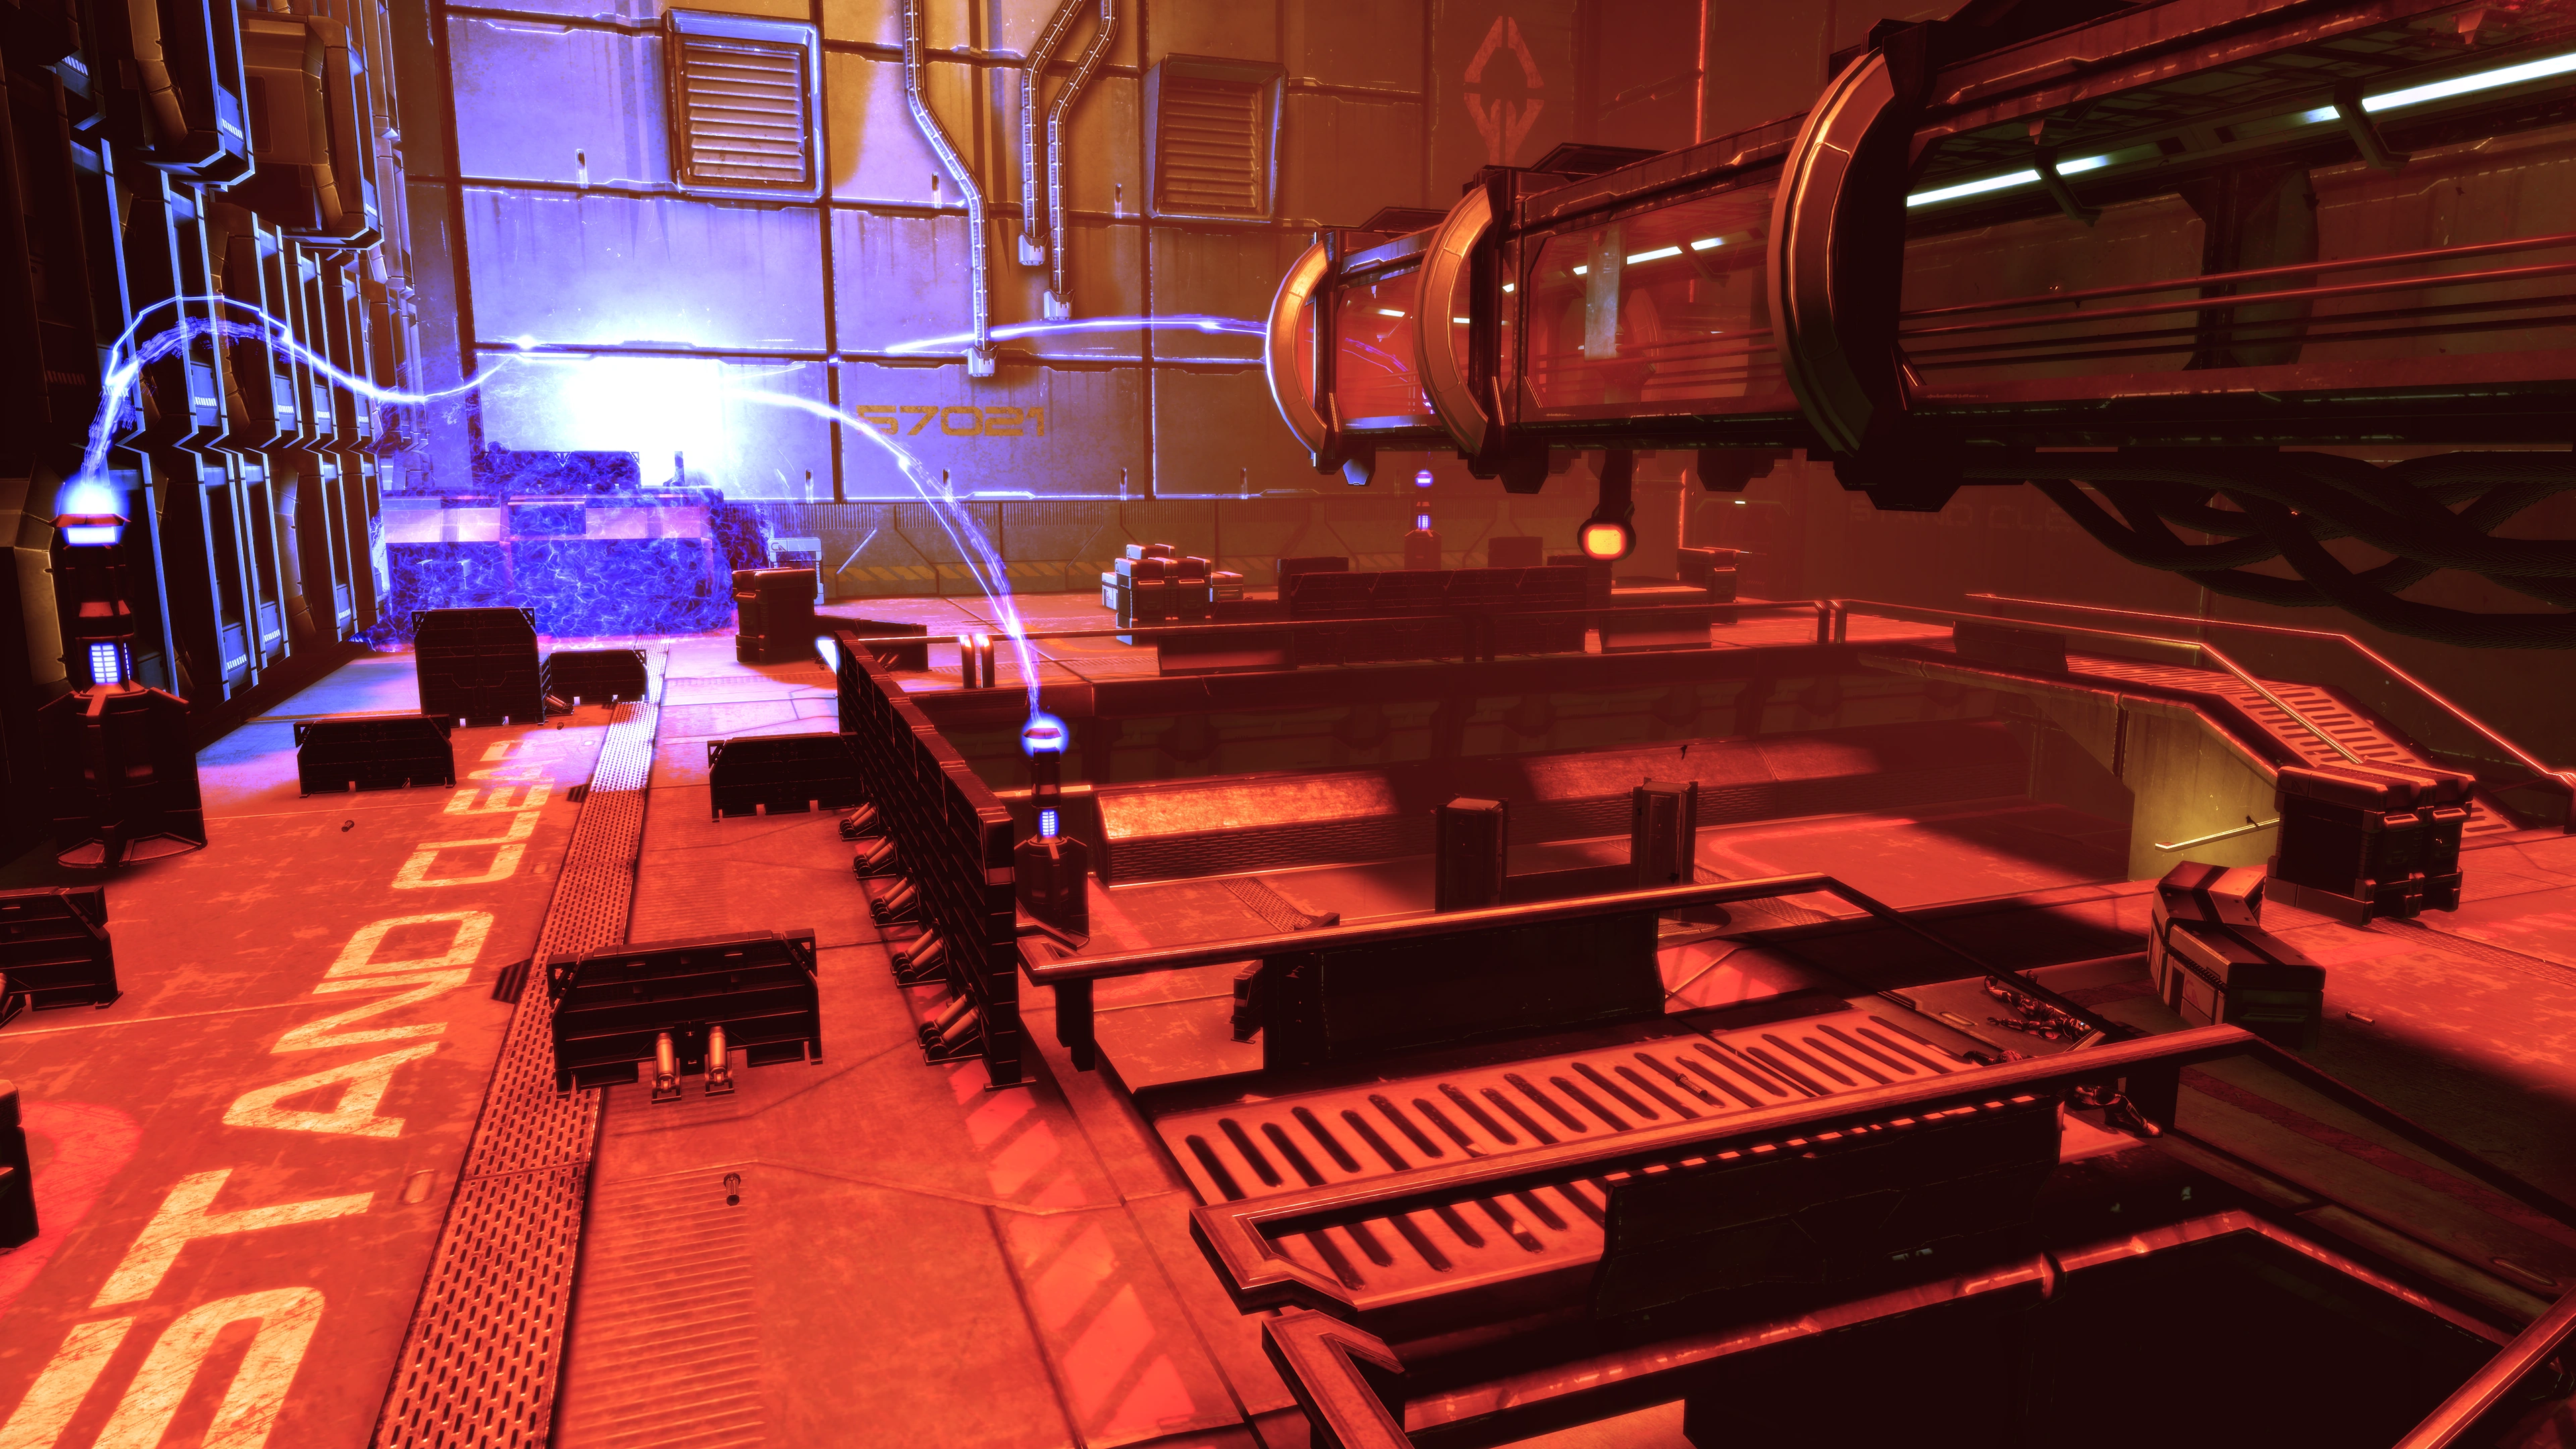
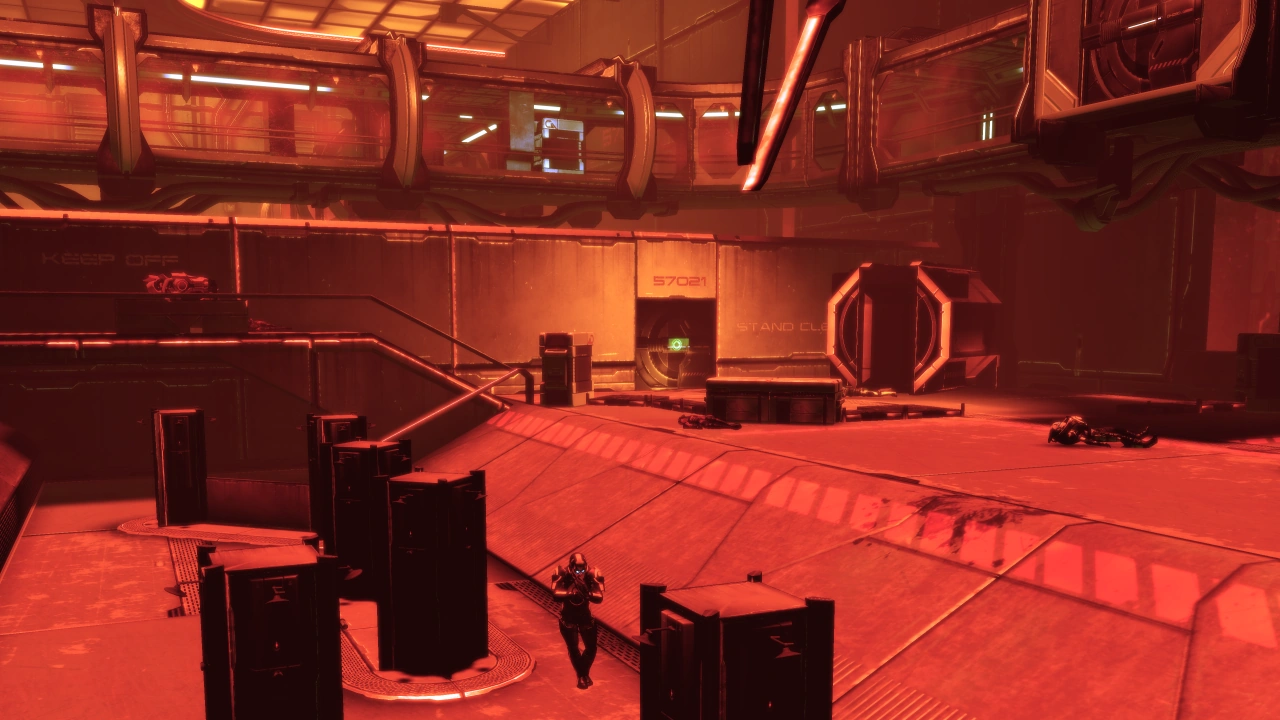
The left area (marked by the "STAND CLEAR" warning on the floor) is studded with barricades that pop up on approach, offering lots of protection from enemies that will be coming in from the far right. The right area has a bridge with flimsy cover, and you will be required to quickly neutralize any mercs at the other end and steal their cover boxes if you want to live. Fortunately, the right shield generator is within shooting distance even from the bridge and you can simply shoot it when you're secure.
No matter which direction you choose, once you've taken down the Warden’s shield, the mercs will stop coming through the large door and you'll now be faced with the Warden himself plus any remaining minions. Kuril has health, armor, and shields for defense once the generated shield is down; once he's dead the mission immediately ends so you can try to eliminate him while ignoring any other mercs, but the safest route is to methodically eliminate all the other threats first. The best time to hit him is when he pops up or starts to go back into cover. Once Kuril's shields and armor are down, biotics like Pull or Throw can disable or even instantly kill him by knocking him off his perch.
Caution: When playing as an Engineer, be aware that summoning a Combat Drone deep in enemy territory during this battle can sometimes focus the entire mass of Blue Suns infantry on Shepard, causing them to bum rush your cover position and overwhelm you at close range. Keeping squad members deployed between Shepard and said enemies will prevent or mitigate this effect.
Note: It is possible to charge and fire the M-920 Cain immediately upon entering the room. A well-aimed shot will instantly kill Kuril and end the confrontation without needing to destroy any of the generators, as its blast ignores intervening terrain and other obstacles.
Once the Warden falls, regardless of how many Blue Suns are left, the penultimate mission cutscene will start. An autosave is generated here.
Escape and the Normandy[]
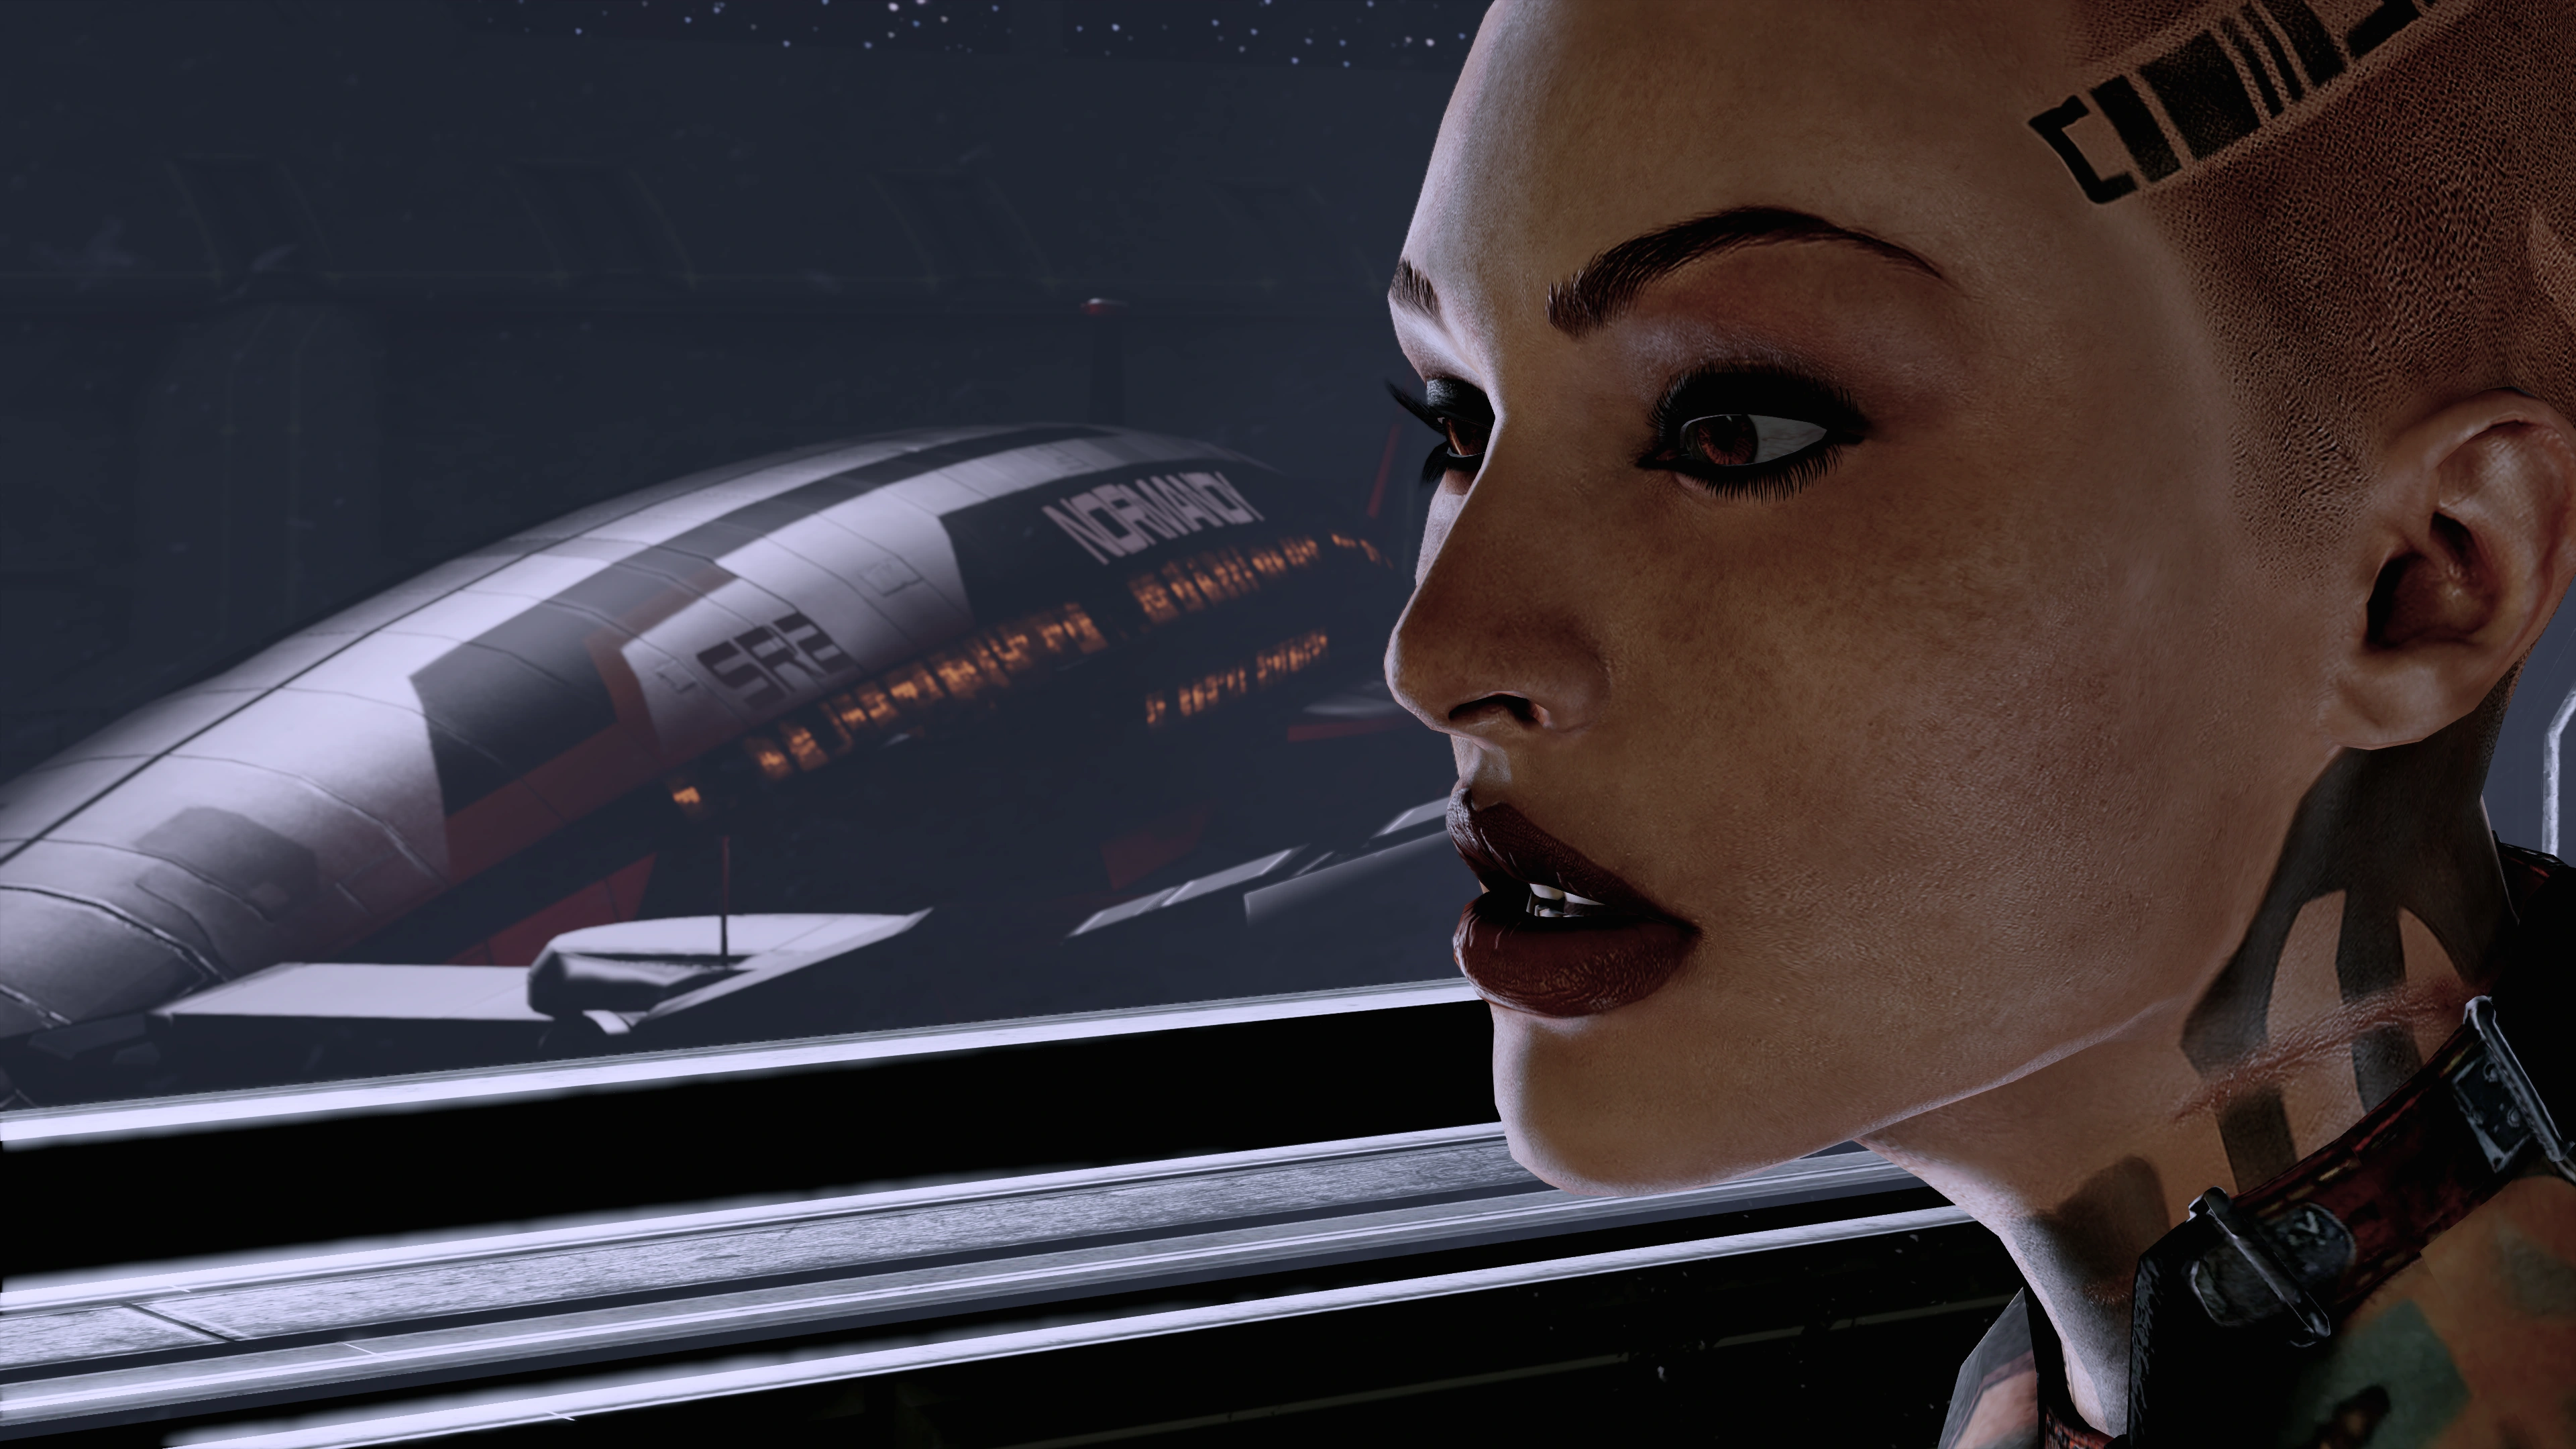
Jack, however, has also been busy and has reached the airlock. The guards try to stop her, but her biotics take them down before they have a chance to even raise their weapons. Apparently, the large ship out the window draws Jack's interest, but she spots the Cerberus logo on the Normandy's bow planes. That sends her into a fit, allowing a batarian guard to sneak up on her, but before the guard can do anything he gets a shot in the head from Shepard's pistol. Jack spins around, and a conversation begins.
If you have Jacob and/or Miranda, there are a few interesting comments from Jack during the conversation. You can earn a few morality points based on your conversation options: Jack wants access to Cerberus files aboard the ship; Miranda and Jacob think it's a bad idea. You will respond that you'll give her access in the exact same tone regardless of whether you were being honest or bluffing. Either way, Jack deems the matter settled and badgers your team why they're still standing about.
Back on the Normandy, Miranda formally introduces herself and her role to Jack regardless of whether she was on the mission or not. Jack demands immediate access to the files, and you can either give them to her right away or tell her to settle in first. Either decision results in the last morality points for the mission. From the get-go Jack has developed a dislike for the "cheerleader" and will rub it in Miranda's face when you do something to support Jack's aims.
Jack then leaves the briefing room to settle at the lowest point on the ship. In between missions and assignments you can find her down the stairs outside Main Engineering on Deck 4.
Email[]
After having to release all prisoners in order to rescue Jack, you will receive a message from an escaped prisoner named Billy. You apparently gained a fan from the more psychotic criminals of Purgatory.
Enemies[]
- Blue Suns Centurion
- Blue Suns Commander
- Blue Suns Legionnaire
- Blue Suns Trooper
- FENRIS Mech
- Prisoner
- Technician
- Warden Kuril
- YMIR Mech
Mission Summary[]
Recruited prisoner known as "Jack" for the team.
Purgatory’s betrayal of Shepard unacceptable. Fortunately, was able to reverse credit transfer. May have to take steps against Blue Suns to demonstrate consequences of interference.
- Experience: 1,000 (1,250)
- Credits: 30,000
- Cerberus Funds: 15,000
- Credits Found: 15,000
- Resources:
- Element Zero: 500
- Upgrades:
Trivia[]
- There are two prisoners to be seen on the way to Prisoner Out-processing, identified only by their prison ID numbers, 780 and 403. 780 and 403 are also the two major telephone area codes for the Canadian province of Alberta, where BioWare's headquarters is located.
- Prisoner 780 is voiced by Yuri Lowenthal.