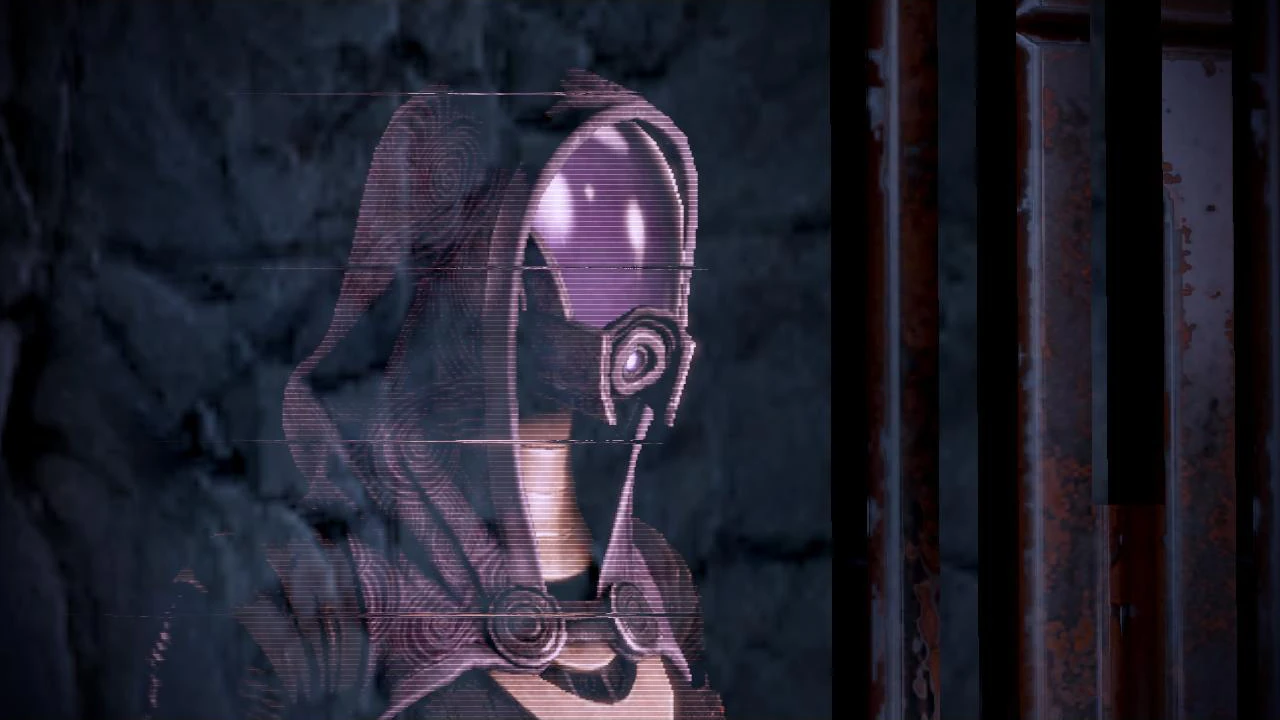
Formerly listed as Tali'Zorah nar Rayya, the quarian engineer earned her adult name after helping Shepard defeat Saren two years ago. Tali is currently on a classified assignment for the Migrant Fleet Admiralty Board on Haestrom, deep in geth-controlled space.
Acquisition
The Illusive Man provides Shepard with dossiers on three new squadmates after the mission to Horizon.
Preparation
Tactical themes of this mission include lots of geth and long fields of fire: Overload, Disruptor Ammo, sniper rifles, and the squadmates who provide them are all useful. The Area Overload evolution is recommended if playing on Hardcore or Insanity due to the geth numbers and their tendency to crowd near each other particularly in some choke points such as the various ramps. If you have completed Lair of the Shadow Broker, then Stasis is very useful for this mission because of its insta-kill of drones and ability to temporarily stop a Destroyer or Prime advancing to close range, although it has no effect on the Colossus.
Note: If you wish to acquire the Geth Pulse Rifle at the end of this mission near Tali's location, be sure to set the difficulty setting to either Hardcore or Insanity BEFORE landing on Haestrom while aboard the Normandy, or as soon as you land on Haestrom.
Walkthrough
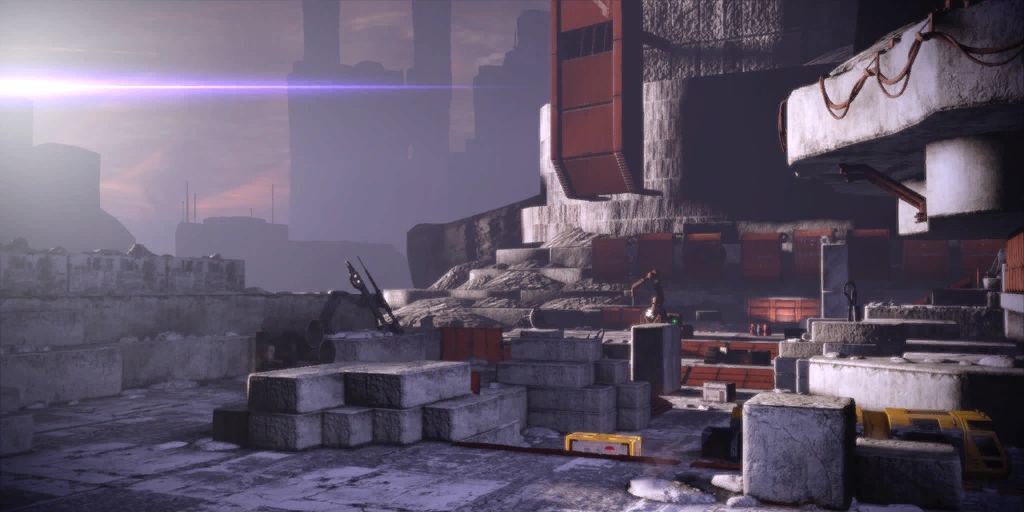
Arrival
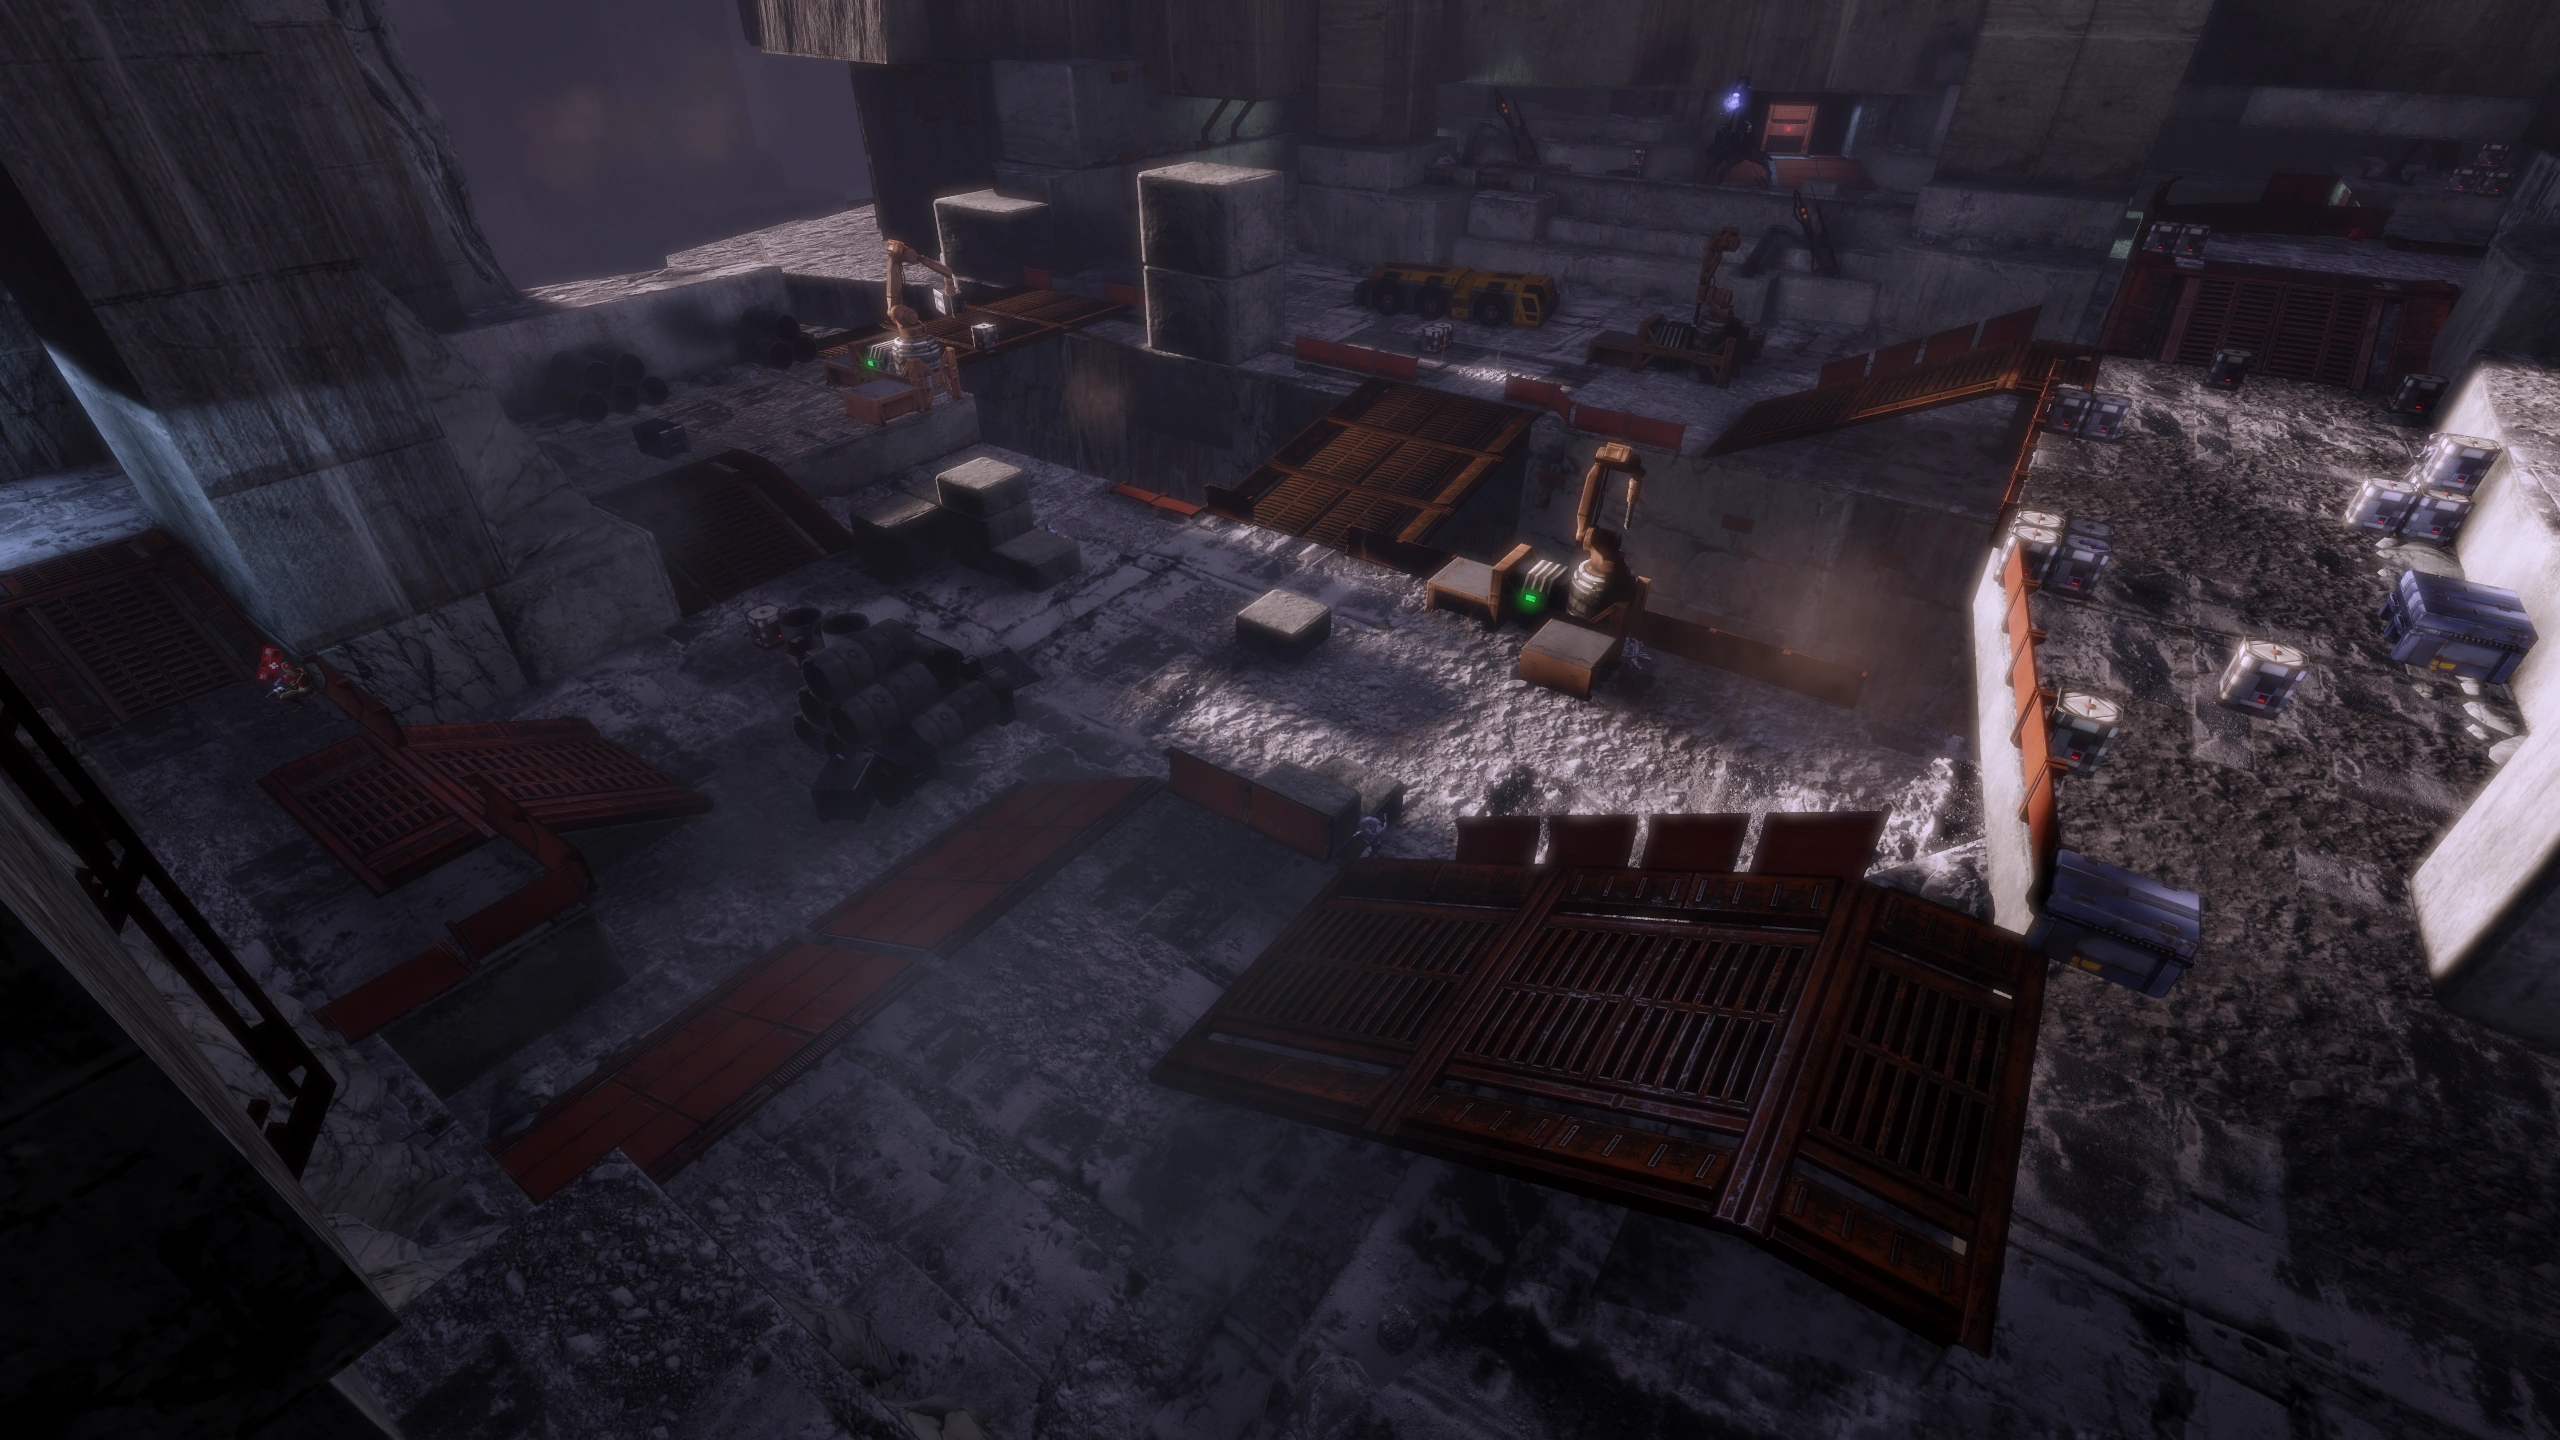
Haestrom was a former quarian colony world to which Tali and her team have travelled to study the unusual things its sun is doing. Unfortunately the planet is under attack by the geth. Solar radiation on the surface is so strong that it will weaken and eventually overload Shepard's shields. You must stay in the shade and run from cover to cover to survive. Do not stay in the sun for any prolonged period of time because it will completely destroy your team's shields. Simply put, AVOID THE SUN.
Note: Despite the statement that the sun affects the shields, characters having Barrier as their defense (Adept and Vanguard Shepard, Samara/Morinth, Jacob and Jack) will have their defenses stripped after exposure in the same way. Only Grunt is immune to solar radiation, since he has Armor for defenses.
The first area after the drop off is easy; just get past the sun and you will eventually reach what resembles a booth that you would see outside some place that you can’t go unless you have a pass card. Luckily this one does not, go inside to salvage a damaged geth for 3000 credits , Medi-gel and a log that gives you some brief background on what happened to a point. Unlock the gate and go inside.
Immediately get in cover and note two things: where the sun falls, and where the enemies are. Defeat all the enemies on the ground floor and any that try to flank you by coming down the ramp or stairs behind you. Once the enemies are dead, pick up clips and go up the ramp, for shorter range weapons it is a better position than staying on the ground. But it is your choice, and the walkthrough will explain both. Insanity Tip: If Shepard has a sniper rifle, it can be put to productive use now by moving to the forward end of the platform immediately to the left of your entrance point (where the first troops dropped from the geth ship). If you wait there a moment you'll start to see large numbers of geth emerge from double doors in the extreme distance, and you can easily go through your whole rifle clip picking them off in safety. This will make your life much easier and safer whichever of the two directions you now choose - one of those situations where you should ignore the suggestions of your squad to go around.
Up the ramp: Leave your squadmates in shaded cover and run up the ramp into cover. Once in it you will come under attack so give your squadmates a call and put them in shaded cover. Fight your way down to the large spheres in the crates and take cover there. Take cover on the back one and put another further up on the next set. Once the attacking geth are taken care of, go down the ramp to your right (grabbing the medi-gel), leave your squadmates, and scan the heavy pistol at the bottom, giving you a Heavy Pistol Damage research project. Continue to the end and use shaded cover areas to take out the geth on the ground.
On the floor: Keep in cover, and you squadmates will tell you that the sun is too bright and another way must be found. You can continue or ignore them. Duck to the right to get the research for the pistol and get into the shaded cover at the bottom of the ramps. Beyond this, there is no cover from the sun so hope you have a sniper or you are good at shooting from long range.
Regroup
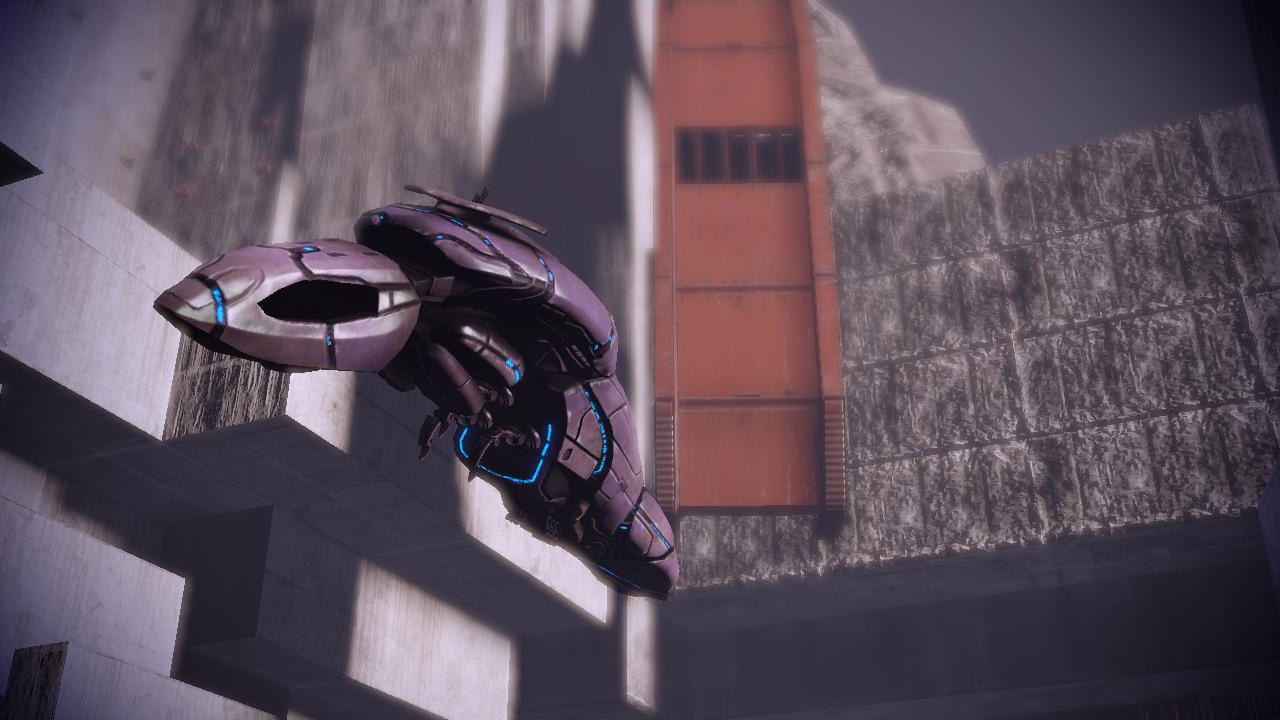
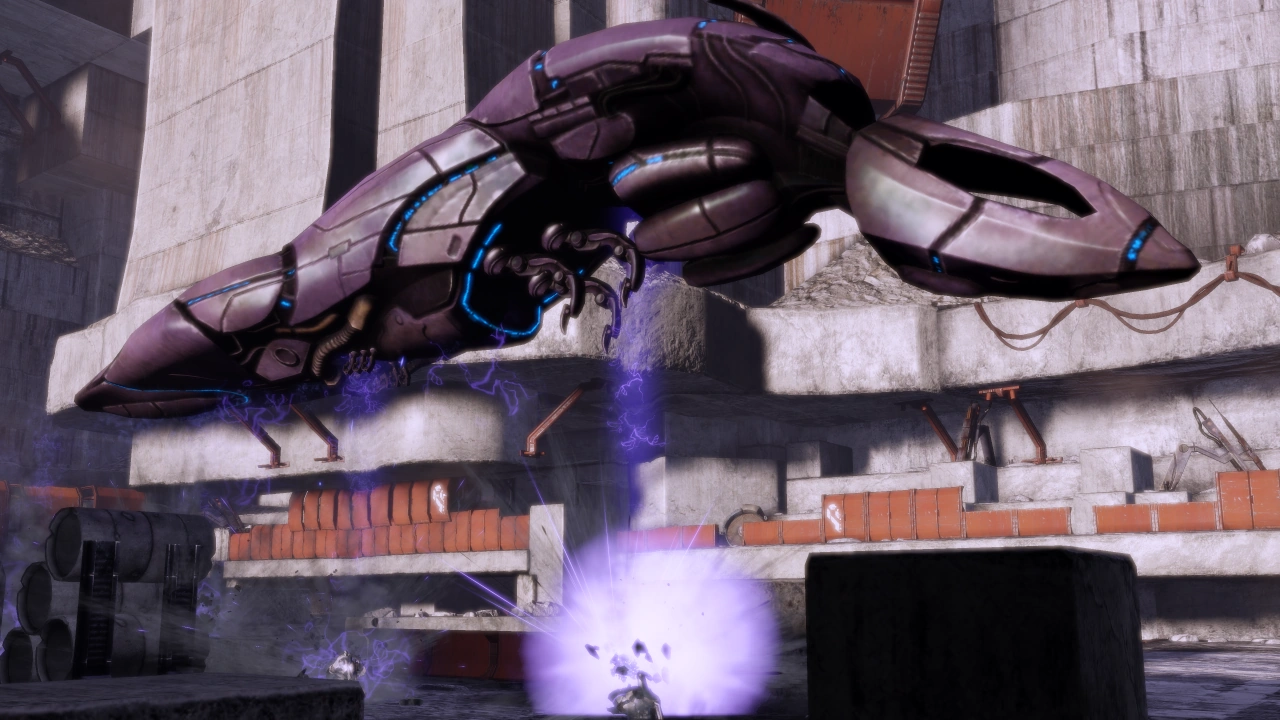
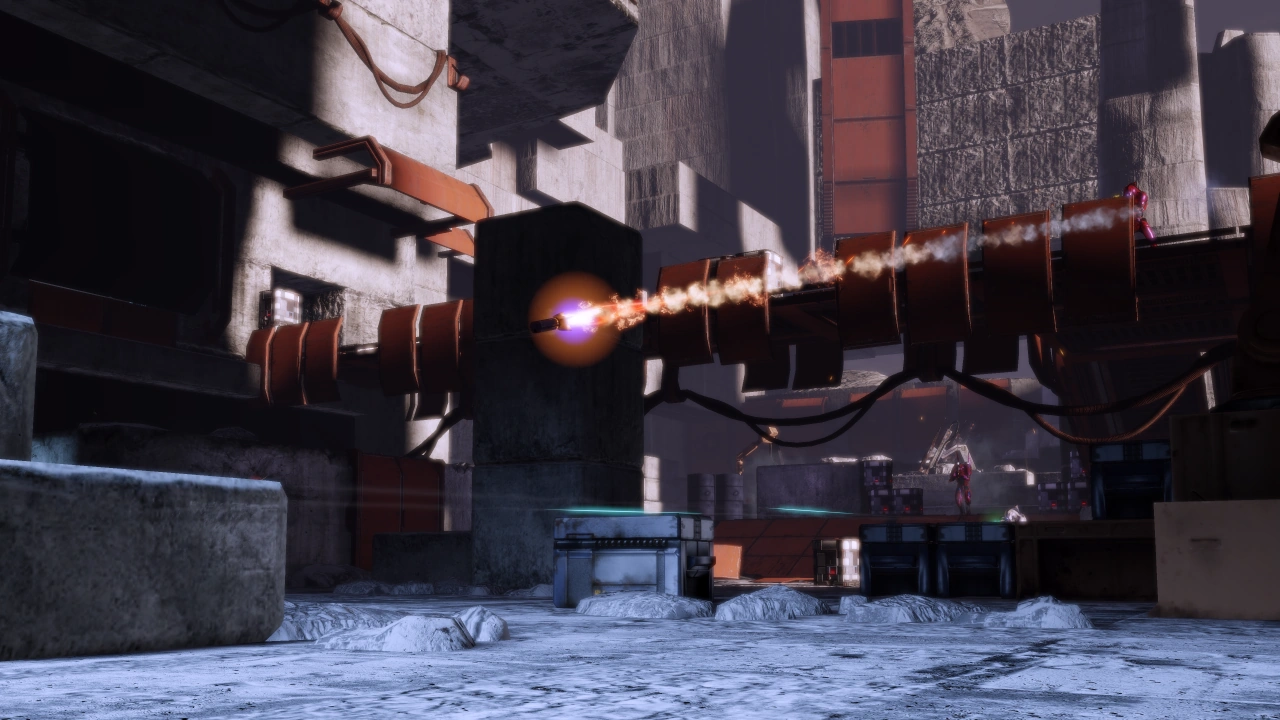
Either way you went once the geth are eliminated, grab the refined Iridium before moving on. Watch out and keep to cover because there are geth around the corner that are battling quarians, no matter what you do you will not be able to save the quarians, Warning: before you pick up the radio look behind it in order to acquire the Tempest SMG and salvage 6000 credits. Picking it up results in a cutscene with the quarian marines battling the geth. The Geth Dropship collapses a pillar and blocks Shepard's access to the quarian marines.
Note: It is a good idea to also save before picking up the radio.
Getting the Charges
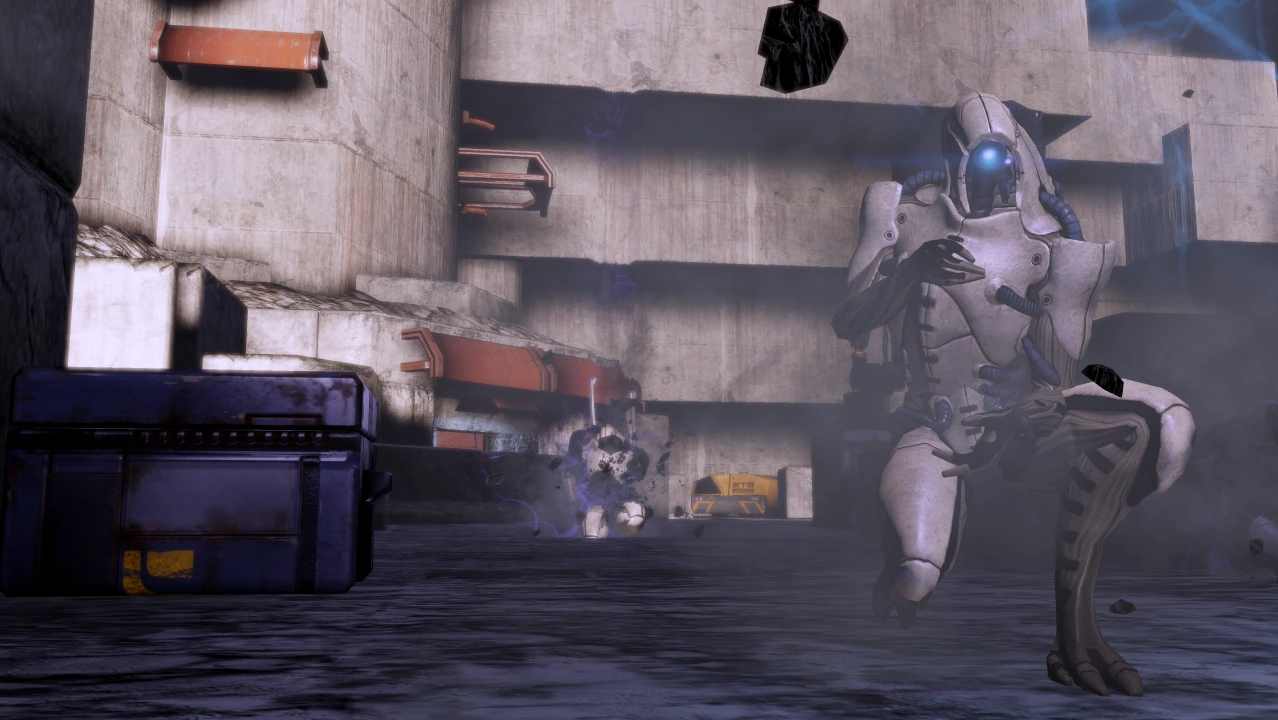
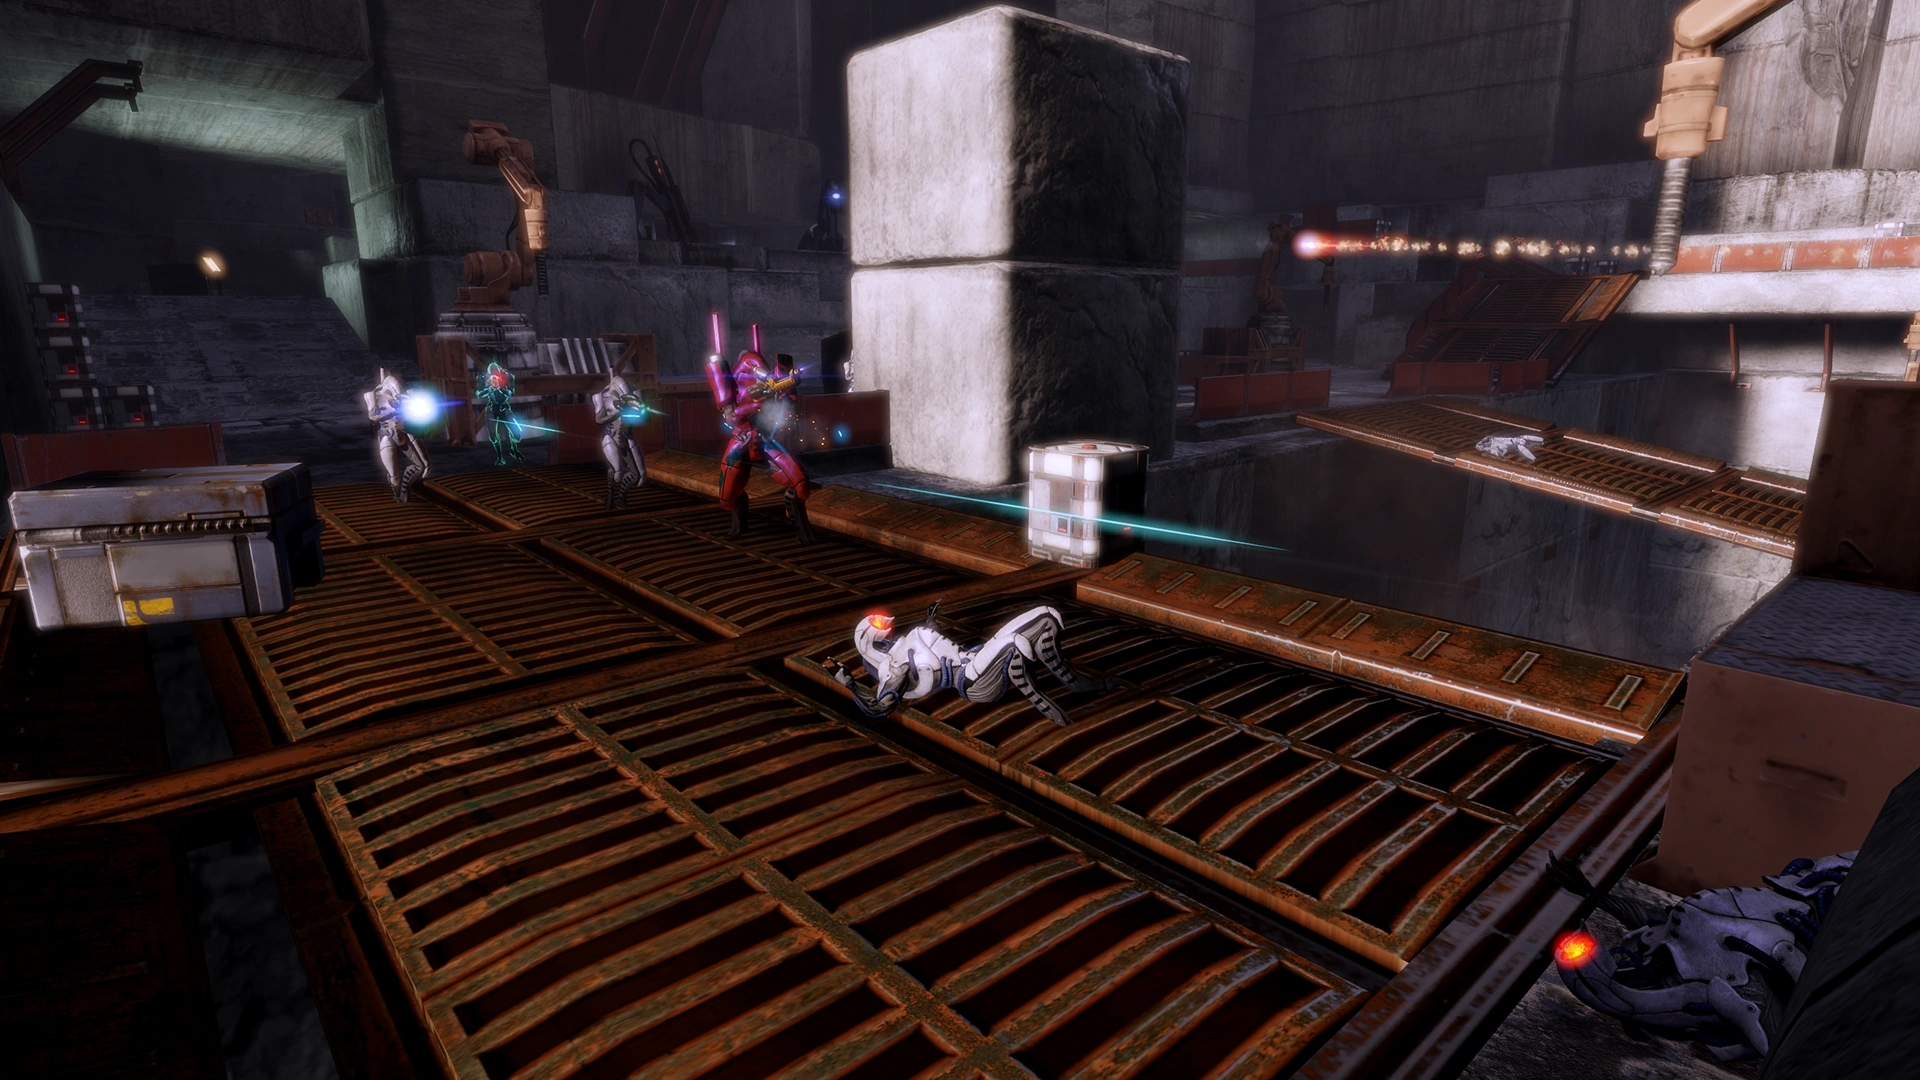
After the cutscene and dialogue options, Shepard must retrieve two demolition charges to destroy the pillar. Watch out in this area because there are a few Geth Destroyers and a Geth Prime, plus many sneaky cloaked Geth Hunters. For the charges, one is off to the left in a garage, go for this one first because it is much easier. Most of the cover going to the garage is in shade so no worries about the sun. Take out the geth inside and move your squad up when necessary. Watch out for the Geth Hunters in the area and their stealth fields. Also watch the ramp in the back corner of the garage because some geth will come out of there at a regular pace.
Insanity Tip: In addition to the wave of geth that spawns as soon as the dialogue ends, standard geth will spawn continuously from the garage as you approach. If you move relatively slowly they will keep spawning for a very long time, so you can reduce the number of geth you need to fight by moving forward whenever you can safely do so. When you reach the doorway of the garage a large group of geth, including Hunters, will immediately spawn inside. You can stand your ground or pull back to fight them, but once they're down the geth spawning will stop until you've picked up the Demolition Charge, so you now have time to gather ammo, medigel, etc.
Demo Charge 1 - Garage
Once the geth are destroyed move your squad into position to cover the door. Grab the two Medi-gel in the area and access Tali’s journal first before grabbing the demo charge. Once you grab the charge, get ready to find cover because as soon as you start walking to the door the geth will be charging you and their forces include that Geth Prime. Take it out from a distance or let it get close and nail it with shotguns. Recommended that you destroy it from the distance, much less hassle especially on higher difficulty levels. All three team members can be positioned in the small space in the back of the yellow vehicle at the back of the bay. If the other two are assigned positions there before the Geth wave is activated, the whole wave can be picked off with no real danger. Using AI Hacking on the Geth Prime can be helpful here.
Insanity Tips:
- Once you've triggered the geth drop it's best to retreat rapidly to the back of the room and make sure your squad is in cover. Most reasonable tactics will work from that point.
- When you've got the Prime and the main group of geth down, be aware that a trickle of standard geth will now begin spawning from the direction of the second Demo Charge, so if you just stay bunkered up in the garage you will be fighting pairs of geth for a very long time. By moving carefully forward toward the second charge (to the left out the door of the garage), you can end the trickle spawn. When a big group of geth spawns in front of you, you'll know you're there.
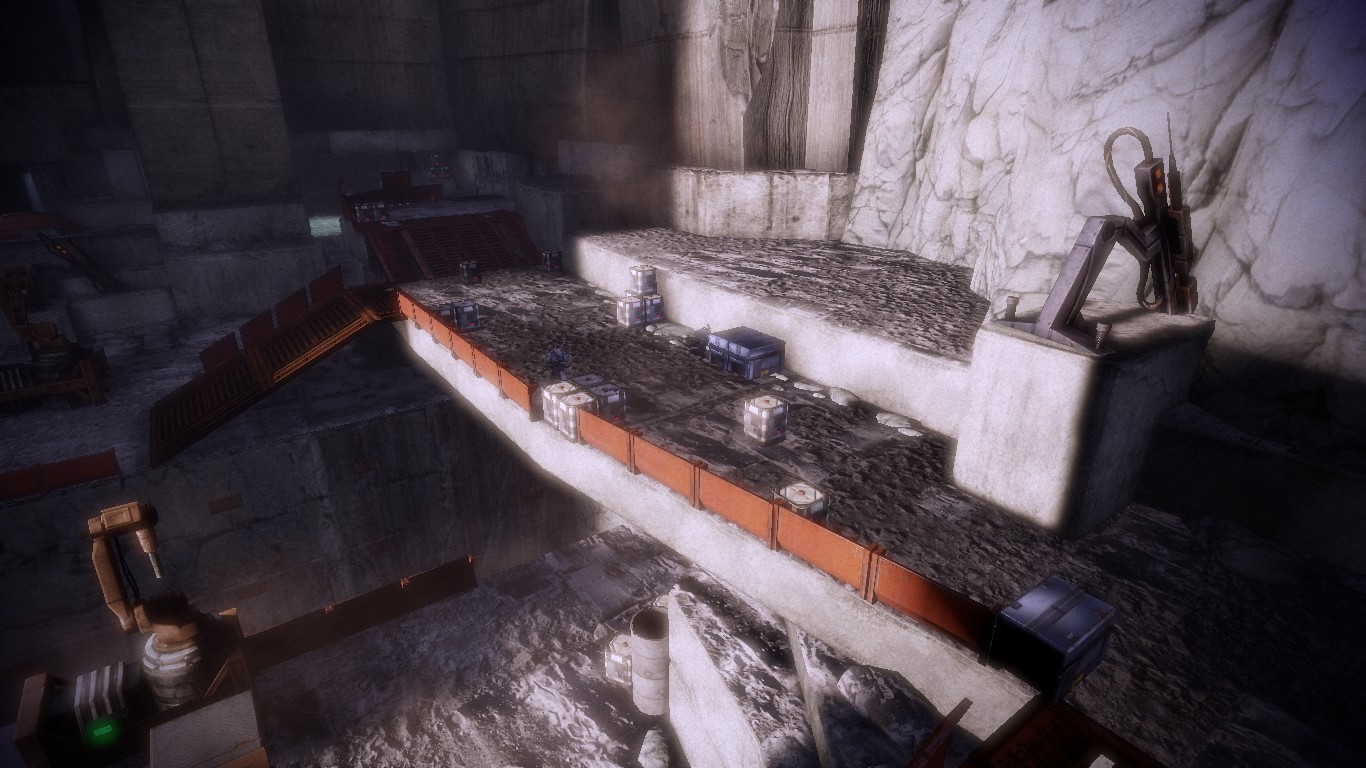
Demo Charge 2 - Bunker
The second charge is hidden in a bunker you can reach by heading left as you leave the garage. It can be a little tricky to obtain, but you have two options:
Option 1: Take cover as soon as you see geth spawning down the "hill" from you. Remain there and pick them off one by one. Destroyers are the most dangerous if they get close, but once their shields are stripped you can shoot holes in their tanks or hit them with Incinerate to make them explode prettily. Once all the geth are down you can climb the sunny catwalk to read Tali's journal or just head on into the bunker.
Option 2: Run up the stairs outside the garage and take cover in the shade. There are very few crates to provide cover here from the sun so be careful, it is just better off to run down the catwalk and into the room at the end. Before running however access Tali’s journal to your left for another update. Once in the room you can leave a squadmate here, preferably the one with the sniper rifle or assault rifle. Grab the Medi-gel and open the shutters before going down the stairs.
Once on the ground along with the squadmate you left behind take out the geth moving from cover to cover as needed. Be careful who you order to move, because calling that squadmate down will deprive you of a big tactical advantage: height.
Whichever tactic you picked, once the geth are down grab the refined iridium for the center near the crane thing and proceed into the room at the end of the area. Once inside grab the Medi-gel, power cells, and the charges.
When you exit grab cover as once again the geth will ambush you. They really don’t want you to get to Tali, or at least not before they can get to her. Take out the geth, watch for the Destroyers, because they will charge you just like in Mass Effect, and move as necessary. Remember to remain in shaded cover. You again have two solid options:
Option 1: You can remain in place where the cover is pretty good but there is some danger of Destroyers and other geth getting to close range or flanking you, and the geth rocket troops on the catwalk above you will be difficult to get line of sight on.
Option 2: You can quickly dash through the door ahead to your left, and climb up the stairs to the room with the shutter controls. Opening the shutters will allow you to pick off the rocket troops and then many of the enemies below. Some of the enemies below may remain in positions where it's difficult to snipe them from above, but once you've simplified the battle by removing the troops from the catwalk you will find many effective ways to deal with them.
Once the geth are eliminated move back to the pillar and plant the charges. You now have 10 seconds to get away before there is a rather large explosion. Basically get behind some cover, that IS NOT the pillar itself. Even if you are at the ends you still have a chance to be killed in the explosion. You don't really even have to be in cover as long as you've moved far enough away for the countdown to turn green.
Past the Pillar
Once past this door, Shepard will enter a room that unfortunately contains a lot of dead quarians, several dead geth, and one geth that is crawling toward the door. There are a lot of things in this room and you cannot exit yet. Scan the rifle, bypass the safe (6000 credits), and salvage the geth (9000 credits total) to get a lot of credits from the room and research for assault rifle damage. Access Tali’s journal again to get a nostalgic log. Talk to Tali via the comm system to continue. There is also another chance to pick up the Tempest SMG, and a weapons locker to change up should you wish.
You can talk to Tali about her mission, her people, and where she is. She tells you that she has locked herself in the observatory at the far end of the colony and most of the marines died trying to protect her. Tali unlocks the door and pleads with you to save as many marines as possible.
Getting to the Observatory
This is a good point to save the game.
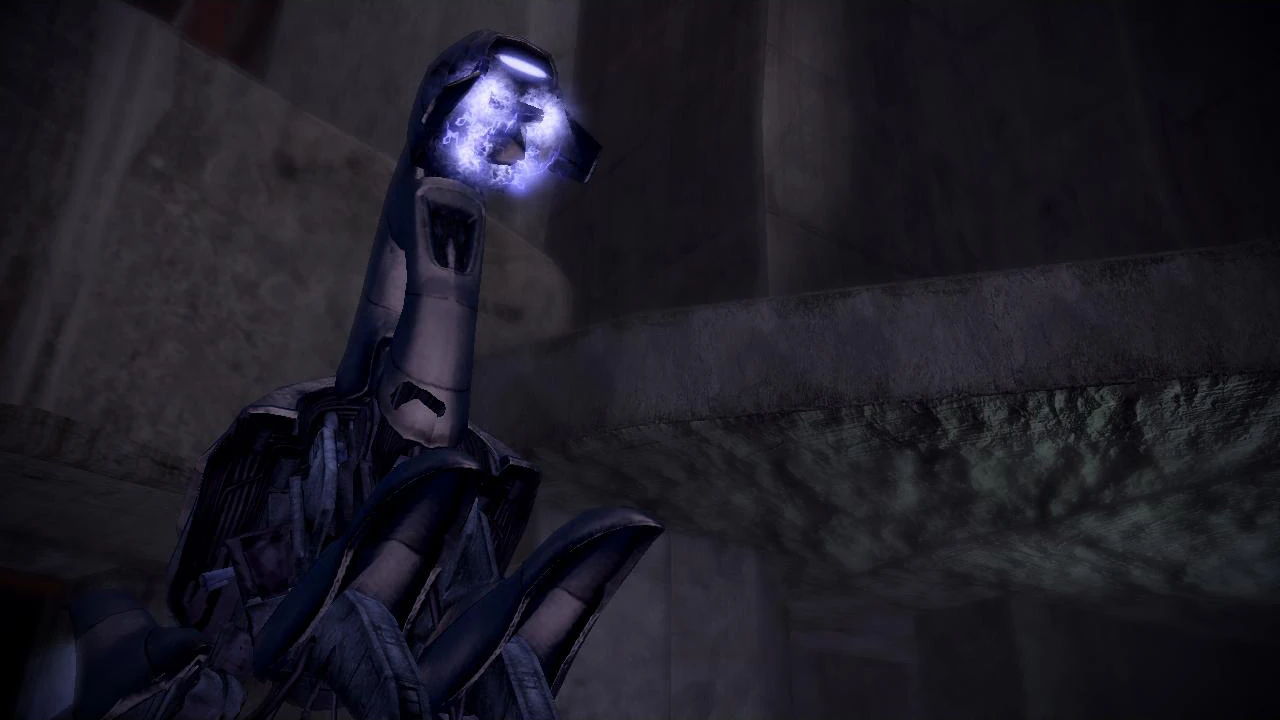
This next area is tricky because while the cover is shaded, it is easy for the geth to flank you. Also there are very annoying Geth Prime walking around so watch out for them. Past the door, collect the medpack on the right wall then continue down some steps but be careful as you approach the doorway. The first things you encounter are the Geth Recon Drones. (These are the drones that killed Jenkins on Eden Prime in Mass Effect.) Take them out because their pulse emitters will rip through your shields faster than the sun. Overload and squadmates are highly effective at taking out the drones. The Prime and Troopers (or a second Prime on Insanity) will come in while you are battling these, so shift your focus to the main geth, especially that Geth Prime. There is nothing to pick up in this area, so stay focused on the geth, moving from shaded cover to shaded cover, and getting to the end in one piece.
Insanity Tips: Stasis will kill Geth Recon Drones quite effectively - when the stasis ends they fall and die, though they sometimes get a single small shot off while falling. Also, it is generally safe to advance between "waves" of drones, because any new wave will stop in front of your position rather than moving past and flanking you. Pull will also kill the drones instantly; beware, however, that the explosion caused by their destruction can harm you if they are pulled towards Shepard or squadmates. Engineers, through aggressive use of their Combat Drone, can often befuddle the Prime into retreating, and by getting the drone close enough to the exit door can prevent the spawning of any further Primes and drones.
You know when you are at the end when you see a vehicle pointing towards a door. Go through the door, and before raising the shutters, hack the wall safe (6000 credits) and save your game. Once you raise the shutters (Lift Security Lockdown) a cutscene will play showing the vast amount of geth blocking your way to Tali’s position. The first thing you will notice is the Geth Colossus trying to break through. If you ever had the guts to fight one of these on foot in Mass Effect, then you know how hard they are. Especially this one, because it comes complete with the new self-repair feature. However on easier difficulties the Colossus may be killed at this point with the help of heavy weapons, should the shots be well placed. This effectively skips the geth waves, should you decide to fight it close, as well as the dialogue with Reegar, thus not recommended.
Insanity Tip: If Shepard has a sniper rifle, it can again be put to decent use picking off geth from the windows. Don't shoot at the Colossus yet, it will just repair itself, but while watching out for its bolts draw a bead on some of the smaller geth hiding around the area below. This will simplify your life at the beginning of the upcoming battle.
Past The Shutters
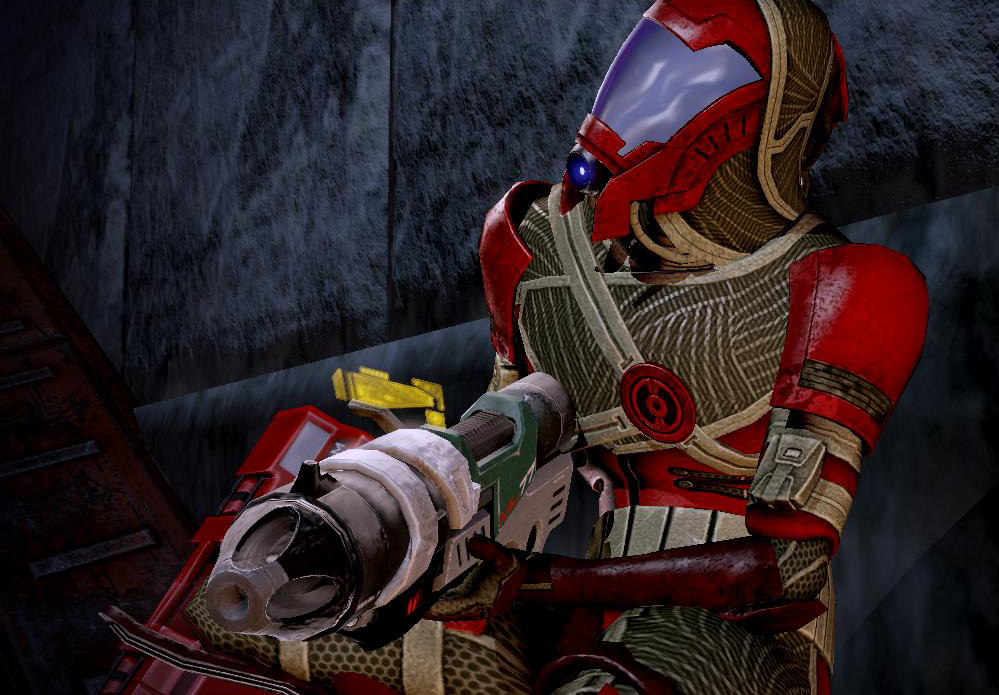
Go out the door and down the stairs, here Shepard will encounter Kal'Reegar, one of the last remaining quarian marines accompanying Tali. He informs Shepard that there is a Geth Colossus as well as a large number of other geth blocking the way to Tali. You can ask him about the cover and what is the best strategy. ASK these questions because otherwise you will regret it. This walkthrough is a general guide you will have to modify your strategy based on Shepard’s abilities and your squad’s abilities. Insanity Tip: Before proceeding in any direction, take a moment to clean out the geth approaching your position. This will make life safer whichever strategy you are going to try.
To the Left: the left is well-covered from the Colossus but is more vulnerable to the continually spawning individual troopers. This path can be better for biotic heavy and/or tech heavy squads, and if Shepard can only use pistols and/or shotguns. Keep picking out the geth that spawn, and eventually you will reach a covered area, which is to the left of the Colossus. From here, you can shoot at the Colossus from behind cover, but be careful of the ordinary Troopers who might flank you. Position your squadmates such that they can take out the regular geth while you bring Heavy Weapons to bear on the Colossus. Insanity Tip: While you're fighting the Colossus an unending series of smaller geth spawn. On Insanity you may therefore ultimately find it safer to pursue the "to the right" path even without a sniper or assault rifle, because the waves appear more slowly and have a harder time approaching your position.
To the Right: the right has a sniper’s post and a lot of cover. However, it is mostly exposed to the sun, so take that into your calculations. Clean off any geth you can see up there before heading up the ramp. Crouching along the guard rail on the left will protect you from the sun, and there is a very safe position behind a wall on the right at the very beginning of the catwalk. This path is good for combat-heavy squads and squads with assault rifles and sniper rifles. There will be a few waves of geth that will spawn in front of you, so keep on shooting them until you can reach the overlook above the Colossus. Once you reach the overlook, your team can hide and shoot the monster to death with their regular guns at their leisure, just watch your back as another wave of geth can appear. In the correct position Colossus shots will be blocked by a pillar, and spawning Geth cannot approach directly. Insanity Tip: A rather powerful wave of geth including a Destroyer spawns "by surprise" when you penetrate about halfway down the catwalk, so be ready for it and duck behind one of the boxes on the left where the guard rail will protect you from the sun.
Up the middle: The middle path is only good if you stay in cover; otherwise it is suicide. Well really it's mostly just suicide, but it can be done on lower difficulty levels. You have plenty of cover from the ordinary geth, but the Colossus has a firing solution on you the whole time. The harder the level, the more suicidal this path is.
Note: The Vanguard can use Charge to easily advance on the Colossus, regardless of chosen path. However, you will be on your own against the Colossus for as long as it takes for your squadmates to reach you (assuming they can reach you at all).
Pick your path carefully and then continue the conversation with Kal'Reegar. Whichever path you choose, once you head down it a little, a wave of geth will come forward to attack so don’t rush too fast.
Note: An Infiltrator can use Assassination Cloak to avoid the Colossus' fire while charging up the Cain. This does not work on insanity.
Warning: The shots from the Colossus's main gun home in on whatever it's aiming at (usually you). The only way to avoid getting hit is to get in cover or otherwise block the shot.
Get to Tali
Continuing the conversation, Shepard may ask Kal'Reegar to either provide cover fire with his missile launcher or tell him to stay down. If you tell him to stand down because he is injured, he will still say he can fight. Persuading Kal'Reegar to stand down requires a Paragon interrupt. After Kal'Reegar stands down, Shepard can ask for his help, allowing one to maximize Paragon points as well as have Kal'Reegar participate in the fight. If Kal'Reegar stays in the fight, he will take potshots at the Colossus with his missile launcher.
Warning: If you let Reegar take the Colossus' shield down to the point where it initiates self-repair, then after coming back online the Colossus will fire on Reegar and kill him. Reegar will comment that he has drawn the Colossus' attention just before he dies.
No matter what path you choose, keep in shaded cover and avoid the Colossus’ line of fire at all costs. The best option is to get on its flanks where there is some cover and you can take down the Colossus with some ease. Don’t expend a lot of Heavy Weapon ammo here, save it all for the Colossus. Move along your chosen path and take out as many of the small geth as you can. Once you get on the Colossus’ flank, there is a heavy weapon ammo crate no matter which side you go on. Pick it up and begin.
The Geth Colossus is protected with heavy shielding and armor. Once enough damage is done to its armor, it will collapse into a defensive position, enter into a repair mode and rapidly regenerate its shields and (on the Hardcore difficulty at least) it also regenerates its armor. Once the shields are down, unload with heavy weapons. If it enters its repair mode, wait until it stands back up before opening fire again. Keep going until it collapses.
Once the Colossus is destroyed, the path to Tali is clear. Mop up any geth you missed, gather the other Heavy Weapon crate, the 4 packs of refined iridium, and the Medi-gel just down from the sniping platform. A good way to defeat the Colossus is to bring its shield down to half, then use M-920 Cain to destroy it from across the field. On lower difficulties, the Cain will outright kill the Colossus, even at full health, shields and armor. On Harcore however, the Colossus will huddle for repairs when its shields are knocked down to 50% and shot with the Cain at this point is still ineffectual; it will only drop its armor down to about 10%, but not outright kill it; on this difficulty setting after self-repair the Colossus will come back to full armor and shield, making the Cain shot a waste of ammo.

You can also try sticking back with Reegar. Stay in cover and send your squadmates behind the cover directly to your right. This focuses the Colossus' fire on you, so they are pretty much free to fire at enemies. Use the squad's tech powers to rapidly take down enemies. Use whatever crowd control you have to keep the oncoming geth at bay. Focus on the ones directly in front, the ones on the left next, and any coming from the ramp on the right as they poke out. It's important to focus on those nearest first, regardless of which direction they're coming from.
Eventually they'll stop coming and only the Colossus will be firing at you. Make sure you've given enough time to ensure another wave isn't coming. When it's clear, send your allies up to take cover behind the large blocks just beyond the metal barrels. Once in position, come out and get behind the barrels. Next, run up the bridge on the left and quickly duck behind the iridium container. If there are any geth coming down center, take out any you can see from this vantage point. Call your allies to behind the crates in front of you slightly to the left. You must do this quickly as there will be geth waiting for you. Take out all geth ahead, focus on the Destroyers first as they are the bigger threat, and run up to the stacked barrels on your right just beyond the road barriers. More geth will come down from the platform where the Colossus is. Take them out and then move your allies directly under the platform so they're out of range of the Colossus.
At the top of the platform set your allies to cover behind the two nearest crates facing the Colossus while you take cover behind the wall where you just came from. There will be more geth showing up. Take them out, while keeping an eye out for any destroyers. Take out the Destroyers first, then switch to taking out the other geth. Either way, once you have the Destroyers taken care of, keep your fire on any geth that are coming at you. When you are able, use your powers or weapons to damage the Colossus. If you have Kasumi in your squad, then using her Shadow Strike power here is also a good idea. After you destroy the Colossus, be sure to take down any remaining geth that you may have missed. This method does require some patience; it's essentially a drawn-out conventional ground war.
Once you have everything you can get the spare parts outside of the observatory before going in. In the observatory, you will find three disabled geth platforms next to Tali, with one platform salvageable for 9000 credits. On Hardcore or Insanity difficulty levels, you can find a Geth Pulse Rifle on one of the platforms. Once you encounter Tali in person, you can ask her what she and the marines were doing there, and about what she has been up to for the last two years. You then ask Tali to join you. If Kal’Reegar survives, he will take the data and upload it. If he is dead, then Tali is disappointed that she is the only survivor of her whole team and she uploads the data herself over a secure channel. Shepard, the squad, and Tali then return to the Normandy.
Normandy
Jacob greets Tali in the briefing room and welcomes her aboard. She is thankful for their timely rescue but she has concerns about working with Cerberus. Once you alleviate her concerns, she says that she will be in Engineering. On her way out, Jacob tells her to introduce herself to the ship’s AI, EDI, which provokes an emotional reaction from Tali.
From then on, Tali can be found across from Gabriella Daniels and Kenneth Donnelly in main engineering. Kelly then suggests to a male Shepard that Tali may want to be more than friends. Shepard also receives a private message from the Admiralty Board of the Migrant Fleet approving her transfer to the Normandy (see below).
After the mission, Admiral Rael'Zorah of the quarian Migrant Fleet (Tali's father) sends Shepard an email (titled "Transfer Request Approved") regarding her decision to join Shepard:
Enemies
- Geth Colossus
- Geth Destroyer
- Geth Hunter
- Geth Prime
- Geth Recon Drone
- Geth Rocket Trooper
- Geth Trooper
Mission Summary
Recruited Tali'Zorah for the team.
Though loyal to Shepard, Tali’Zorah's antagonism toward Cerberus necessitates observation. Also sending recon units to examine geth activities in case activities on Haestrom provoke action.
- Experience: 1,000 (1,250)
- Credits: 69,000
- Cerberus Funding: 30,000
- Credits Found: 39,000
- Weapons:
- M-9 Tempest Submachine Gun
- Geth Pulse Rifle (only on Hardcore and Insanity)
- Upgrades:
- Resources:
- Iridium: 2,000
Note: Although the mission summary says Credits 69,000 (if all are collected) you actually receive 60,000. This has been confirmed on PC, Xbox 360, and PS3.
Trivia
- Upon arrival on Haestrom when entering the sun for the first few times your squadmates will make comments about staying in the shade. This is probably a reference to the quip "Good. Then we will fight in the shade.", attributed by Herodotus to the Spartan Dienekes at the Battle of Thermopylae, which has been re-popularised by the film 300.
- Despite the statement that Dholen's radiation shorts out all electronic devices and kinetic barriers, shields on geth enemies are completely unaffected by the sun.
- While fighting the Colossus at the end of the level, there is a glitch which allows you to revive your allies without using Medi-gel. Firstly, it is required that you perform the Paragon action when prompted to intervene with Kal'Reegar, thus saving him, and when your comrades are down talk to him again and they'll get up.
- If you are playing as a Vanguard, there is a glitch when fighting the Colossus. When you first come into sight with the Colossus (before talking to Kal'Reegar) you can charge across the battlefield at the Colossus which will trigger the conversation with Kal'Reegar. After the conversation with Kal is over you will be right next to the Colossus. When this glitch is performed the Colossus will not attack you throughout the battle, it will just sit there, allowing you to attack it.
- If you attempt the aforementioned glitch, there is a chance that it might backfire. The Colossus will not fire, but the game will spawn neverending squads of Geth Troopers and Destroyers that will aggressively attack in waves.
- After defeating the Colossus, grab 800 units of refined iridium from the 4 containers in the area. Walk up to Tali. If you go back outside, each of the 4 containers will contain 1 unit of refined iridium, for a maximum of 4 per set. Repeat as necessary for the slowest way to farm iridium.
- If you reload at any point during the mission (including after death) you can access previous looted containers of refined iridium a second time. After you have gathered 2000 units however each subsequent container will only contain 1 unit of refined iridium.